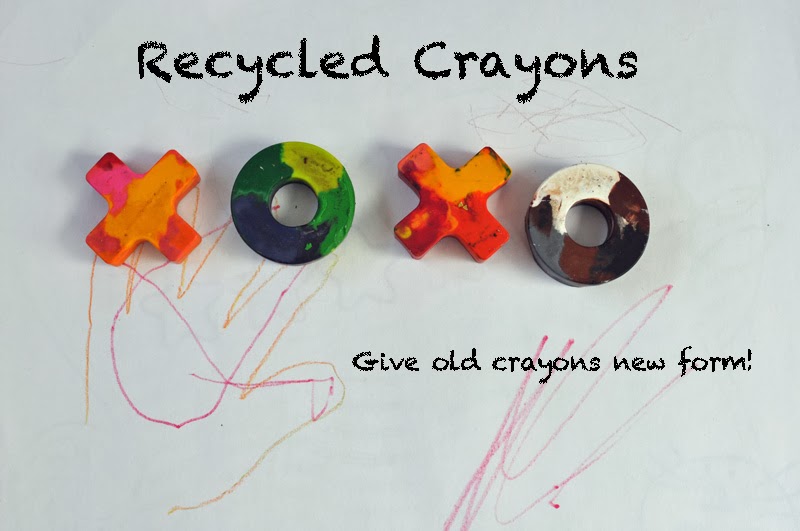
Greta and I recently raided my crayon stash for all the small nubs that are just too difficult to use for big and small hands alike. These turned out so well – my next move is to raid the crayons in my classroom and make new crayons for my students to use. No sense in throwing out useful crayons when re-purposed crayons are this easily attained.

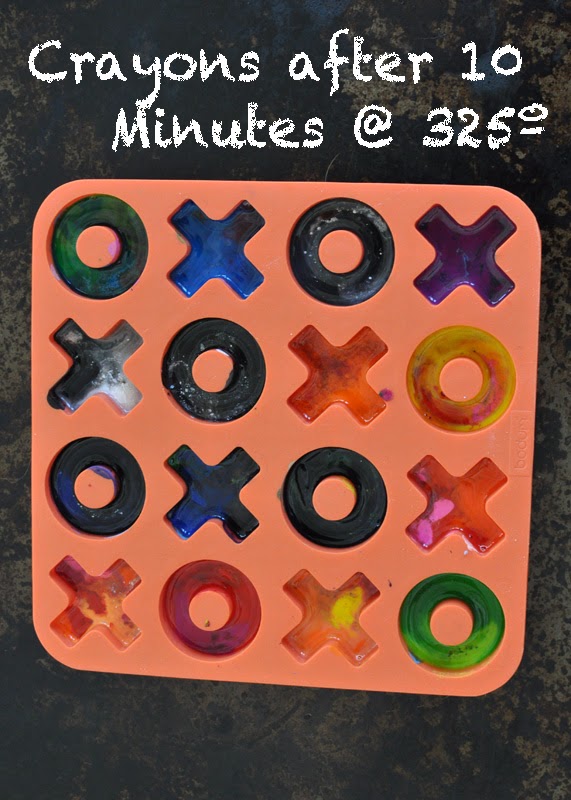
I started with a fairly large bag of crayon nubs. Make sure they are peeled and cut down to small chunks, especially if you are working with a funky mold. I used a silicone mold that was originally intended to be used for ice cubes or candies.
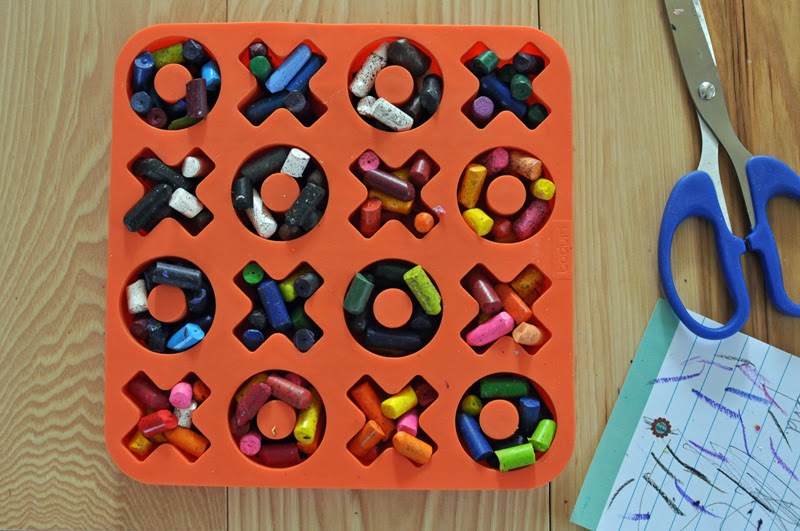
I grouped my crayons by warm, cool, and neutral colors. Greta was especially helpful with the sorting – we had great conversations about the colors and where they belonged. I used everyday craft scissors to cut some of the longer crayons down.
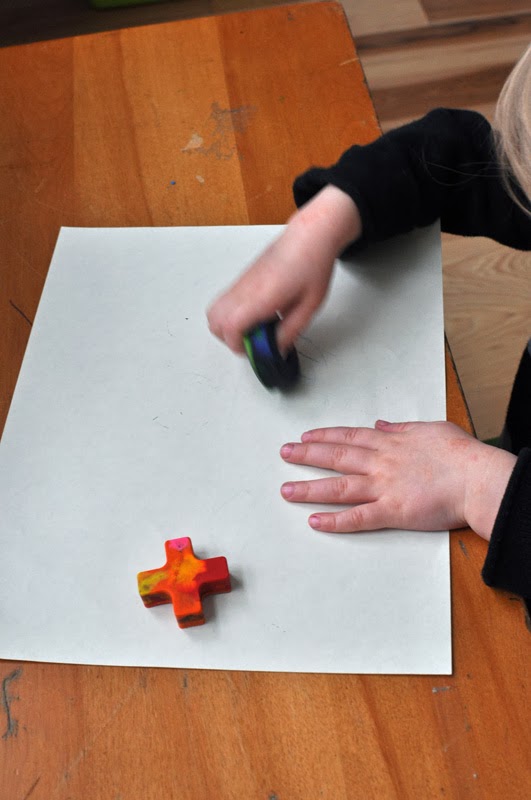

My last step was to create a simple Valentine for Greta to use at school. I’ve been taking a class in the evenings on Adobe Illustrator – this was something I whipped up in the few minutes before class started last week. I figured I would attach the crayons to the Valentine in a little bag. If you want the PDF, check it out my Google Docs here. The document is called valentine.PDF.
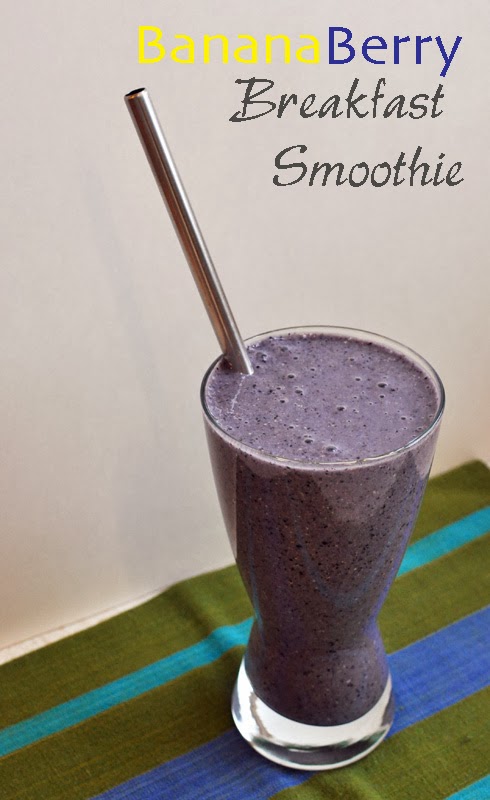
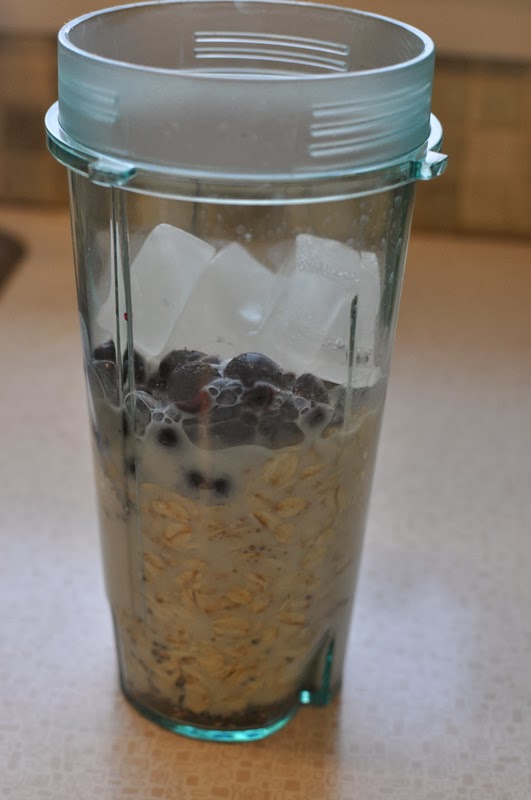
Banana Berry Breakfast Smoothie


Butternut Squash & Chick Pea Soup with Quinoa Noodles
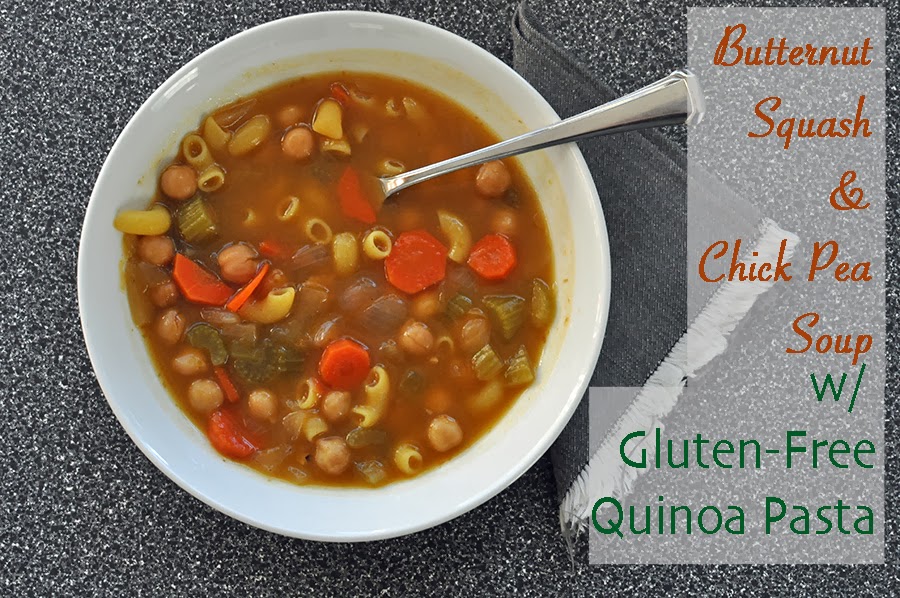
This soup rocked our weeknight meals this week. The pureed butternut squash makes a fantastic flavorful base without being loaded up with dairy. The celery and carrots complement the chick peas perfectly. The only thing I might consider doing differently in the future, is adding actual chunks of butternut squash as well.
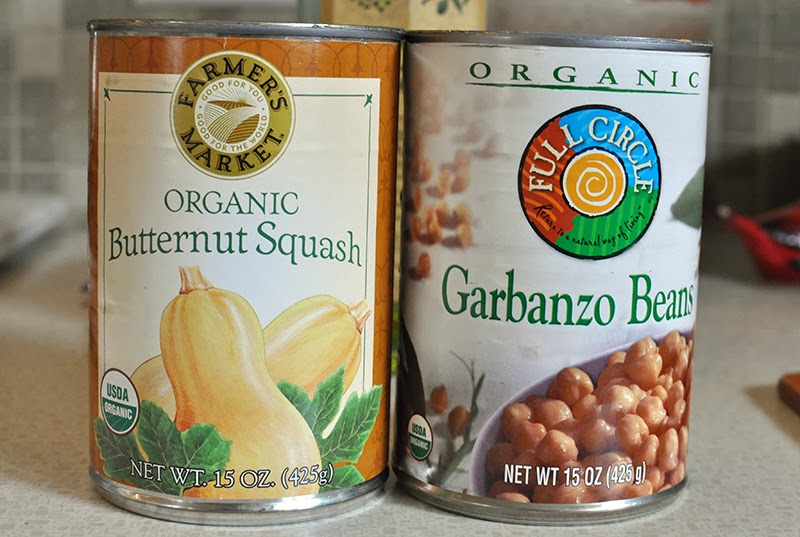
Surprisingly this soup was comprised of pantry items that I already had on hand. I love to play soup roulette and make a soup based on already stocked items.

Butternut Squash & Chick Pea Soup with Quinoa Noodles
1. In a small sauce pan with 1 tablespoon olive oil, saute: 1/2 medium red onion, diced and 2 cloves minced garlic until soft.
2. In a slow cooker combine: 2 cups vegetable broth, 1 can chick peas, 1 can pureed butternut squash, 5 stalks sliced celery, 2 medium carrots peeled and sliced, 1 teaspoon cayenne pepper, salt and pepper to taste.
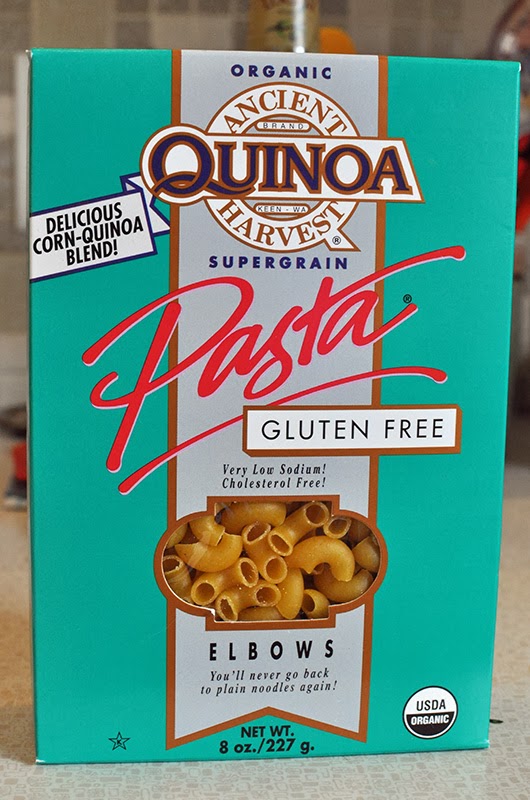
3. Cook on low for 5-6 hours or high for 3-4 hours. Just before serving, cook 1-1/2 cups Quinoa pasta according to directions. Add to soup, turn off heat and serve immediately. Do NOT overcook quinoa pasta, they will disintegrate.
Gluten Free Buckwheat Apple Pancakes
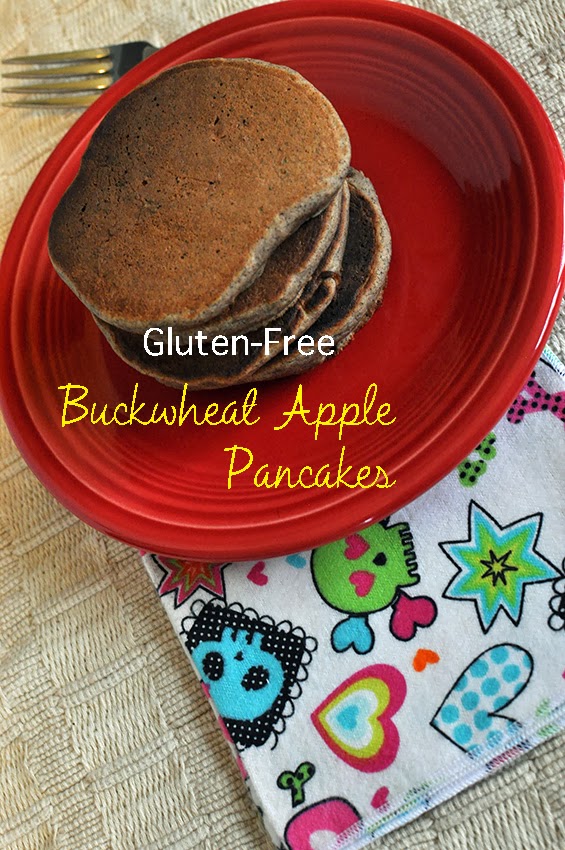
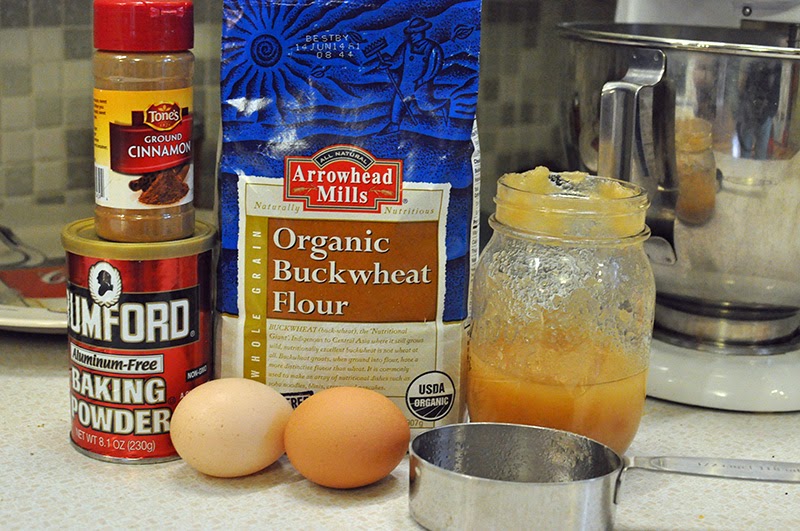
They are easy to make up quickly from scratch, especially since they only require 6 simple ingredients – buckwheat flour, baking powder, cinnamon, eggs, applesauce, and water.
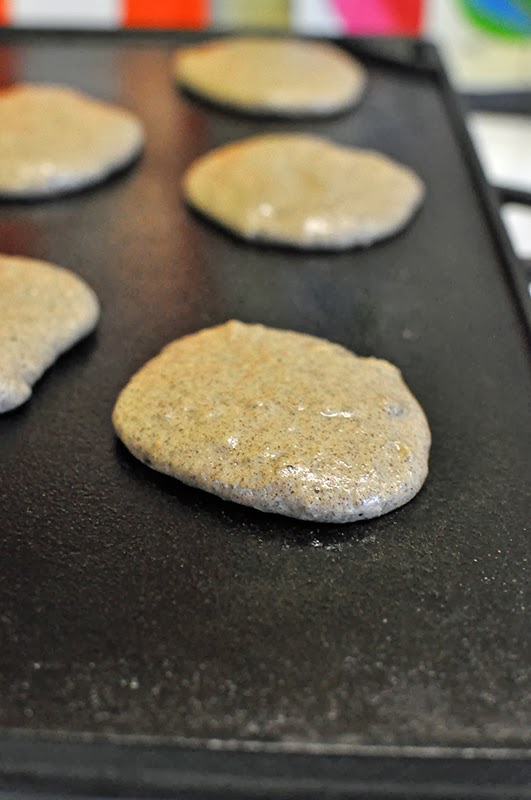
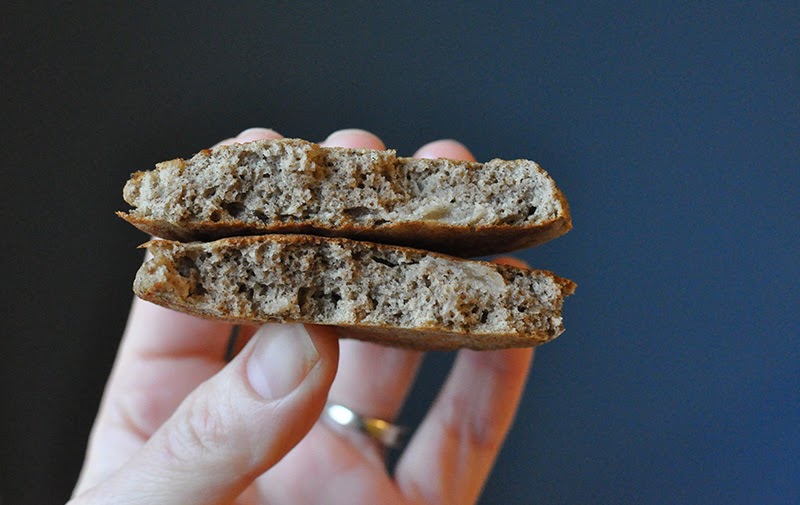
These are nice and fluffy pancakes. If you like your short stack on the thinner side, omit the baking powder.
Gluten-Free Buckwheat Apple Pancakes – makes about 12 – 13 3-inch pancakes
1. In a medium bowl combine: 1 cup buckwheat flour, 1 teaspoon baking powder, 1/2 teaspoon ground cinnamon.
2. In a small bowl combine: 2 eggs, 1 cup unsweetened applesauce, and 1/2 cup water.
3. Make a well in the dry ingredients, add liquid ingredients, and combine with a few swift strokes. Batter will be lumpy. Allow batter to rest for 10 minutes while pan or griddle heats up.
4. Pour 1/4 cup of batter per cake onto hot and greased griddle or pan. Cook about 2 minutes per side, or until edges are dry and centers are bubbling.
5. Serve with topping of choice.

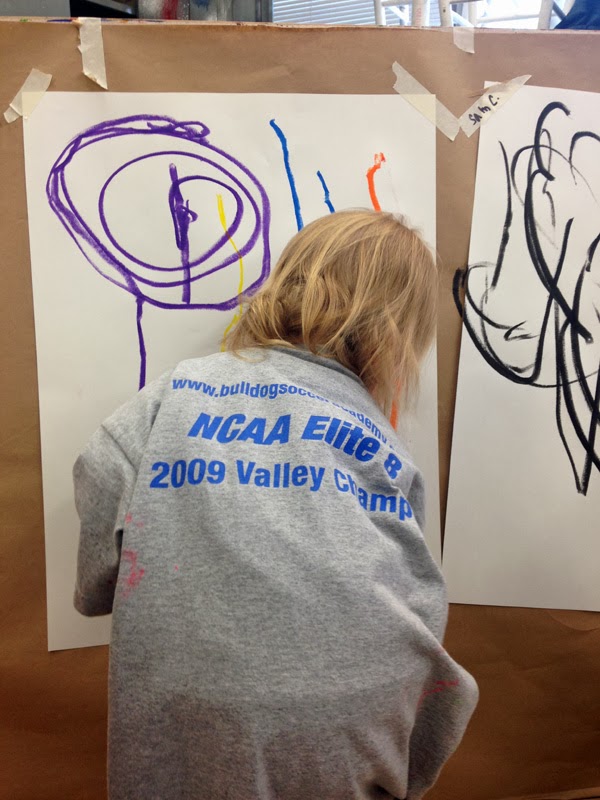
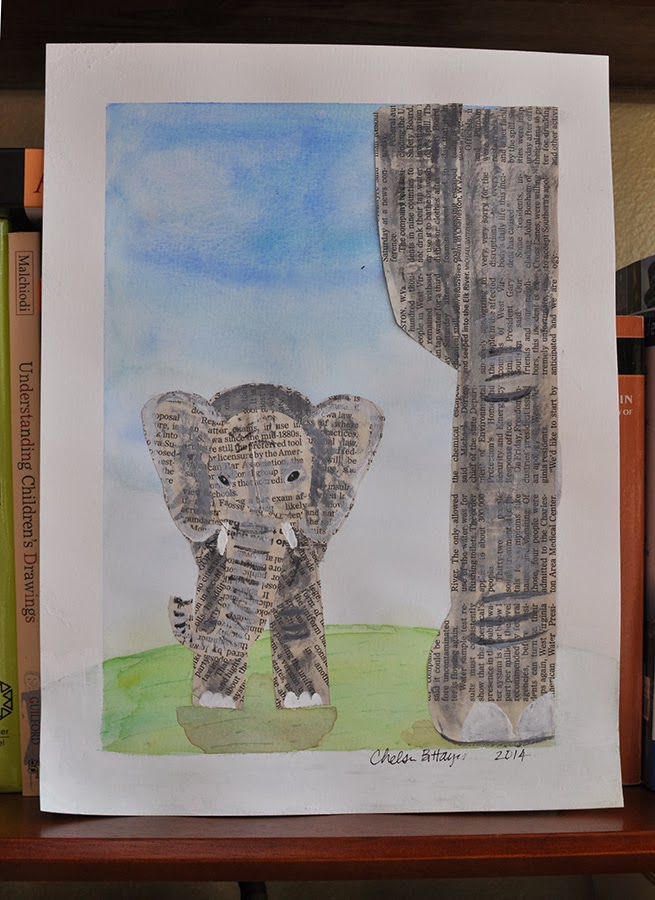
Baby Elephant – Collage/Painting
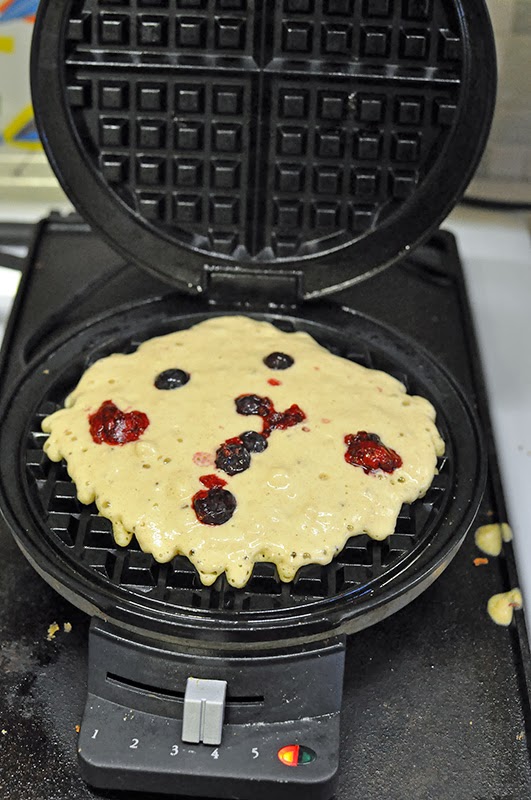
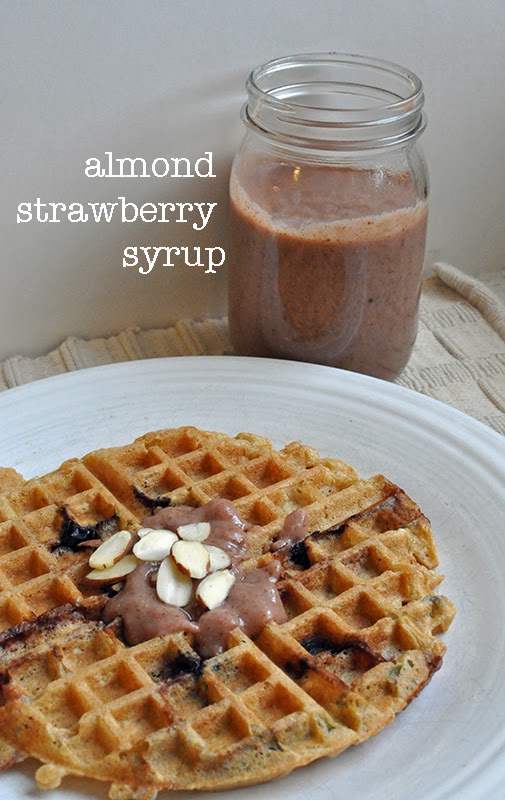
Berry Waffles w/ Almond Strawberry Syrup

This recipe builds off of my basic buttermilk waffle recipe from an earlier post. I made this batch whole wheat, added berries, and topped them with a home made syrup from strawberries and almond butter. These waffles are so light and fluffy, you won’t be able to eat just one!

I learned how fast these go the last time I made waffles, and this time around I made a double batch. It’s cheaper and tastier to freeze extra waffles than to buy them frozen at the store. The secret in this waffle recipe is the addition of whipped egg whites.

I let my extra waffles cool on a wire rack and then packed them into a large container to freeze for weekday home made waffles.
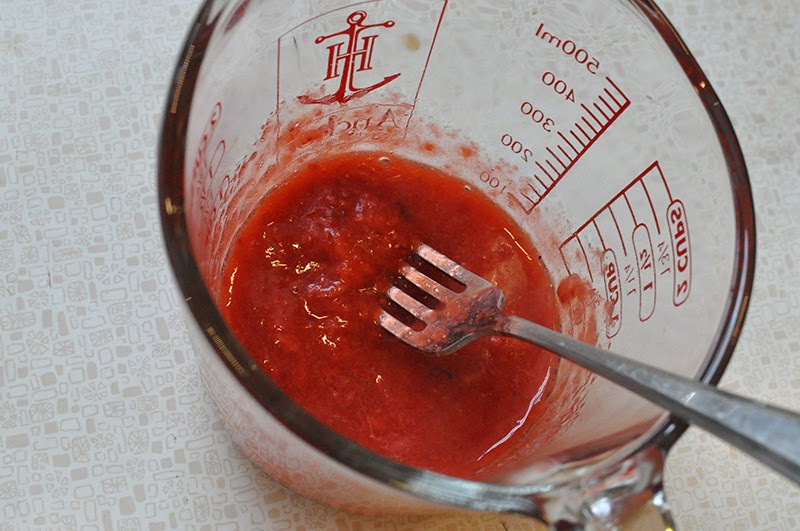
The strawberry flavoring comes from defrosted and whisked strawberries and strawberry jam.

Put it all in a saucepan and heat until thick and bubbly. Store the leftovers in a glass jar and reheat when ready to use.
Berry Buttermilk Waffles – makes 6 – 8 waffles, adapted from The Joy of Cooking, 1975
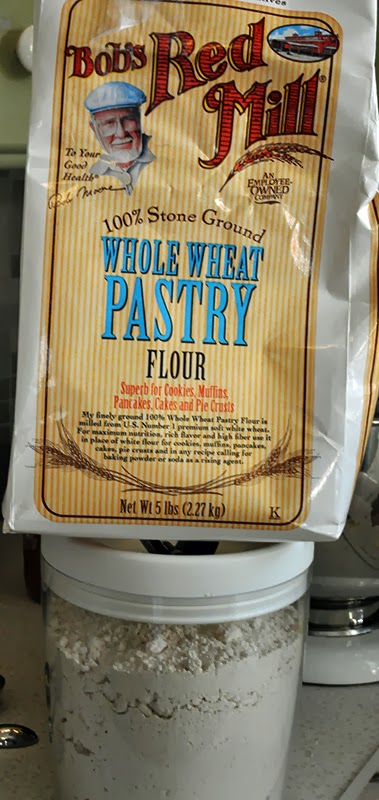
1. Sift: 2 cups whole wheat pastry flour, 1/4 teaspoon baking soda, 1-1/2 teaspoons baking powder, 1 tablespoon sugar, 1/2 teaspoon salt.
2. Beat in a separate bowl until light: 2 egg yolks. Add and beat 1-3/4 cup buttermilk (or buttermilk replacement), 6 tablespoons melted butter or margarine.
3. Combine the liquid and dry ingredients with a few swift strokes. Allow to sit while preparing egg whites. Beat until stiff peaks form, but not dry: 2 egg whites. Fold egg whites into batter.
4. Cook according to waffle iron and preferences. Drop fresh or defrosted berries onto batter before closing waffle iron – this way you can control the amount and the spacing of the berries. Serve with almond strawberry syrup (see below).
Almond Strawberry Syrup – makes about 10 oz
1. In a small saucepan melt 2 tablespoons butter or margarine. Defrost 4 – 5 large frozen strawberries. Whisk until liquefied and add enough water to equal 1/2 cup liquid. Add to melted butter/margarine and whisk to combine.
2. Add 2 tablespoons maple syrup, 1/3 cup creamy almond butter, 2 tablespoons strawberry jam, and 1/2 cup water. Whisk to combine. Bring mixture to a boil. Then reduce heat to low for 5 minutes, until bubbly and thickened.
3. Serve warm or cool. Store in jar in the fridge.
Cherry Blossom Painting


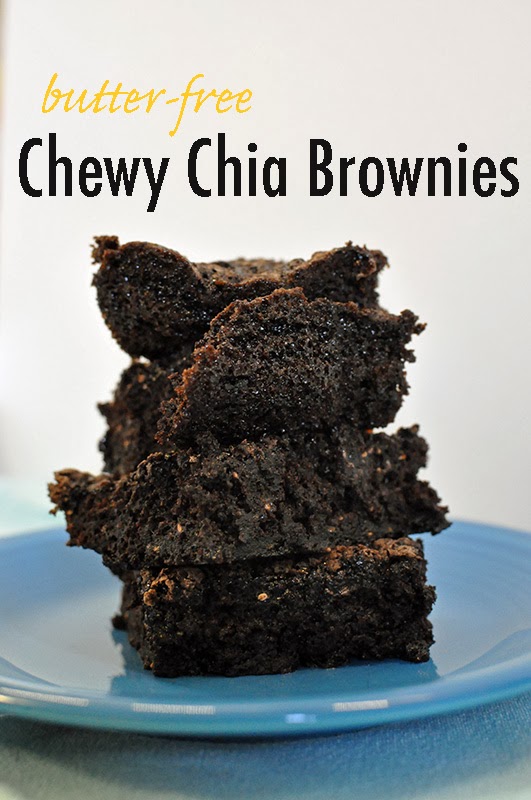
{butter-free} Chewy Chia Brownies
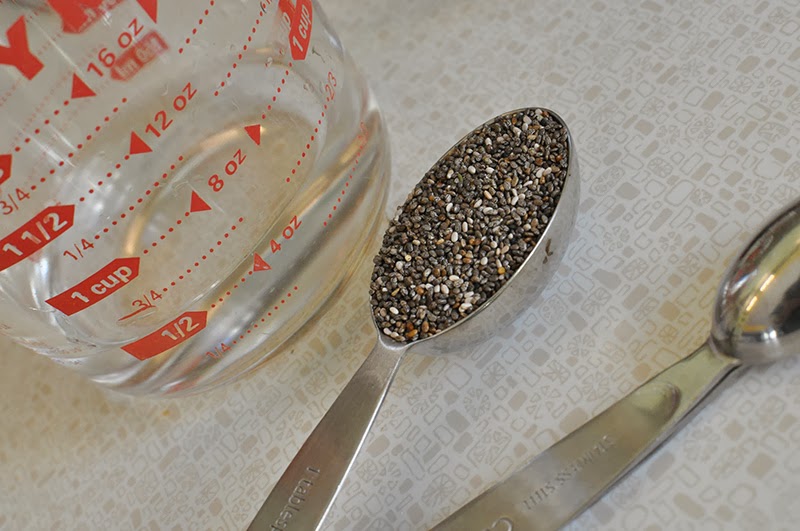
In order to use chia seeds as a butter or gluten replacement, they must be mixed with water. It is only then that these little super seeds begin their gelling magic.
These lovely little seeds are from South America and were part of ancient Aztecs and Mayans diets. They can be eaten as they are, sprinkled on oatmeal or in yogurt, added to smoothies, and used in baking. They have are high in Omega-3 and fiber. They are best kept in the refrigerator or freezer, once opened. 1 tablespoon of these little guys has 60 calories, 40 from fat, 5g of fiber, 2, 282 mg of Omega-3, 6% daily recommended calcium, and 4% daily recommended iron. (Source: Bob’s Red Mill, chia seed label)
Now, let’s compare the 1/2 cup of butter needed to make brownies, which has 814 calories, 92.06 g of fat, 244 mg cholesterol, and 3% daily recommended calcium. (Source: Fatsecret, USDA calorie counter)
Not bad, not bad, little seed.
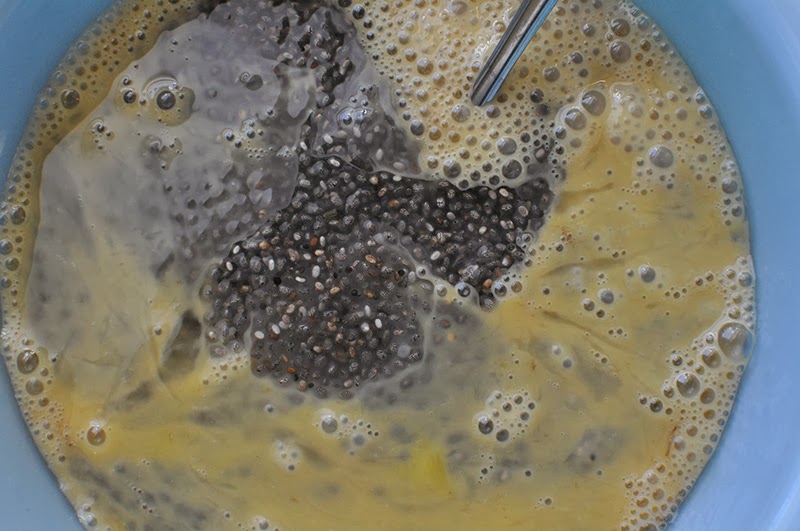
I simply soaked my chia seeds in water for an hour before using, and then combined them with the liquid ingredients. My next steps are to try grinding the seeds before soaking to make a more even texture. There is a little crunch to these brownies, which did not bother me one bit, I likened it to small nut pieces.

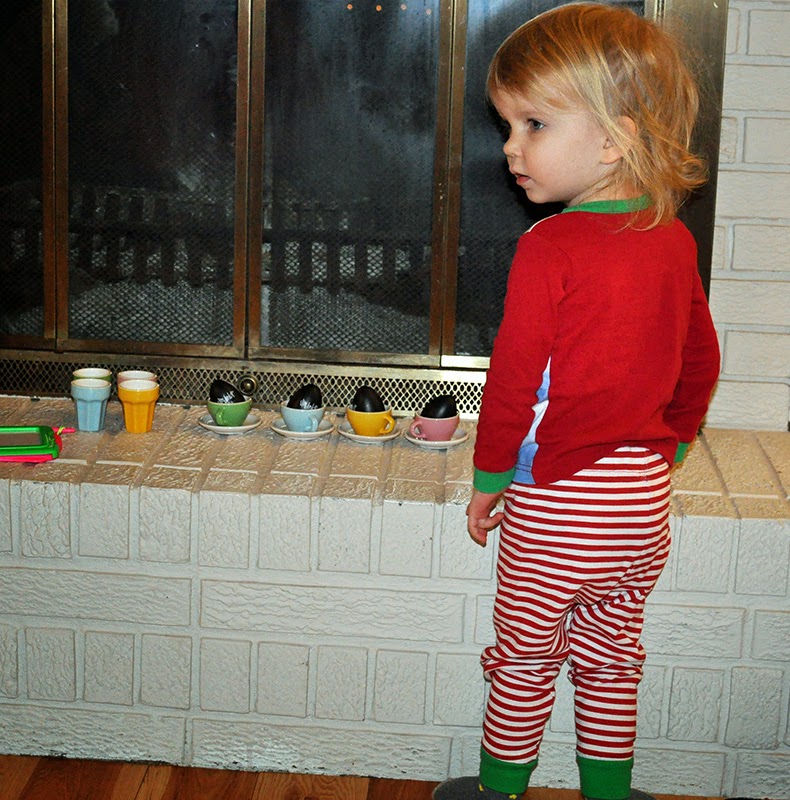
DIY Musical Egg Shakers

Now, I know this might seem like a duh project, but it gave us cheap thrills and great giggles! Greta and I made these DIY egg shakers before Christmas. She goes to music class at school and comes home talking non-stop about “shaking eggs.” So, one Saturday morning as she was trying to dance around with imaginary egg shakers, I grabbed these three supplies.
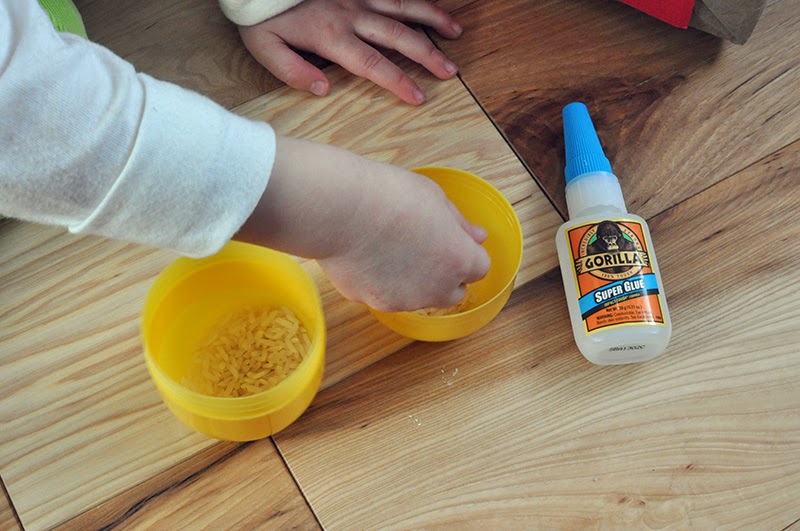
We filled the eggs with everyday rice. By the way, one of those eggs is actually a plastic pod that toys come in from a vending machine, the other is a plastic Easter egg. Then, out of her reach, I glued the edges of the egg and snapped them together.
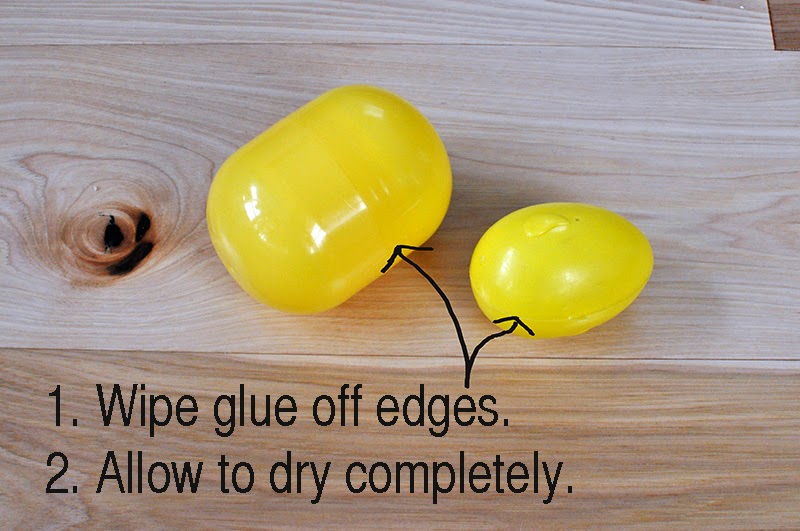
The next step is important – wipe any excess glue off with a paper towel or rag to avoid gluing yourself to the egg. Then, allow egg to dry completely before using.

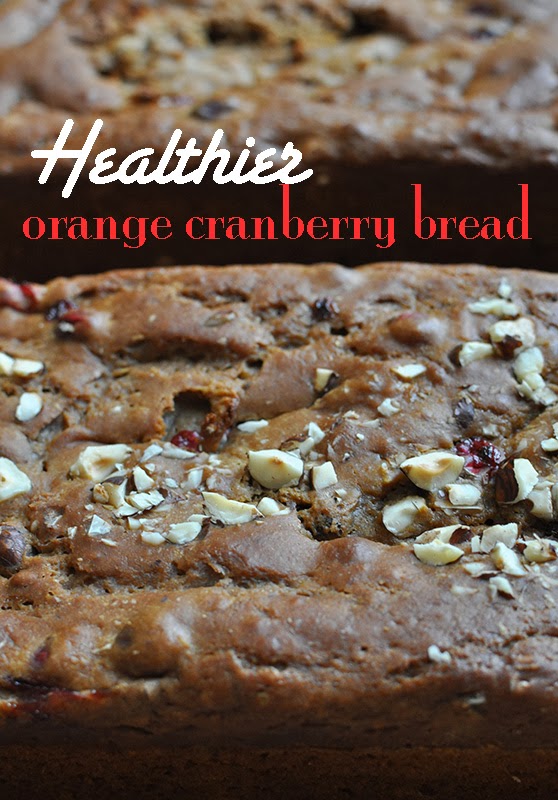
{Healthier} Orange Cranberry Bread

I just love the cranberry orange combination. I find myself mixing the two juices for breakfast for a tart jolt in the mornings.

This zester is rubbish, just for the record! I recently bought it to replace my beloved trusty zester of many years. I miss my old Microplane one so badly – it disappeared along with a shoebox full of other kitchen essentials after we moved. I swear that there is an evil moving troll who steals things during moves.
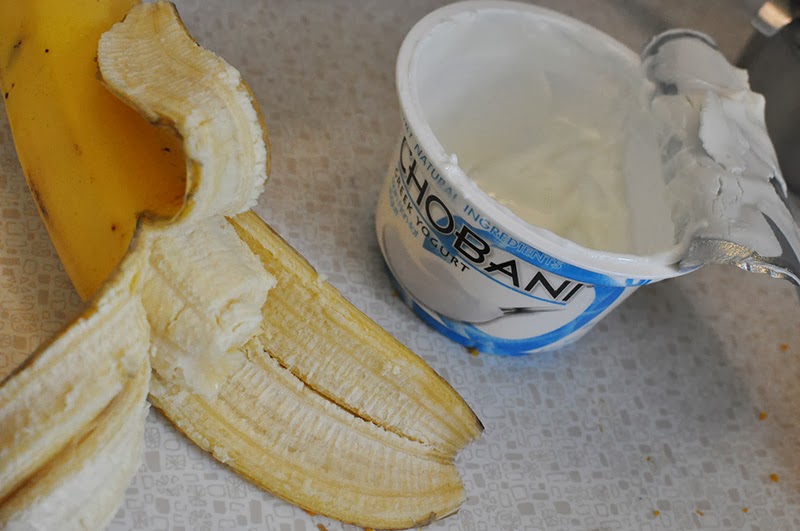
Two things I also love about this recipe – banana swapped for cooking oil and fat-free Greek yogurt for moist texture.

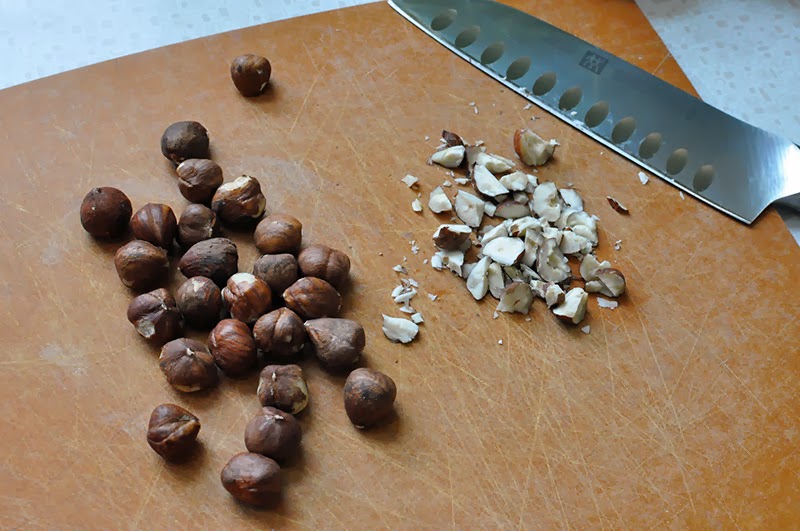
Hazelnuts are another one of my favorite flavors. I’ll be honest, it was Nutella that first got me hooked on hazelnuts. Get them from the bulk aisle to save money, and start with just a few at a time if you haven’t used them before – they are pricey! I buy fresh ones, none roasted, that is.
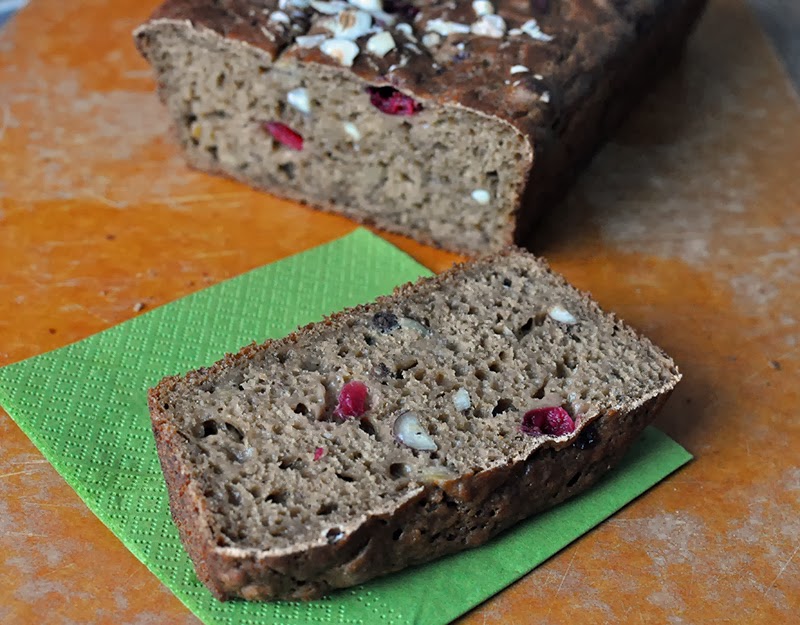
Allow the bread to cool completely before slicing. If you are impatient, you will just end up with hack job slices of bread, no big deal. This can also easily be made into muffins, read the recipe for that.

Healthier Orange Cranberry Bread – adapted from Conscious Cuisine, Neff, 2002.
1. Preheat oven to 350 degrees. Grease 12 standard muffin cups or 1 loaf pan.
2. In a mixing bowl combine: 1 cup whole-wheat pastry flour, 1 cup all-purpose flour, 1/2 teaspoon baking soda, pinch of salt, 1/4 teaspoon ground cinnamon, and 1/8 teaspoon ground nutmeg.
3. In a separate bowl combine just till moistened: 1 egg, 1 cup plain yogurt, 1/2 cup orange juice, grated zest of 1 orange (about 1 tablespoon), 1 cup coconut sugar, 2 tablespoons pureed banana, and 1/4 teaspoon vanilla. Fold in 1 cup of fresh cranberries and 1/4 cup chopped hazelnuts.
4. Pour batter into loaf pan. Or, if making muffins, pour 1/3 cup batter into each prepared muffin cup. Sprinkle top of batter with chopped hazelnuts, if desired. Bake for 50 – 60 minutes for loaf or 30 to 35 minutes for muffins, or until knife inserted near the center comes out clean. If the loaf of bread darkens too quickly, cover loosely with aluminum foil during the last 20 minutes of baking.
5. Allow to cool in pan for 5 minutes. Remove from pan and allow to cool completely before slicing bread.
