On Sunday morning, I woke up early and felt the urge to make something. Lucky for me Miss Greta was still soundly sleeping and so I had plenty of time to whip up this easy diaper turned bib.

I started with a clean, ironed, cotton diaper. I trimmed it shorter, taking off about 5 inches. The more you cut off, the shorter the bib will be. Then, I cut a half circle neck hole in the middle of the diaper.
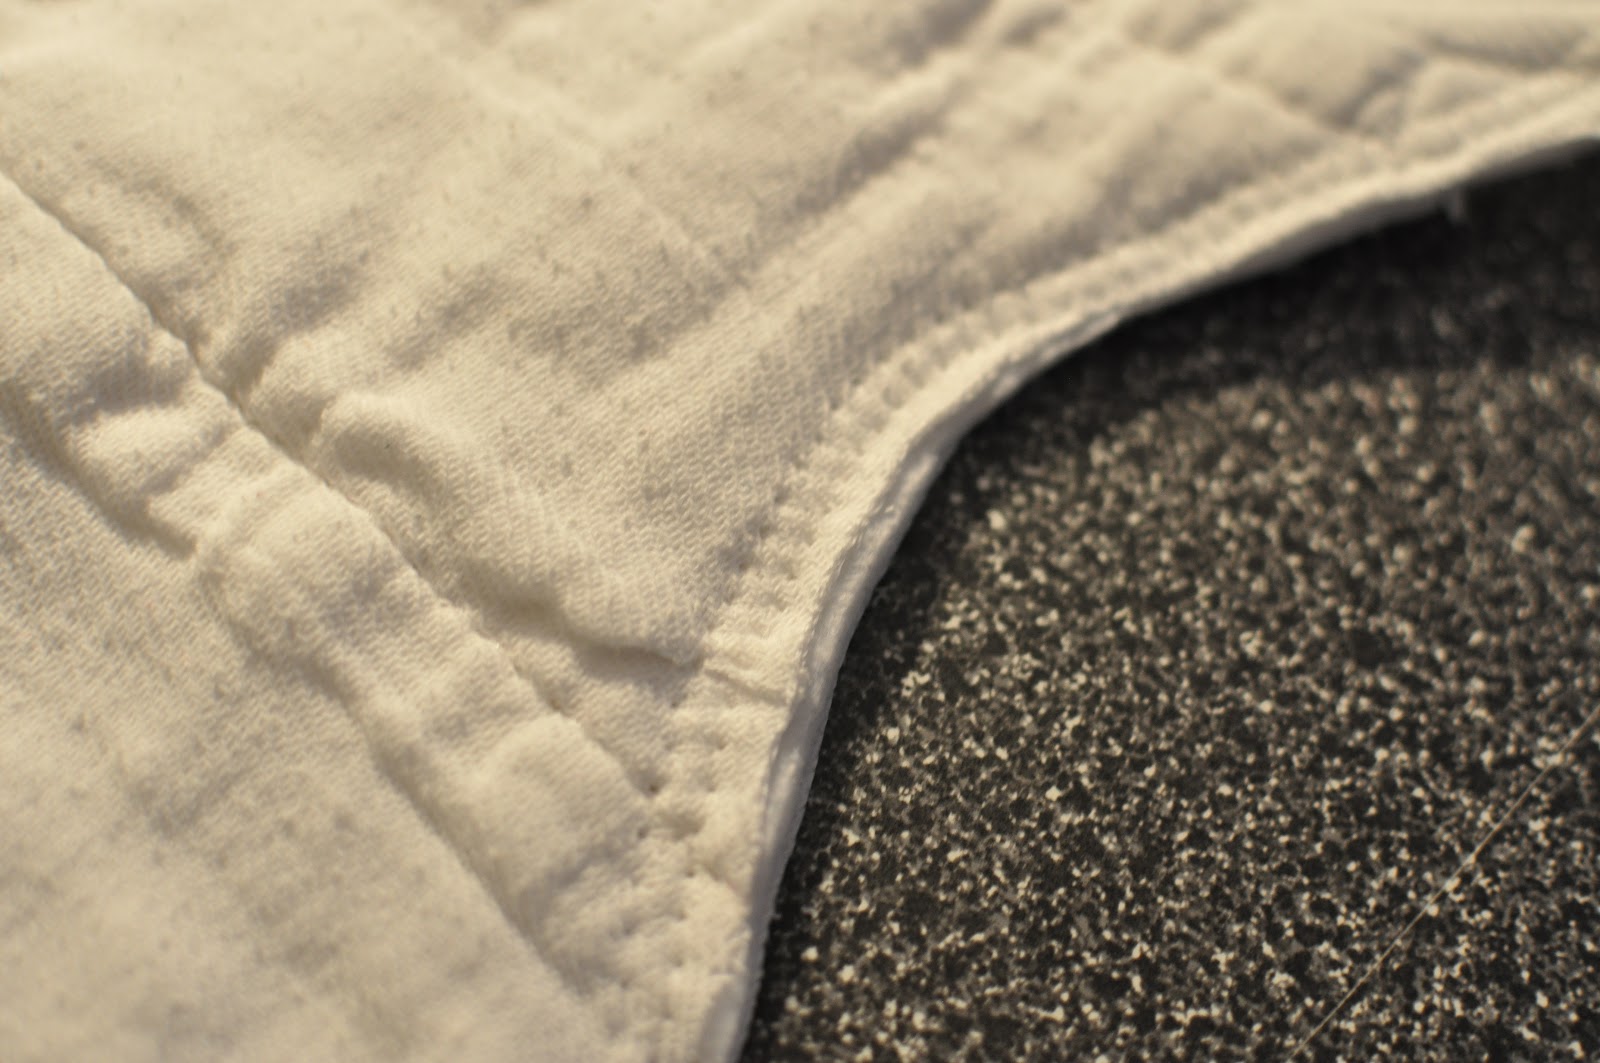
I used a zig-zag stitch to sew along the entire cut edge.
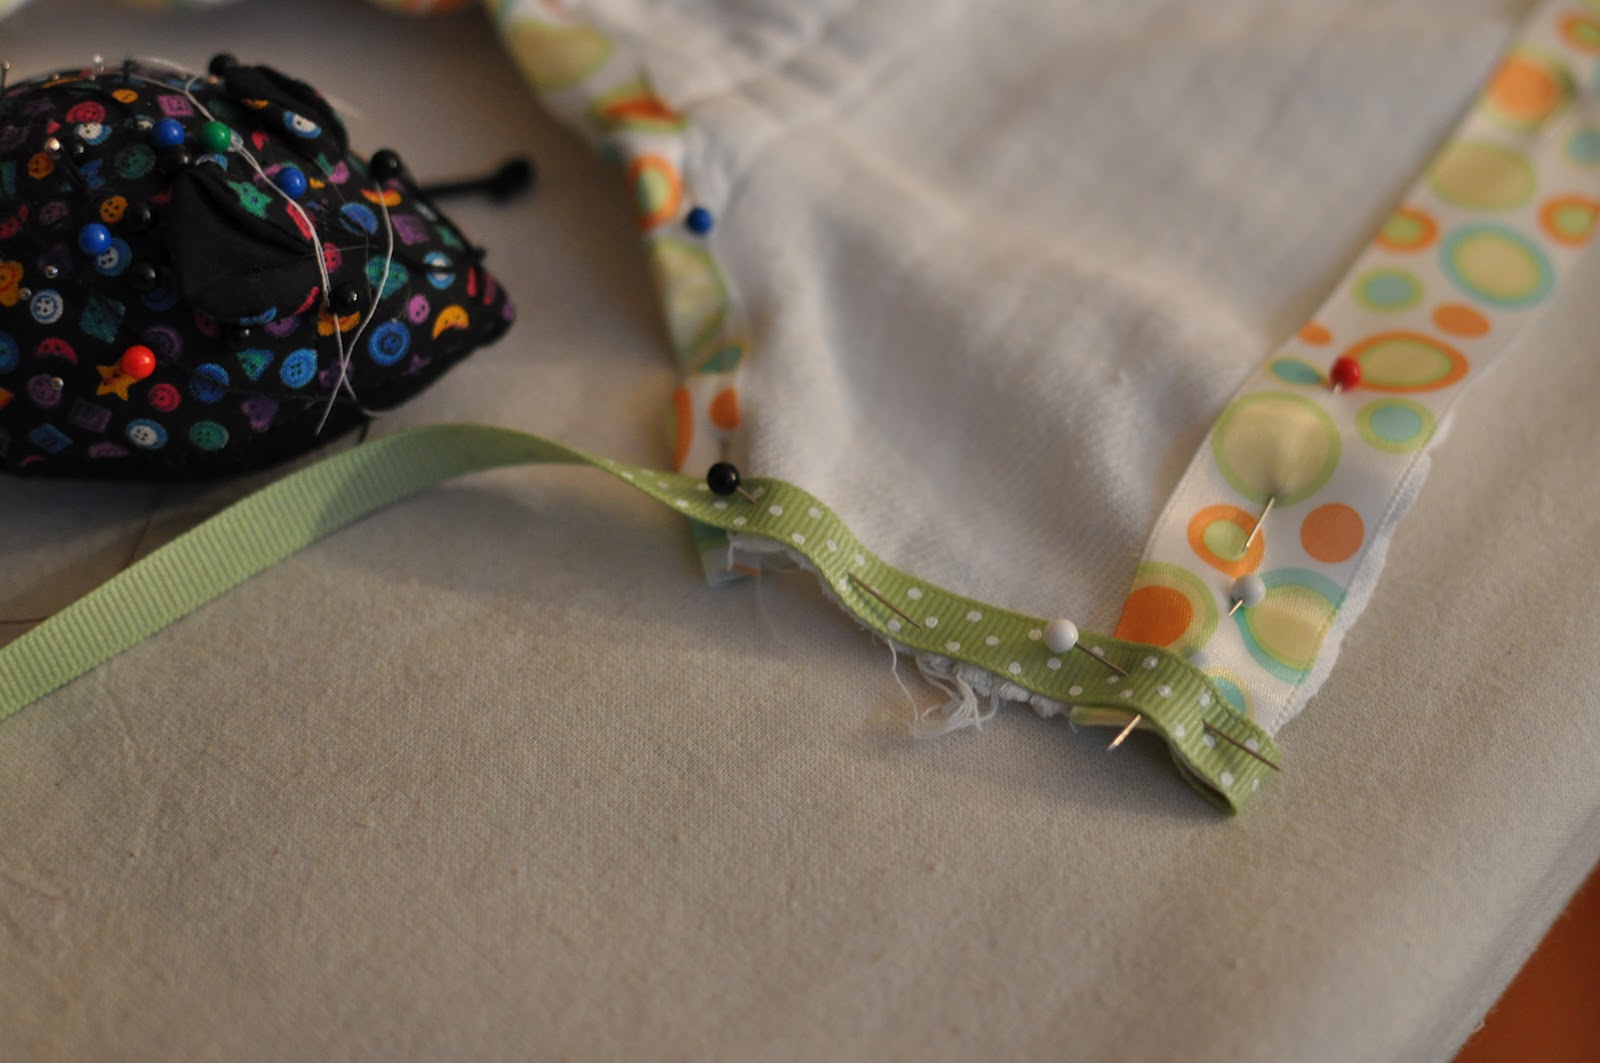
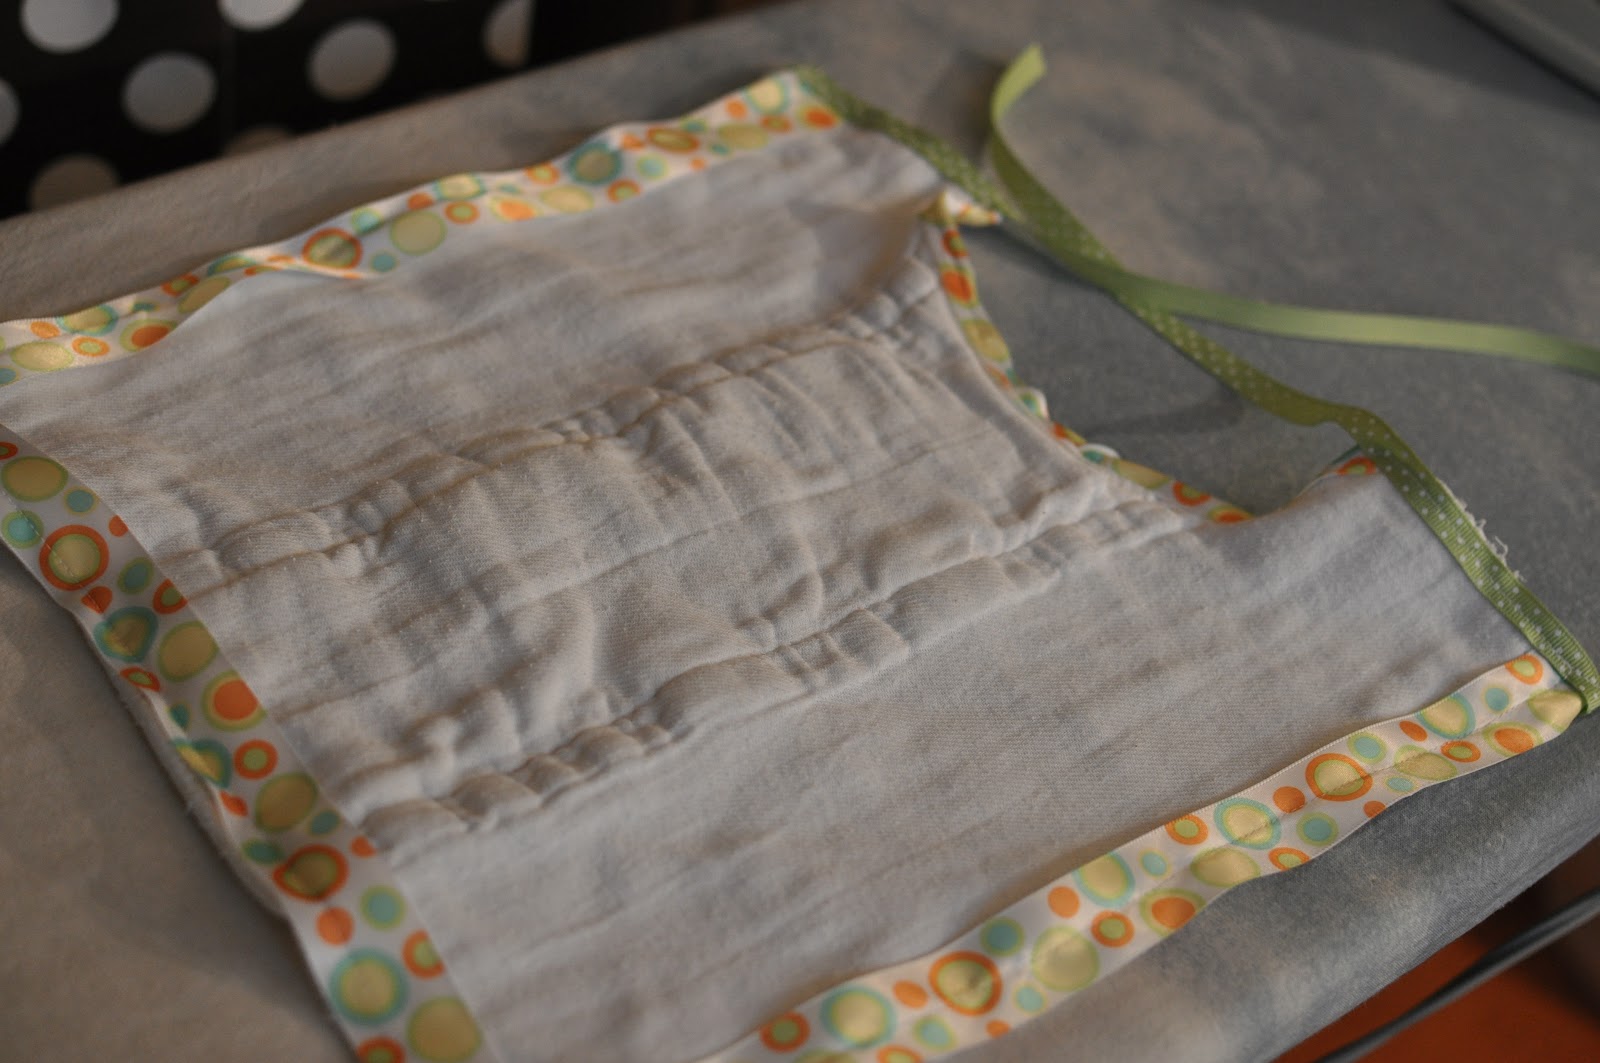
Next, I chose some cute coordinating ribbon to trim the bib. I chose a wider polka dot pattern for the sides, bottom, and neck hole and a thinner green and white polka dot for the ties. I pinned the wide ribbon on the edges, lining up with the edges of the diaper. Along the neck hole, I folded the wider ribbon in half, pinning as I went. The ties were pinned along the shorter lengths on either side of the neck hole, make sure to overlap the edges of the wider polka dot ribbon.
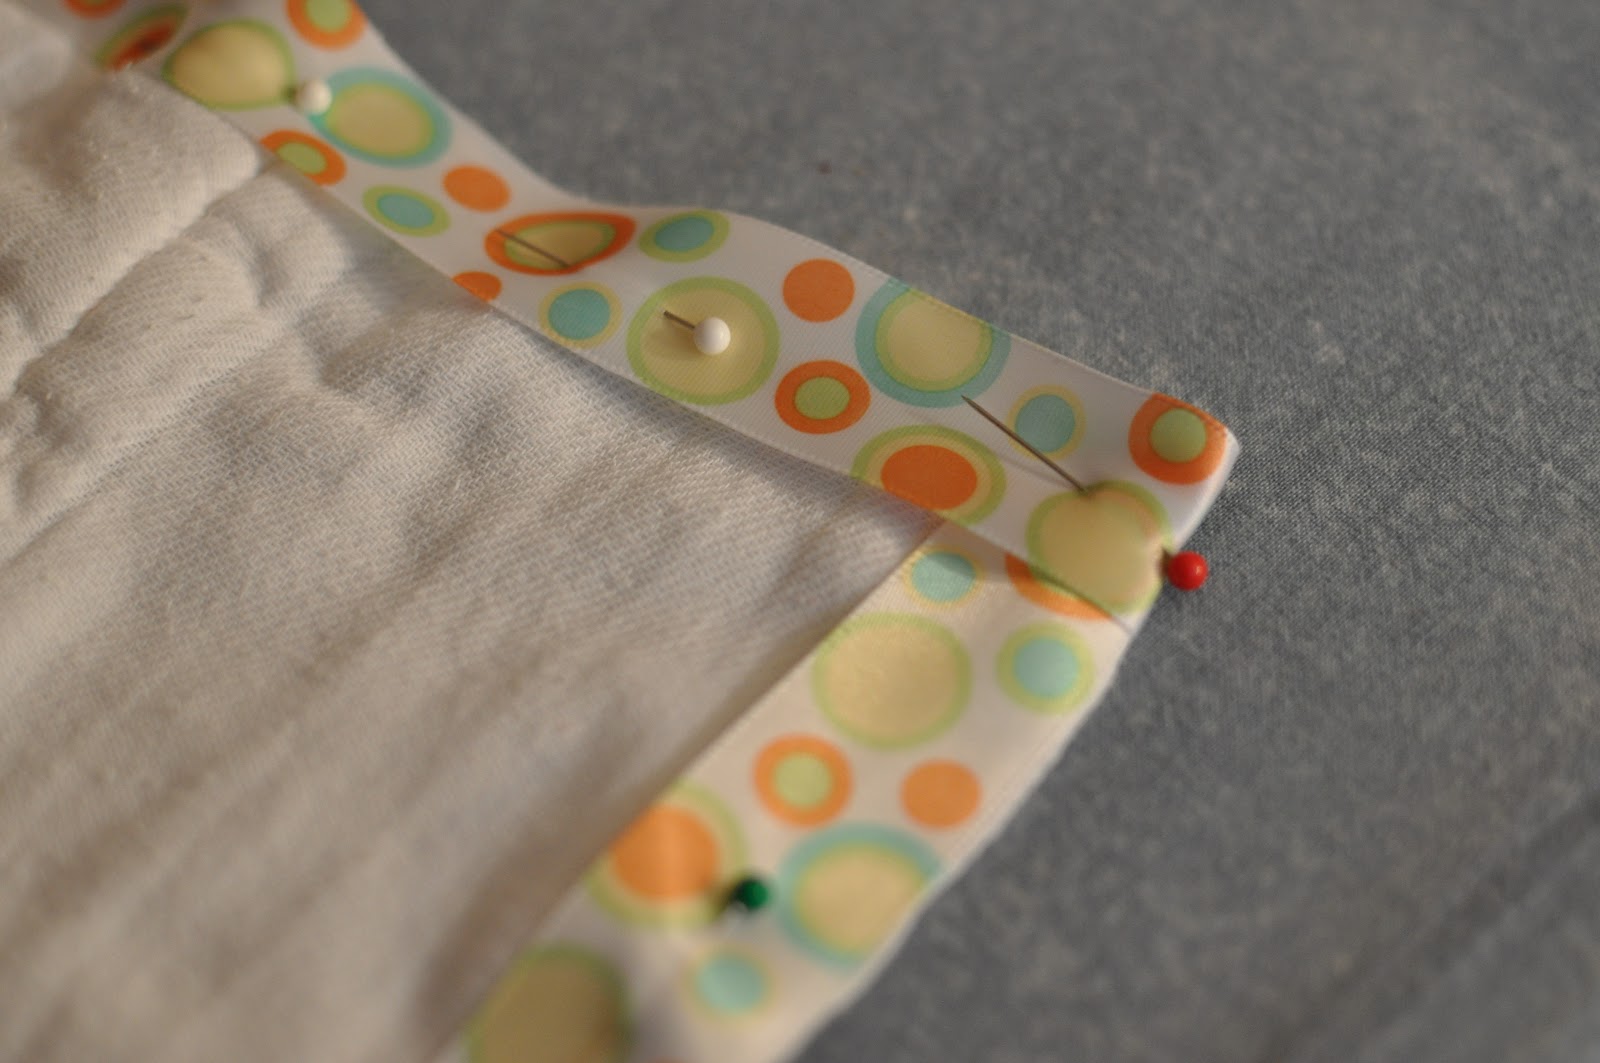
Double check to be sure your ribbon edges are folded under (see above) before sewing. This will make a neater edge and prevent fraying of the ribbon.
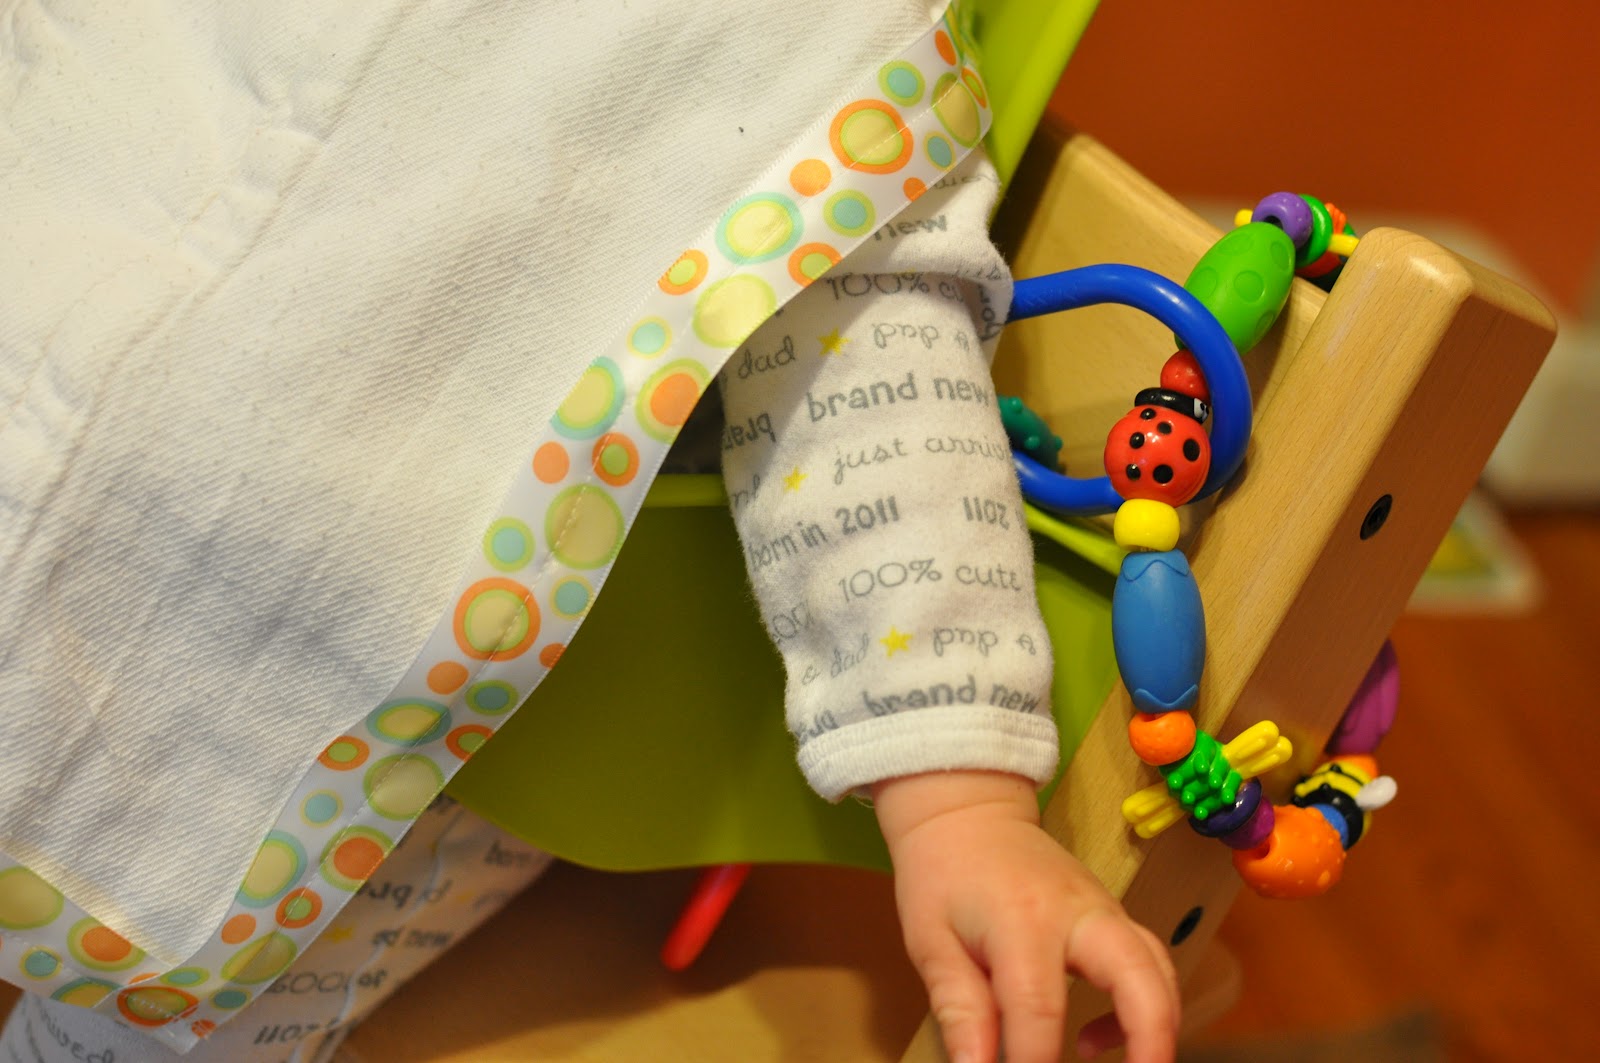
The last step was to sew all edges, leaving the green ties for last. The neck hole can be tricky due to the slippery satin ribbon. A stretchy, ribbed knit will be in order for the next bib I make. From start to finished this project took about 20 minutes. The size works like a poncho for messy eaters.
