Chocolate-Peanut Butter-Banana Sugar Free Cupcakes

I tried a variation on my original sugar-free banana peanut butter muffins – adding cocoa!  This addition and a one other, makes these dense, rich treats more cupcake-like than before.  I highly recommend you try this and some other swaps – you could switch the peanut butter for any nut butter.  You could switch the banana for applesauce or another pureed fruit.  Let your imagination run wild with this recipe.

I added ½ cup unsweetened cocoa powder to the flour mix.  Be sure to check your peanut butter and almond milk if you want to truly keep this recipe sugar-free.  Those are two areas that sugar lurks – read your labels!

I added 2 tablespoons of ground flax seed – use a coffee grinder blender, or baby food processor to grind these.
I found a tip on Pinterest about cupcakes and decided to try it with this recipe.  It does not work as well as I think it would with other recipes, as this recipe lacks refined sugar.  Sugar is not just used for flavor – it also adds volume, tenderness, texture, color, and acts a preservative.  See information on sugar at the Joy of Cooking site here.  Knowing your ingredients and their job/role in each recipe is one of the most important aspects to cooking and baking effectively.  Knowing the function of a particular ingredient will also help you to make substitutions that work.  (Insert PSA about science in the classrooms and how every student should take science in every school, in every state, across the country here).

So, this time I filled the cups ¾ full, baked them at 325 degrees for 25 minutes.

Yum!  Two big ones for the adults in the house and 1 small one for the toddler.

Greta inhaled her muff-cake (that is what I called cupcakes the first time I tried them as a toddler).
We are off to the Banff Film Festival this evening, hosted by Greensboro REI.  I am looking forward to an evening full of short films about the the outdoors.  If you are able to catch this series, I highly recommend it.
One of my favorites from the 2010 year, is called Take a Seat, where Dominic Gill from the United Kingdom rides 32, 000 kilometers from the northern most tip of Alaska to the southern most tip of South America on a tandem bicycle.  The catch is, he must pick people up along the way to help him pedal.  The journey takes him two years to complete and is an amazing tale.
One of these years Eric and I talk about being in Banff for the actual film festival itself.  It would be a great way to celebrate an anniversary – since we went to Banff for our honeymoon.
Sugar-Free Chocolate Peanut Butter Banana Muffins/Cupcakes – makes 16 -18 2 cakes, adapted from The Joy of Cooking, 1974.
 
Have all ingredients at about 70 degrees.  Preheat oven to 325 degrees.  Grease or line 16 -18 muffin tins, set aside.
1. Beat until soft: ⅓ cup margarine.  Add gradually: 1 cup mashed bananas (about 1 ½ bananas).  When these ingredients are light and fluffy, beat and blend in well: ½ cup peanut butter.  Combine and beat until  light: 2 eggs, ½ cup stevia, 2 teaspoons vanilla, and 2 tablespoons ground flax seed.
2.  In a separate bowl, stir together: 2 cups all-purpose flour, ¼ cup unsweetened cocoa powder, ½ teaspoon salt, and 2 teaspoons baking powder.  
 
3.  Beat the egg mixture into the margarine mixture.  Add the flour mixture to the batter in three parts with ¾ cup almond milk.
4. Spoon batter into prepared muffin cups.  Fill about ¾ of the way full.  Bake at 325 degrees for about 25 minutes.  Allow to cool in pan about 5 minutes, then remove to cool on wire baking racks.
All muffin pans should come with lids.  Seriously.


Fabric Breakfast Food

I decided it was time for Greta to have some of her own fabric food to play with.  She loves to stir, drink imaginary liquids from play cups, and cook invisible foods.  I could watch her pretend for days on end – it is fascinating to me and I wonder where she gets her ideas from.

This set is made from recycled, or upcycled fabric.  The bacon is from an old felted sweater and the eggs and bread from old tee shirts.  The only new material is the ric-rac ribbon on the bacon.

I used a maroon felted sweater, cut it into strips, and sewed white and pink ric-rac onto the surface to make the bacon strips.  The nice thing about felted wool is that the edges do not fray or unravel and it is a substantial fabric, so it can stand up to some abuse from kids.  
Then, I used the bacon strips to scale the rest of the food items.  I used a beige colored tee shirt to created the slices of bread.  Before cutting out the fabric for the bread, I used the bacon slices to trace around for the proper length.  I folded the fabric in half so I would be able to cut more symmetrical shapes of bread.  
Next, I sewed the pieces of bread along one side and the curved top edge, leaving one side open and not sewing on the fold.  I flipped it inside out, added some a very small amount of batting, and sewed the slice of bread shut. 

I decided to use an orange zig zag stitch for the bread for a little variety.  The batting added just a tad of depth to the bread.

For the eggs, I used an old white tee shirt and cut out two organic blob-like shapes from white fabric.  Then, I cut out a yellow circle, for the yolk, also from a tee shirt.  First, I sewed the yolk down to a single piece of the white fabric.

I then sewed both pieces of white fabric together.  I opted not to fill the yolks on these eggs like I did on previous fabric eggs because I wanted them to fit inside plastic Easter eggs.  
This way, Greta can crack eggs into a pan and then fry them.  She has been walking around all morning mouthing the word egg and opening and shutting these eggs.  
Here is her finished breakfast platter, minus one egg.  I am not sure where the second egg ended up, maybe it went to nap with her.  Check in later for more fabric food – this is only the beginning!  I gladly take suggestions and will do commissions as well.  🙂 
Happy Saturday, y’all!  Get some crafting done today.  

North Carolina Transportation Museum + Spicy Roasted Vegetables

The past week has kept our family moving, moving, moving.  We were out of the house for a while on Saturday due to an open house.  We decided to head over to the Guilford Courthouse National Military Park for a walk on Saturday.  The weather was unbelievable – sunny and 73 degrees!

Greta enjoyed riding in her backpack and watching the re-enactors make dinner and sit around their tent encampments.

We only saw one Red Coat traipsing around the woods.

The following day, on Sunday, the weather was still warm, but more overcast.  My front garden is a riot of yellows, violets, whites, pinks, and green right now.  I am still impressed that the leftovers from my spinach and lettuce bed grew all winter long and are now in full bloom.  
On Sunday, we decided to head to the North Carolina Transportation Museum in Spencer, North Carolina.  I know, what is it with us and the museums that display all things transportation?

The train ride and round house ride were fun.  Greta kept making buzzing train noises the entire time we were there.  
Greta was dying to climb on every train we encountered.  Luckily there were a few areas where steps had been installed to allow you to climb up and look inside some of the trains.  The sheer size of these machines is impressive.  

Each view made me want to come back with my old-school 35 mm camera loaded with black and white film.  Luckily, we did have the Diana and shot a few 120 mm film.  When that gets developed I will share the images with you.

 The lighting, lines, textures…all an art teacher’s dream place to take art students.

 Of course the orange school bus caught my eye.

This building has been recently remodeled and will eventually be open to the public.  As of right now, you are only able to stand behind the chained off areas.  This room will help turn this train-themed museum into a more transportation oriented visit.  
We walked around for a couple hours and looked at all the exhibits we were able to see.  The museum is still on its way to being spectacular, but is well worth the visit.  The parking lot starts at the train depot, there are plenty of picnic tables, plenty of sites, and the historic downtown Spencer is just on the other side of the tracks.  
Greta slept the most of the hour ride home and was ready for dinner as soon as we rolled into the driveway.  Luckily, I had an easy plan for dinner – leftovers and some delicious hot and citrus flavored roasted vegetables.  It must seem like we live off roasted vegetables and well, we do.  It is just simply the way I like my vegetables.  

Goodness this was an easy Sunday evening meal.  I had the vegetables all prepped from the day before – I simply sliced them, placed them in a pan, drizzled the marinade on the top, covered, and placed in the fridge until I was ready to roast.

Spicy Roasted Vegetables

1. Quarter and then halve: 1 small or ½ of a medium head of red cabbage.  Cut into wedges: 1 small onion.  Halve and then cut into 2-inch segments: 2 large carrots.  Arrange all vegetables on rimmed baking sheet.

2. For the marinade: spray vegetables with olive oil until well-coated.  Sprinkle lemon juice, lime juice, and chipotle hot sauce.  Toss until evenly coated.  

3.  Bake at 425 degrees for 15 to 20 minutes.

DIY Glitter Wand

I had a glitter wand when I was a kid and I remembering playing with it all the time.  It was tubular and filled with pink, purple and glow-in-the-dark glitter.  I fondly remember holding it up to my eyes to make the room appear pink.  I used to flip it end over end to watch the glitter slowly slide around inside.  One time a friend was over, and I remember us charging it in the light and then taking it inside my closet to watch it glow, only  to find we were locked inside the closet with no way out!  We lived in an older house, and the closets did not have doorknobs on the inside.  My friend and I, terrified, began to cry.  Our cries caught the attention of my younger sister, and we convinced her to go and find my dad who was outside, except she forgot her task along the way and was distracted by watering plants.  Finally, after what seemed an eternity, my dad asked what the other two kids were up to.  He discovered sobbing, snotty little girls inside a closet.  
I wanted to make Greta a version of my wand, sans glow-in-the-dark matter to avoid a repeat closet episode.   With all her sick time this past week, we needed a reason to get out of the house on this rainy and gloomy morning.  
So, we headed over to A.C. Moore.  Sadly, they lost their lease and are in the process of selling everything at at discount.  This is both good and bad.  Good for the cheap prices and bad because I will miss A.C. Moore.   I have always preferred them to Michael’s.  
Greta was a big help in the store – clearly she figured out how to bargain shop – $.25 wooden spoon and $1 foam construction hat.  Big spender!  
I found some glitter, silver pom poms, and giraffe confetti for her glitter wand.  I really and truly do hate glitter unless it is contained, so, this project took me out of my art & craft comfort zone.  Notice I chose large glitter, none of that horrid tiny, dust-like glitter.  It is fairy puke – pretty but not fun to clean up.  The things one will do for her child…
I put the glitter, poms, and confetti into a clean soda pop bottle and then filled it almost to the top with water.  I made sure to leave some space at the top so that there would be a couple air bubbles.  Then I glued the lid shut with Gorilla Glue, let it dry, and handed it over to Greta.  Her initial reaction was of intense staring.  

 She then turned it over a few times, watching carefully as the glitter slid around inside.

 Then she shook it violently, stopping every now and then to watch how the glitter settled.

Finally, growing tired, she handed it over to me, where she proceeded to drum on the side of the bottle. This was a huge hit for Greta and continues to be throughout this week.  Just remember, as with any toy with smaller parts, always use with caution and supervise play.  
I could see this being a neat paper weight on a desk or even a calming object for older children.  I am certain it would be a hit with my middle school students as well – I may have to test it out on them tomorrow.  
Check out Discount School Supply for great deals on glitter, pom poms, confetti, and more!
Discount School Supply New Arrivals

Sugar-Free Banana Peanut Butter Muffins

Oh these glorious cupcakes/muffins came about as a result of me not being able to sleep due to stressing about moving issues.  I was up for hours while the rest of my family slept.  I even contemplated just getting up and making them in the middle of the night, but finally did convince myself just to go back to sleep instead.  The recipe is all the way at the bottom of this post.

They are sugar-free due to the swapping of brown sugar for mashed bananas.  I like to freeze extra bananas to use for baking.  If they are sliced in half first, this makes thawing and proportions easier.  For this recipe, I needed 1 cup of mashed banana, so about 2-½ bananas.  

I swapped out another ½ cup of brown sugar for ½ cup of truvia – a powder made from the leaves of a stevia plant.  It naturally has no sugar and no calories – perfect for diabetics or those simply watching their intake of refined sugar.

The batter is a thick one with a lovely peanut butter banana scent.


Alternate your almond milk or milk in three parts with your flour mixture.

Be prepared for a long soaking during clean-up.  Like the good sponge/evil spongester?

This recipe yields about twenty 2-inch cakes.  The only sugar in my recipe are the 3 to 4 milk chocolate and peanut butter chips I added on the the top just before baking.  These are obviously optional, and do add a sweet and pretty finishing touch.

I modified a cupcake recipe, but due to the addition of banana and removal of sugar the final product tastes much more muffin-like.  Make them for yourself and help me decide the final verdict – muffin or cupcake?
But, be warned, these babies go fast – the whole family approved of them.  The best part – a dessert I don’t feel guilty about feeding to my already junk-food preferring toddler.  She gobbled these up, despite being sick.
With highs in the mid 60s here, we grilled out last night for the first time this year.  These muffins/cupcakes were our dessert after a long weekend.

Warm sunshine, bare arms, and blooms.

The grill master is back in action!  It most certainly feels like spring around here now.
It was a lovely end to a busy weekend, to just sit on the deck, in a lawn chair, and watch Greta play with her newly cleaned kitchen set.
Sugar-Free Banana Peanut Butter Muffinsmakes about 20 2-inch cakes, adapted from The Joy of Cooking, 1974.
 
Have all ingredients at about 70 degrees.  Preheat oven to 350 degrees.  Grease or line 20 muffin tins, set aside.
1. Beat until soft: ⅓ cup margarine.  Add gradually: 1 cup mashed bananas (about 1 ½ bananas).  When these ingredients are light and fluffy, beat and blend in well: ½ cup peanut butter.  Combine and beat until  light: 2 eggs, ½ cup stevia, 2 teaspoons vanilla.
2.  In a separate bowl, stir together: 2 cups all-purpose flour, ½ teaspoon salt, and 2 teaspoons baking powder.  
 
3.  Beat the egg mixture into the margarine mixture.  Add the flour mixture to the batter in three parts with ¾ cup almond milk.
4. Spoon batter into prepared muffin cups.  Fill about ⅔ of the way full.  Bake at 350 degrees for about 25 minutes.  Allow to cool in pan about 5 minutes, then remove to cool on wire baking racks.

Self-portrait Workshop: Weatherspoon Art Museum

Last Saturday I had the pleasure of attending a self-portrait workshop at the 
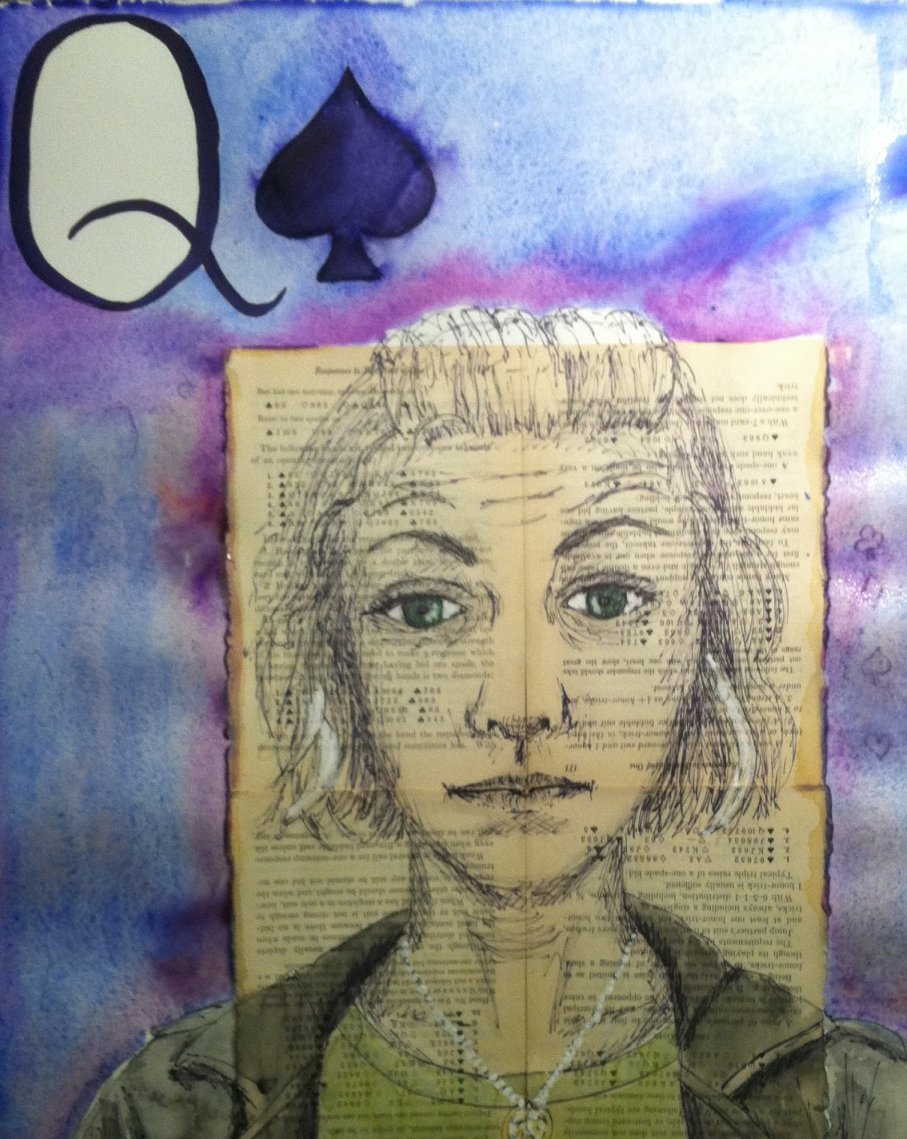
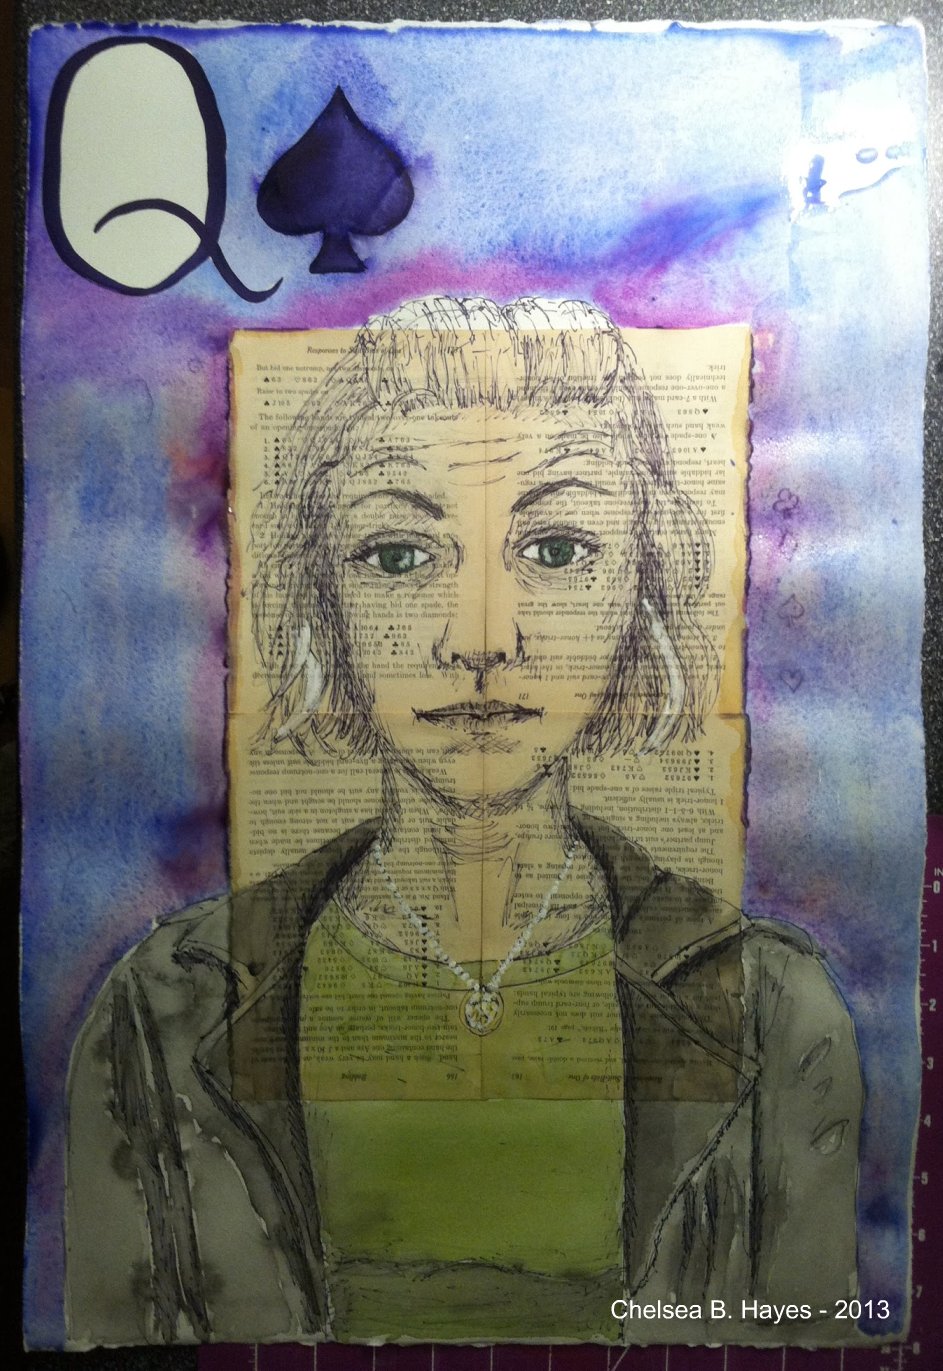
Weatherspoon Art Museum located on University of North Carolina at Greensboro’s campus.  The workshop was led by Elizabeth Bradford, who did an amazing job facilitating.  This image is a sneak preview of the finished self-portrait made from this workshop.
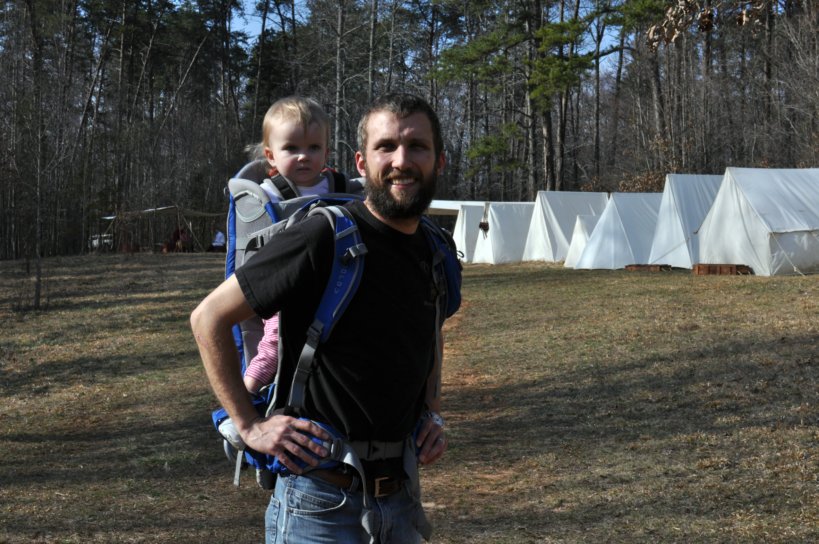
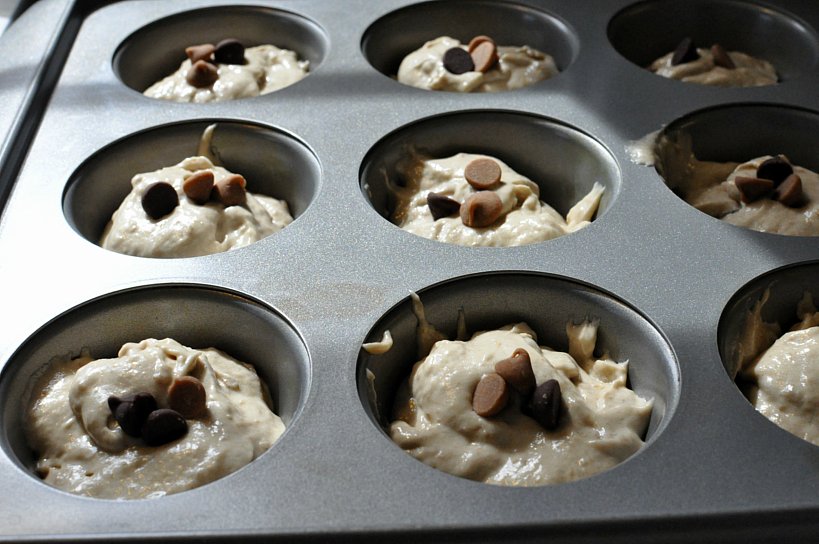
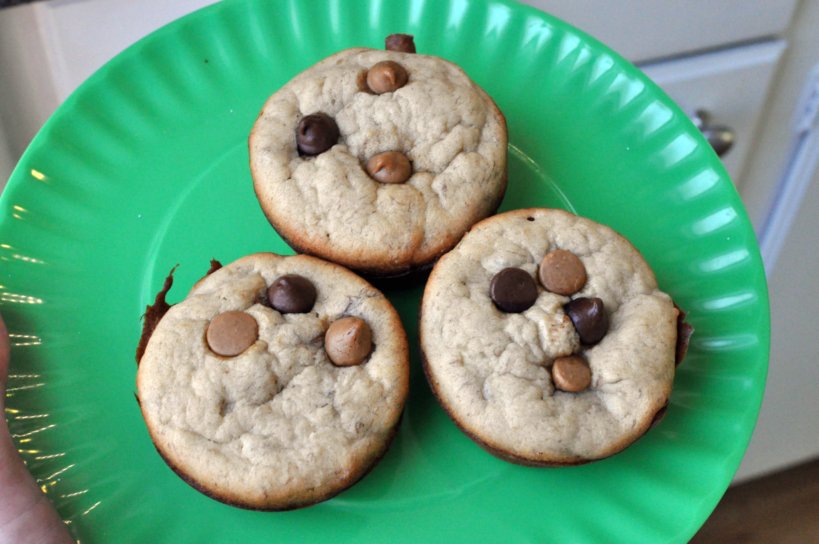
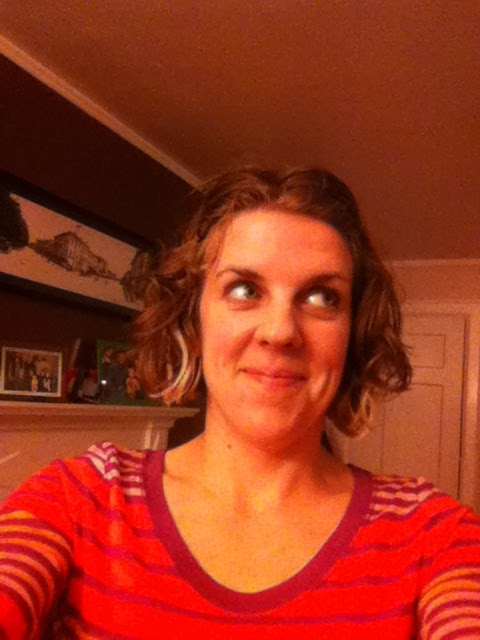
It has been a while since I last took an art class or workshop to make my own art, so I did a little prep work.  I took a few photos, worked on some sketches, and collected materials I was interested in using.  Eric kept making me laugh while I was trying to take phone self-portraits.


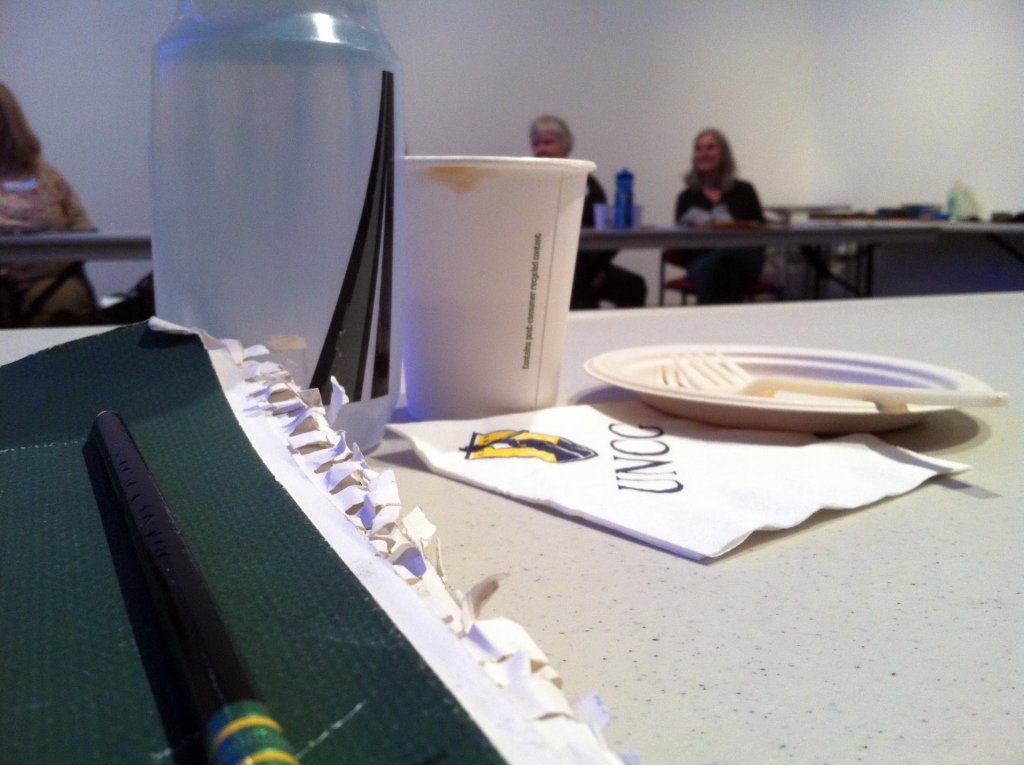
On Saturday morning, I hopped on my bike and rode to the workshop.  We started with coffee and quick bread for a breakfast-snack.  After introductions, we viewed a few examples of self-portraits, and then headed up to the galleries to see the exhibit, The Penetrating Gaze.  If you are able to make it to this exhibit, I highly recommend it.  It has an excellent array of portraits and is on display through June 16, 2013.

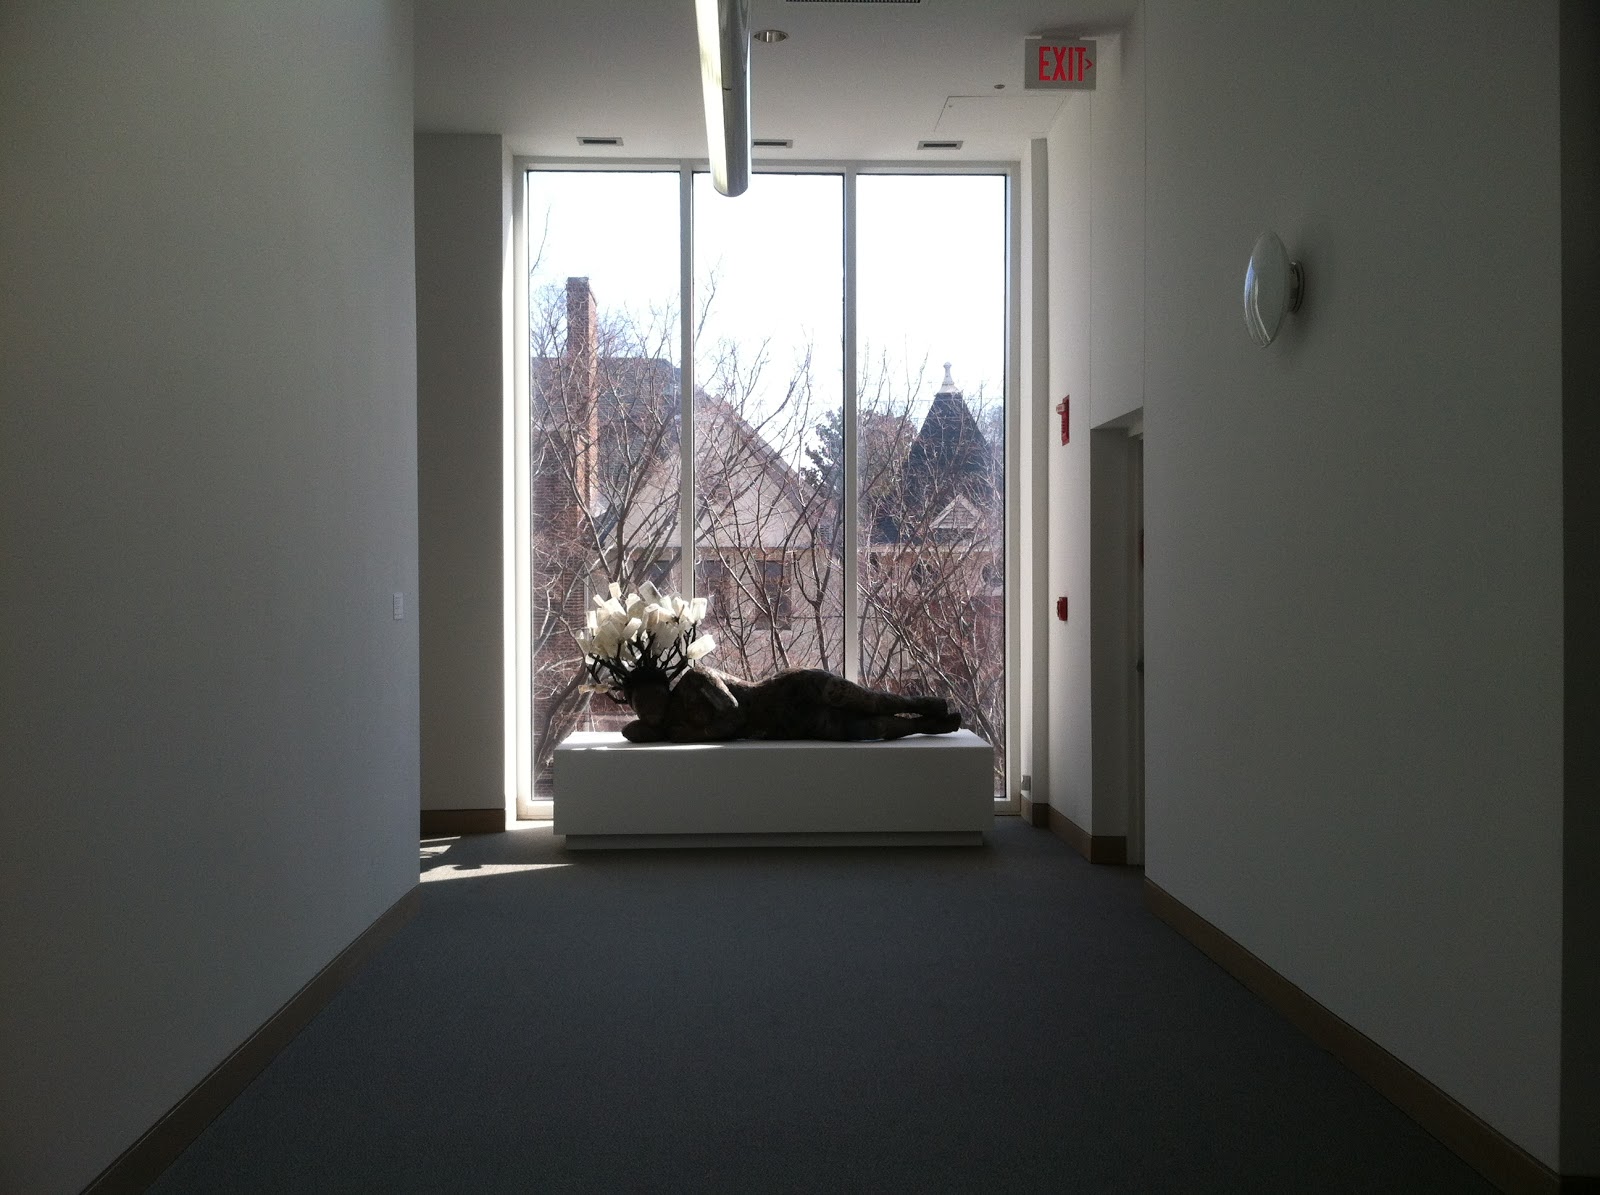
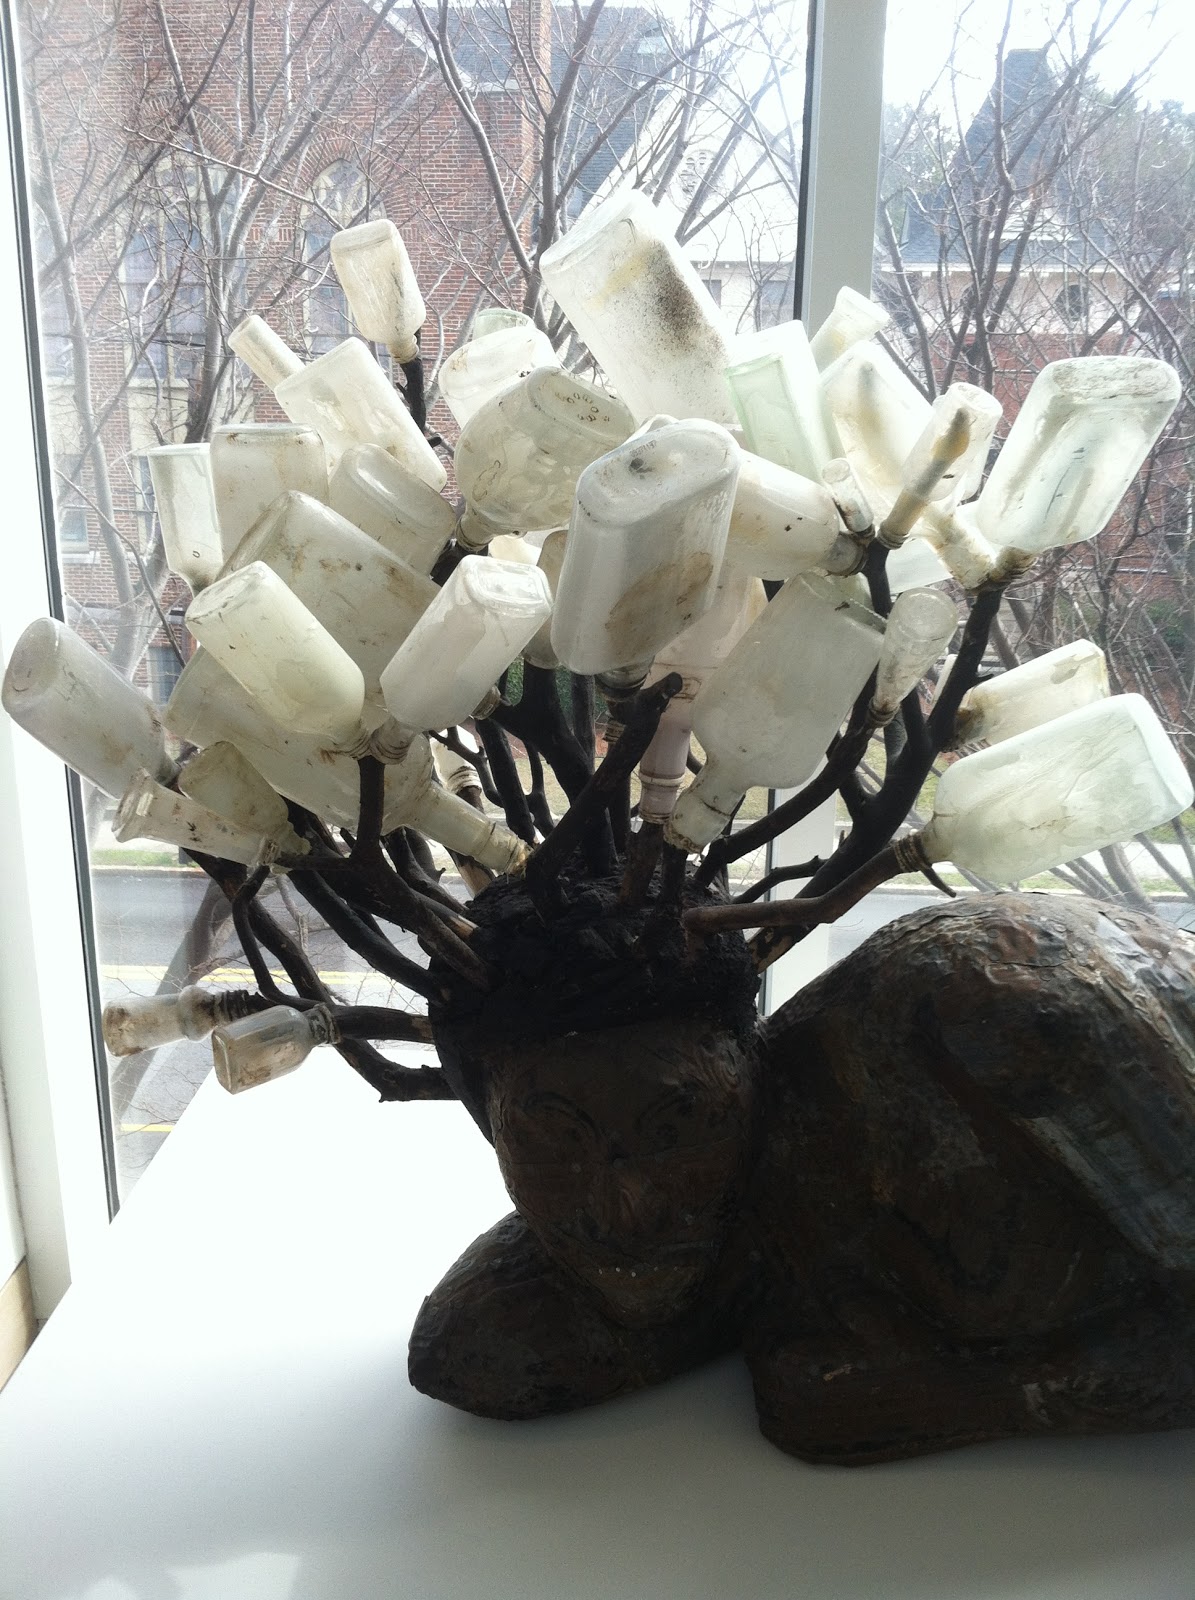
This is one of my favorite sculptures at the Weatherspoon – I love her reclining posture.

I love her bottle hair-do, very medusa-like, if you ask me.

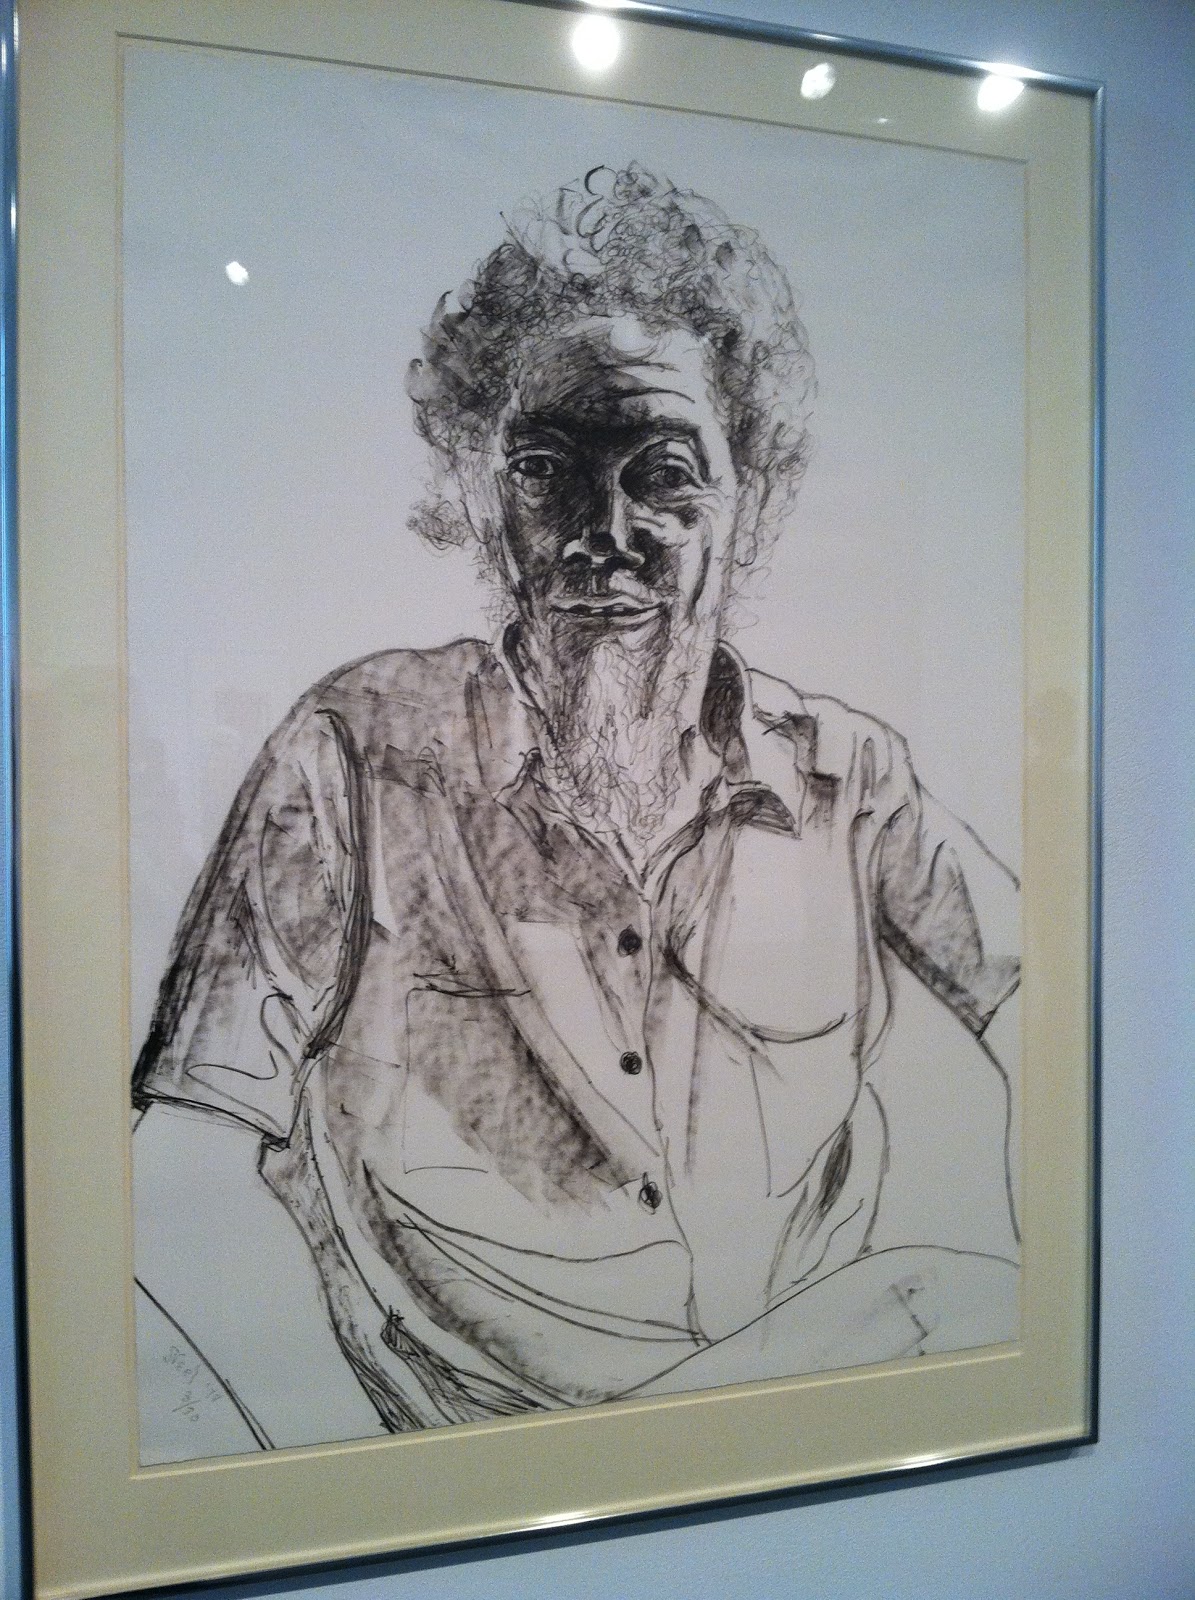
Portrait of Benny Andrews, Alice Neel, Lithograph, 1978.

This Alice Neel portrait caught my eye immediately.  I love her sense of line in this image.

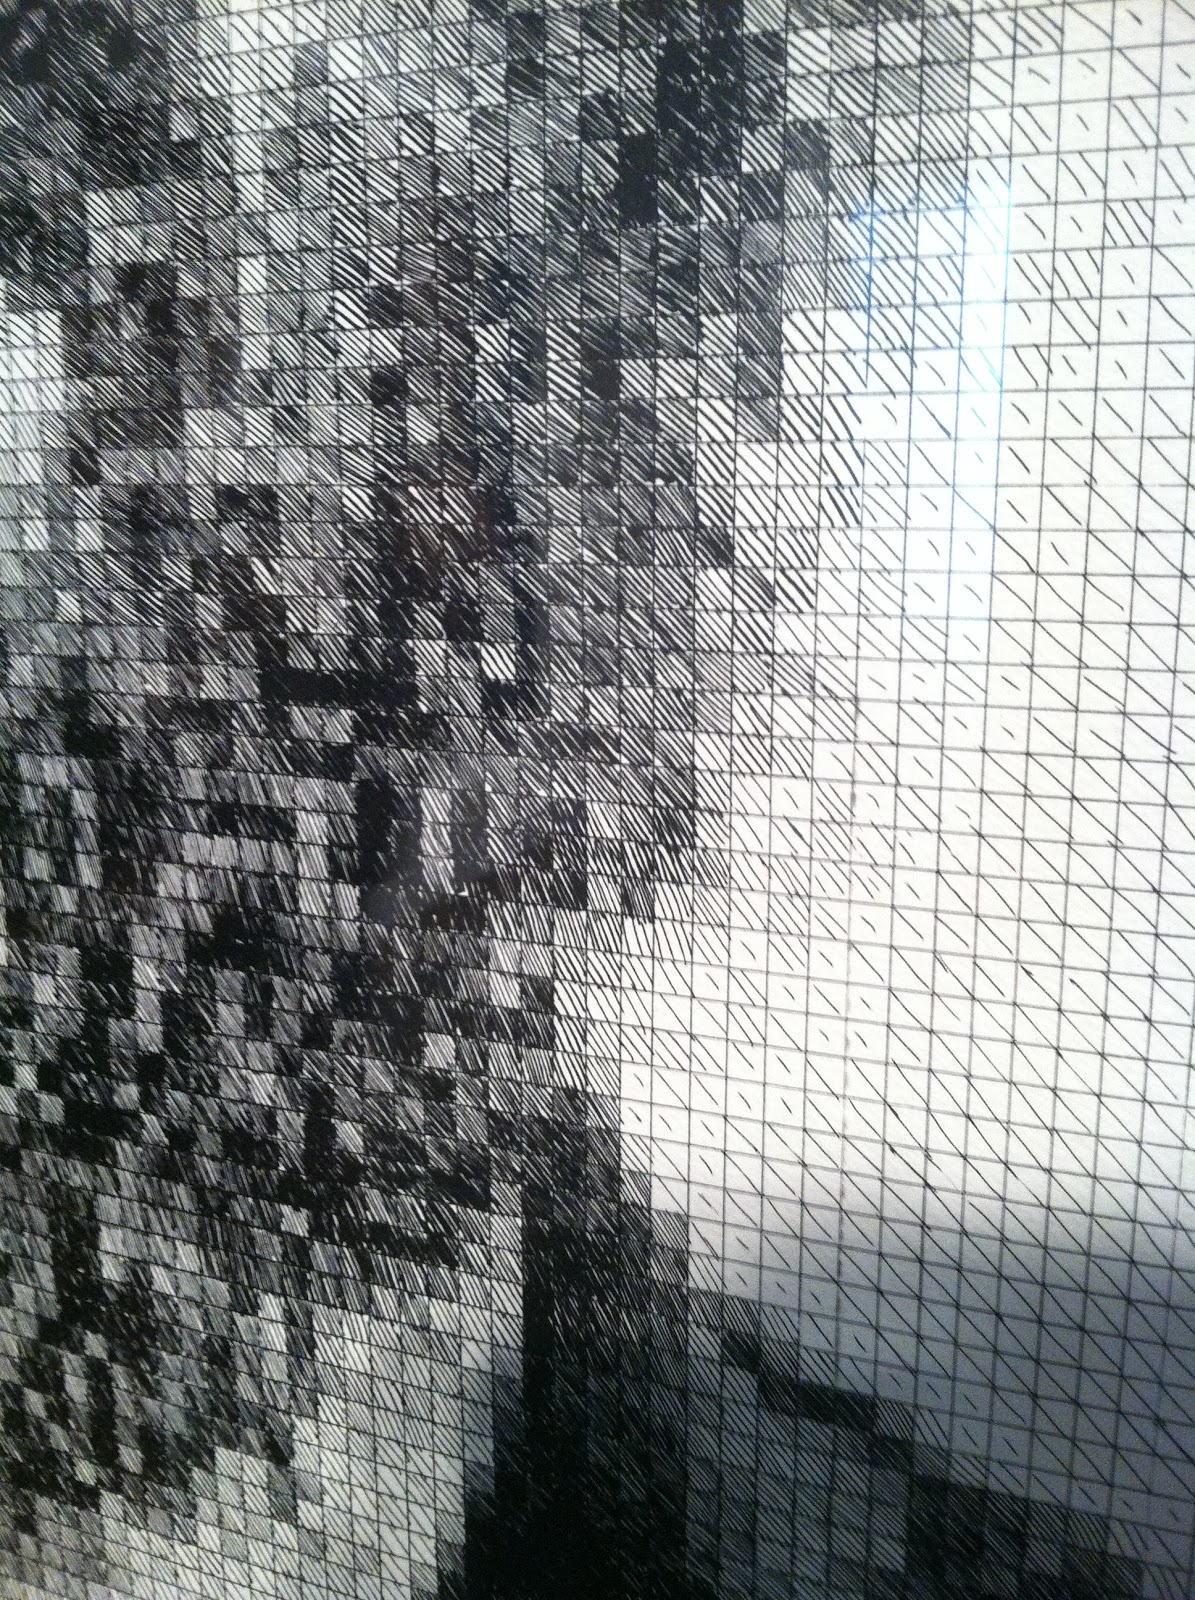
Self-portrait, Chuck Close, hard ground etching and aquatint on paper, 1977.
This Chuck Close self-portrait begs a closer look.


The zoomed in view shows the amount of time put into this self-portrait.  I am impressed!

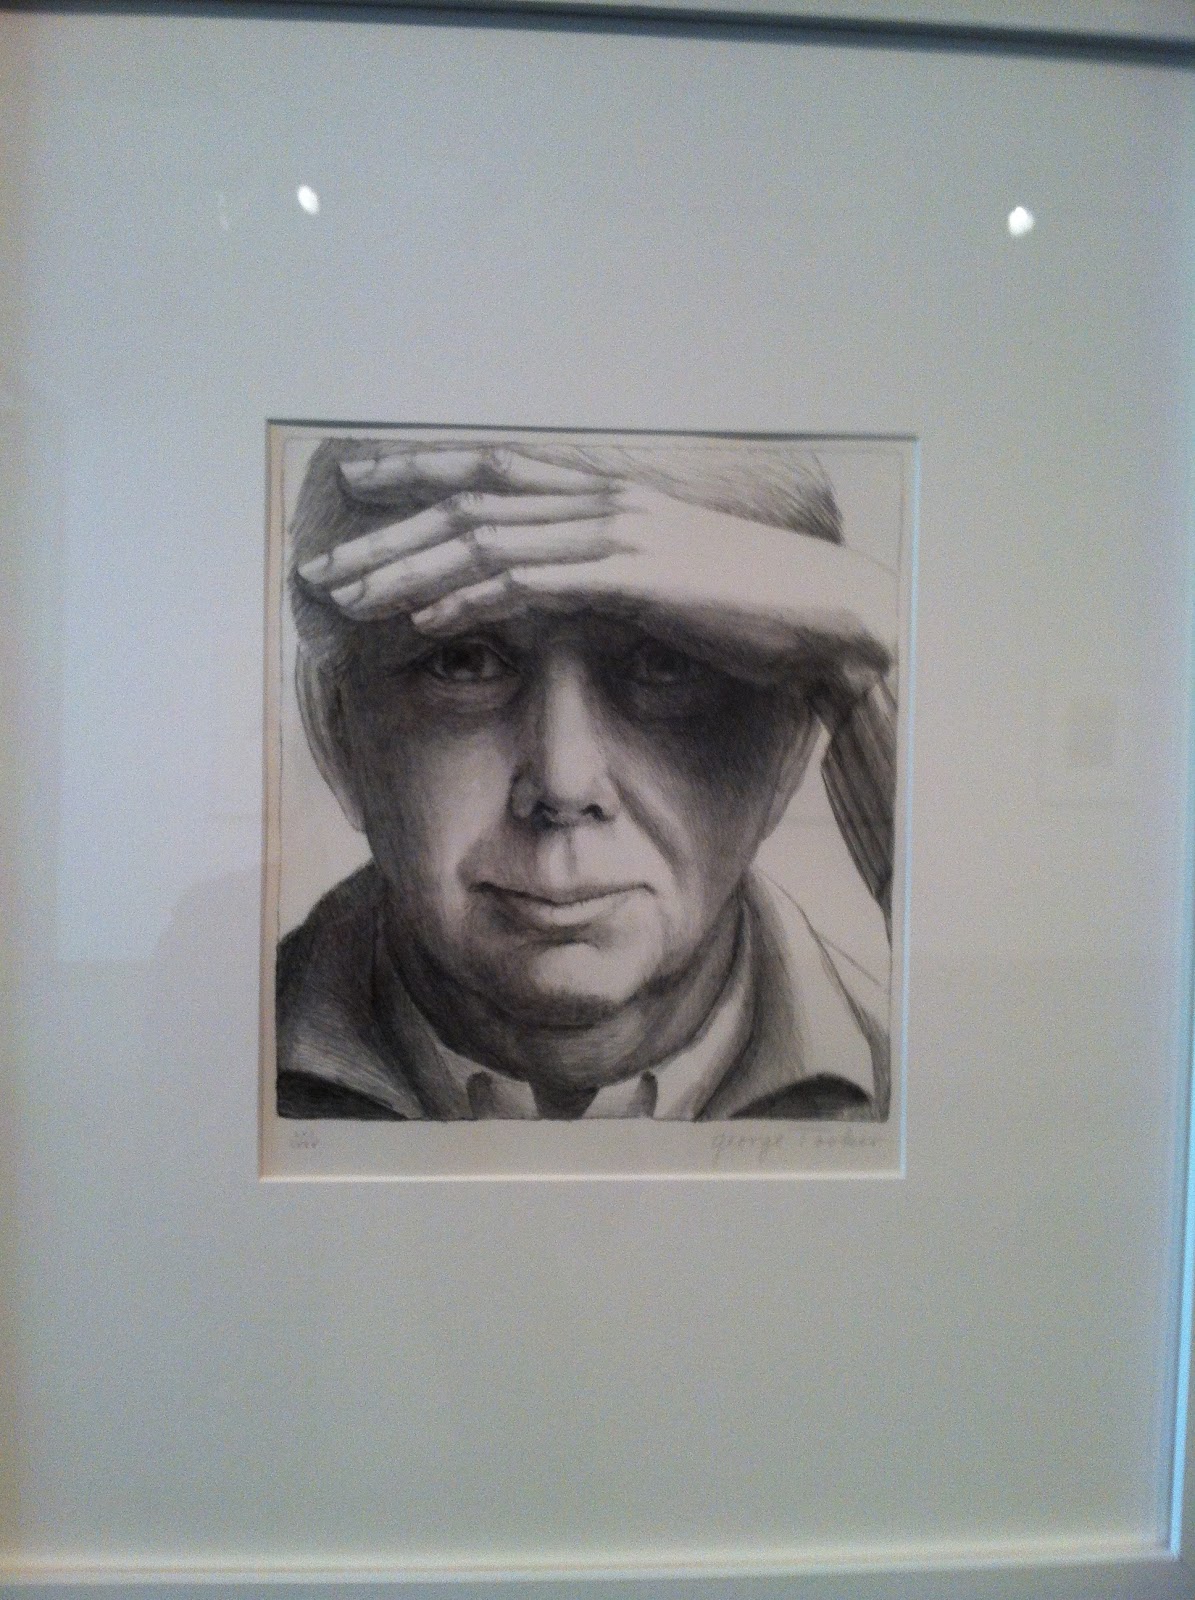
Self-portrait, George Tooker, lithograph, 1984.

The expression and use of the hand caught my attention. 


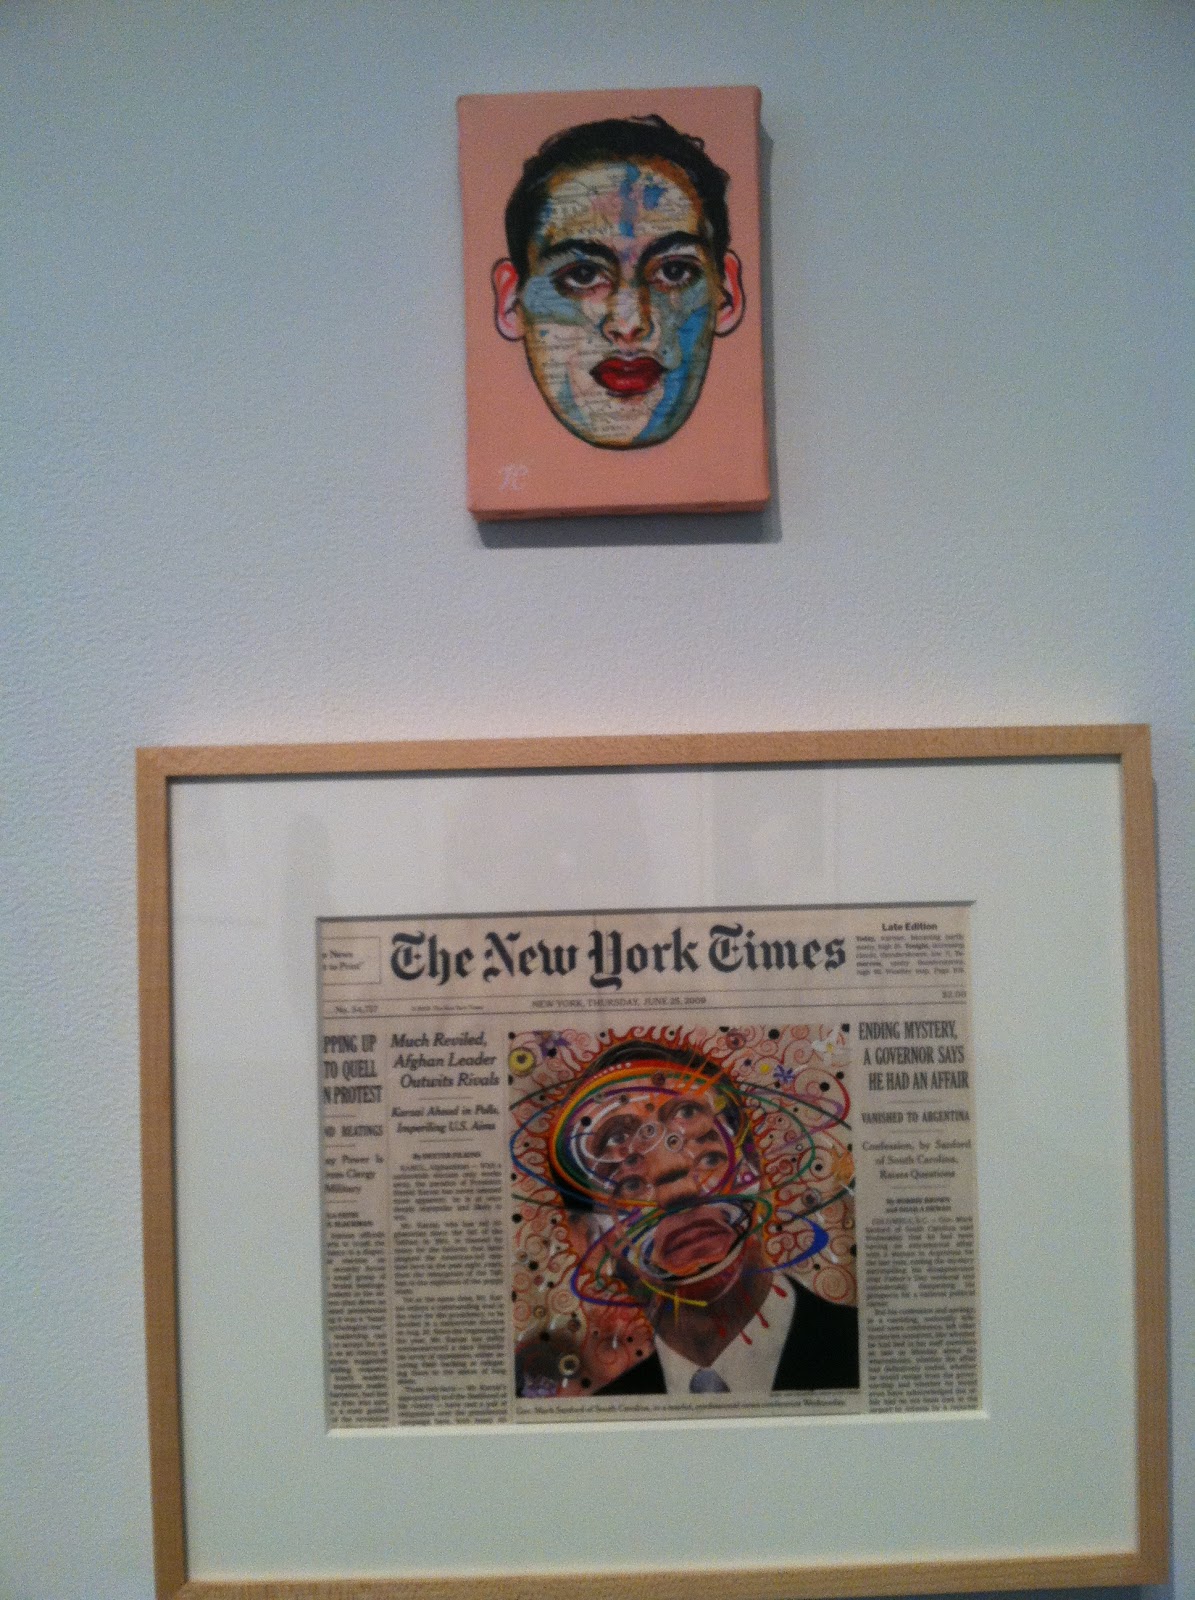
Top: Untitled (Map Faced Man #13), Timothy Cummings, Map and acrylic on canvas, 1996.
Bottom: June 25, 2009, Fred Tomaselli, Gouache and collage on printed watercolor paper, 2010.
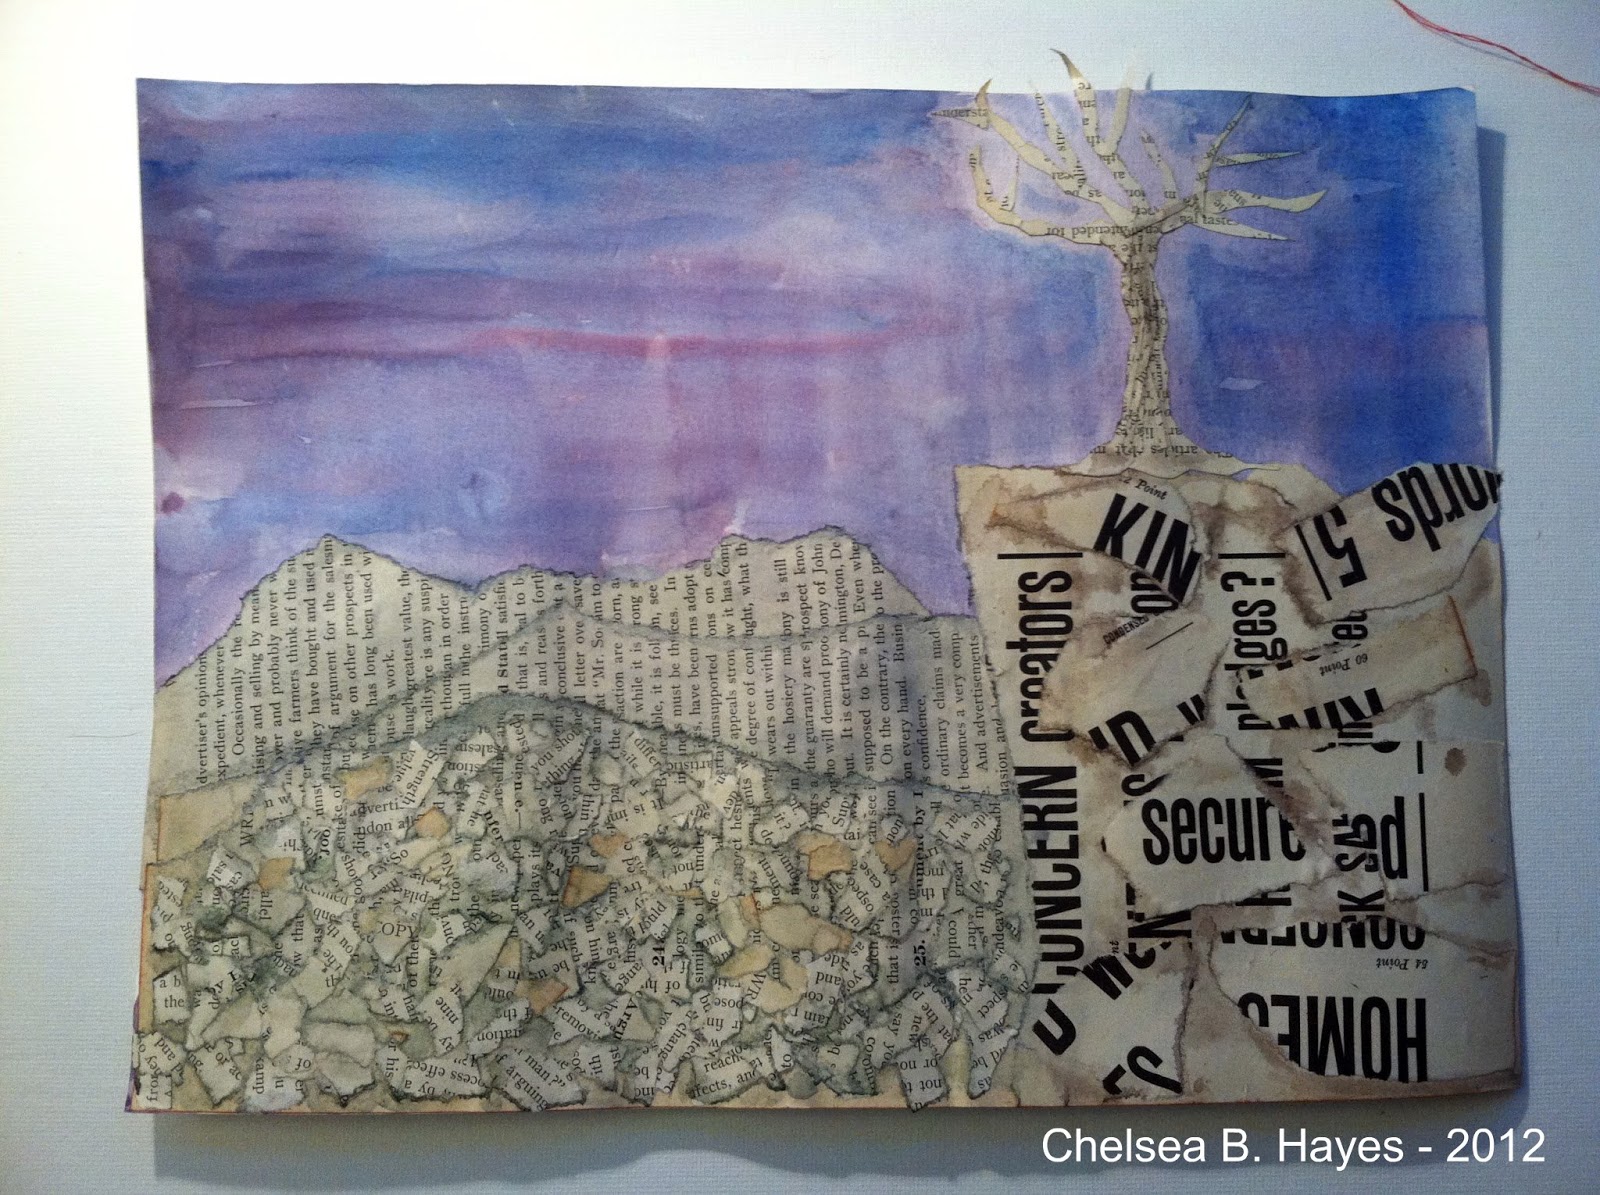
Anything collage, especially when it involves text like the map, above, and the newspaper below, interests me.  I used these two artworks as inspiration for my self-portrait, the most.


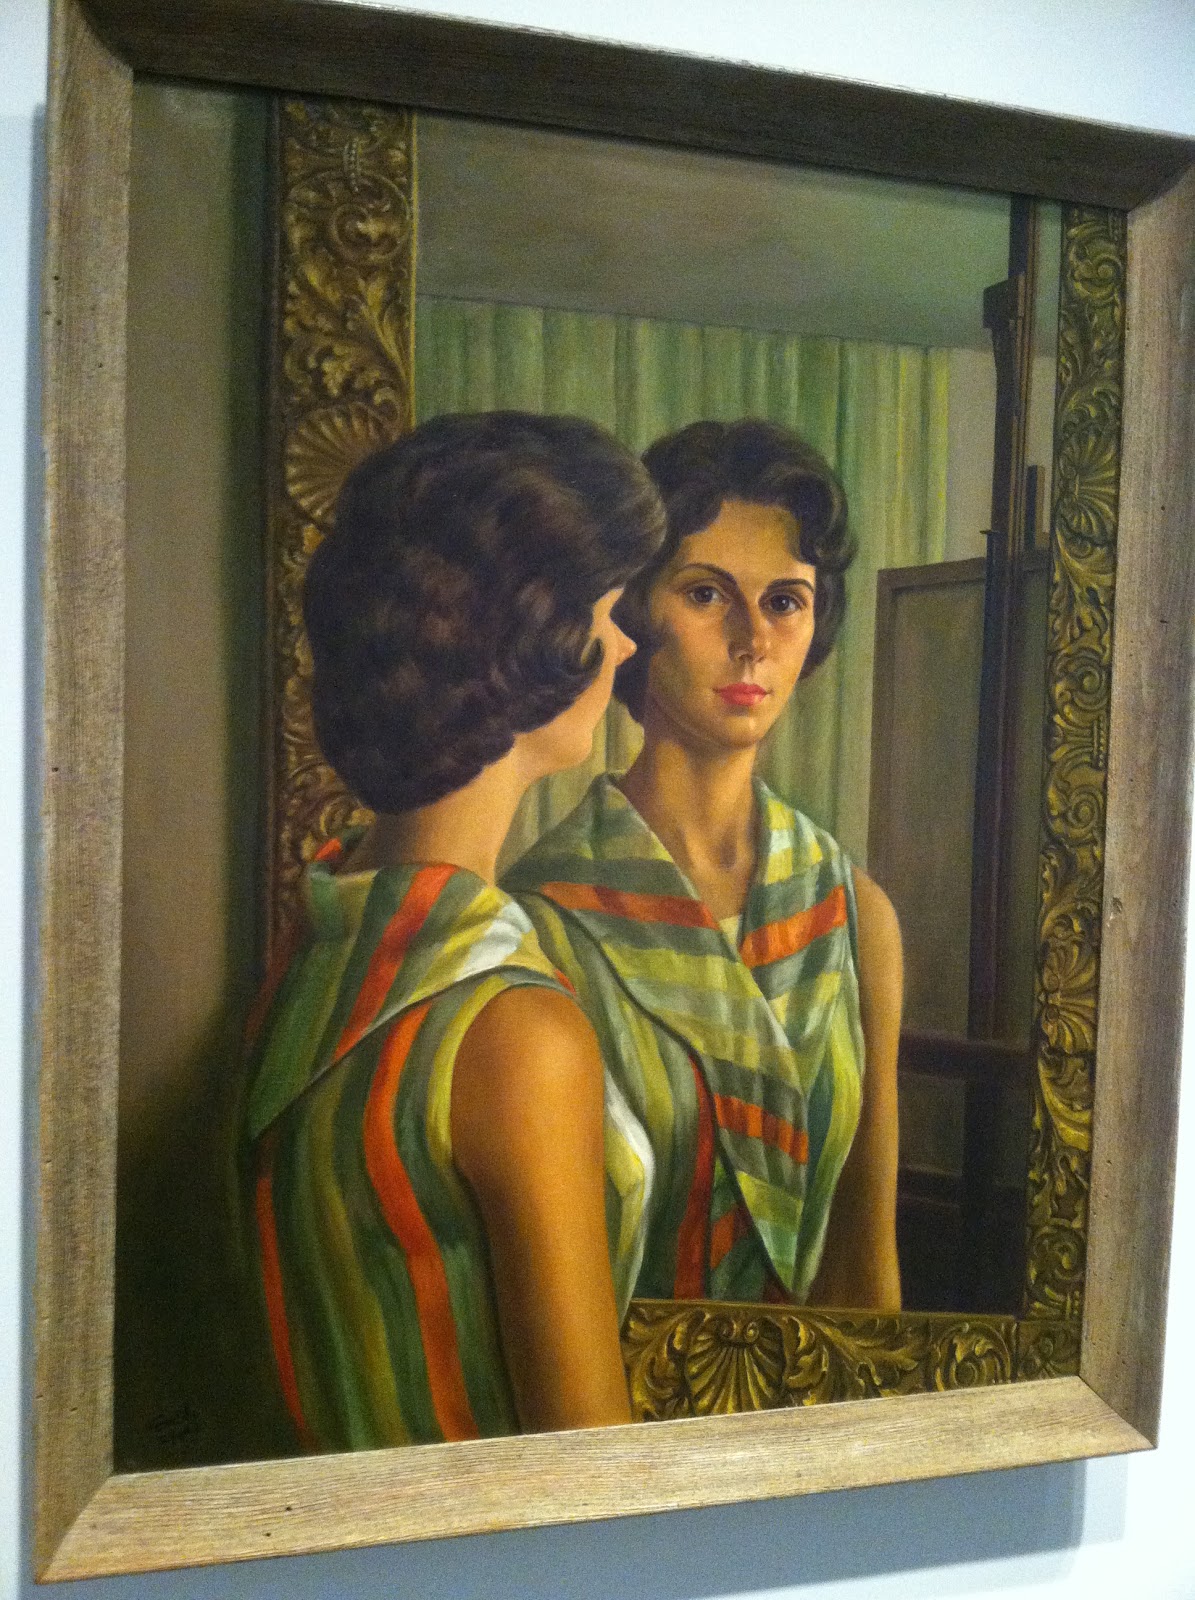
Girl Before Mirror, William C. Fields, oil on canvas, 1961.
This portrait has a warm, nostalgic feeling.  It reminded me immediately of my Great Grandmother Mabel.


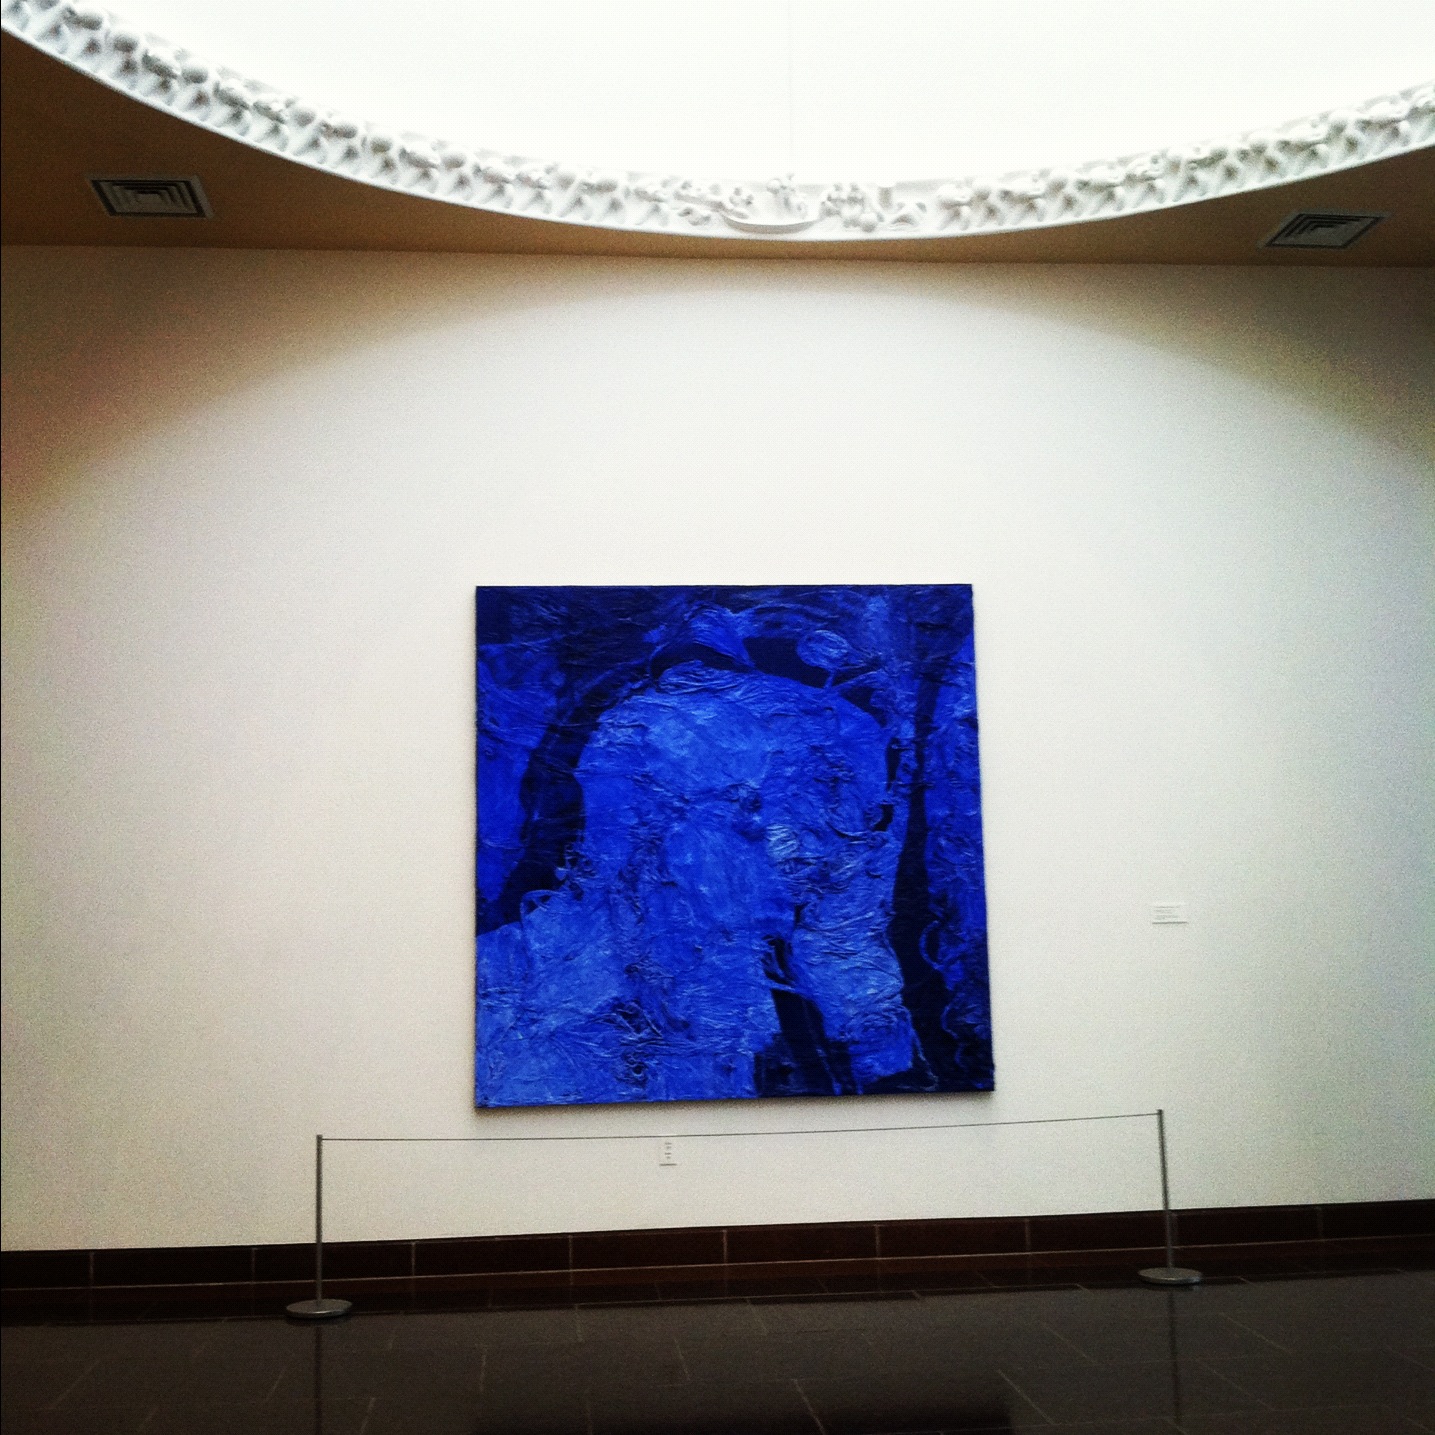
After spending some time with the portraits, we headed back downstairs to the conference room we were using as our studio for the day.  At first, I thought this was made from blue plastic bags, but upon closer inspection, it is layered muslin.

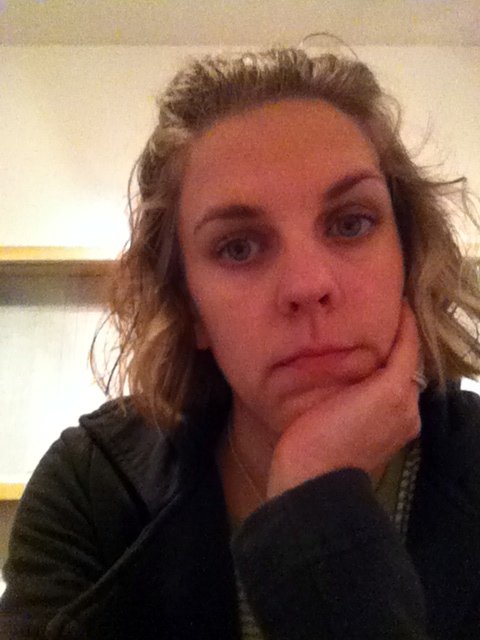
Contemplating – where to begin?  This is the best part about art workshops, I get to be the student and remember what my students feel like when they are sitting in front of a blank paper waiting for an idea to appear.


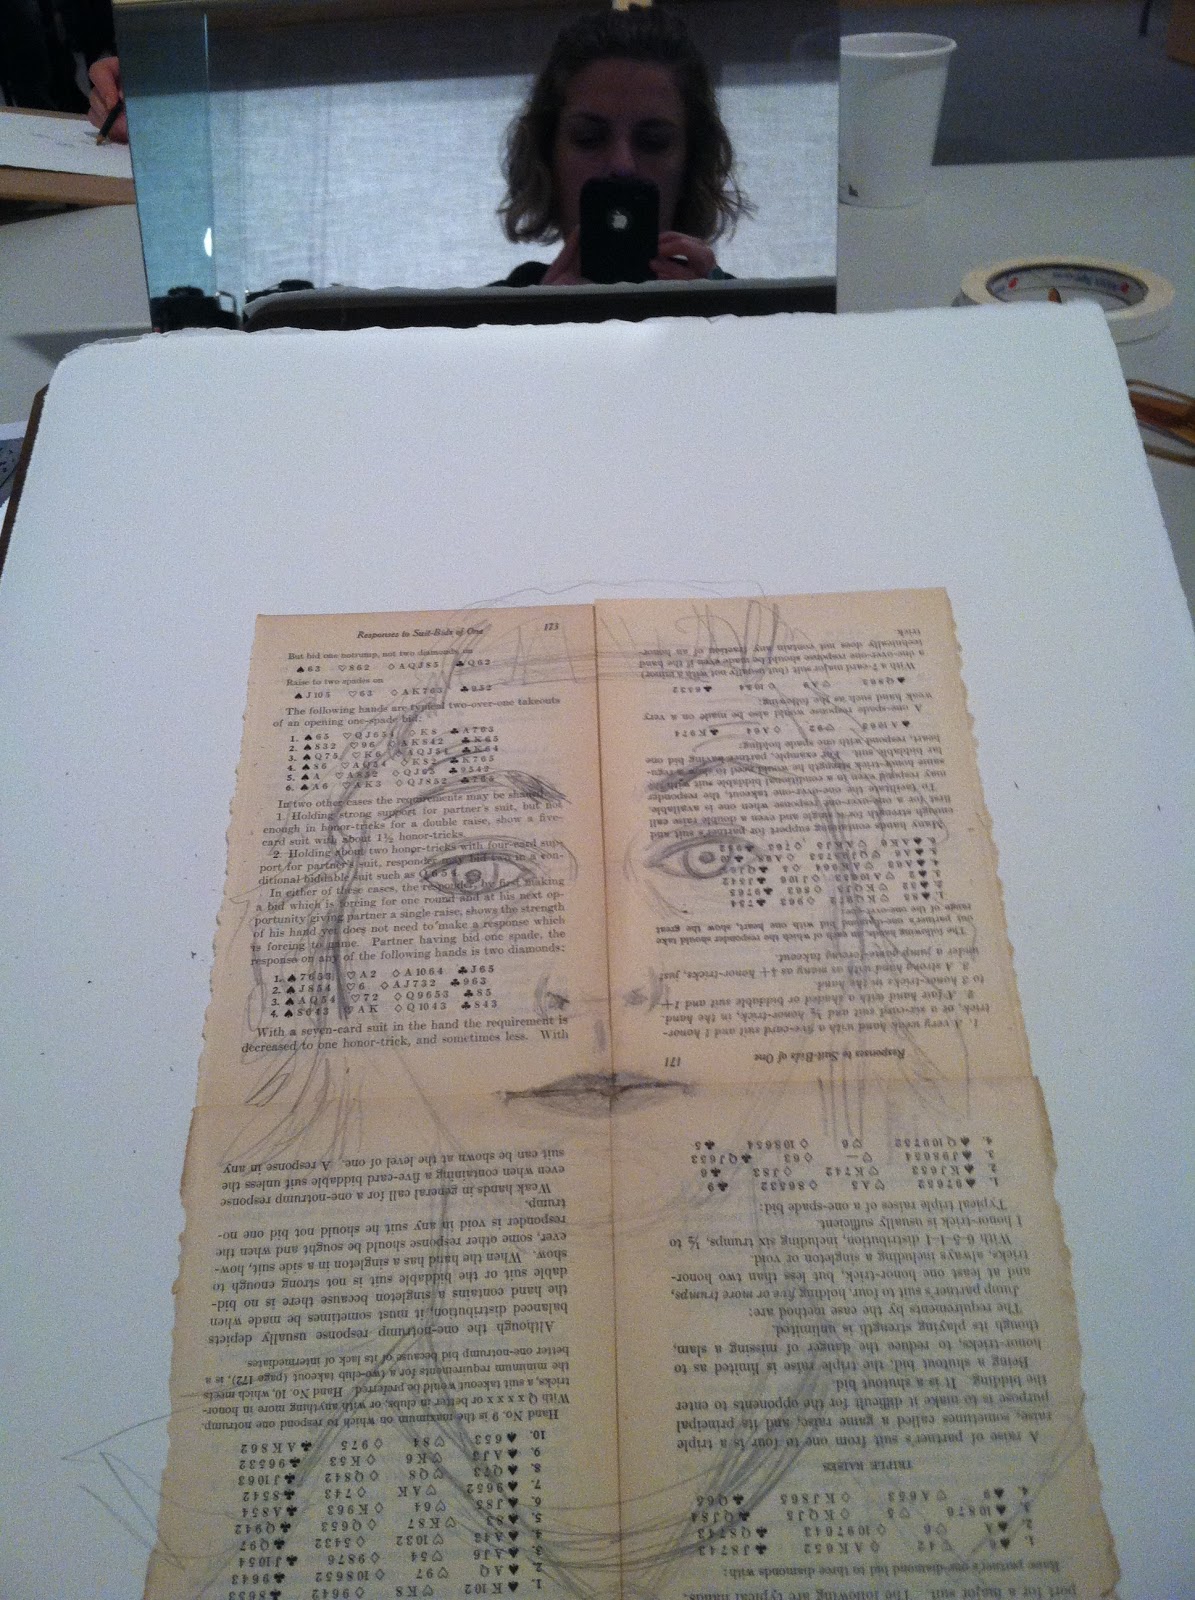
I mapped out my drawing in pencil over 4 pages from an old bridge book.
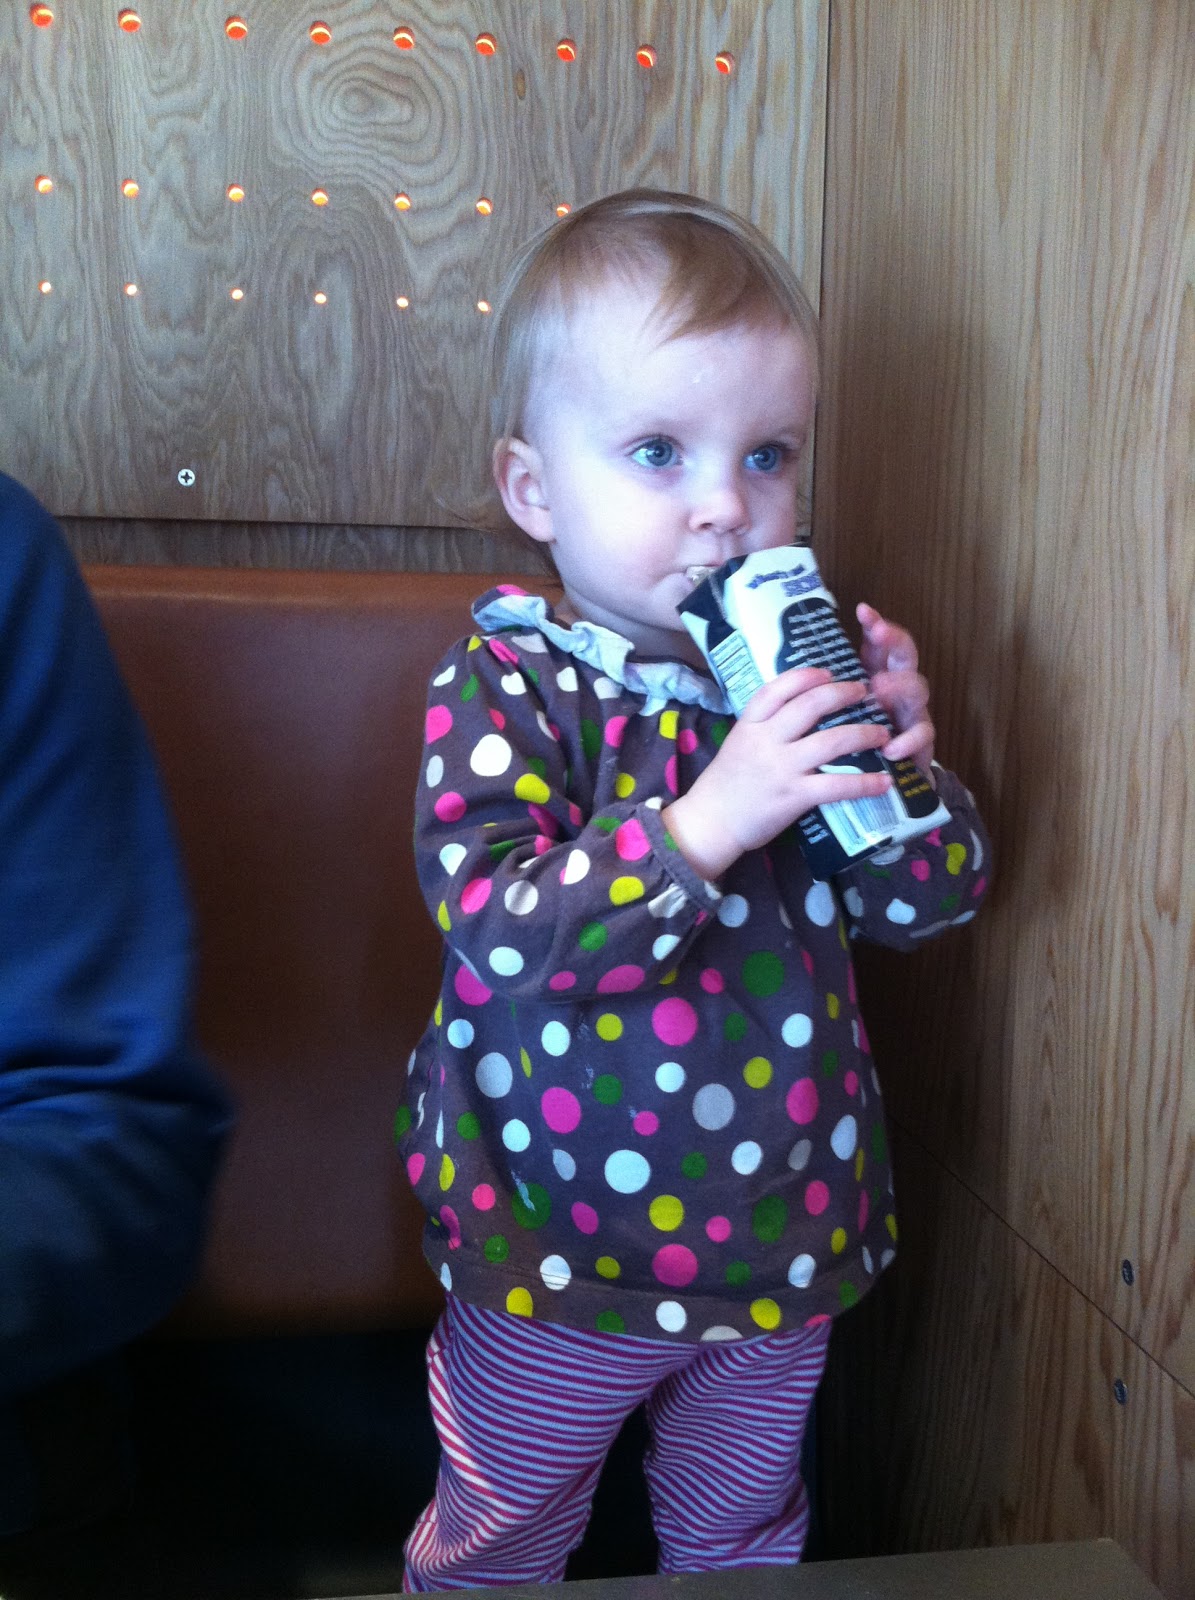
Then it was time for a lunch break with my two cuties at the new Chipotle across the street.  They have these great plywood walls with holes drilled in them.  There are lights behind the boards so that the holes glow like orange stars.  It was something I may have to copy sometime in the not-so-distant future.


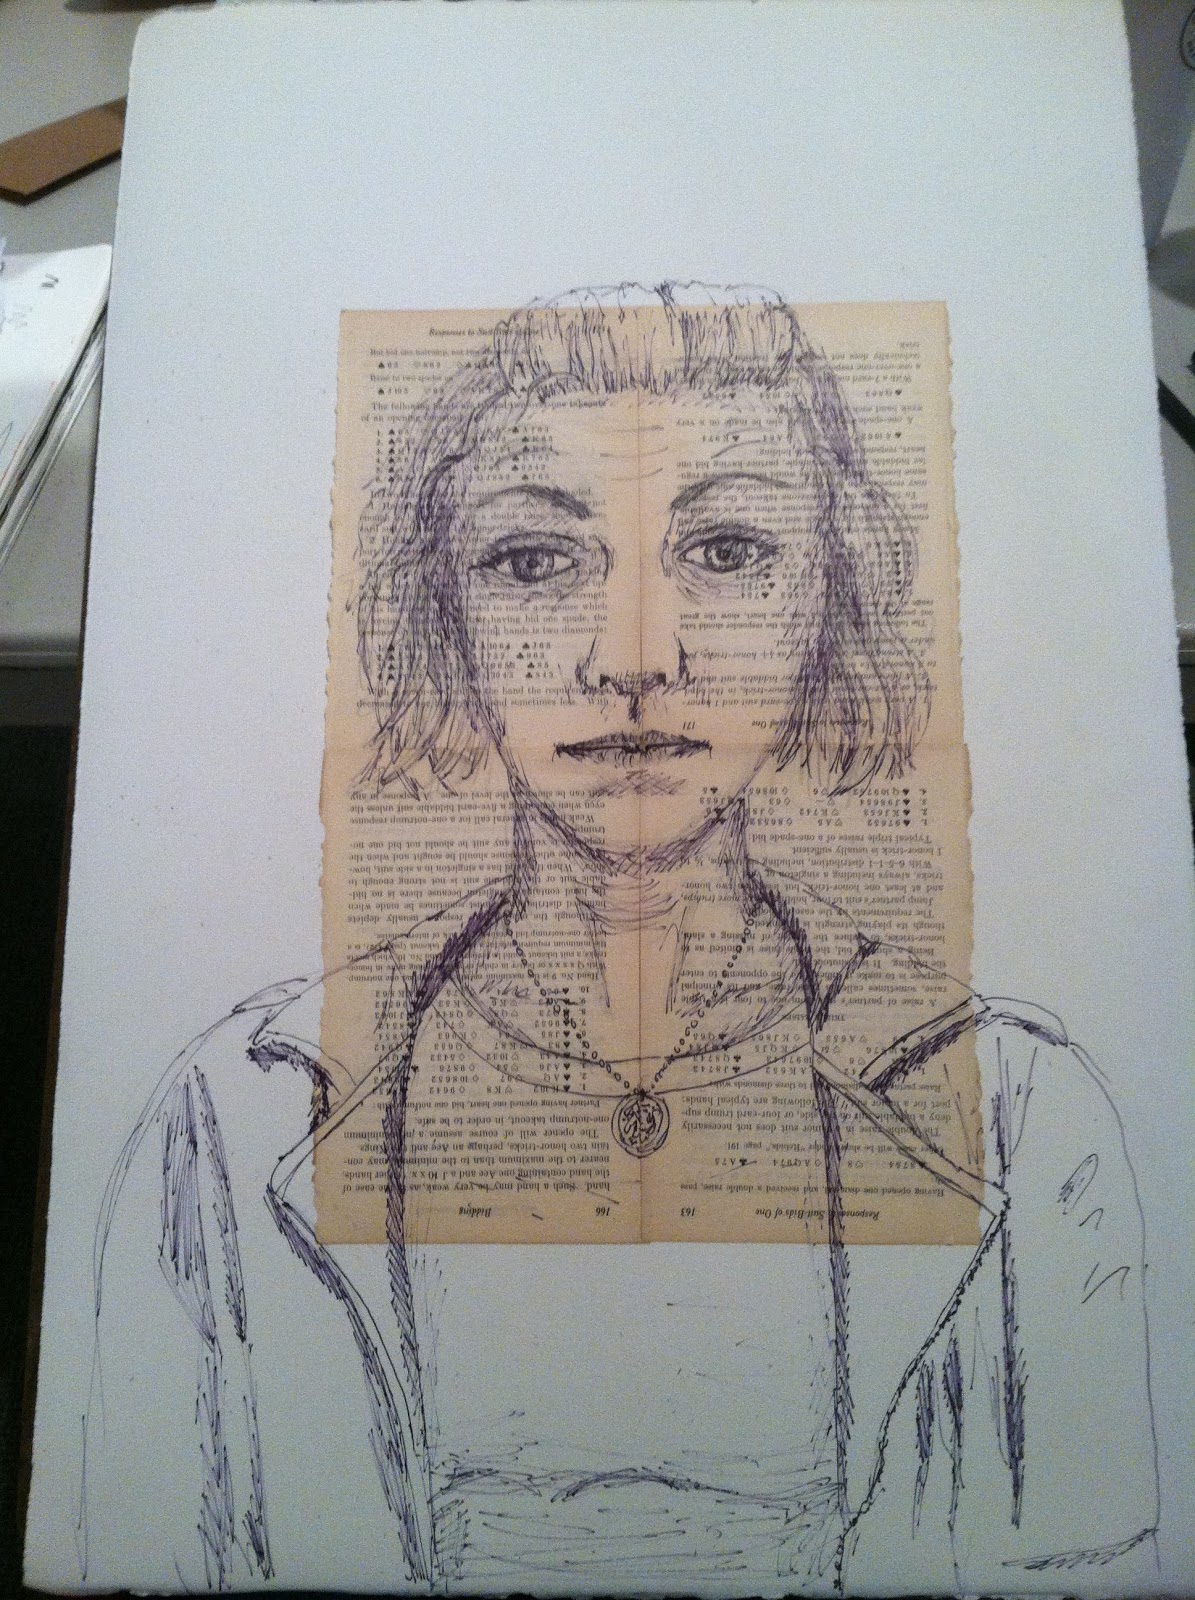
Here is the drawing after inking over it in thin Sharpie.


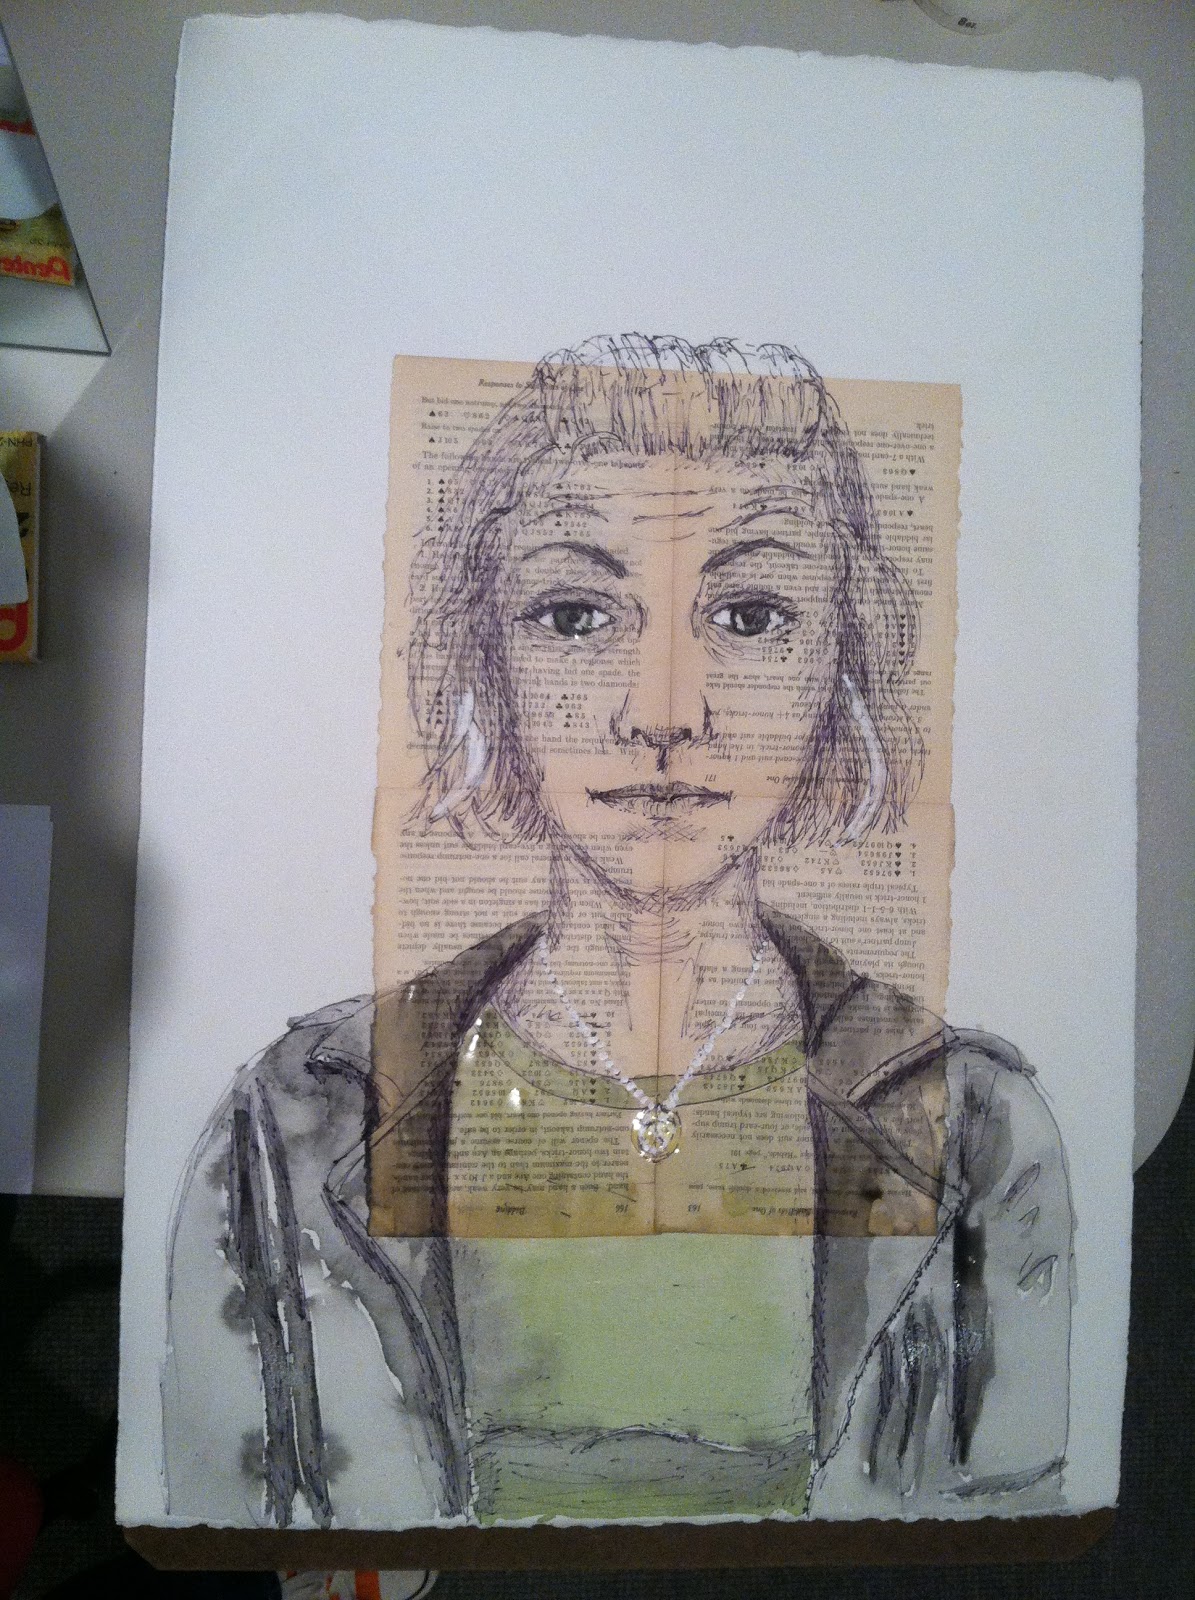
After much deliberation, I added the watercolor wash to the clothing.  Then, decided to give it some white balance and go with white streaks in the hair, white in the eyes, and white on the necklace.  It made the portrait come to life.  I always love how a small detail like white paint can transform an artwork so dramatically.
After this stage, it was time to go home.  This was one of the most successful art sessions I have had in a long time.  It is hard to make art without feeling guilty when you have a toddler bringing you books or tugging on your pant leg.
The following day, Sunday, I finished this artwork.  I knew if I let it sit any more than that, I would not get back to it at all.  I went back to the card theme and turned myself into the trumping Queen of Spades.
I hope this post inspires you to go out and create.  I am on a spree now and am working on some fun things at work now too.

Sweet Potato Wedges

Ok, I know that I once said it was too easy not to buy the frozen sweet potato fries.  Well, I was wrong.  I have found that I am too cheap to keep buying those frozen delights, but since they do make any meal fantastic, and toddlers love anything that resembles a fry, I found my own way.  I served them up with chipotle ketchup too.

Wash and slice 2 sweet potatoes into wedges.  Place on a rimmed baking sheet.  Spray with olive oil and sprinkle with choice of flavorings.  I went with black pepper and chili powder tonight.

Bake at 425 degrees for 20 – 25 minutes, flipping wedges once half-way through baking.

Voila.  Save yourself some money and make yourself happy and make these ASAP.  Sweet potatoes are one veggie we always have around the house – they are so versatile and it helps that North Carolina is the sweet potato state.  Check out this link to show how the sweet potato was carved that was featured on the cover of Our State magazine in November.  Sorry if you missed that issue – it was a tasty one!

Mommy’s Medley Sweet Potato Wedges

1. Wash and slice into wedges, 2 sweet potatoes.  Spread evenly onto a rimmed baking sheet.  Spray with olive oil and sprinkle with seasonings of choice.

2. Bake 20 – 25 minutes in a 425 degree oven.  Flip wedges once, half-way through baking.

Tree Mixed Media Artwork

I forgot all about this collage & watercolor piece I had completed a while back – in November.  Whoops!  I made it on a friend’s birthday and subsequently ended up giving it to her .  I have been really enjoying using the old books in my collage work lately.

I have another one of these mixed media, old book collages finished that I will be posting on here soon.  I had the pleasure of taking a workshop on Saturday at the Weatherspoon Art Museum.  It was well worth the money as a way to force myself to devote a day to art.

Discount School Supply - Lowest Prices Guaranteed

Thrifty Mama: Finds of the Week

After a very long and tiring work week, I stopped by Goodwill before picking up Greta on Friday.  I went in with the express purpose of finding her a few items in 2T.  I know, where has my baby gone?  I only wanted a few things to tide us over so that when she finally does bump up a size we are not left trying to be those parents squeezing her into something too short and tall small.  Not that it has stopped me in the past – especially with the really cute outfits.  I got this whole stack for her (and yes, not a thing for me).  You can check out a previous post on thrift shopping here for tips and suggestions.

I know some people for whatever reason are against Goodwill, I am sure there are reasons.  However, for me, I love to seek out the oddball finds, the this-is-brand-new-with-tags finds, and the it-was-how-much-new?! is my favorite find.  I figure when you work with permanent materials as often as I do and send a child to daycare to be messy, cheap clothing isn’t all that bad.

Plus it is a lot easier to own more clothing when you have paid less for it.  🙂

These first two outfits are two of Greta’s favorite things – dogs and cats.  The cat one is just hilarious since she likes to almost smash the cats.  Both are from Crazy 8 and were anywhere from $8 – $13 new.   The purple pants are generic and we will say, conservatively, $7 – $10 new.   Ok, so if we total the top end of those estimates, we are at a total of $36 so far.  Let’s keep going!

 Janie and Jack jeans – super cute dark wash and a San Francisco label.  You know that means the $$ signs!  These are anywhere from $30 – $40 new.  So now we are at a total of $76.

Since summer will be here before I know it, and Greta tends to stick with sizes for an extended time, I couldn’t pass up the shorts and tee shirt.  The two tops are also Crazy 8, so again, $8 – $13 new.  The Guess velour pants are $25 – $30 new and the Puma shorts are about $20 new.  So now we are at a total of $152.

I threw in these pink organic cotton pants from et toi, even though I did not make a matched outfit.  She has clothing at home that will go with these pants.  Normally, when I buy for Greta from consignment or thrift, I try to always buy sets.  That way, I am not sifting through her drawer trying to match oddball things together.  It is also more sensible to shop this way for her, it keeps me from buying too much at one time.  These pants would be about $20 new.  Now we are at a total of $172.

This was the diamond of this trip though.  I saw this on the hanger and knew it was a good find – the drape, the fabric (modal), the style, the little bow, and the tag.  Jacadi Paris.  Usually if I have time I whip out the smart phone and search for labels to keep a running total of $$ in my head, but this time I was running late and just trusted my gut.  

 Sure enough, $70 – $100 new.  Sigh, if only it would fit me.  Ah well, it could always become doll clothing later on.  Or maybe some family members or friends of ours will inherit it someday.  Ok so the Jacadi dress brings us to a total of $272 new.  But how much did I really pay?

$19.  That’s right, $19 versus the $272 I could have paid for these 11 pieces of clothing. I could have paid a teensy bit less, but I let them round up the price to an even dollar as a donation.

What keeps you from shopping at thrift stores OR what has been your best thrift store find?  Leave me a comment below!

256534_Colorations - Great Paint For Artists Of All Ages - Now At DiscountSchoolSupply.com! Click Here!

The Best Cookies Ever

….proclaimed Eric.  Actually he said, “These are the best cookies you have ever made.”

Followed by a quick, “Good thing you didn’t make the whole batch or I would sit here and eat them all night.” Followed by, “Seriously, you can make those anytime you want.”  

This time I used a mixture of Truvia and brown sugar.  I figured with the chips I was going to add, a little less sugar would do us good.

I made a ½ batch, based on the recipe on the back of the bag.  The only thing from the full batch I kept was the 1 teaspoon of vanilla.  I write my notes on anything I can get my hands on – Smithsonian insert card anyone?

The amazing contrast in flavor and texture comes from the peanut butter & milk chocolate chips and the pretzel bites.  Sweet & salty and chewy & crunchy all in one cookie – it’s the best of both worlds.

Mix up the dough and chips, but hold off on the pretzels until just before baking – that way there is no chance of soggy pretzels.  I always refrigerate my dough at least overnight – the cookies taste and bake better this way.

Allow the dough to warm slightly before baking, but not enough for it to be really sticky to the touch. 

Use a dough scooper or spoon to create uniform cookie sizes.  Then, add 5 to 6 pretzel bites and roll in hands, avoiding too much handling so as not to warm the dough too much.

Bake at 350 degrees for 10 to 11 minutes, allow to cool on pan for 1 minute before removing.

Enjoy with a glass of (almond) milk.  Repeat.  Make these and you will be someone’s best friend, mom, dad, spouse, partner, colleague, boss, or something.  I promise.

What is your favorite kind of cookie?


Chocolate & Peanut Butter Chip Cookies w/ Pretzel – ½ batch recipe proportions (about 2 dozen), from Nestle Toll House 

In a small bowl, combine 1-⅛  cups all-purpose flour and ½ teaspoon baking soda


Beat ½ cup (1 stick) of butter⅜ cup granulated sugar (or Stevia) cup packed brown sugar, and 1 teaspoon vanilla in a large mixer bowl until creamy.  Add 1 large egg, mix well after addition.  Gradually beat in flour mixture.  Mix in 1 cup of chocolate & peanut butter chips. 

Cover bowl of dough and refrigerate at least overnight*, but 36 hours is the optimal time.  

Use a dough scooper or spoon to create uniform cookie sizes.  Then, add 5 to 6 pretzel bites and roll in hands, avoiding too much handling so as not to warm the dough too much.  Bake 10 – 11 minutes.  Allow cookies to cool on pan 1 minute before removing.  Serve warm. 


*Dough may be stored in the refrigerator for up to a week or 8 weeks in the freezer.  

I just love this new color of Kitchen Aid Mixing stand, don’t you?  It’s called Flamingo.