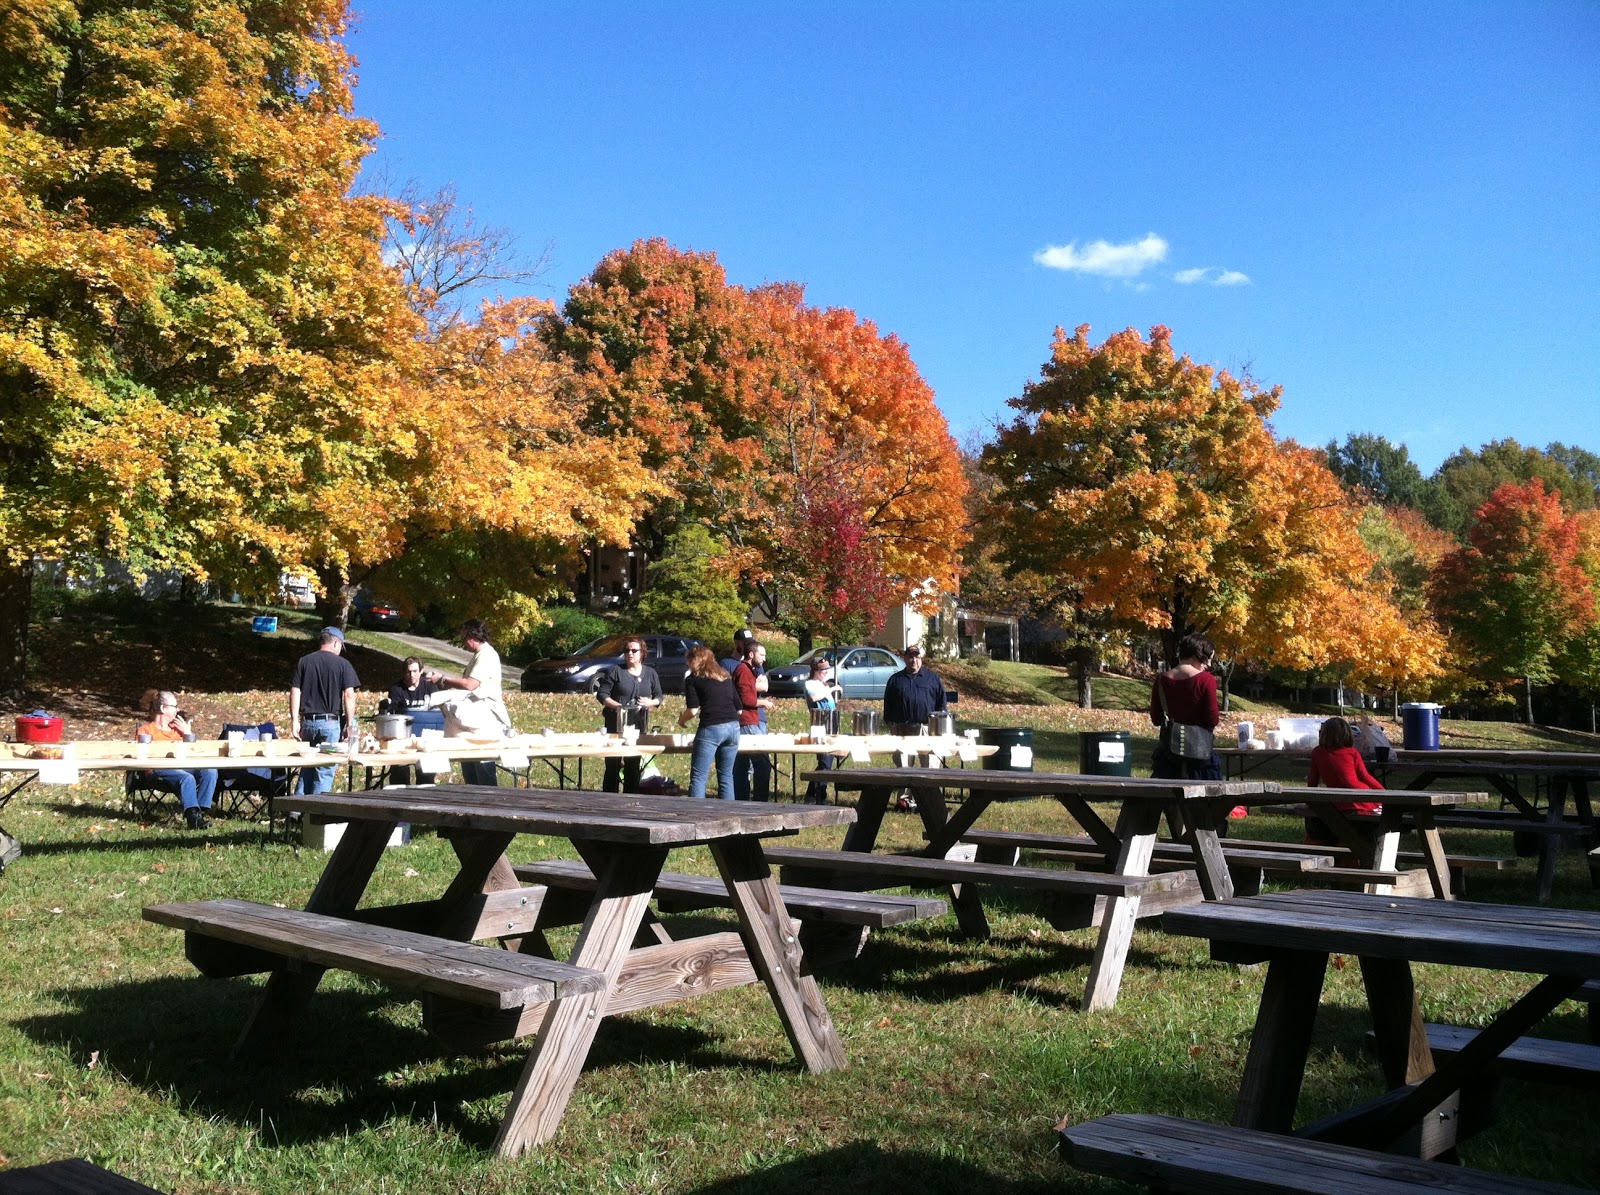
Saturday was a beautiful day for the Lindley Park Chili Cook-off. After a day of playing outside, raking leaves, and working on some projects, we headed down to the neighborhood party. There were plenty of picnic tables set up, an area for a UNCG band to play, and plenty of room for the chili.

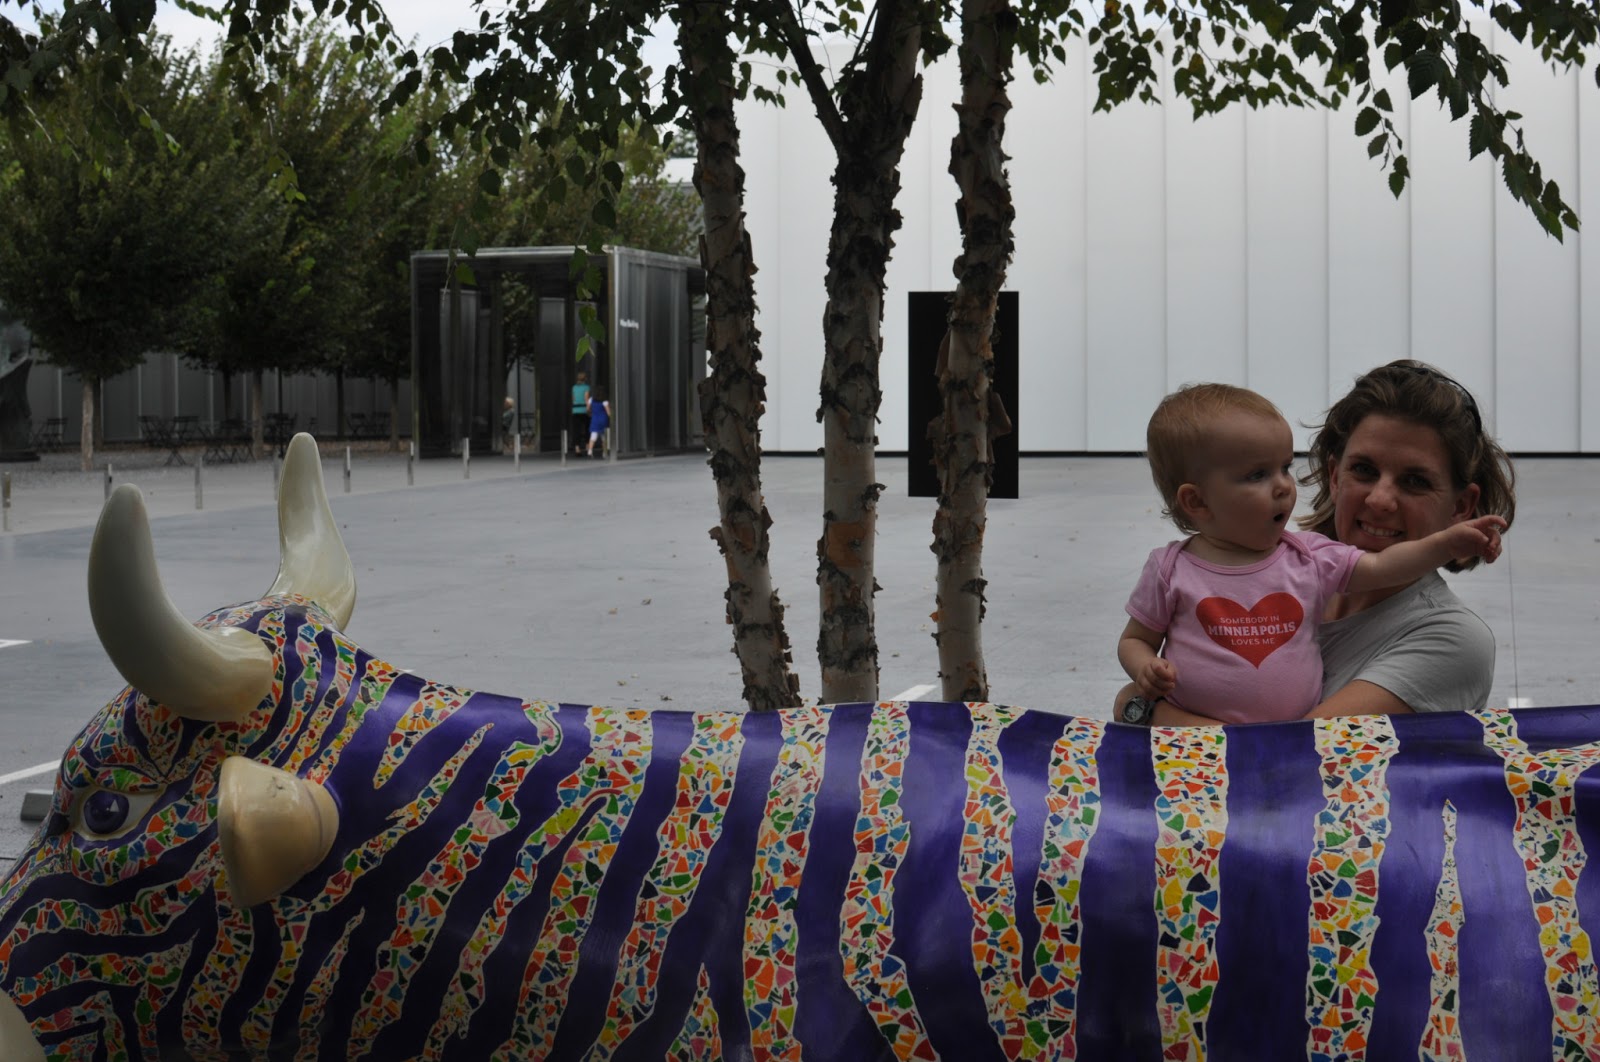
Greta was dressed in cozy overalls – it has been getting chilly here at night (no pun intended!).
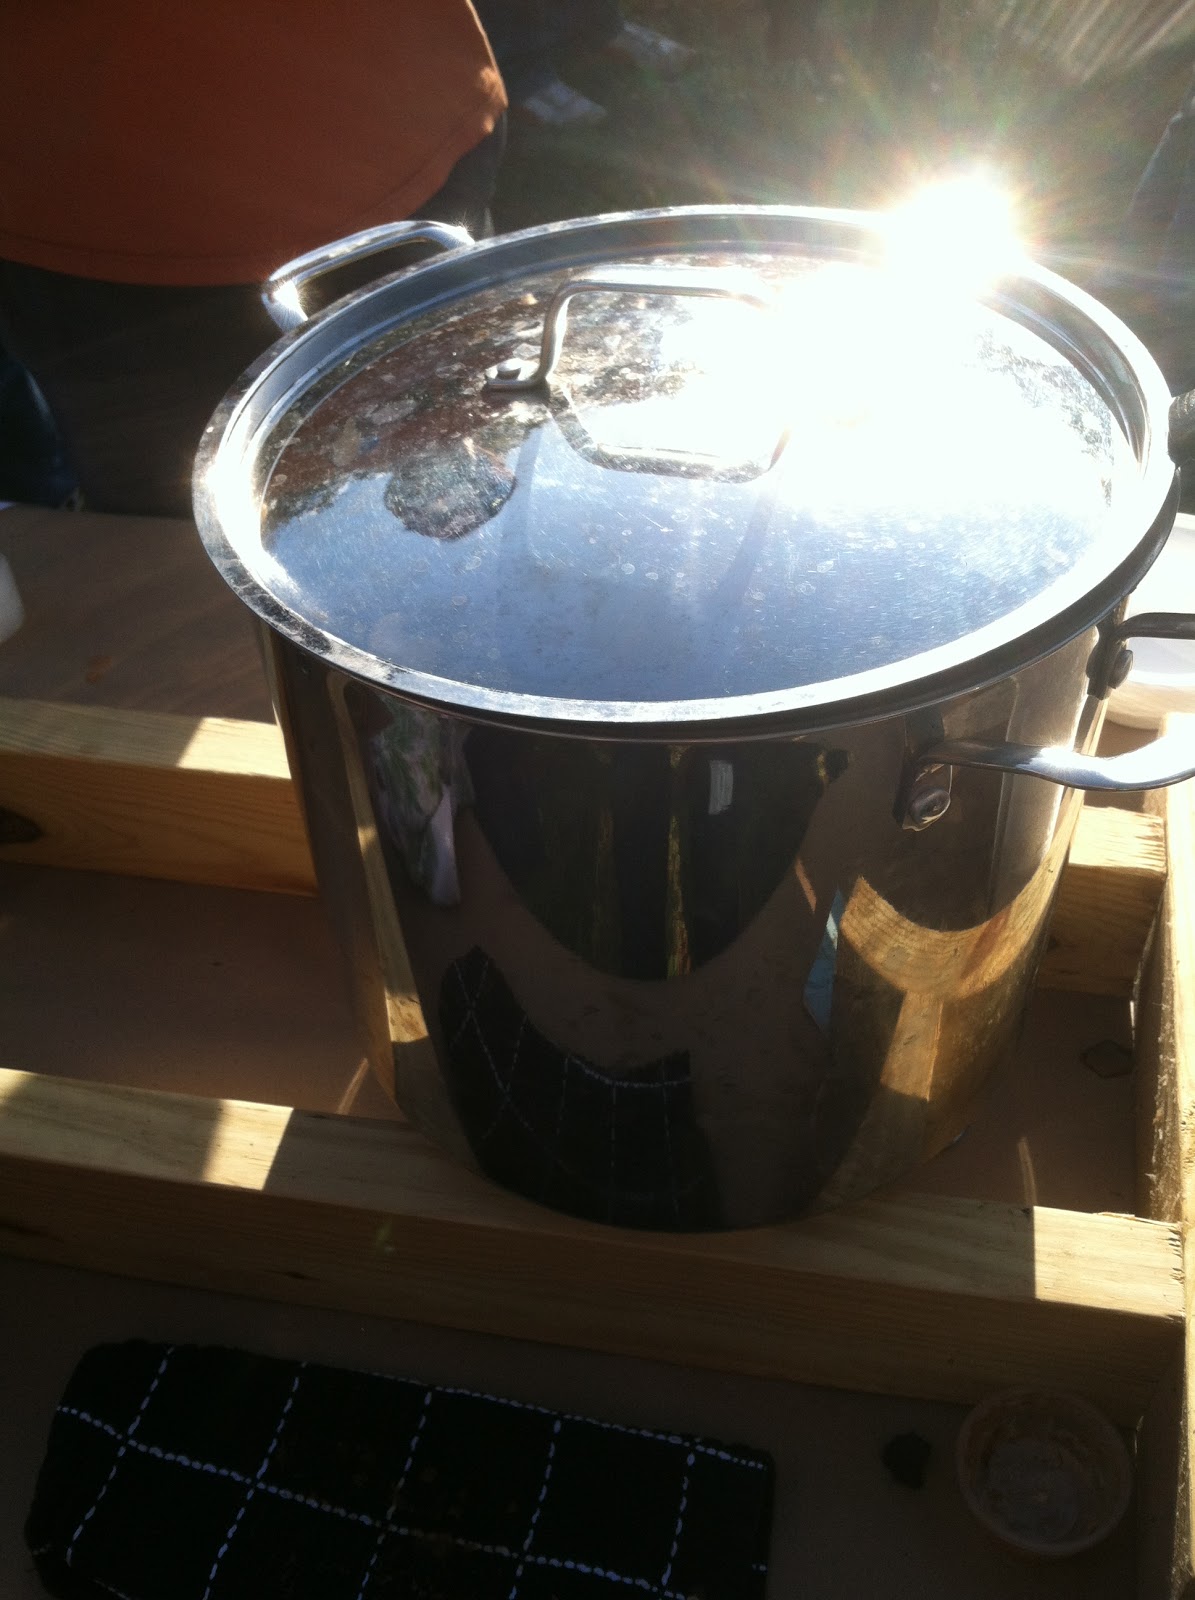
I set up my Smoky Beer Chili on the tasting line – the organizers set up fancy troughs made from 2x4s with sterno cans in between to keep our chili warm. I was surprised at how warm my chili stayed all evening. Each chili chef stood behind his or her pot of chili and served until 6 or when the chili ran out.
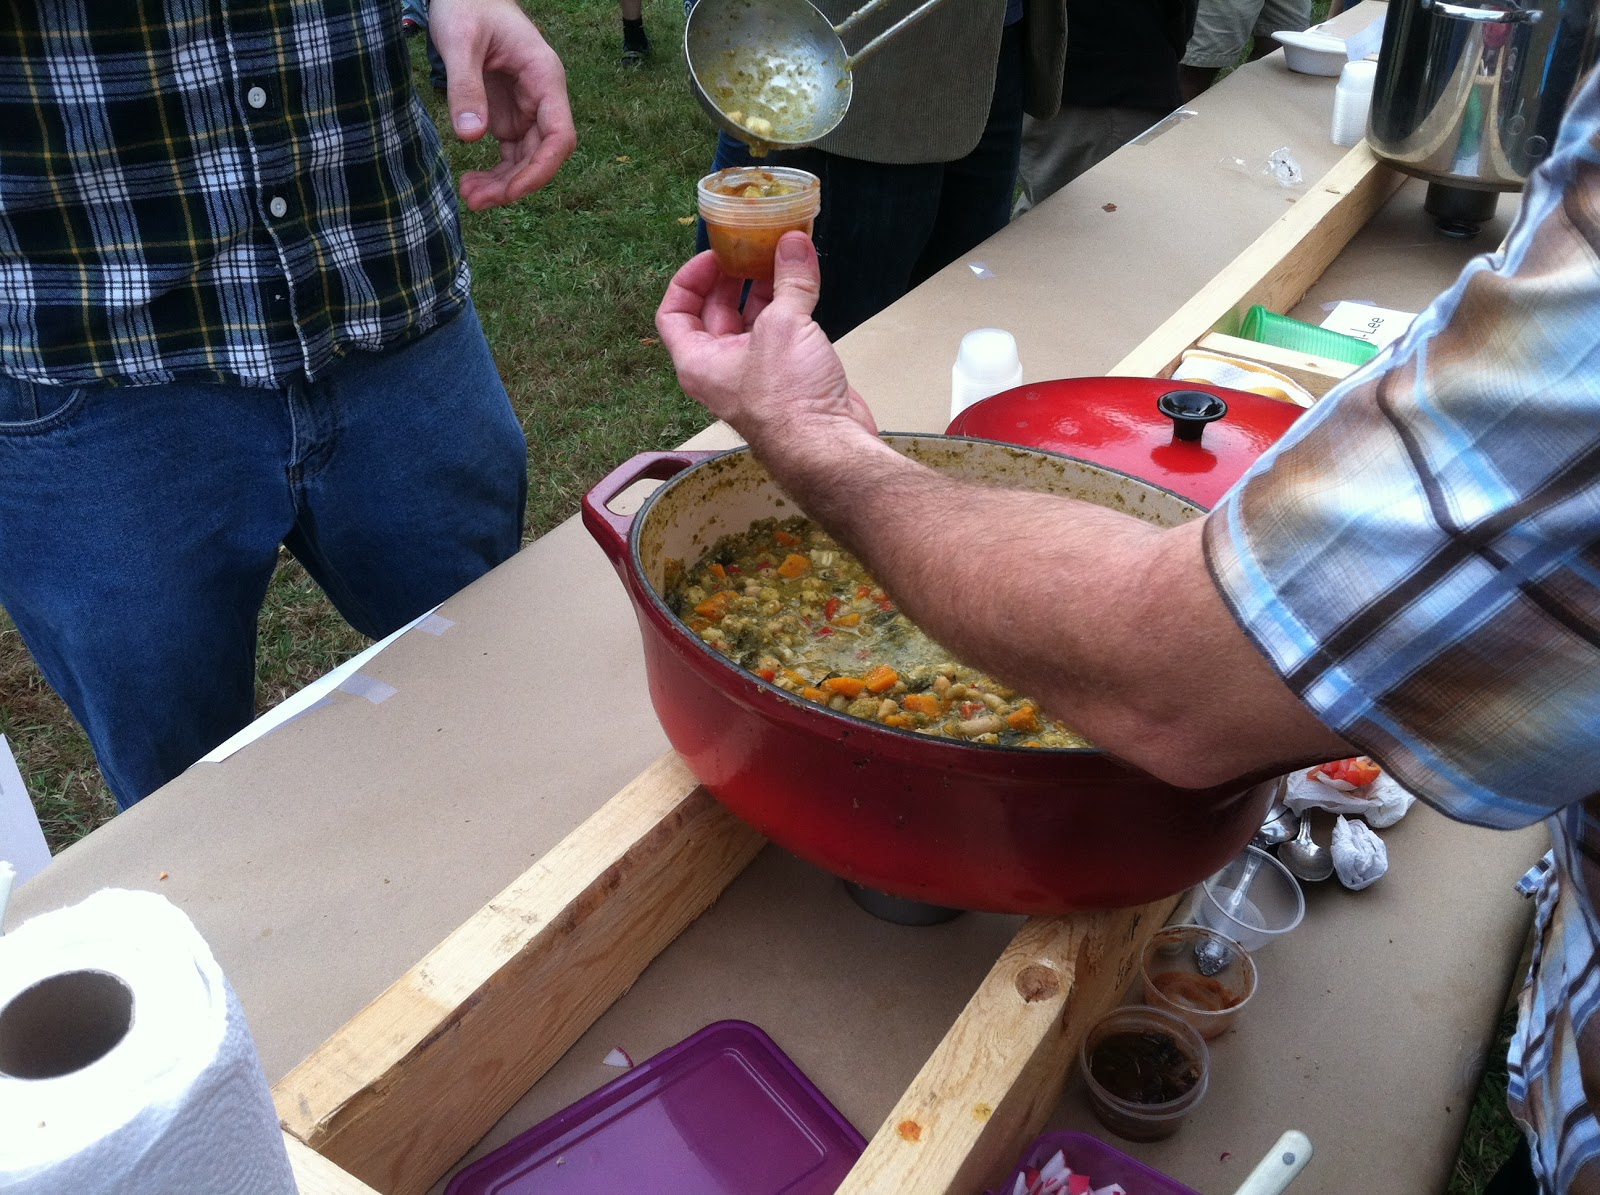
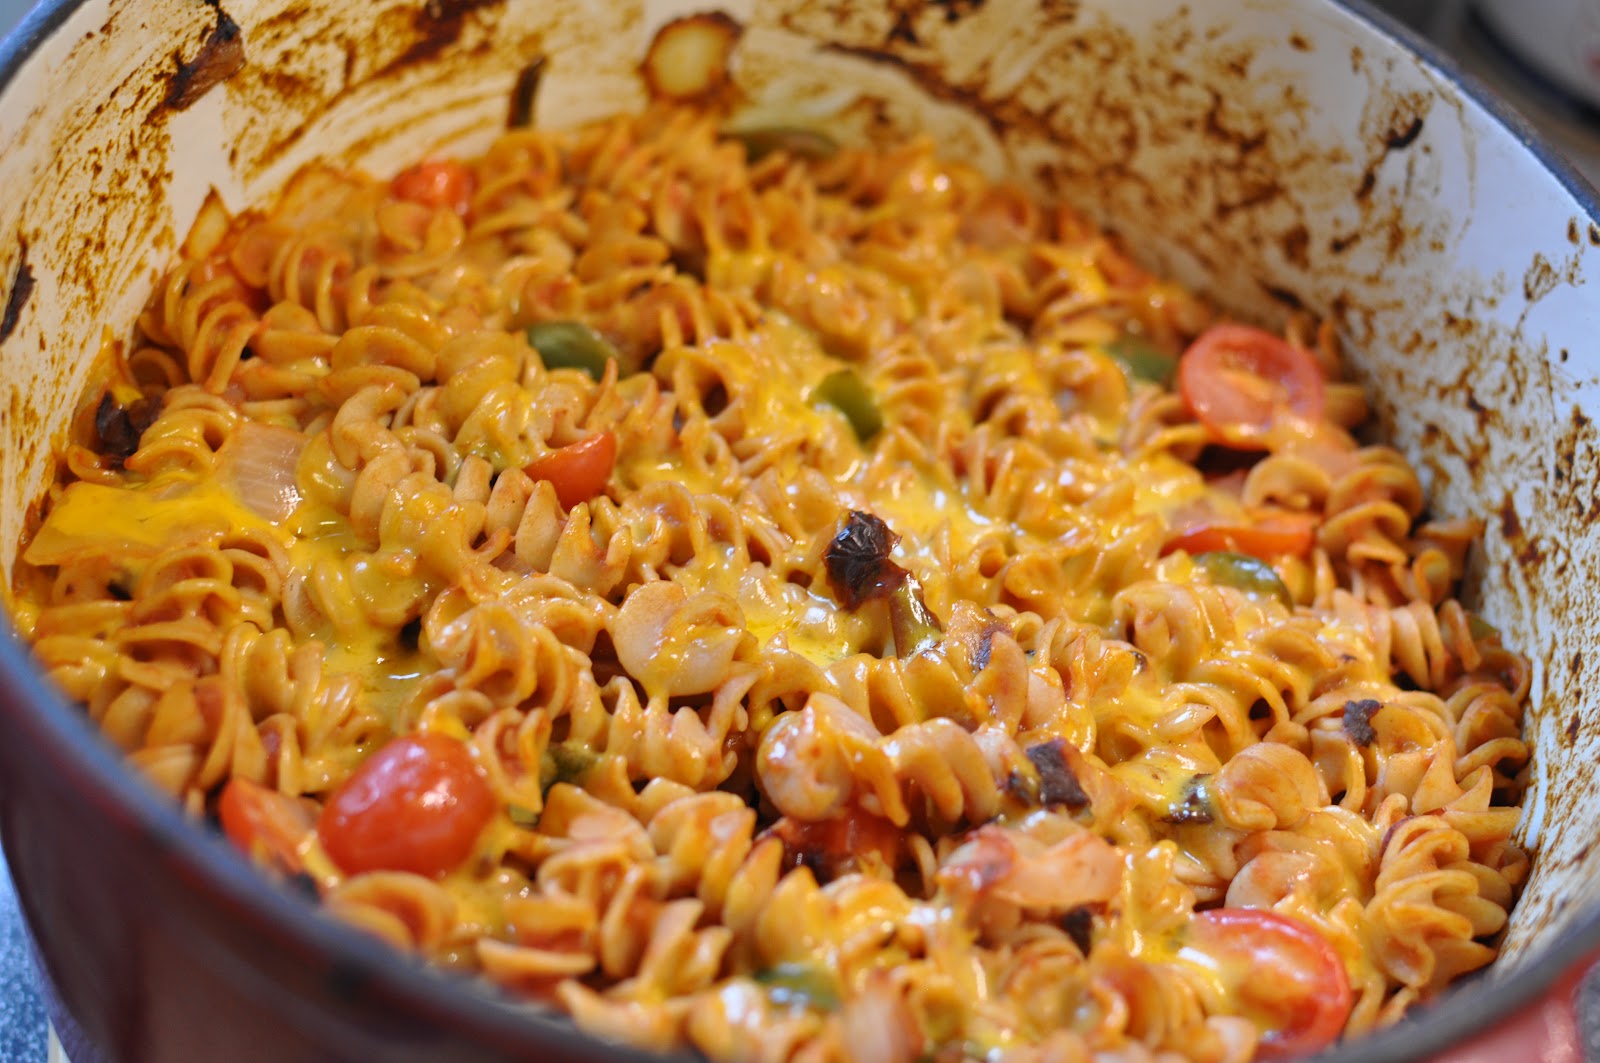
Each chef served small tasting cups or into bowls brought from people’s homes. Two advantages to being a server in the chili line: talking to everyone and getting to see the variety in people’s bowls. This is a photo of the chili to my left – his chili featured hominy, squash, tomatillos, and poblano peppers. It was delicious and beautifully colorful.

After a long evening of answering questions, handing out samples, and meeting neighbors the votes were tallied. I ended up receiving third place in the vegetarian section! The woman to my right received first place and the man to my left received second place. I felt honored and even happier at the gift certificate to the Tasting Room – a wine bar in our neighborhood.
We took things easy today and hung around the house. This afternoon, I decided to use up some of the figs that have been lurking in my fridge this week. I opted for a fig cake for dessert tonight. I made the fig syrup at breakfast and allowed it to cool cool and set until this evening when I added it to a cake.
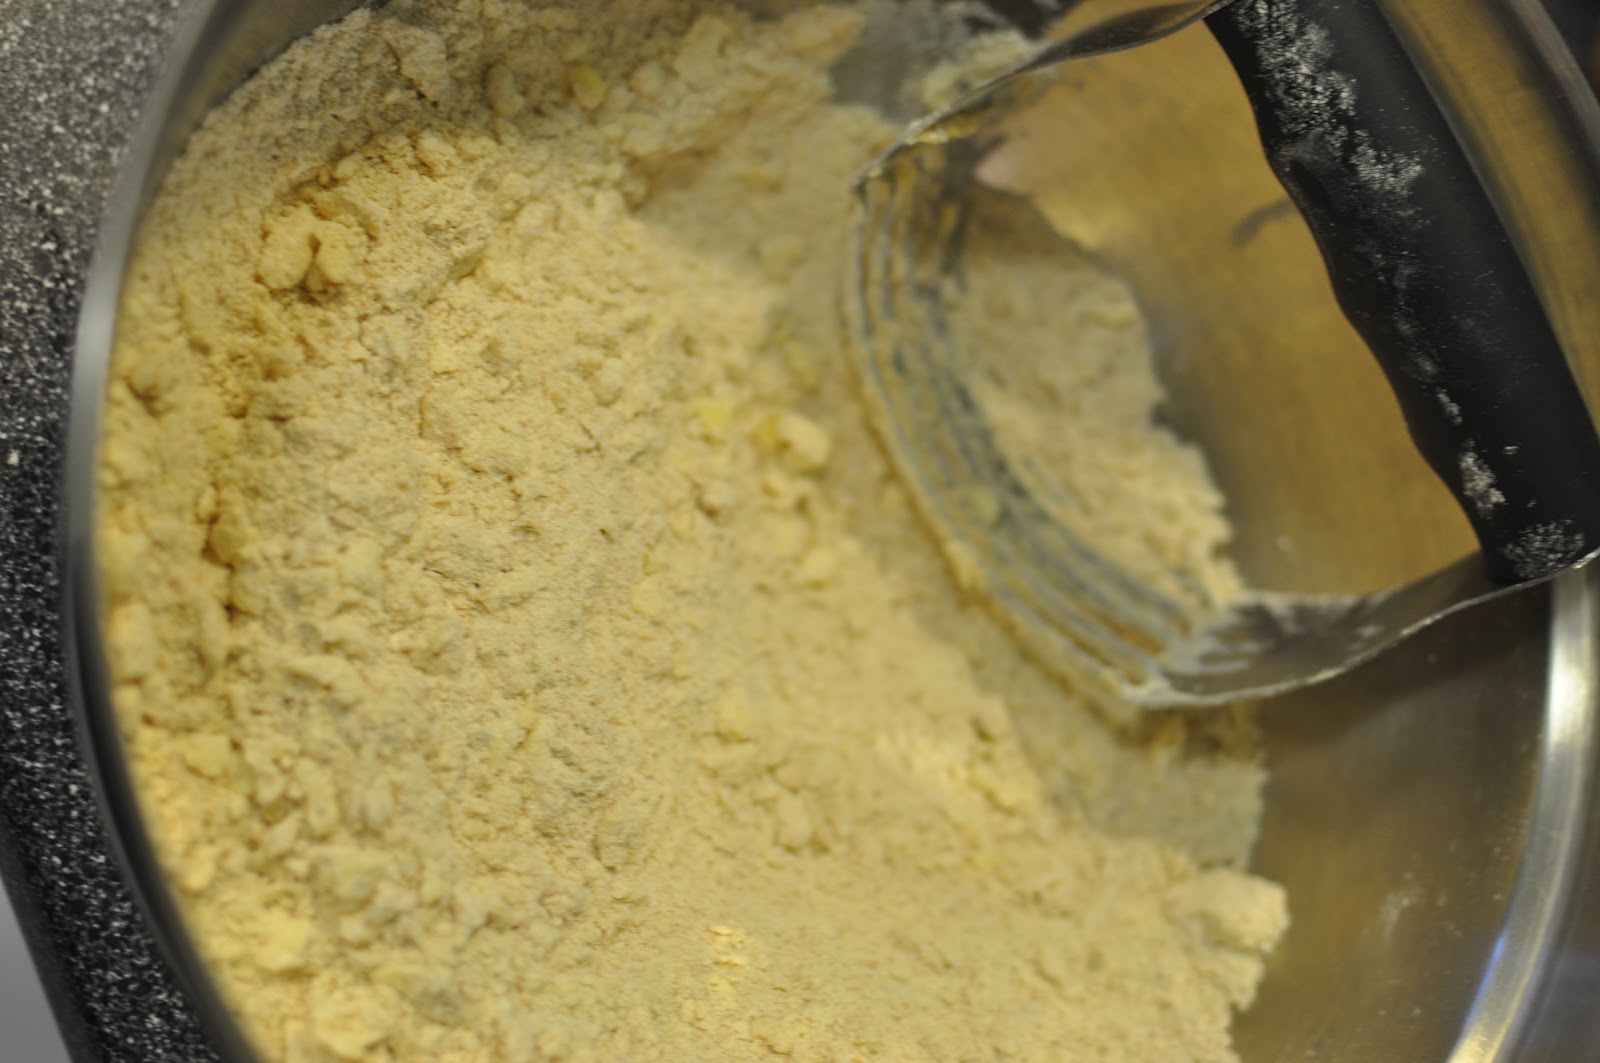
First, in a medium mixing bowl combine 2-1/3 cups all-purpose flour, 2 teaspoons baking powder, 1/2 teaspoon baking soda, and 1/2 teaspoon salt. Set aside.
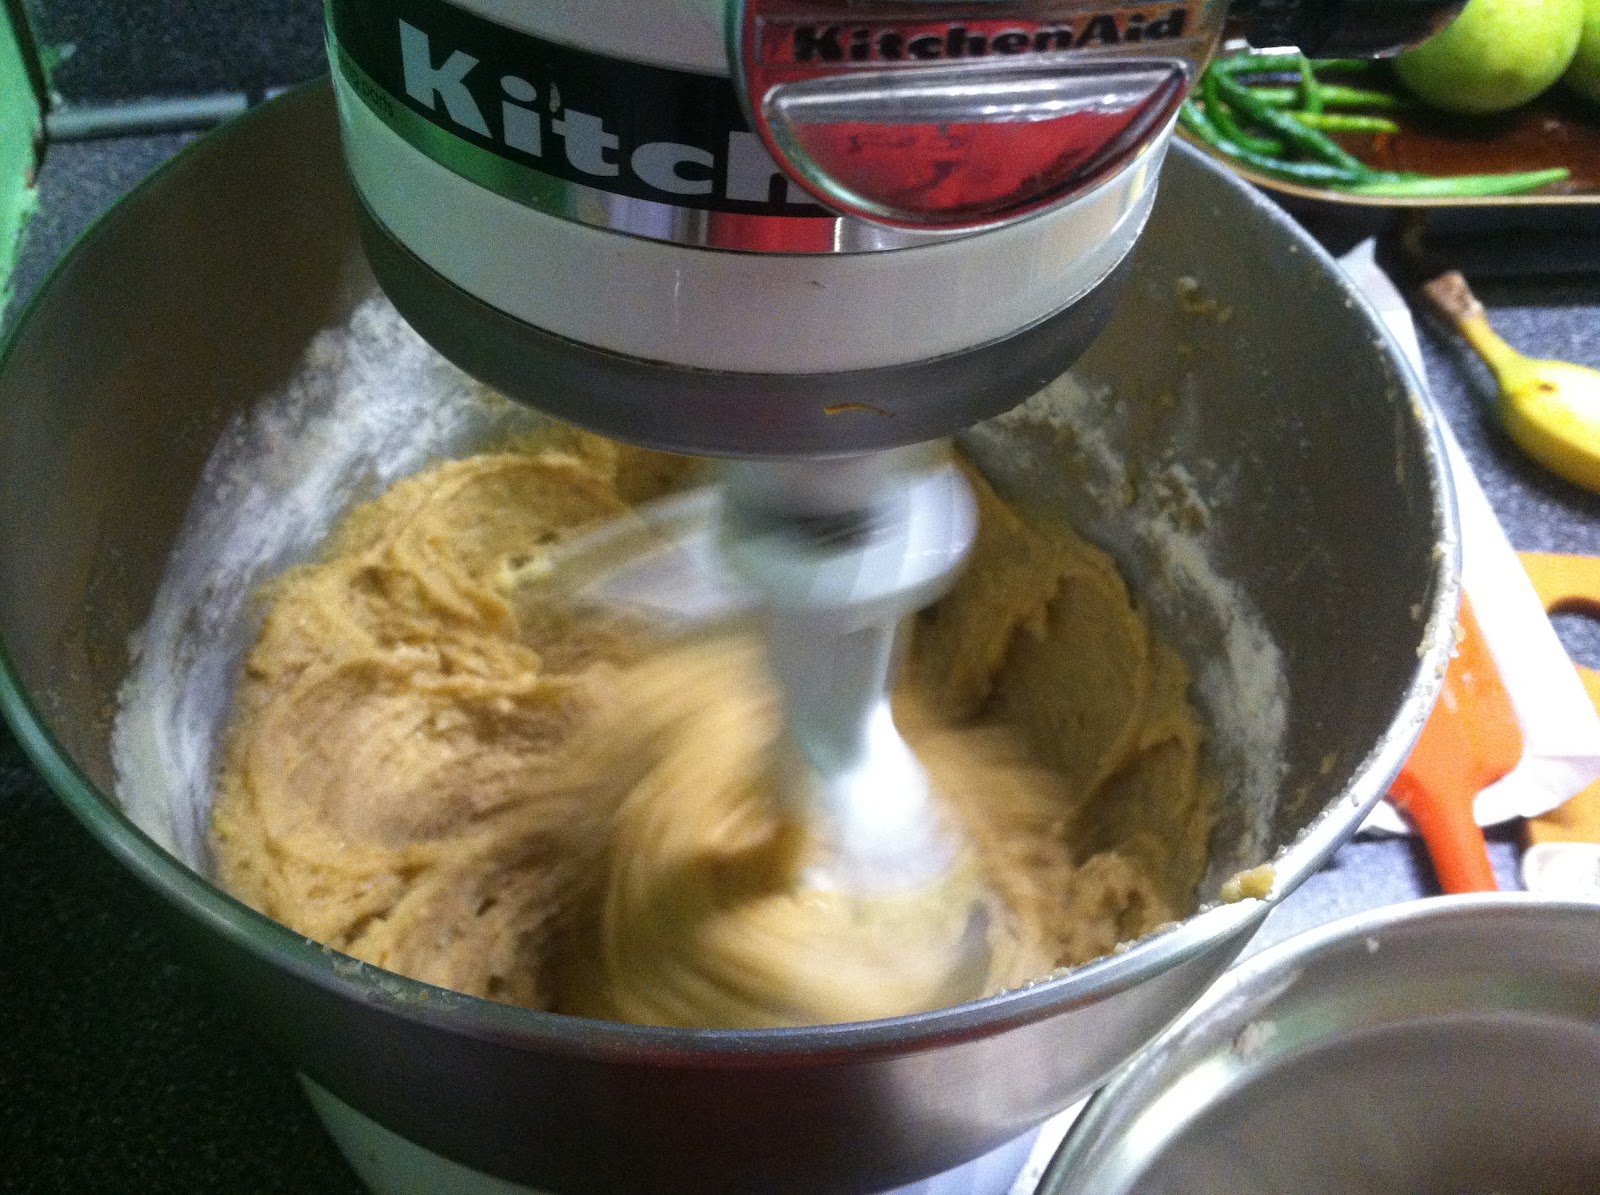
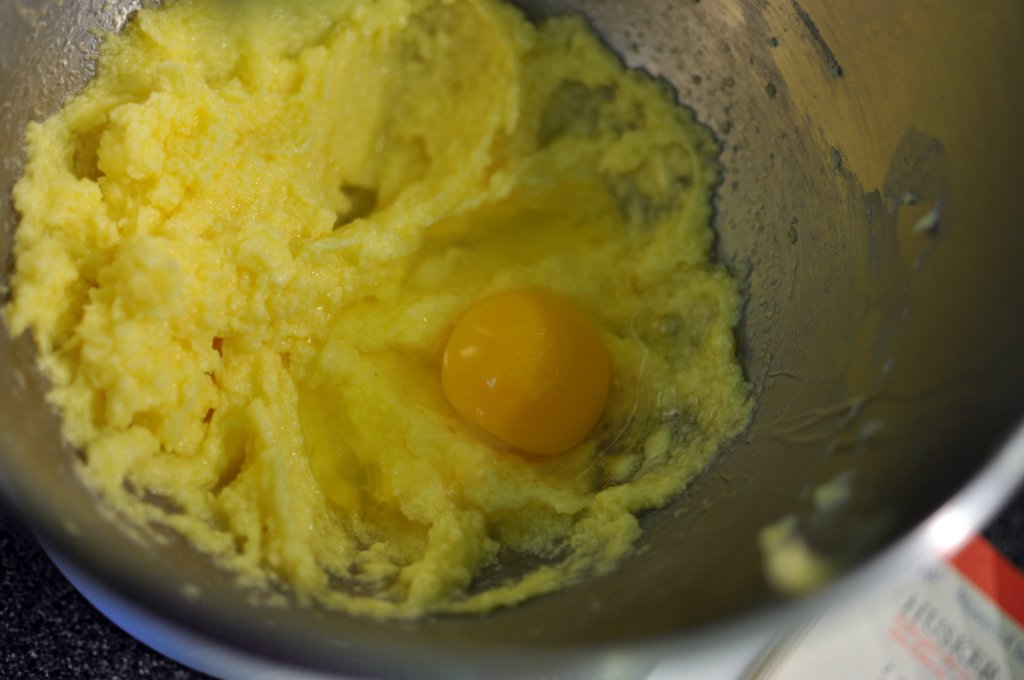
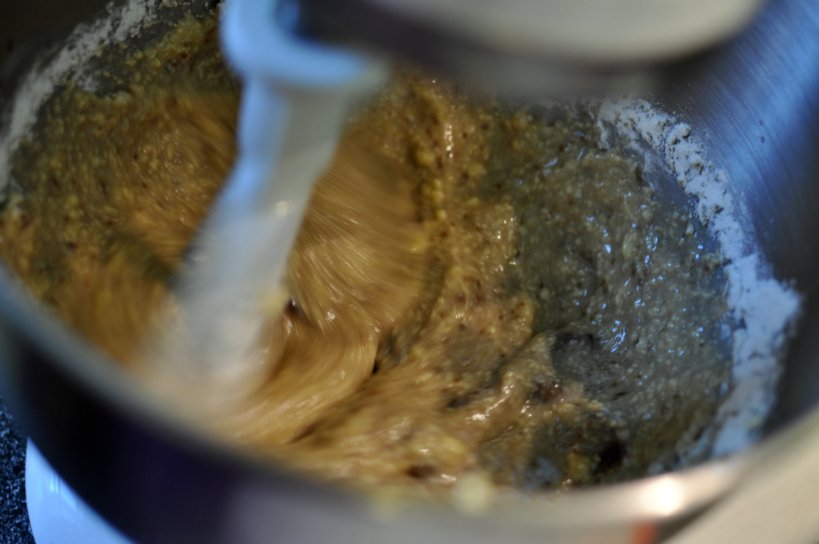
In a large mixing bowl or in a mixing stand, beat 1/2 cup margarine or butter and 3/4 cup sugar together til fluffy. Add 2 eggs, 1 at a time, beating about 1 minute after each addition.

Next add in the 1-1/2 cup fig syrup. See below for recipe.
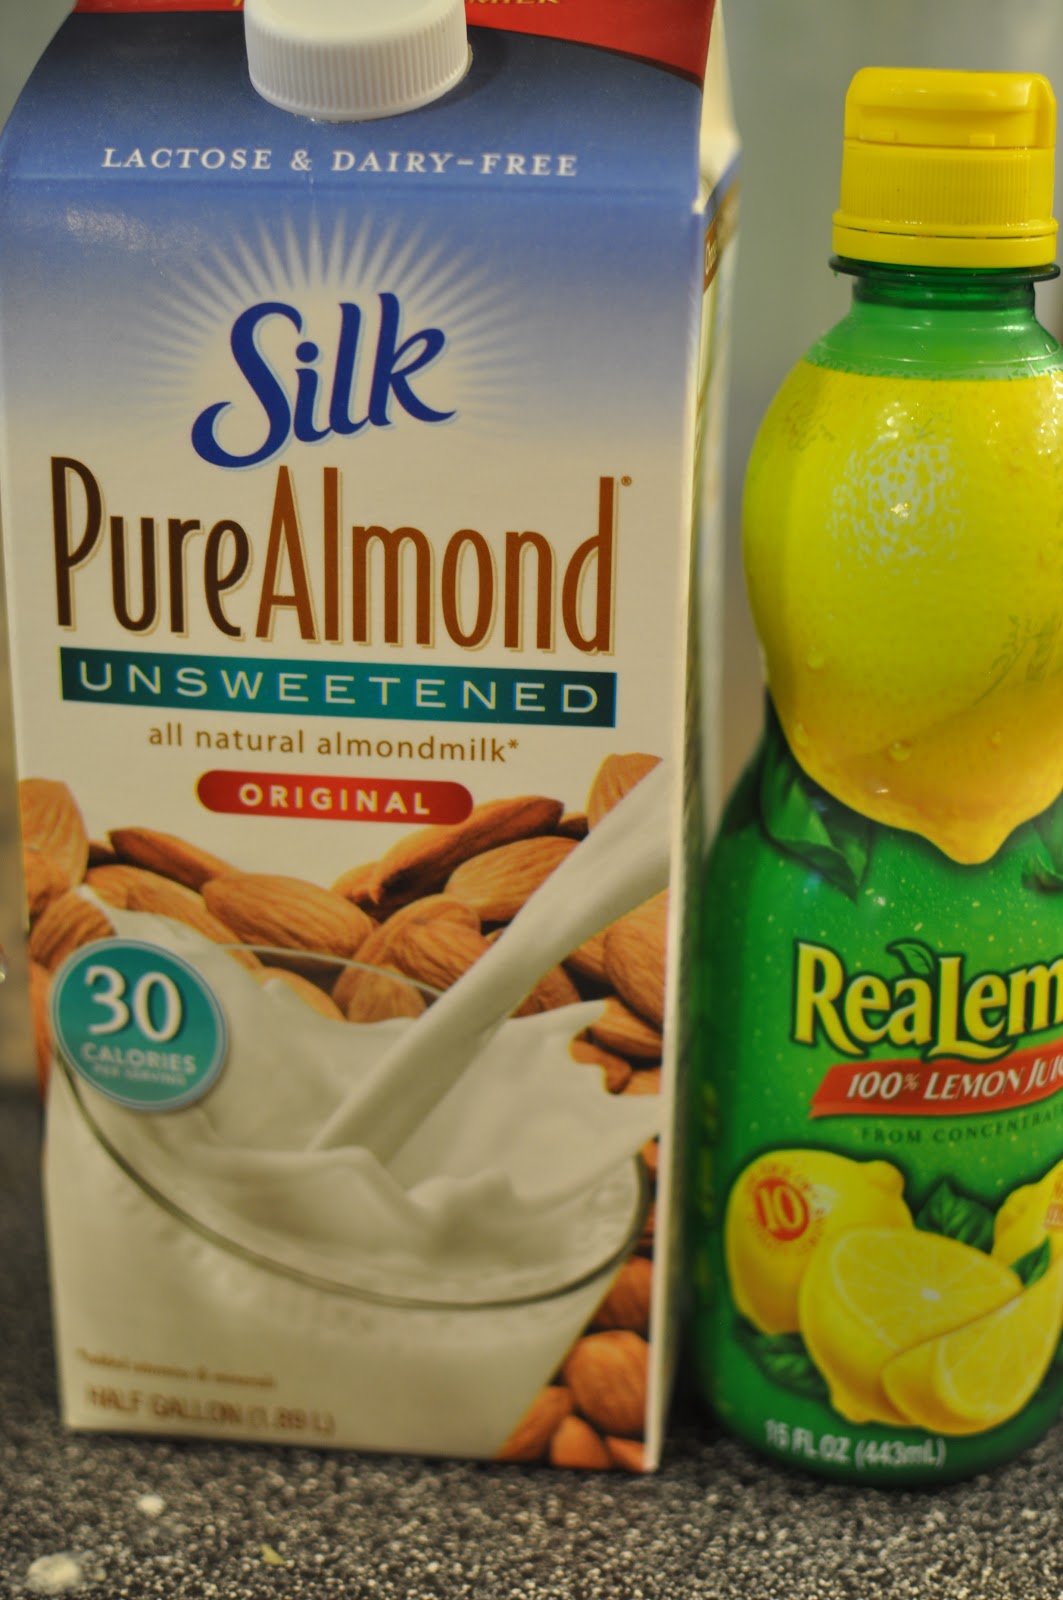
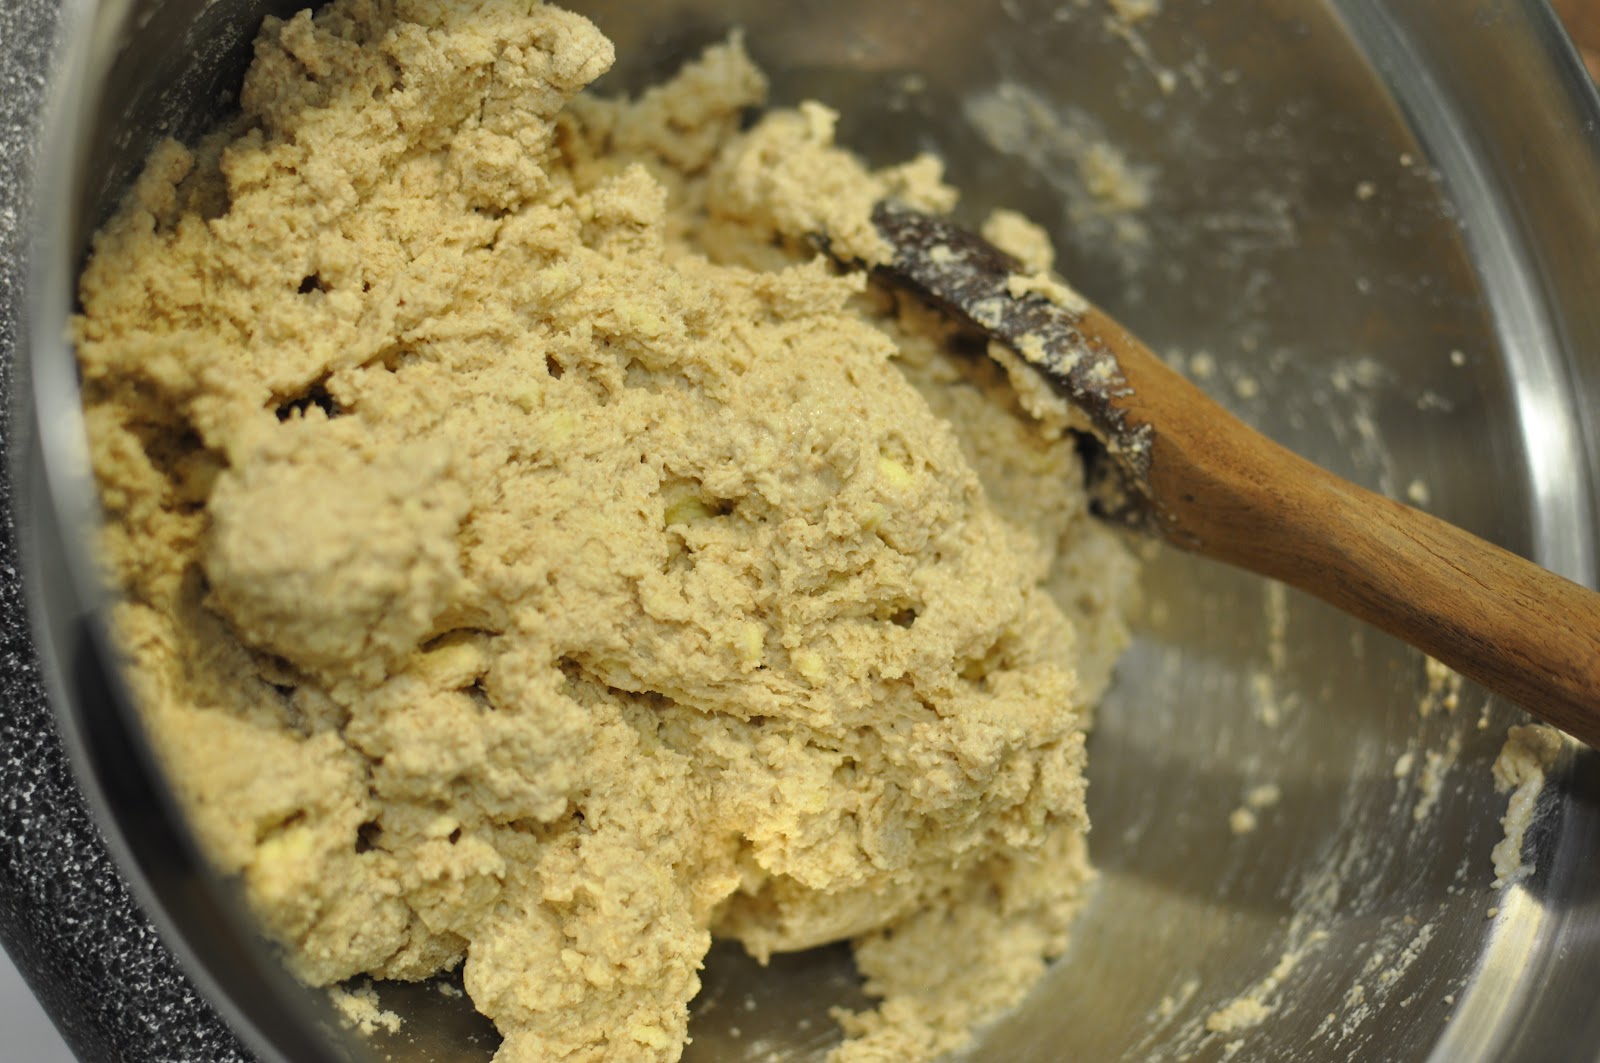
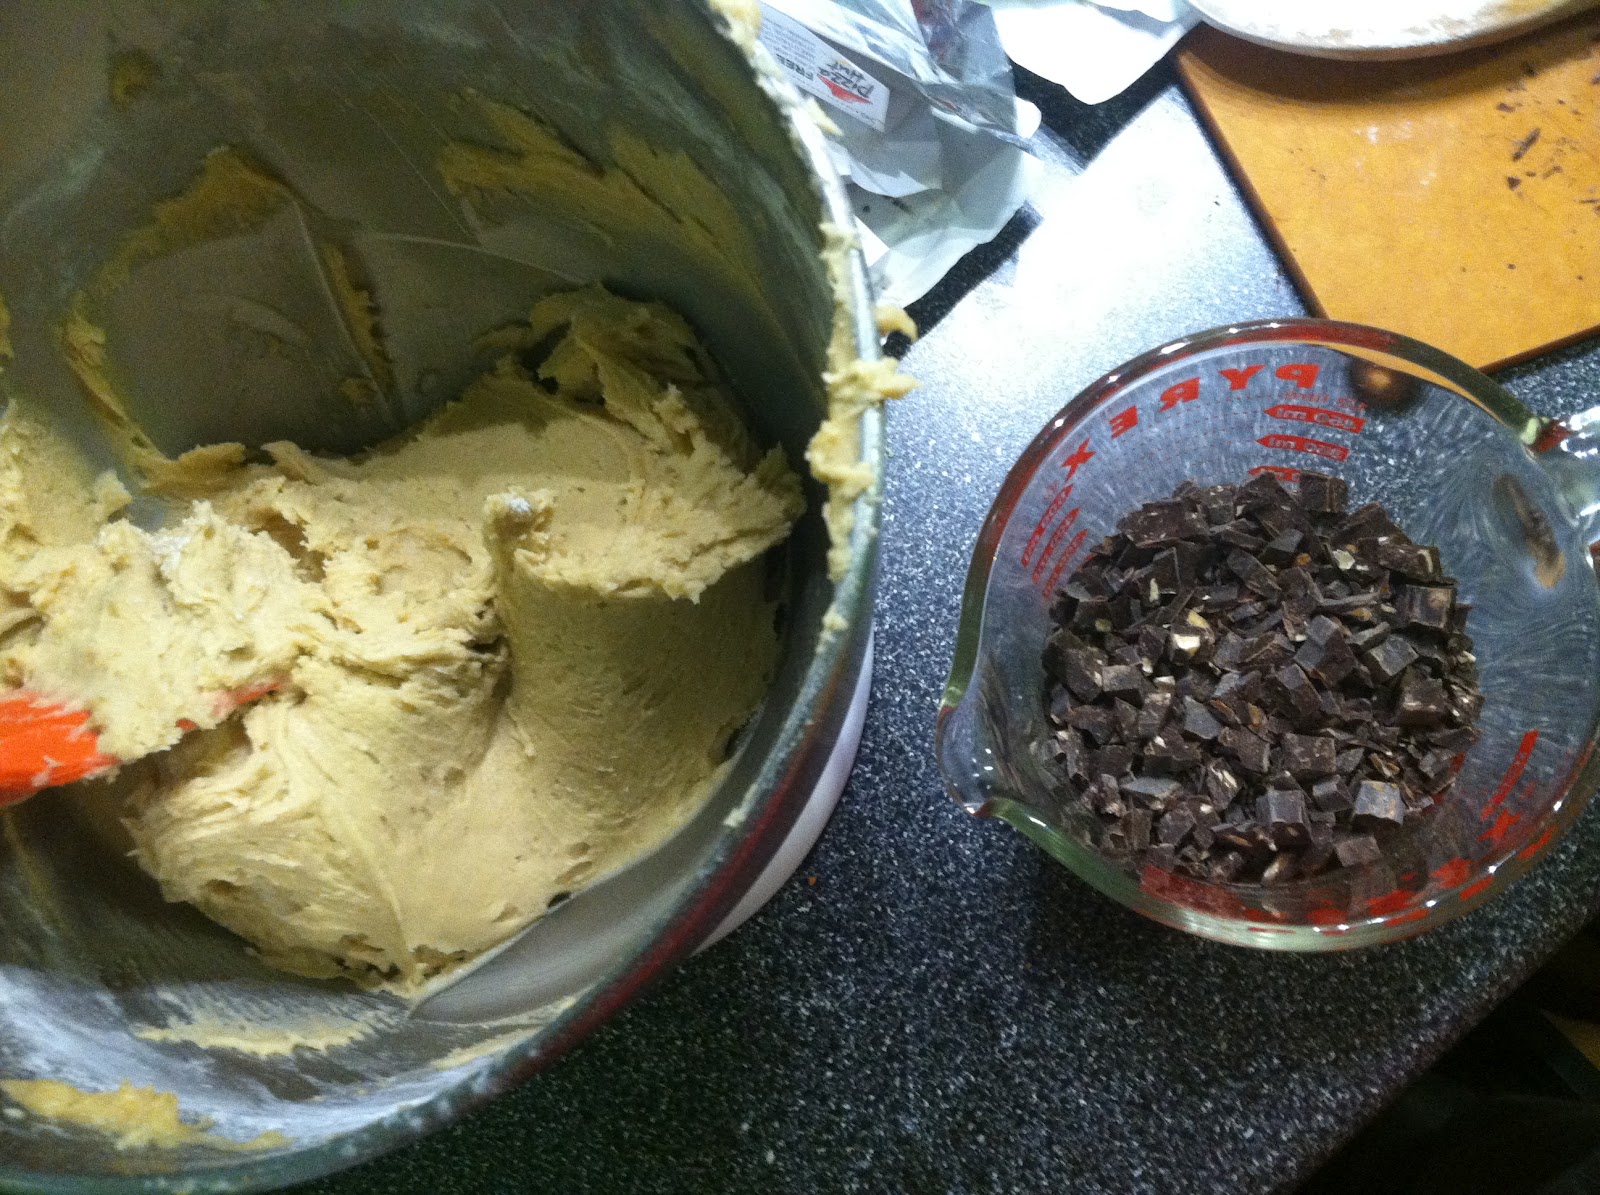
Add 1/2 cup milk and dry ingredients alternately to egg mixture, beating just til combined after each addition. Pour batter into greased (I have learned to only use margarine) flute pan.
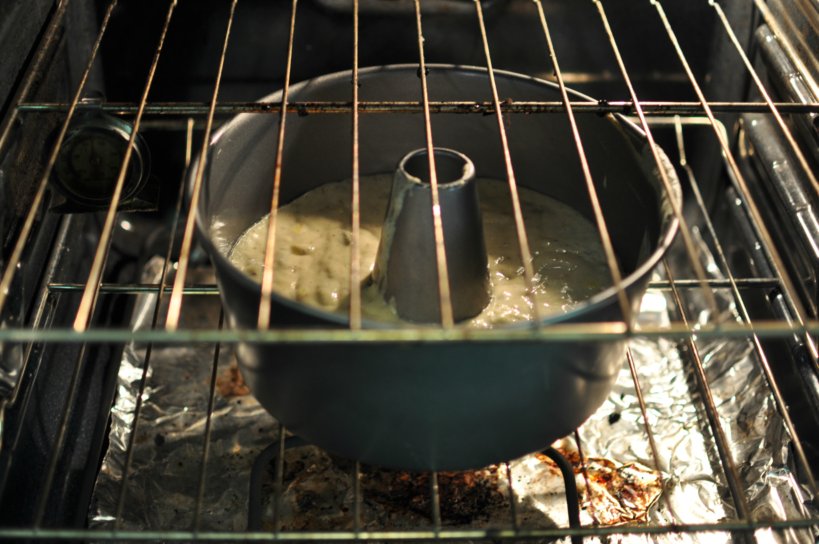
Bake in a 350 degree oven for 40 to 45 minutes or til a toothpick comes out clean.

Cool in pan about 10 minutes.

Remove cake from pan, allow to cool completely.

This cake turned a little greenish-blue due to the fresh figs. I think this would be a nice effect for a Halloween themed cake, don’t you?
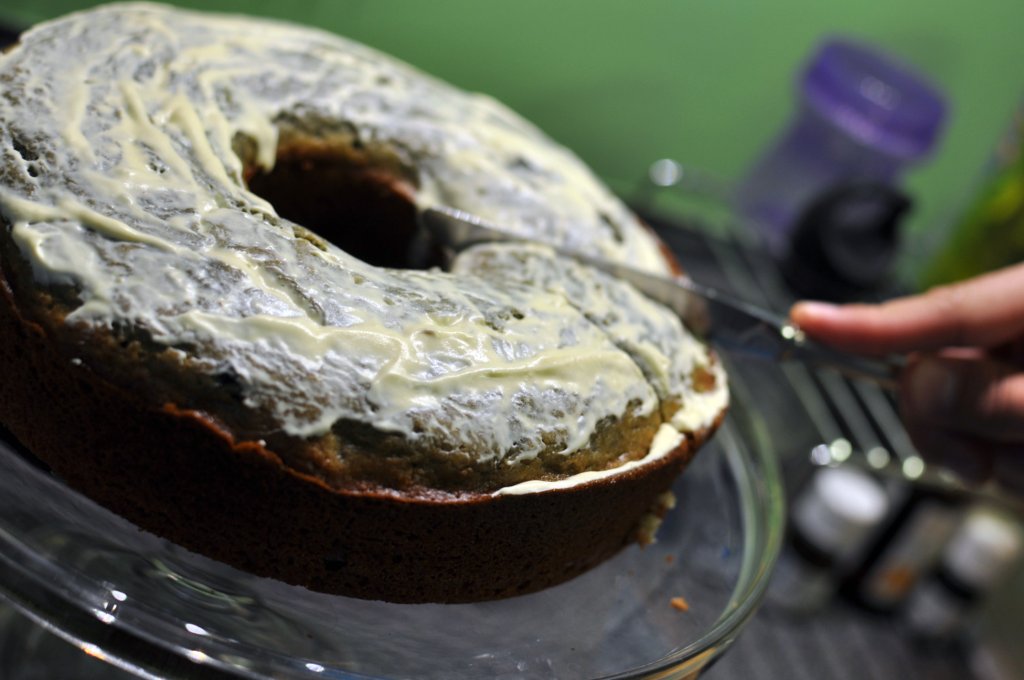
I frosted with vanilla store-bought frosting, on the top only. I figured that this cake would be sweet enough on its own.

This cake is so moist and so delicious – I cannot do it any justice with photos. I will take more photos tomorrow with better daylight.
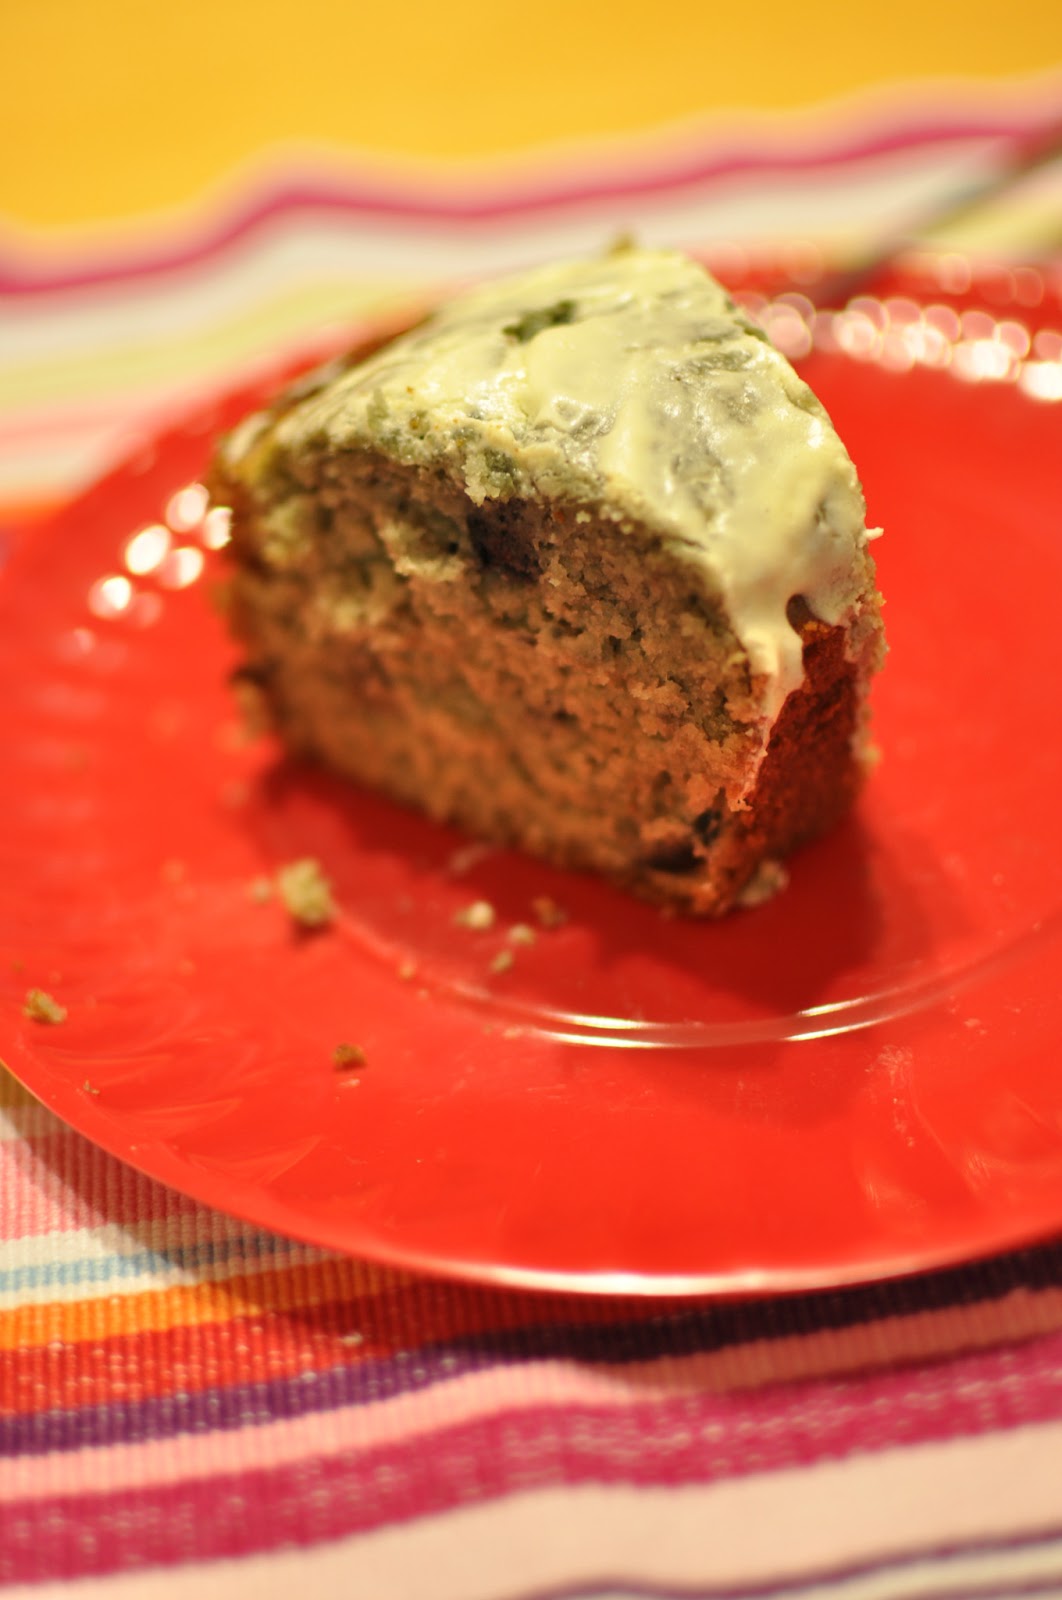
Eric loved it so much he went back for seconds and even went so far as to say this was my best cake yet! Enjoy!
Fig Syrup
In a saucepan, combine 1 cup of water, 2 tablespoons of brown sugar, and 8 oz of chopped fresh figs. Bring to a boil, stir well. Reduce to low heat and simmer for 20 minutes. Allow to cool before adding to cake. Makes about 1-1/2 cups of fig syrup.
Mommy’s Medley Fig Cake
In a medium mixing bowl combine 2-1/3 cups all-purpose flour, 2 teaspoons baking powder, 1/2 teaspoon baking soda, and 1/2 teaspoon salt. Set aside. Add the 1-1/2 cup fig syrup and stir.
In a large mixing bowl or in a mixing stand, beat 1/2 cup margarine or butter and 3/4 cup sugar together til fluffy. Add 2 eggs, 1 at a time, beating about 1 minute after each addition.
Add 1/2 cup milk and dry ingredients alternately to egg mixture, beating just til combined after each addition. Pour batter into greased (I have learned to only use margarine) flute pan. Bake in a 350 degree oven for 40 to 45 minutes or til a toothpick comes out clean. Cool in pan about 10 minutes. Remove cake from pan, allow to cool completely.
Frost with vanilla frosting just on the top, however this cake stands alone very well, and does not need frosting.