DIY Doll Bed + Scones

This is a simple project I put together this weekend using items around the house, my craft room, and the garage.  It is a big hit with Greta, such a big hit, I was working on it while she was playing with it a few times.  
This project came about on Thursday evening as it was starting to snow.  Snow in North Carolina incites riots.  Grocery stores lose entire bread and milk supplies, people rush out to buy sleds, shovels, salt, and cold weather clothing.  Schools cancel activities with the mere mention of possible snow.  Day cares, preschools, public schools, churches, and businesses alike, close with the actual act of falling snow.  Pure insanity, I tell you.  
Anyway, while waiting for the inevitable phone call that school would be canceled on Friday, Greta and I played with her snowman.  The snowman was completely her choice, might I add.  She discovered that it fit into an old wine box that had formerly been storing items by the front door.  She proceeded to wrap it up and put it bed over and over again. 

 I quickly ran back to my sewing machine and turned out a small stuffed pillow as a mattress and a reversible blanket.  This cute tropical print fabric came from my mom a couple years ago.

 The bright print is full of things Greta loves – frogs, lizards, flowers, and graphic shapes.

Now her doll and stuffed animals had a place to sleep.  I soon realized she was becoming frustrated with the tall sides of the bed.  It was too difficult for her to line up the mattress and tuck in the blanket just the way she wanted.  You see, I have a Type A on my hands.  So, to thwart the frustration noises and angry throwing, I had to act quickly.  

Out to the garage we went.  Using a small hand saw, I cut the sides down so the box resembled a sleigh bed.  I had Eric demonstrate it for this photo, but I promise, I cut the sides myself.  

 You can see my uneven cutting skills in this photo.  I ran a small amount of wood glue along the inside seams to strengthen the box.  After Greta was in bed last night, I painted the bed a bright shade of red.

 Two coats of paint later, and the bed was proper.  The bright colors complement each other nicely without being gaggingly pink, don’t you think?

Greta gave it her approval by promptly putting her doll to bed.  
On another note…

And because it is Sunday, you know what that means, here is my English connection for the week.  Scones!  Although, I feel like I was cheating making these this morning, they were the perfect start to the day.  We were all up at 6:30 AM and these cranberry orange scones only took 20 minutes from start to plate.

 The reason I felt like I was cheating?  Old Mill of Guilford cranberry orange scone mix.  There are some great stores in town where you can purchase these mixes.  The best location is the mill itself, otherwise try Bestway.  Bestway is an excellent stop for purchasing a number of things, which you shall see if you go to their Facebook page.

As simple as the ingredients and the directions are – you can’t go wrong.  
Maybe next week I will bring out the Blue Ribbon Winning Scones from the my 4H days.  But for now, I will savor my 20 minute scones.  

Savannah 2011

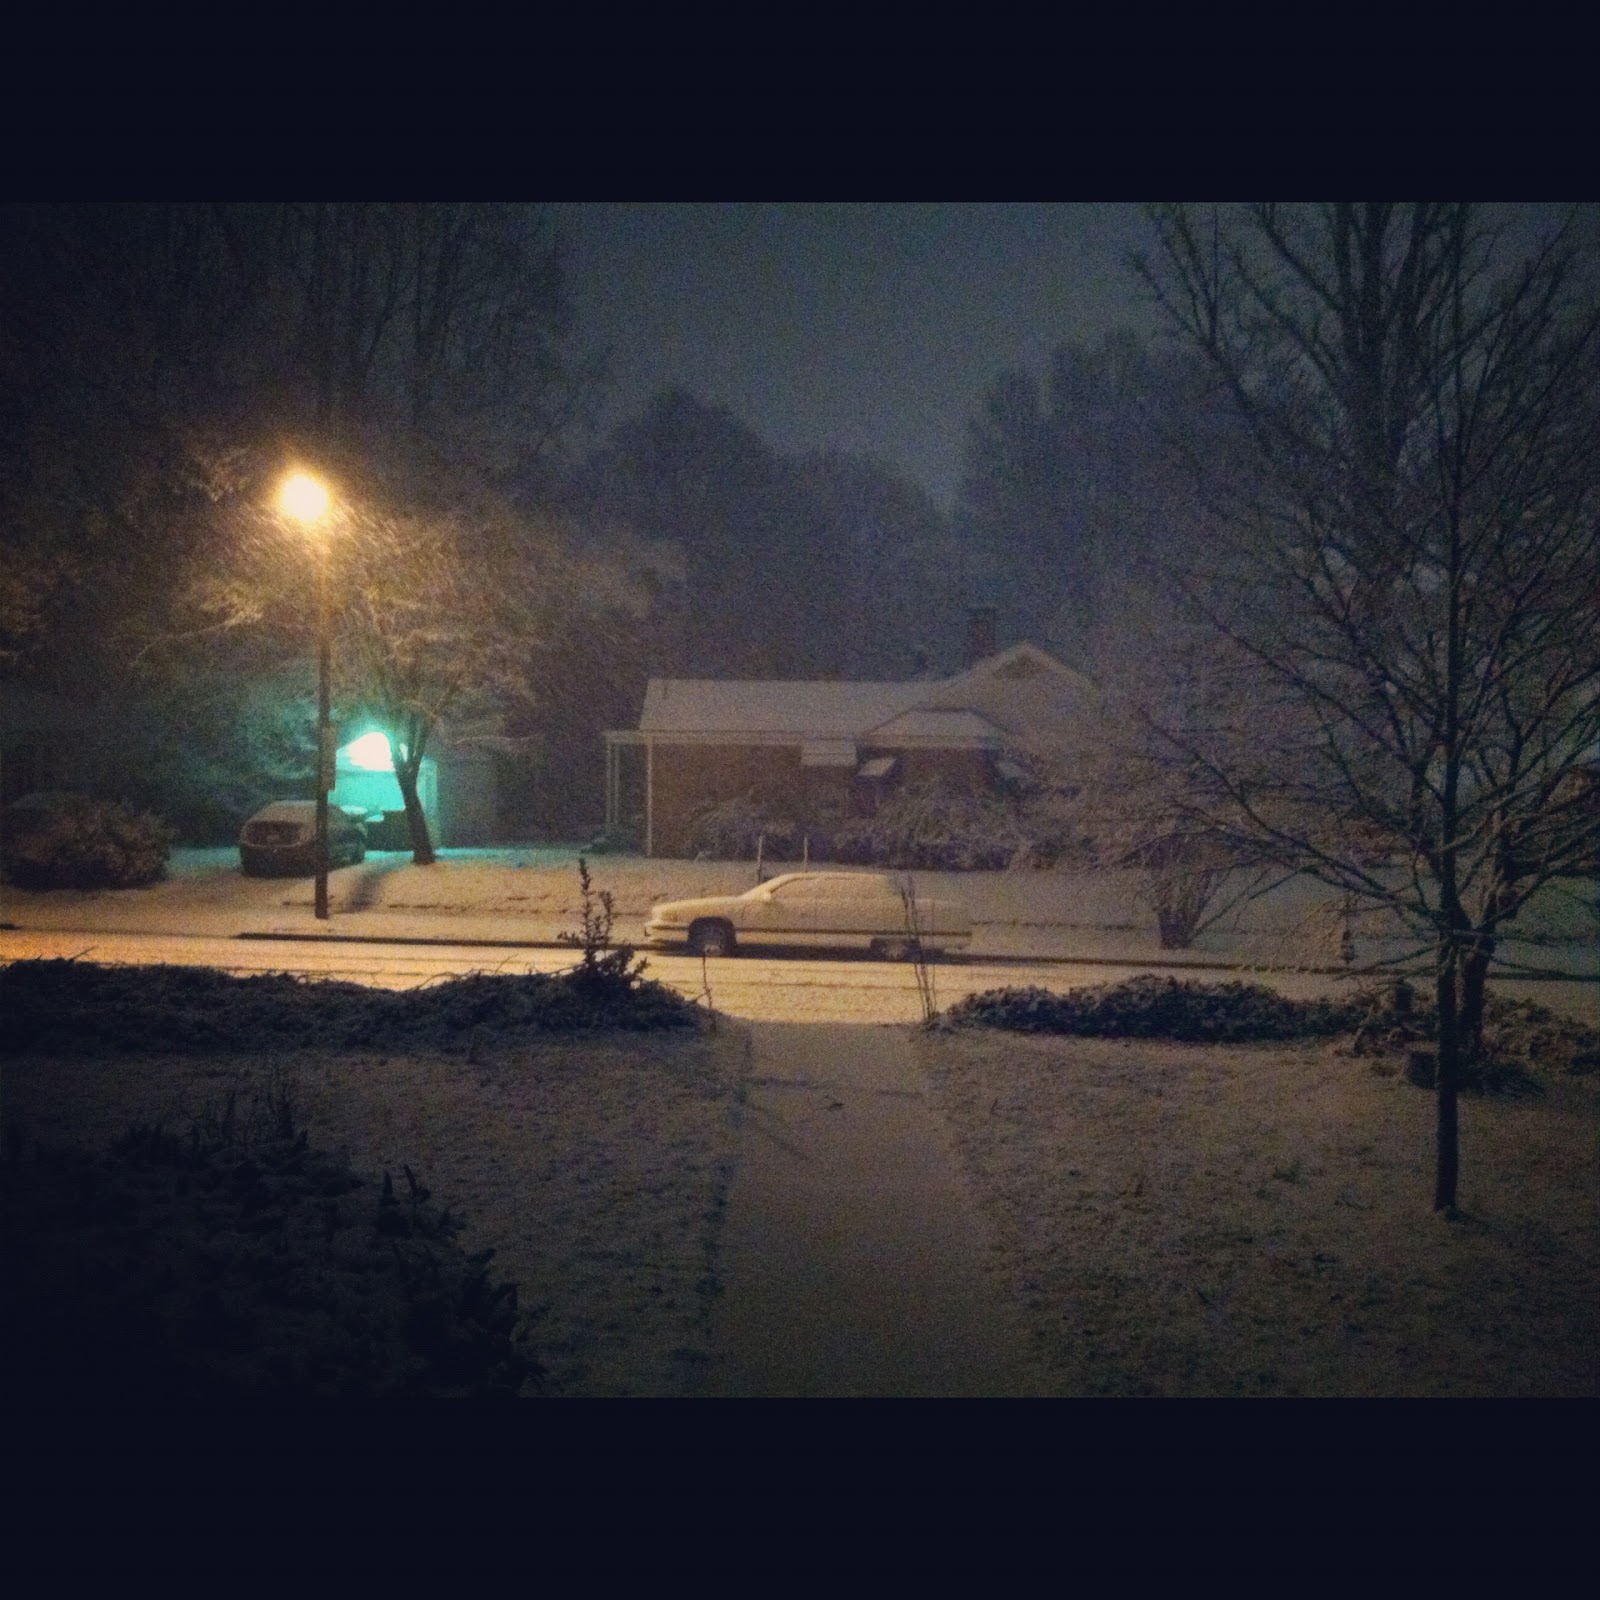
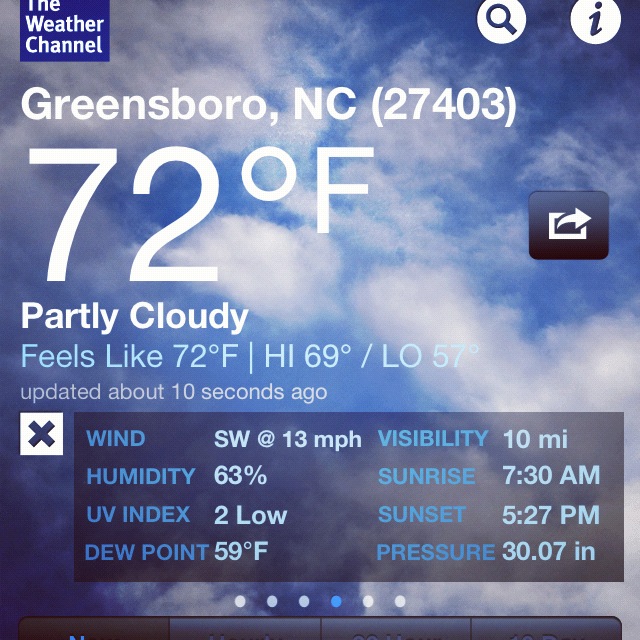
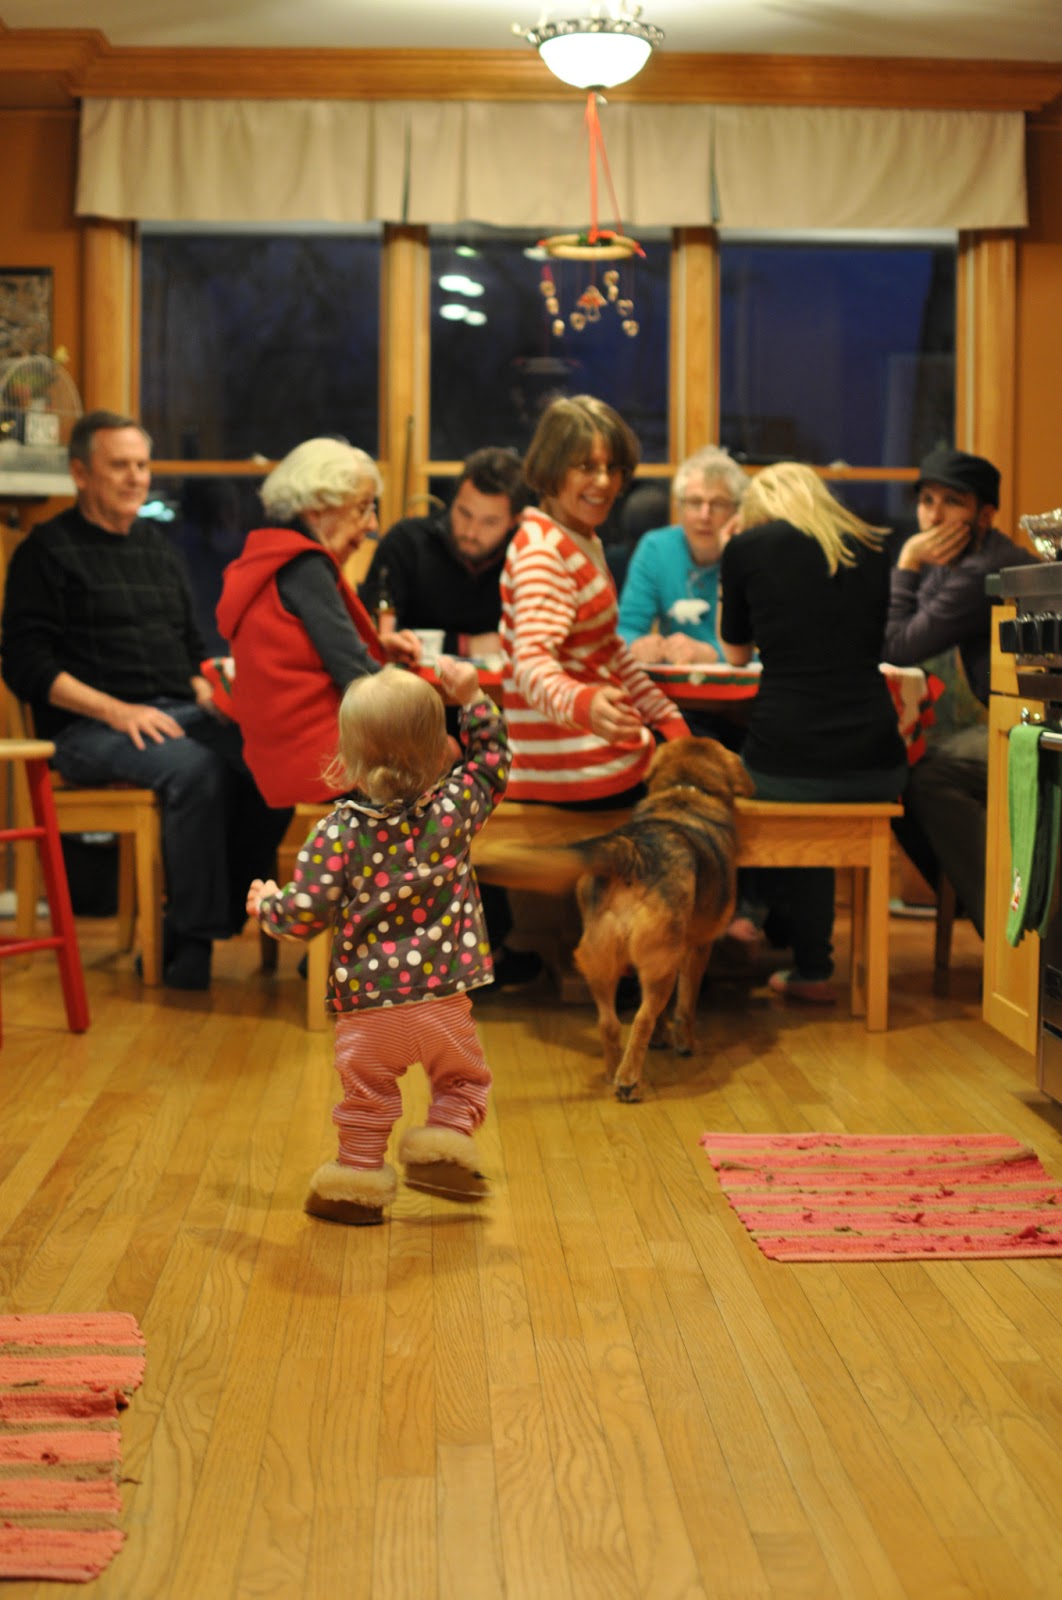
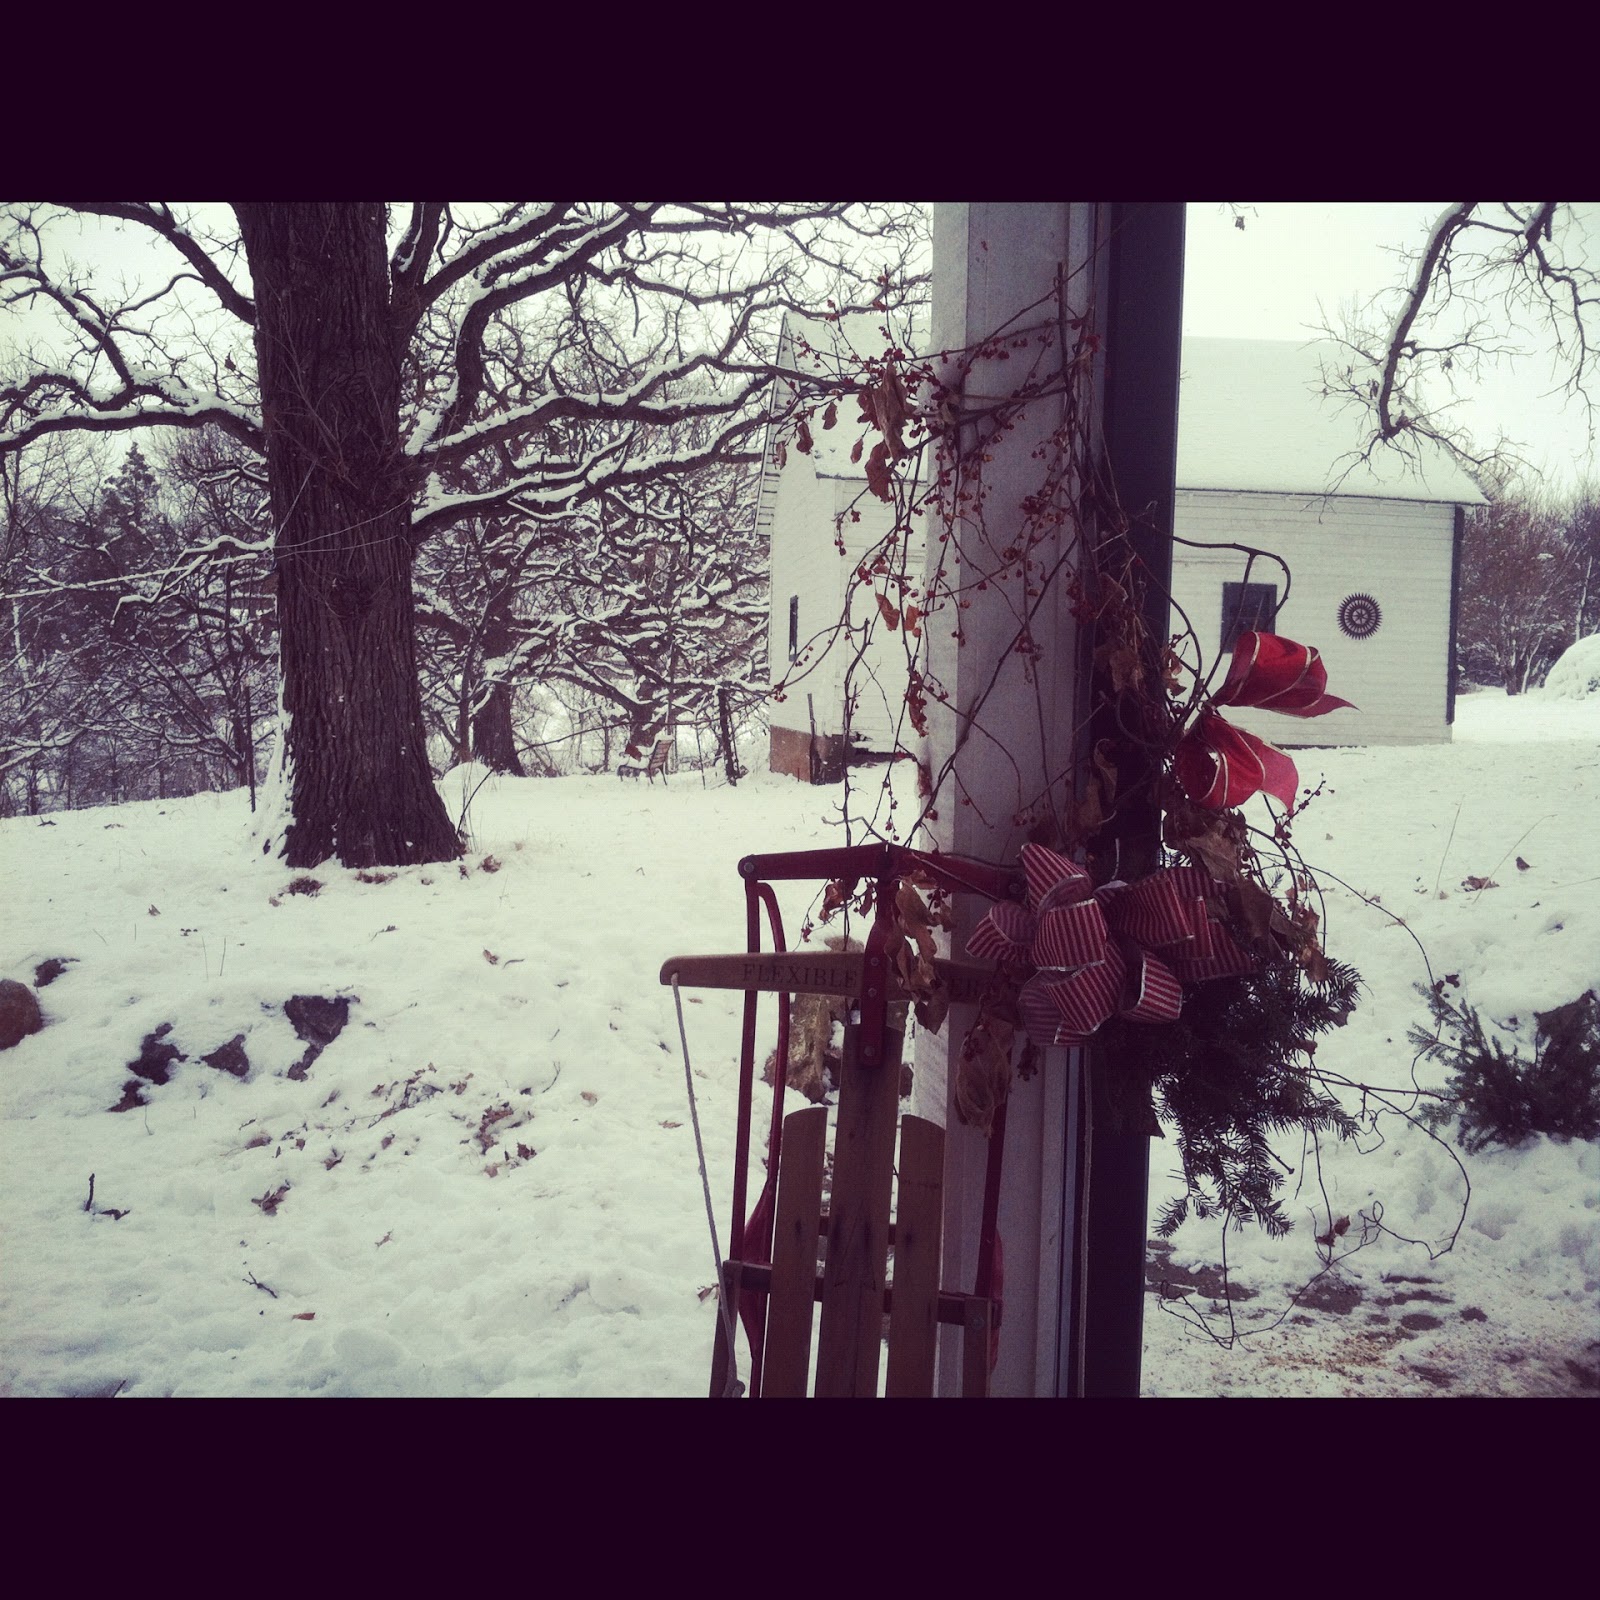
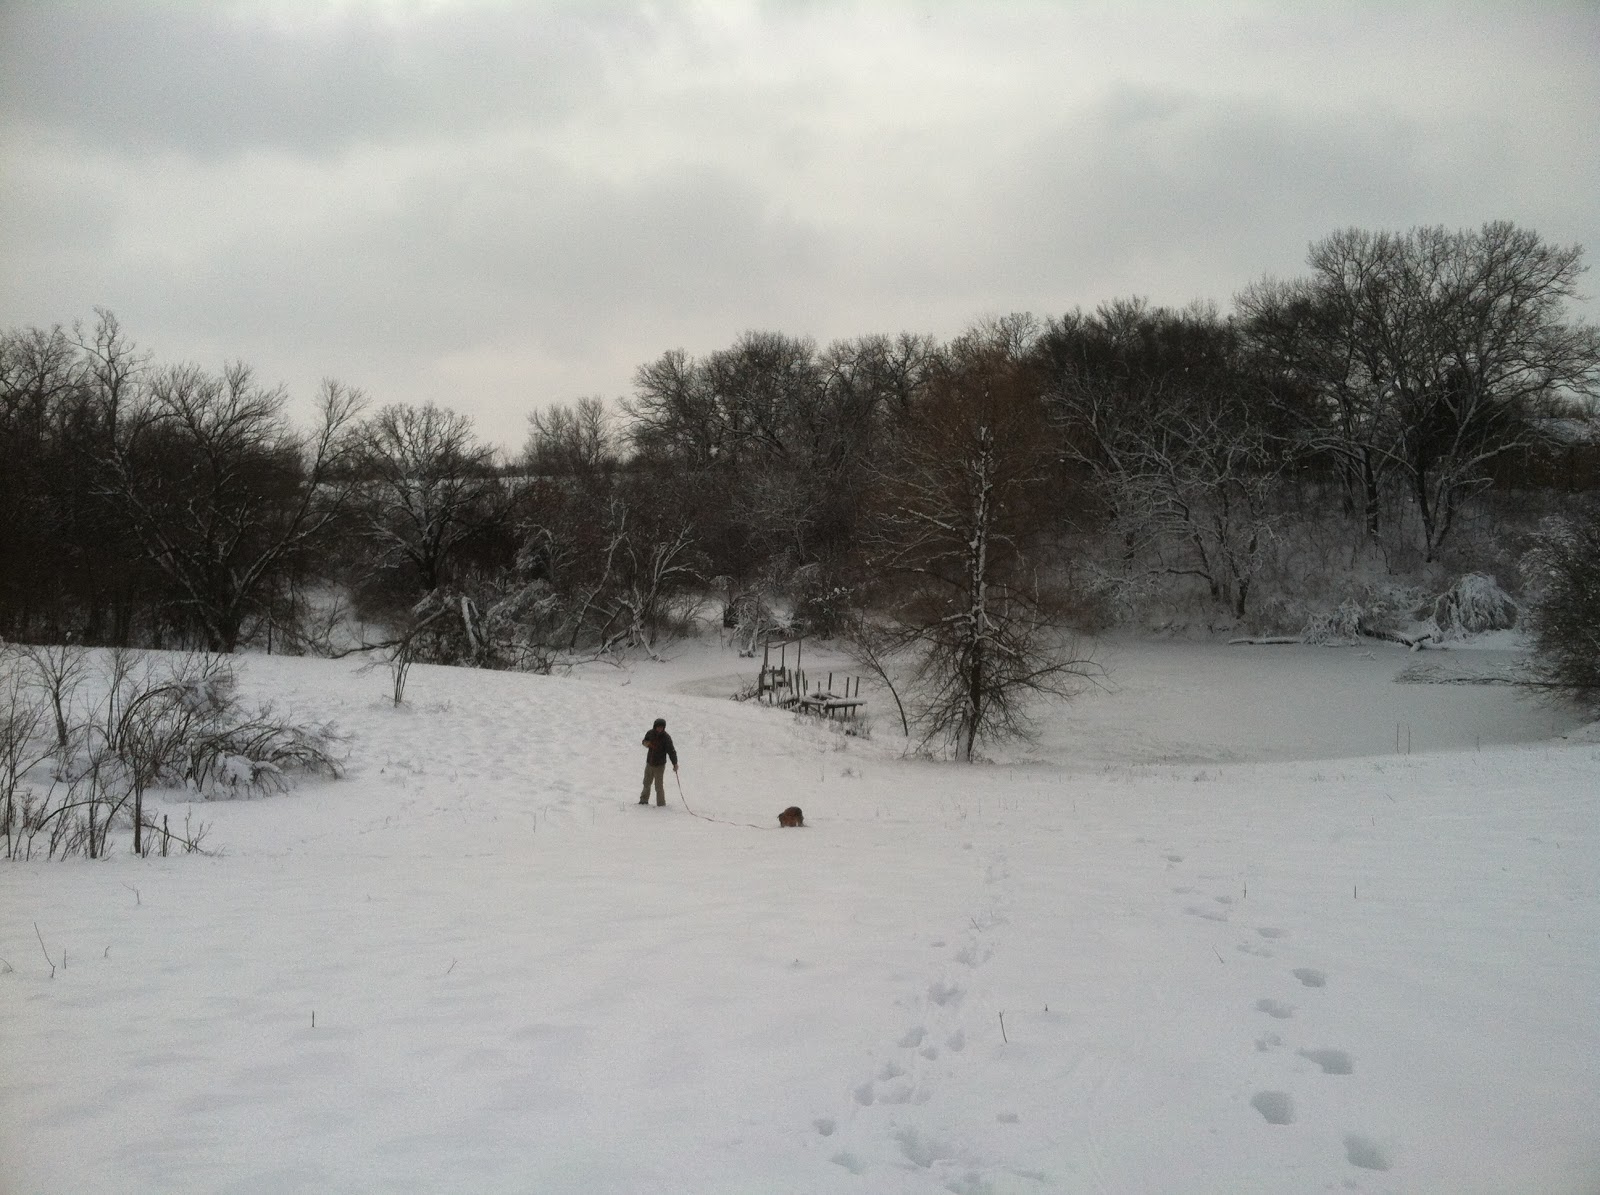
It snowed here last night.  Not the pretty, fluffy, dry snow that I love so dearly.  The wet, drippy, mushy, messy snow.  School was canceled, leaving us with a day to do errands, leisurely enjoy the day, work on some projects, and day dream of the contrasting weather.  Remember that lovely 73 degree weather last weekend?  Yeah, ate my words.  I was daydreaming of Savannah this afternoon.  We were there in April of 2011 – the last trip before Greta arrived.  Below are some highlights from that trip.  

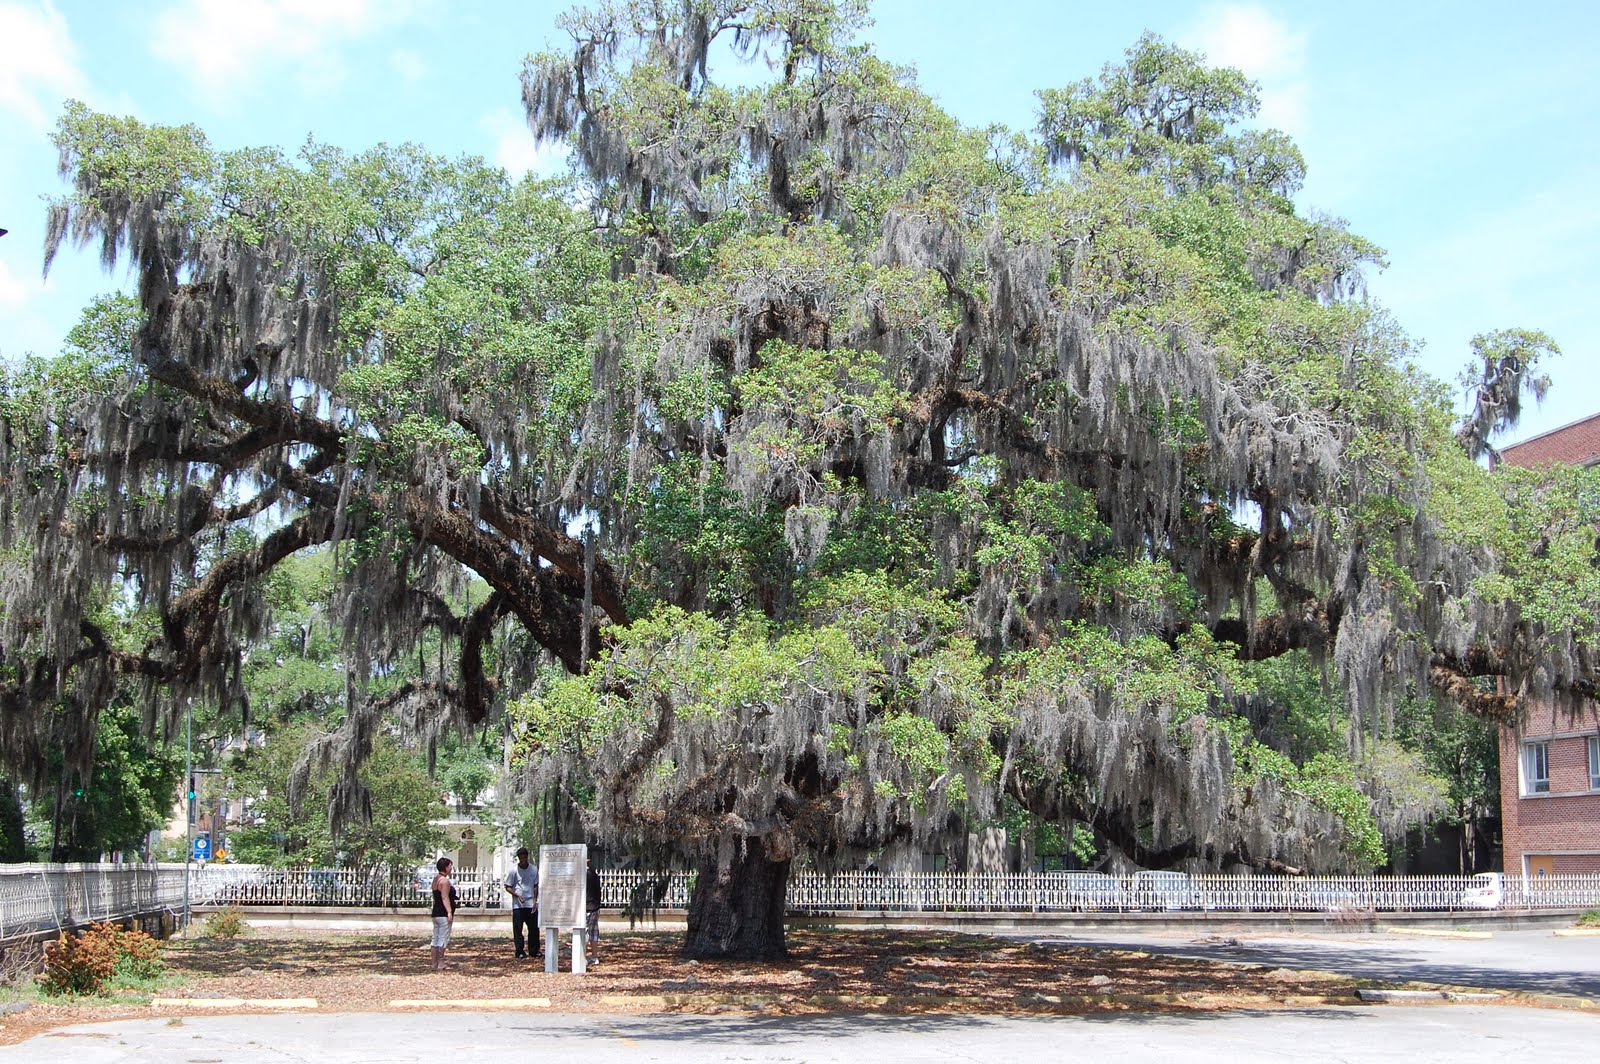
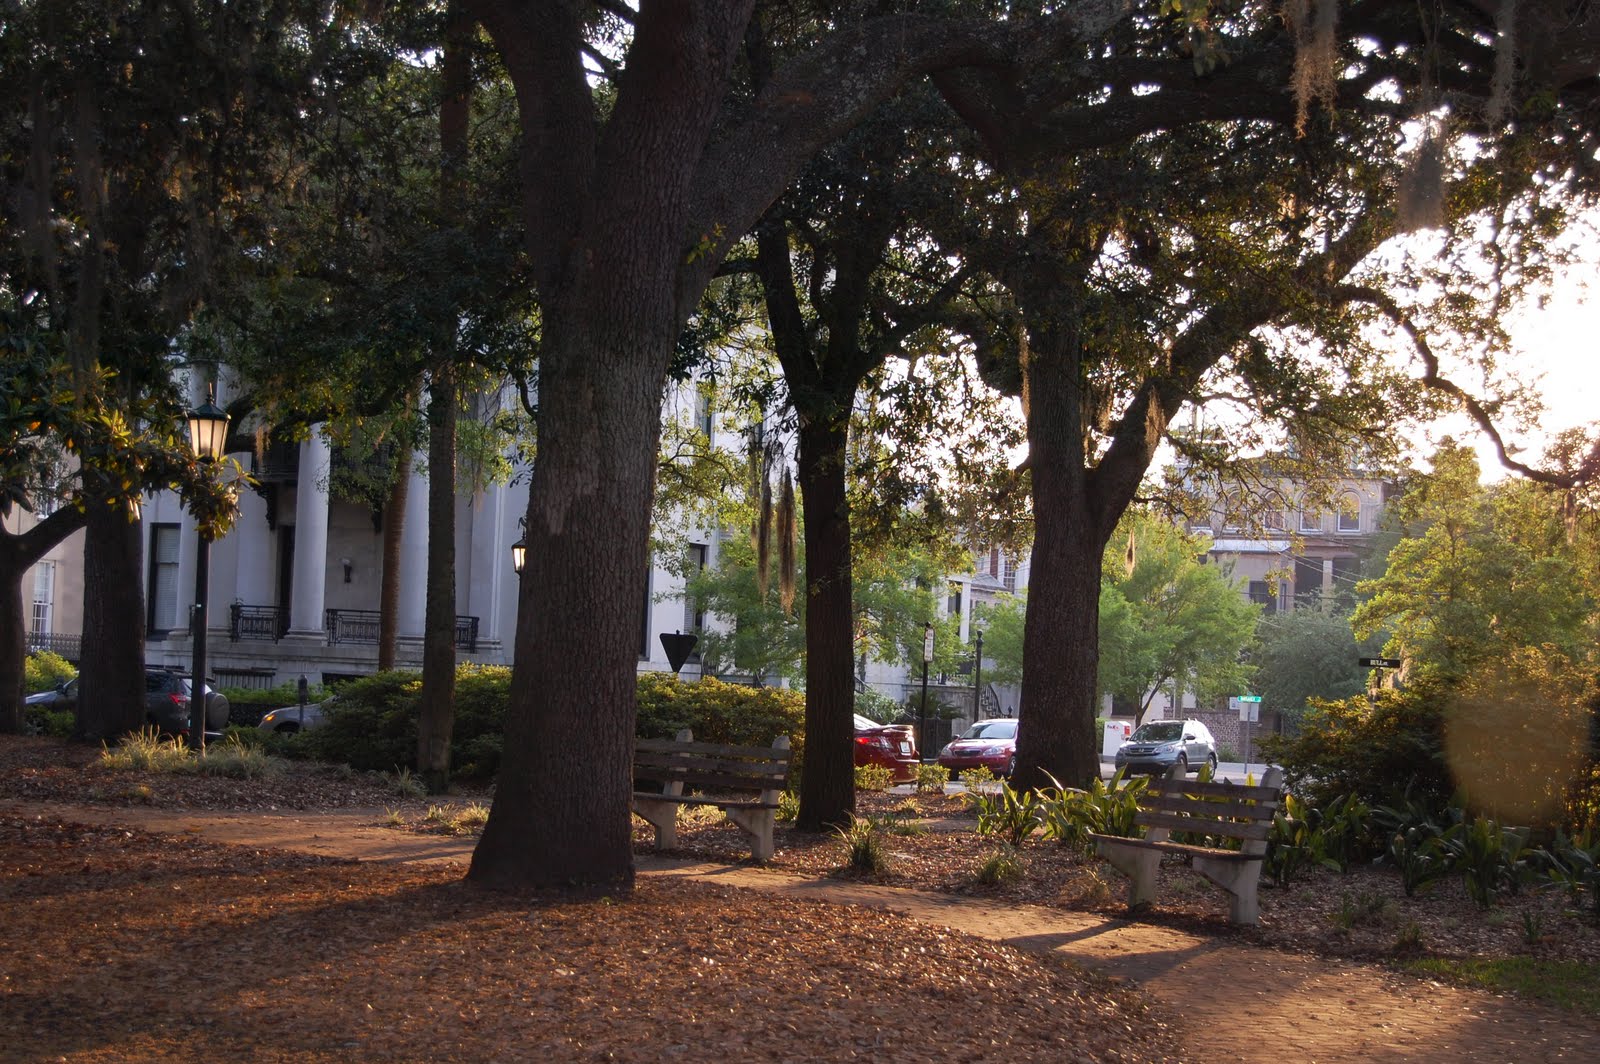
Live oaks.  Need I say more?

 They are glorious trees!

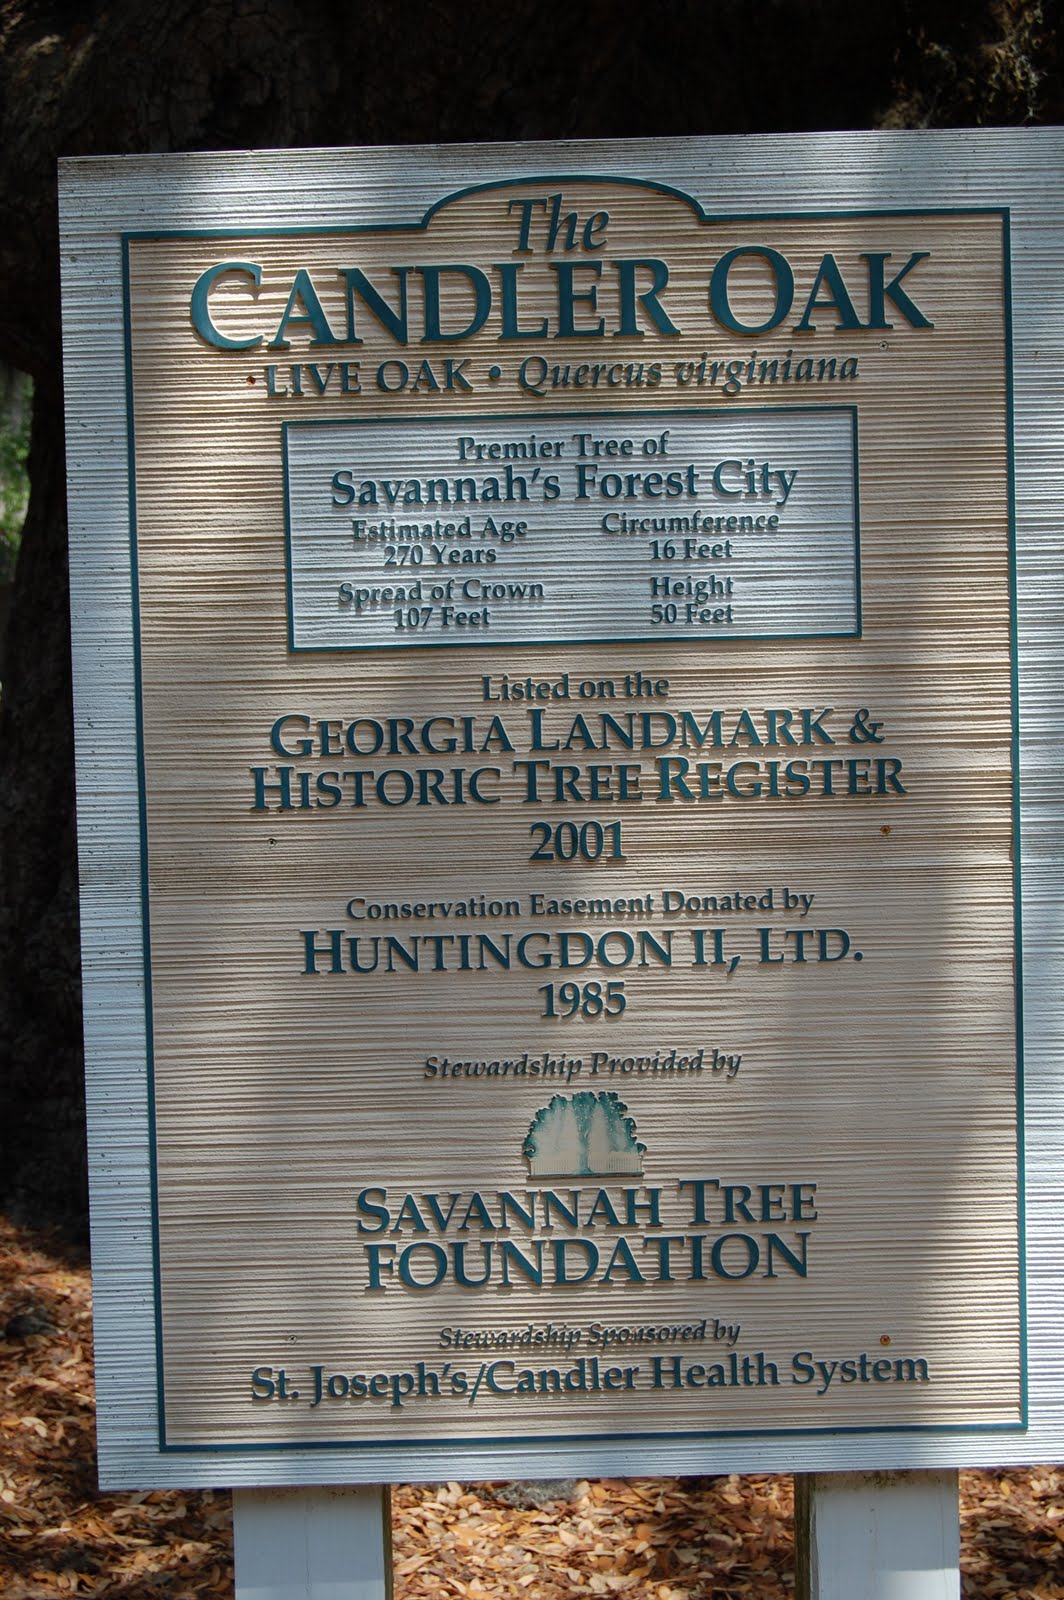
This live oak is called the Candler Oak.  

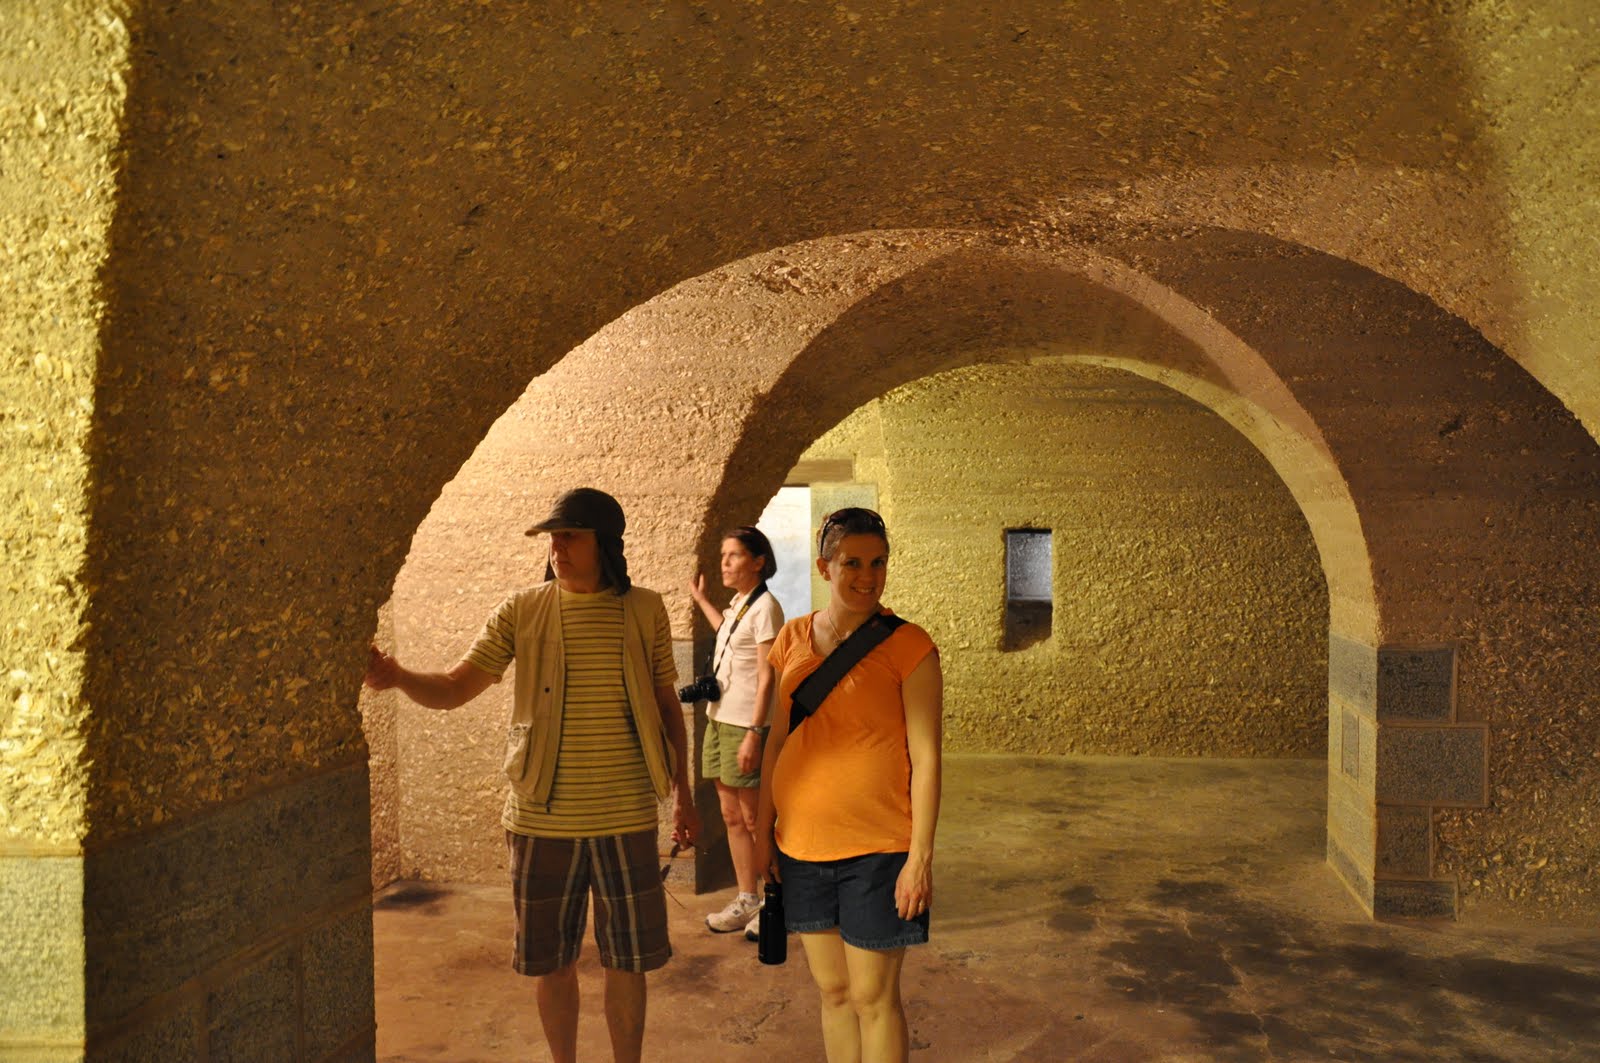
Yes, I told you I was pregnant.  We met my parents in Savannah, a place none of us had ever been before.  One of the places we made sure to visit was Fort Pulaski, just 15 miles east of Savannah.  This site is historical not only for its role in the Civil War, but also because the Union Army used rifled canon against the Confederates holed up inside, forcing them to surrender.  We happened to be there during National Parks Week, which allowed us free entrance.  This year’s National Park Week is April 22 – 26.

As always, when traveling, I am constantly learning.  I love living in the South and being able to soak up the abundant history.  This trip was no different – I learned of the important role that Savannah played in the Civil War.  On December 22, 1864, Union General William T. Sherman captured the city of Savannah after his famous march to the sea.  This had been one of the last major ports that had been in use by the Confederate army.  Sherman’s army left a wide path of destruction in their wake in order to bring suffering to the South, in hopes of ending the war quickly, however Savannah was left largely untouched.  Sherman sent word to President Lincoln, “I beg to present to you, as a Christmas gift, the city of Savannah, with 150 heavy guns, and plenty of ammunition, and also about 25, 000 bales of cotton.

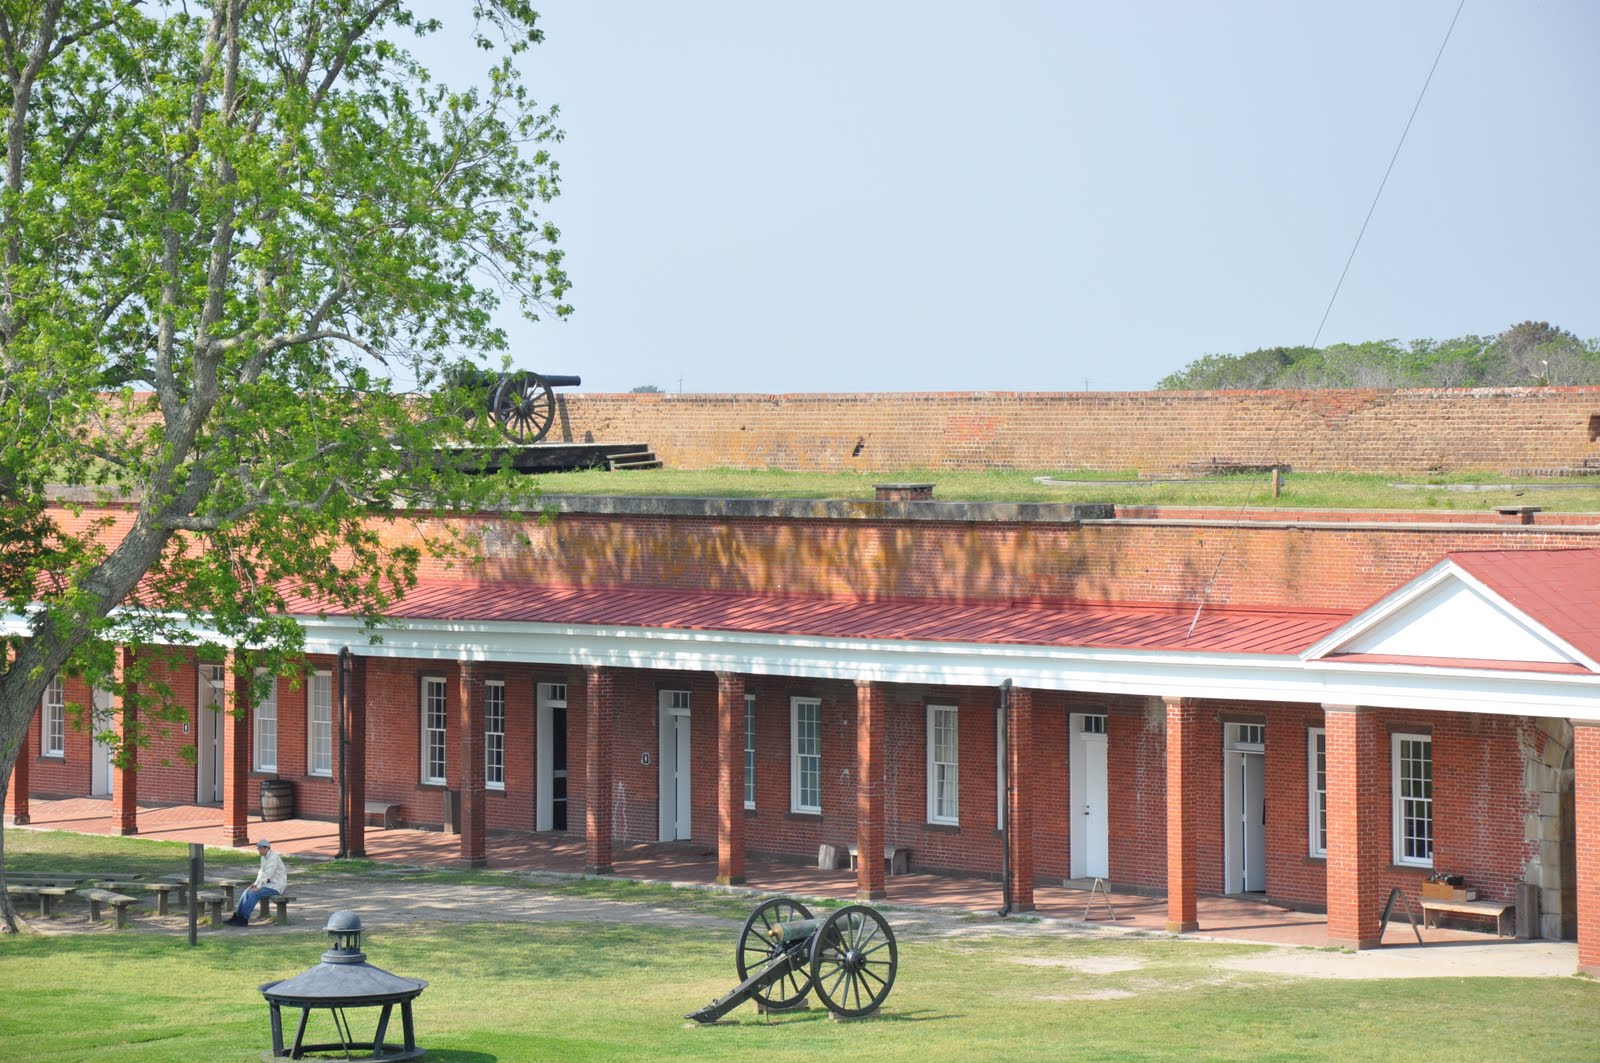
 There were plenty of Civil War era supplies to look at.

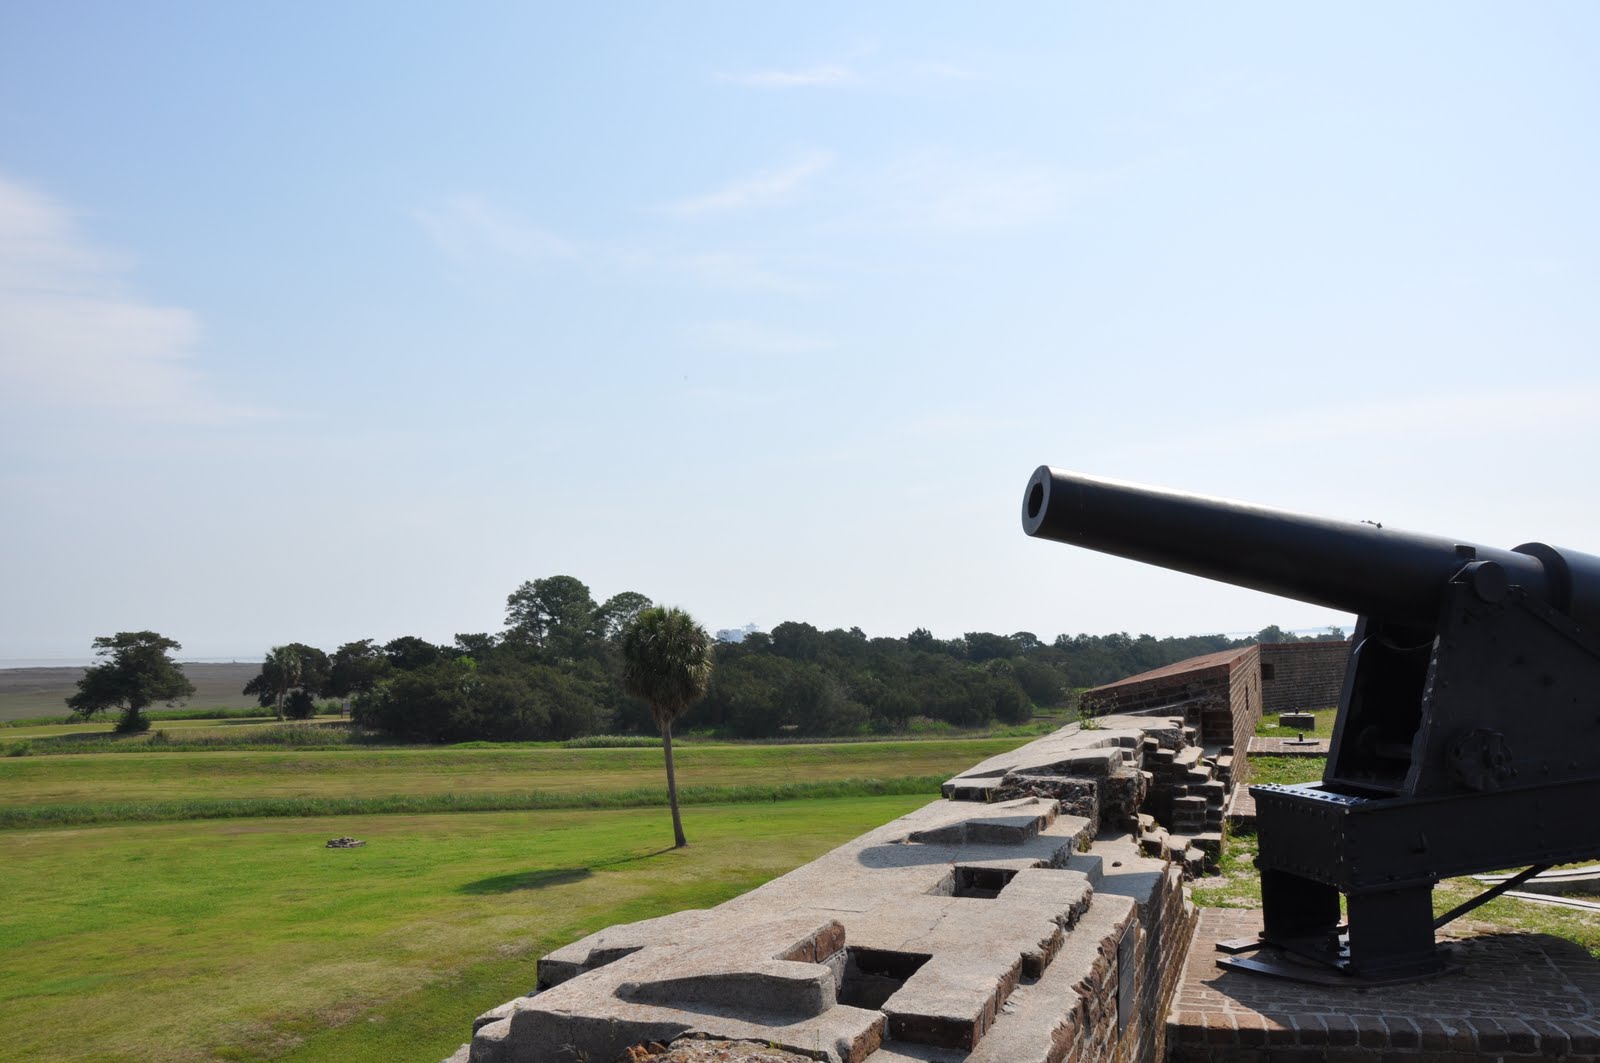
 The views of the surrounding marshlands were impressive from the fort.

 View into the fort from the top.

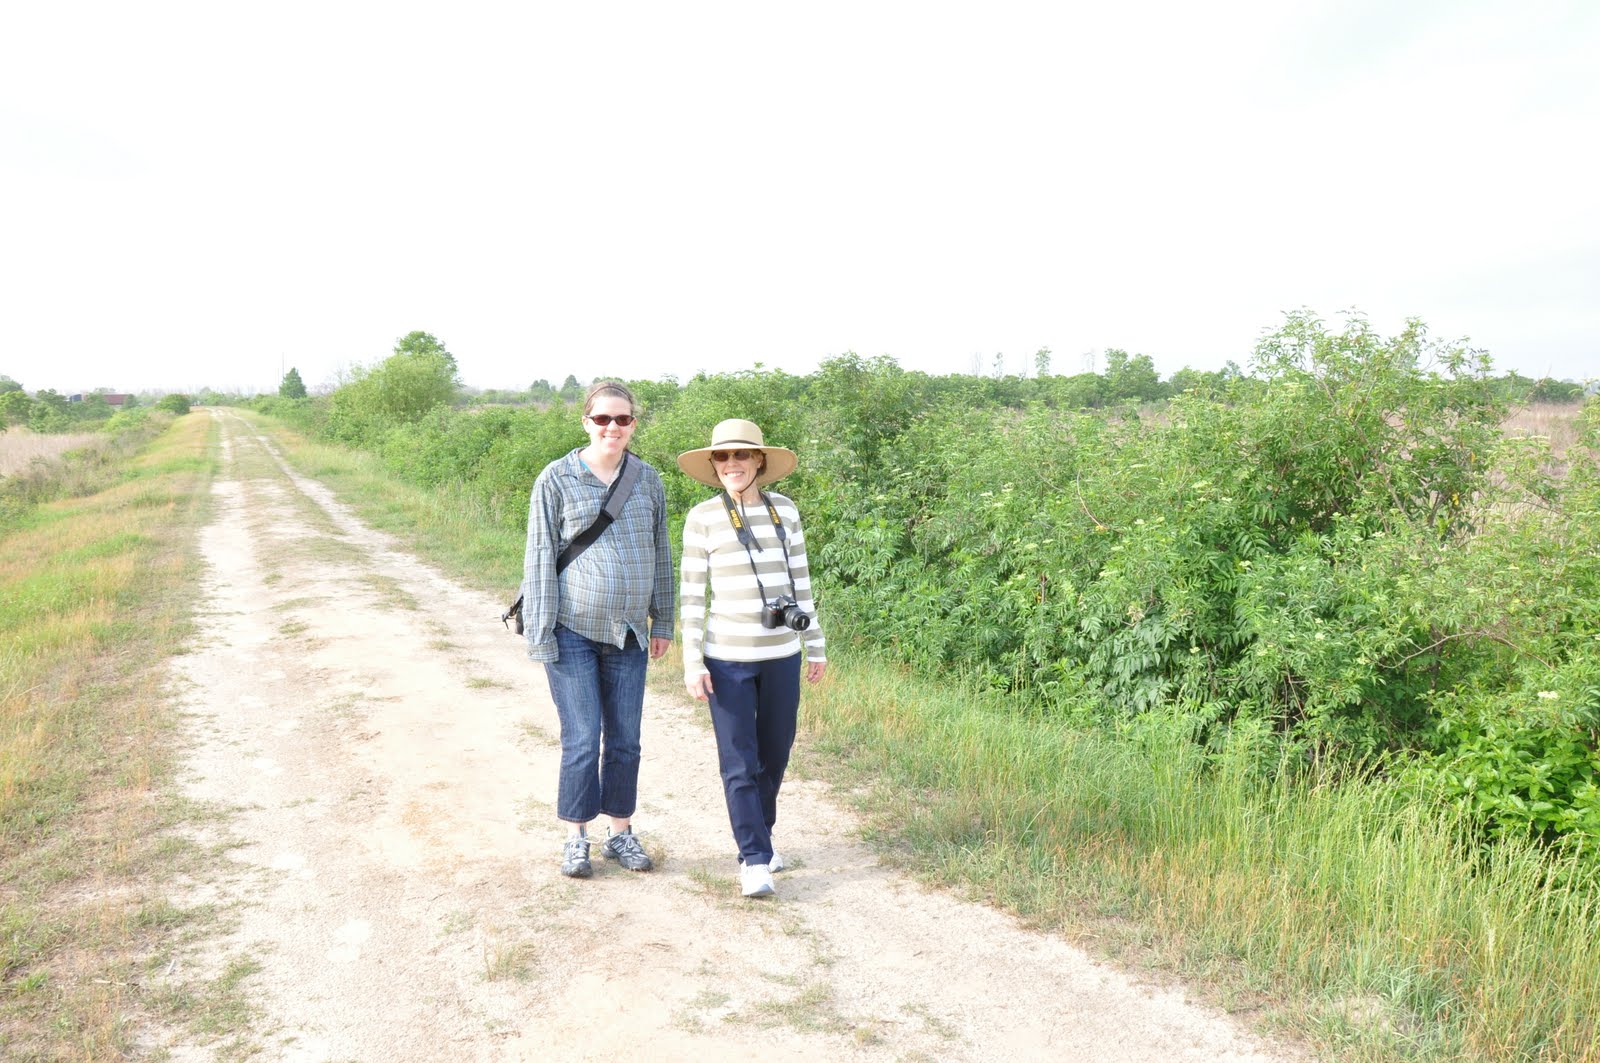
 We also made a point to visit the Savannah National Wildlife Refuge, which is actually in South Carolina.  The refuge has an interesting center with exhibits and a gift shop.  There are trails that spiral out from there.  Or, you can drive to more rural sites and walk along dirt trails in hopes of spotting birds, alligators, and the likes.  I do not recommend walking around with bare skin, especially if pregnant, you will be eating alive by mosquitoes.

We were lucky enough to see an alligator.  He leisurely swam around the marshy area for quite some time, allowing us ample time for quality photographs.  This refuge was once a rice farm, but is now since been returned to a wild state.  
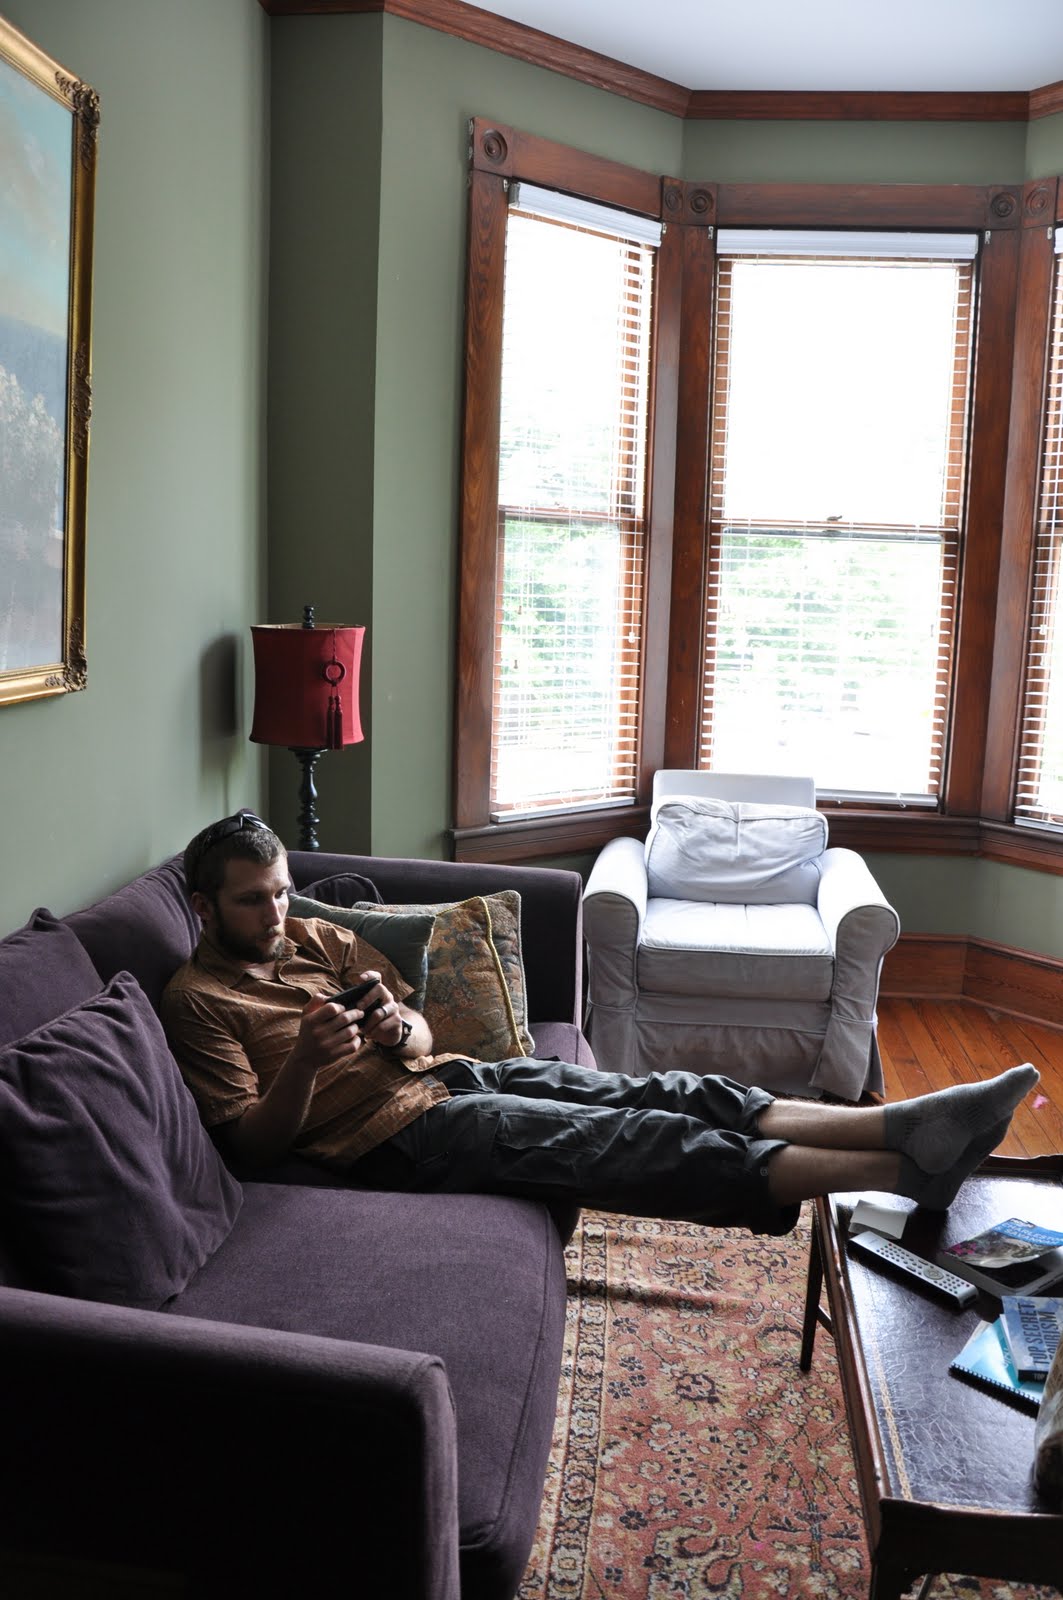
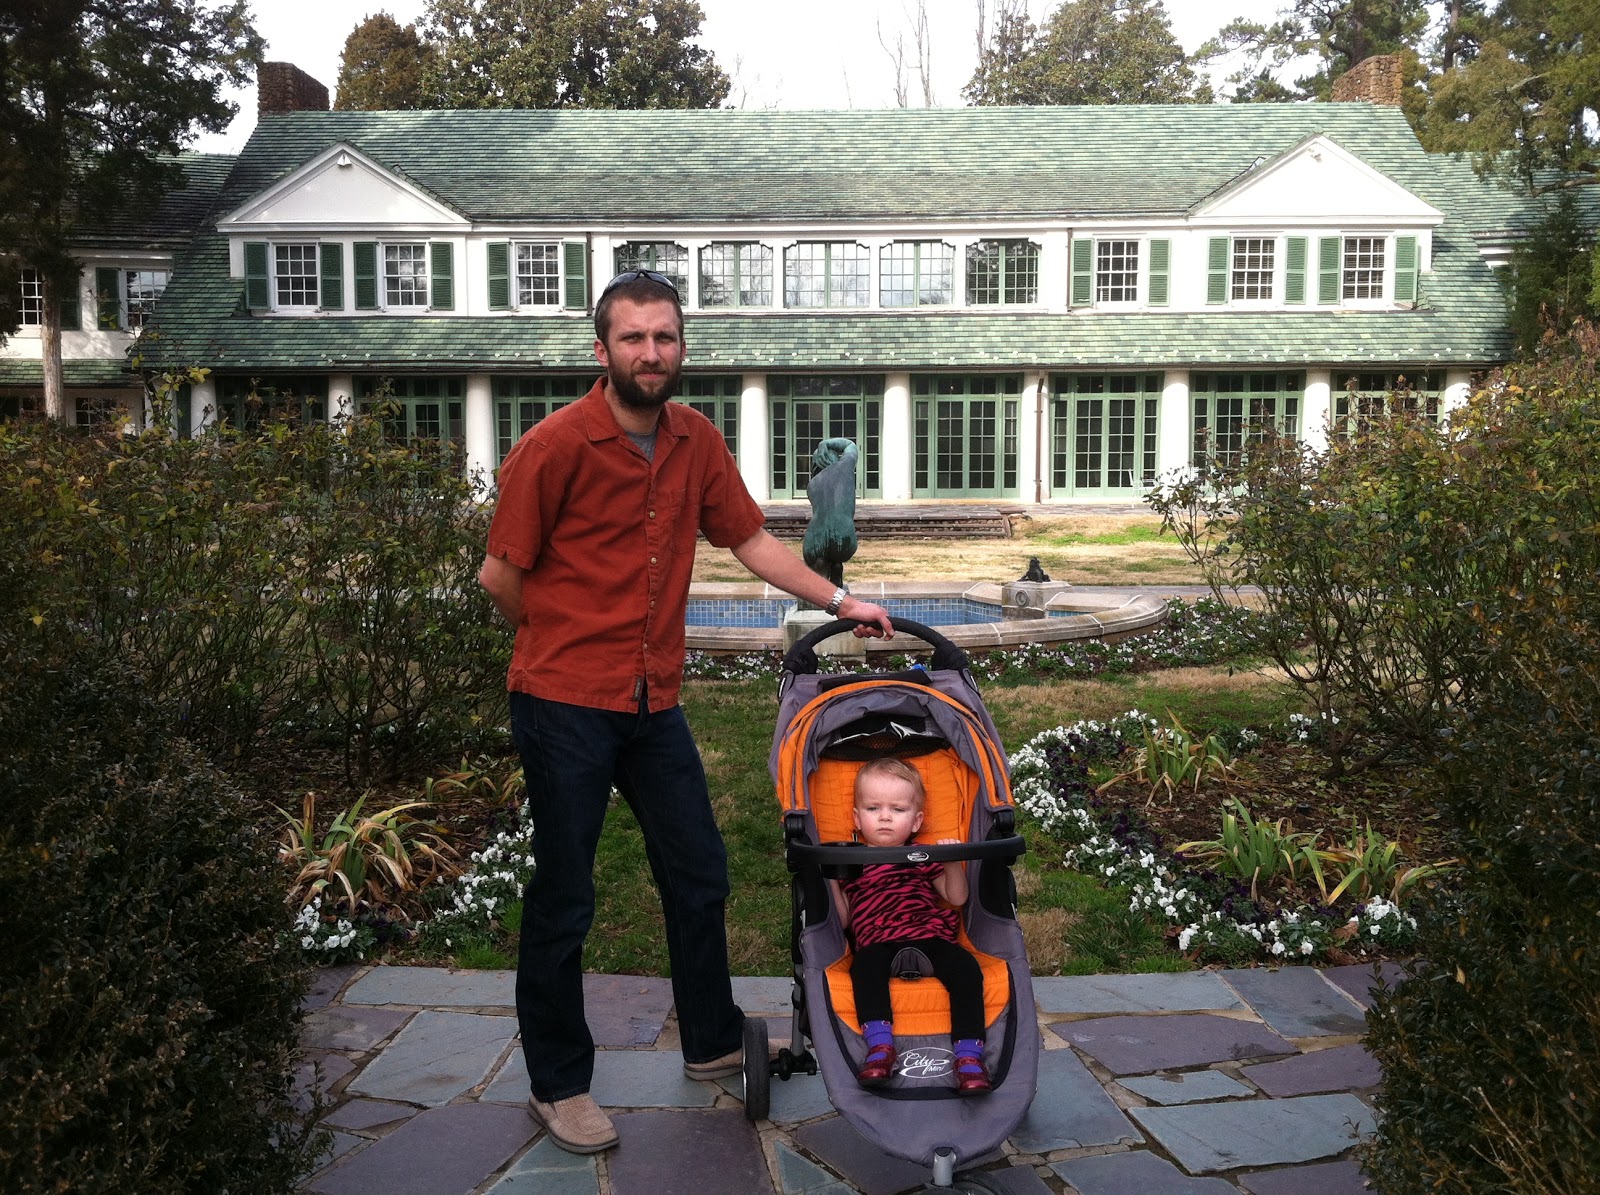
Back in Savannah, we stayed at a nice house, divided into three levels, called Suites on Lafayette.  We enjoyed having the space to spread out.  

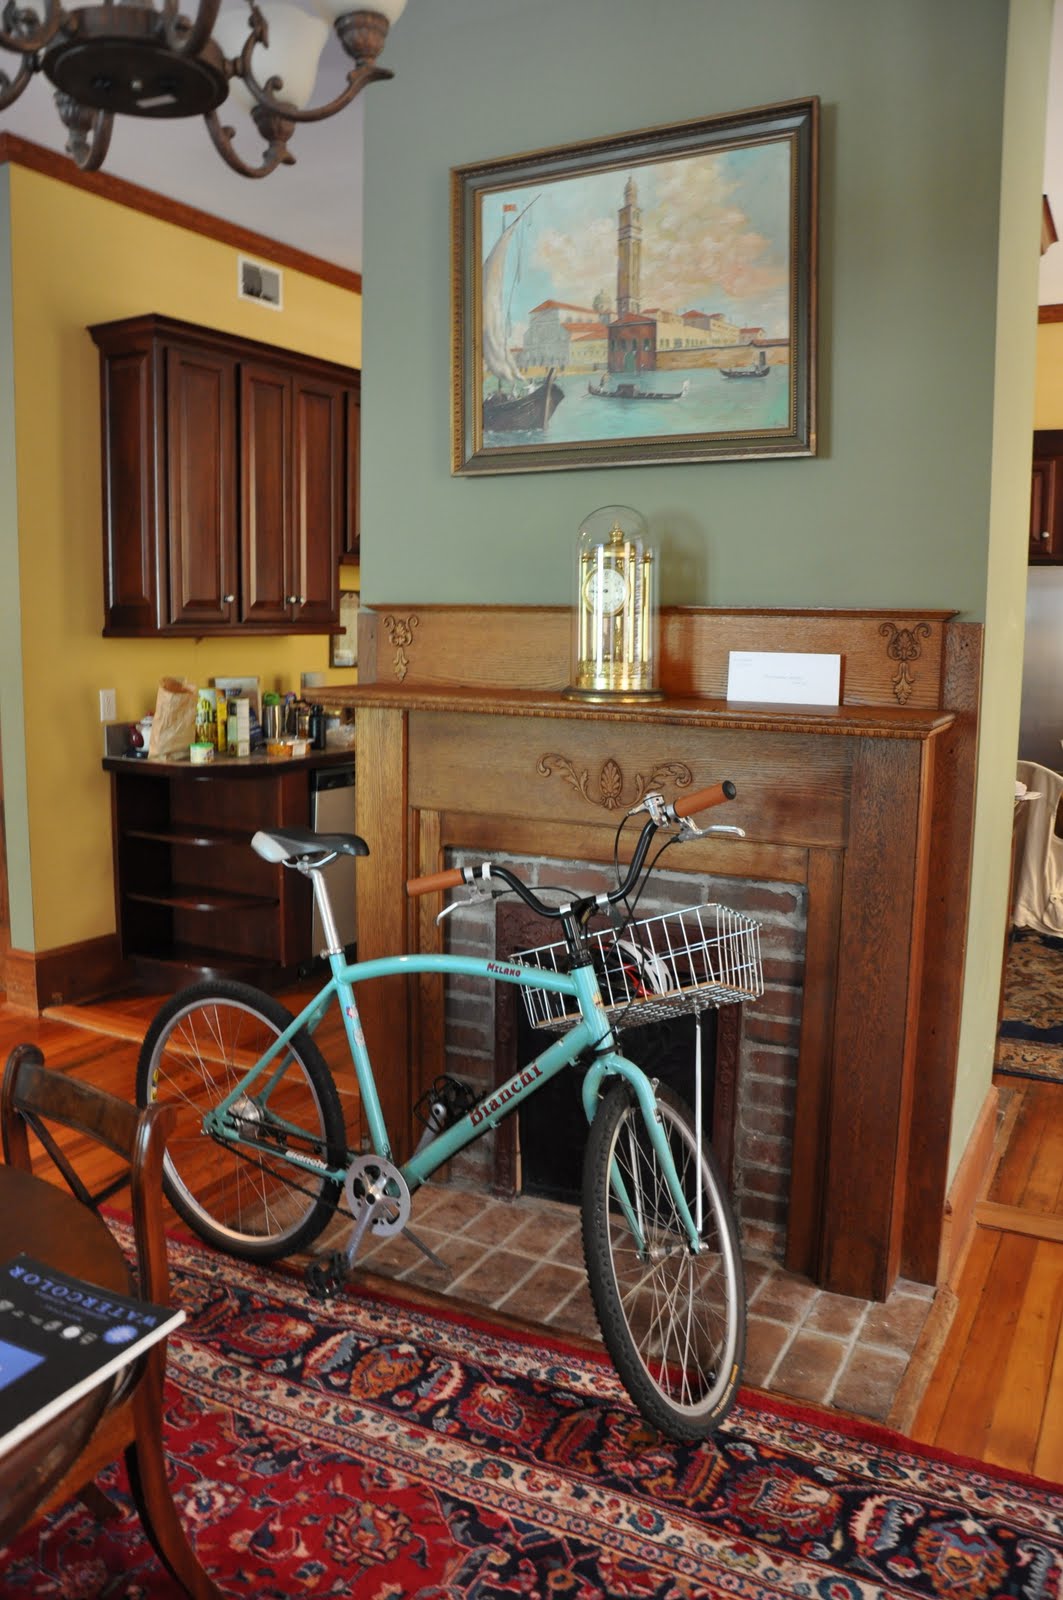
Eric brought his bike along.  Savannah is a great place to bike – mostly flat with areas easily accessed by bicycle.  Alas, I was a little past the biking point at this stage in pregnancy.  It was nice that he was able to run to the store without risking losing his parking space.

The house overlooked Lafayette Square.  One of Savannah’s defining features are its numerous squares that help to distinguish each neighborhood surrounding it.  

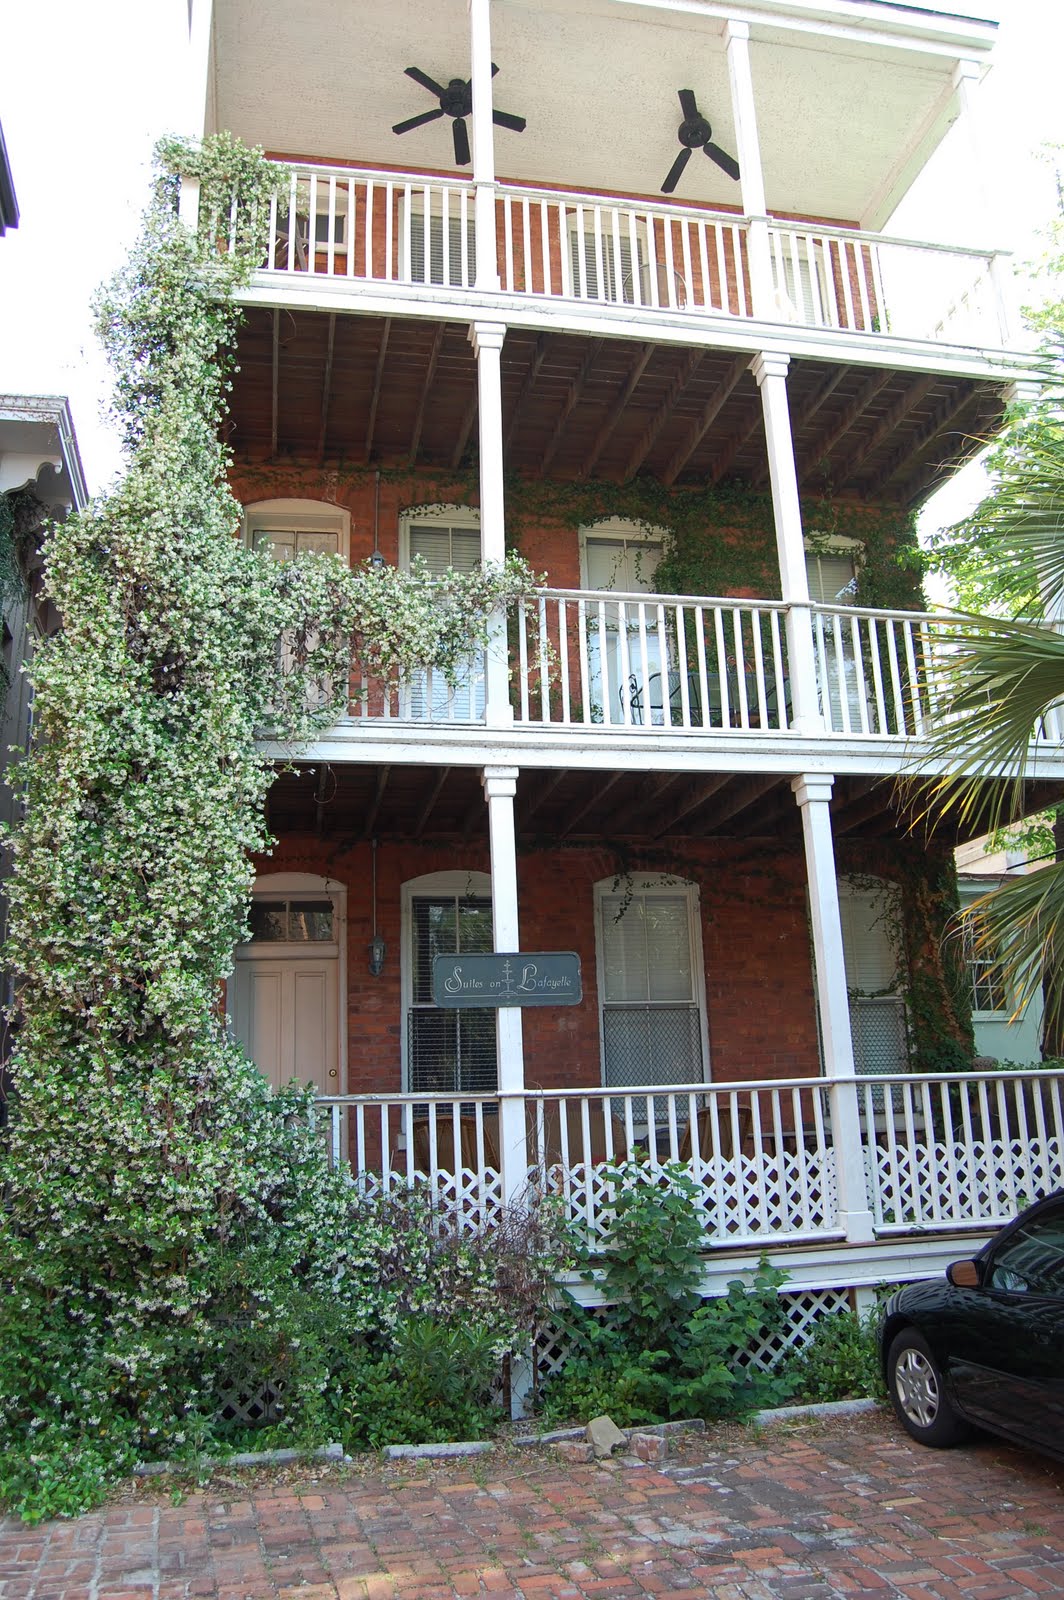
The back side of the Suites at Lafayette had wonderful covered porches covered in sweet-smelling jasmine. 
The porches overlooked the yard of the childhood home of Flannery O’Connor, the writer.  
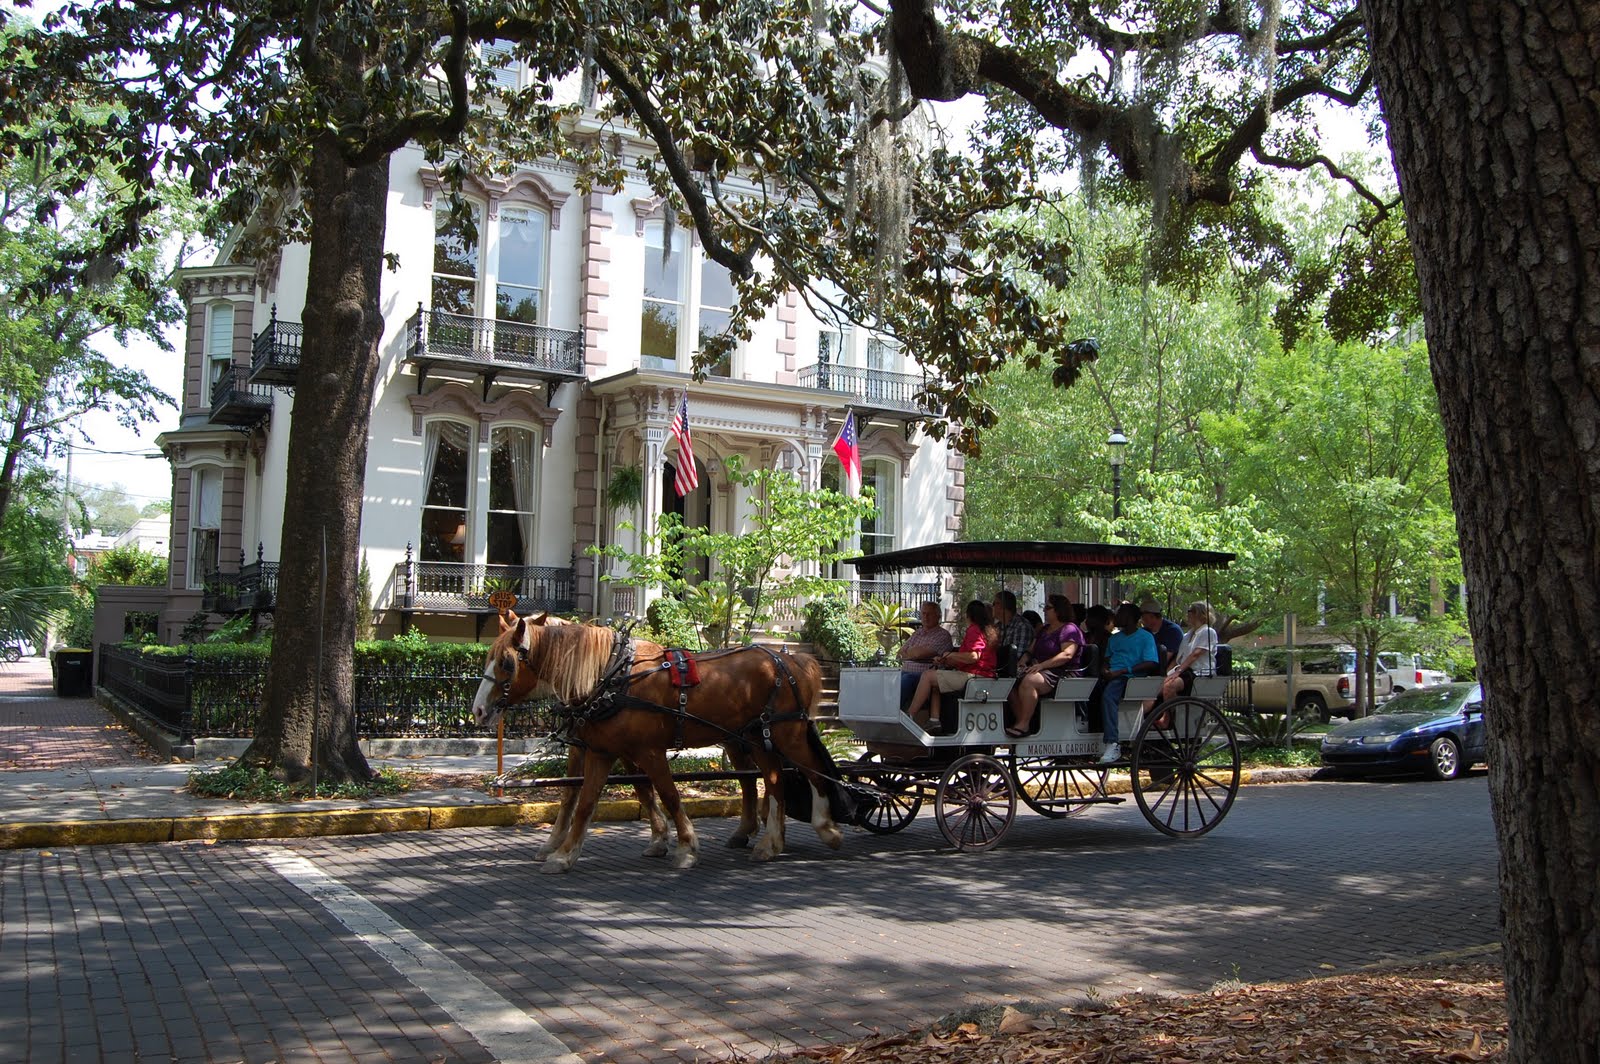
This is a view of the Hamilton-Turner Inn, kitty corner from the Suites at Lafayette.  
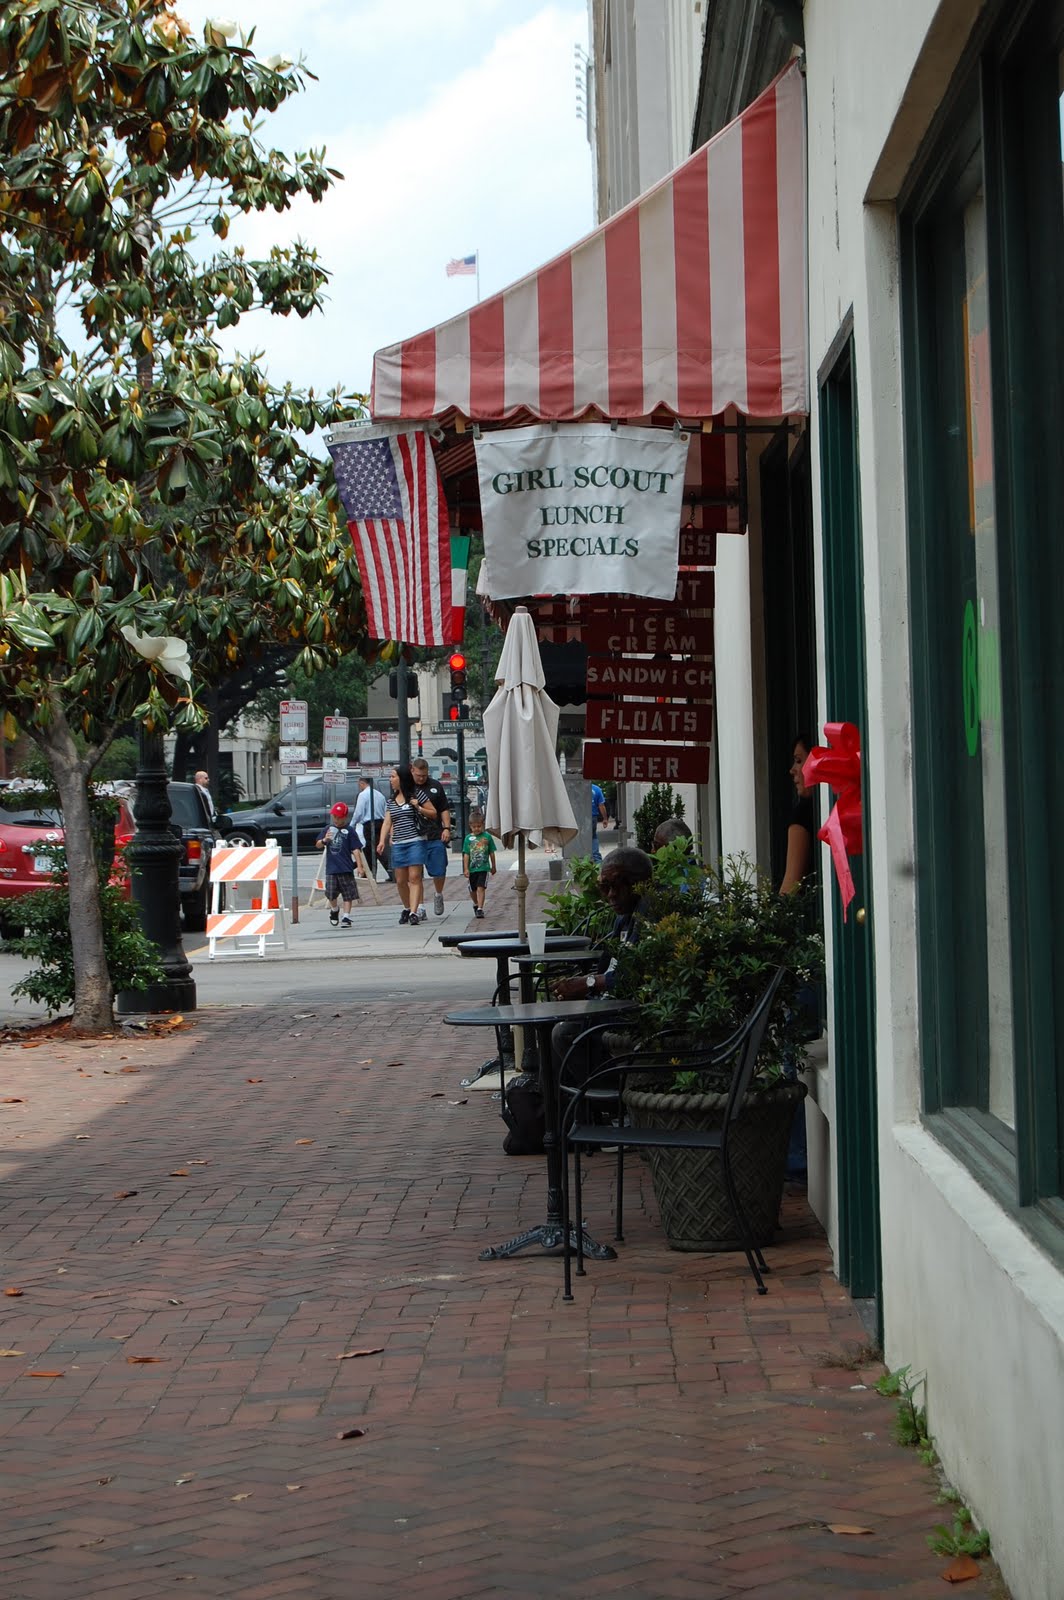
Savannah is always teeming with girls scouts – for good reason too.  
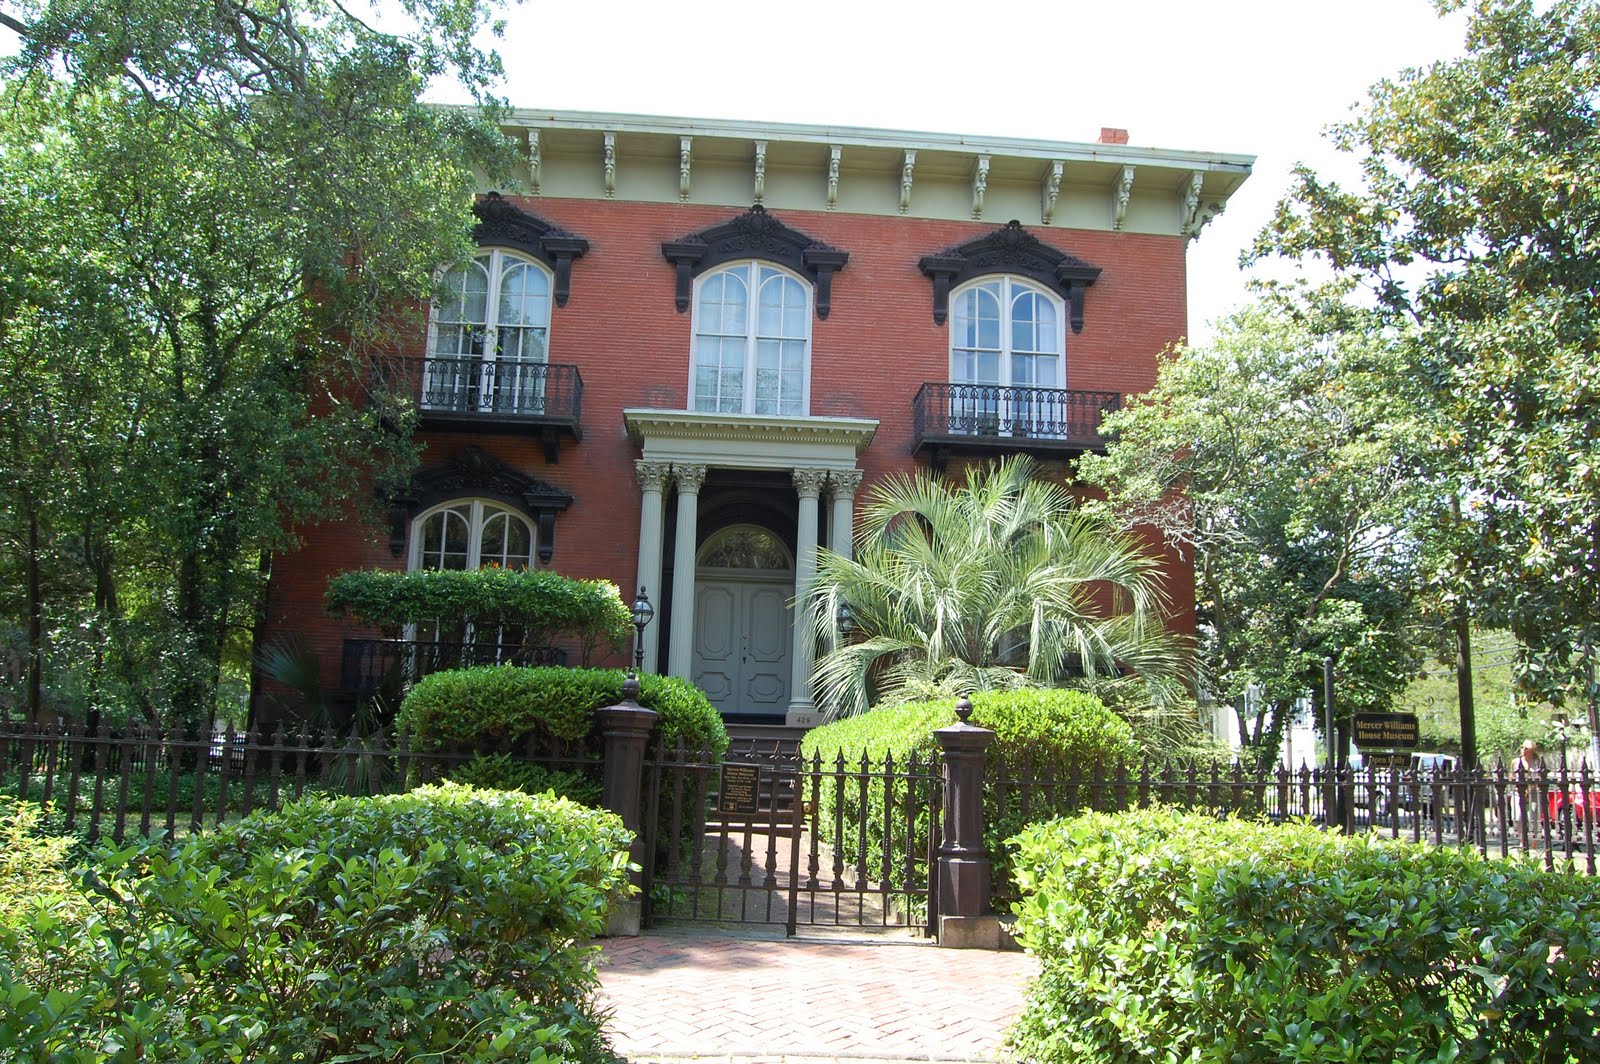
Of course we had to be gawkers and stroll by the Mercer House, known for its role in Midnight in the Garden of Good and Evil.  
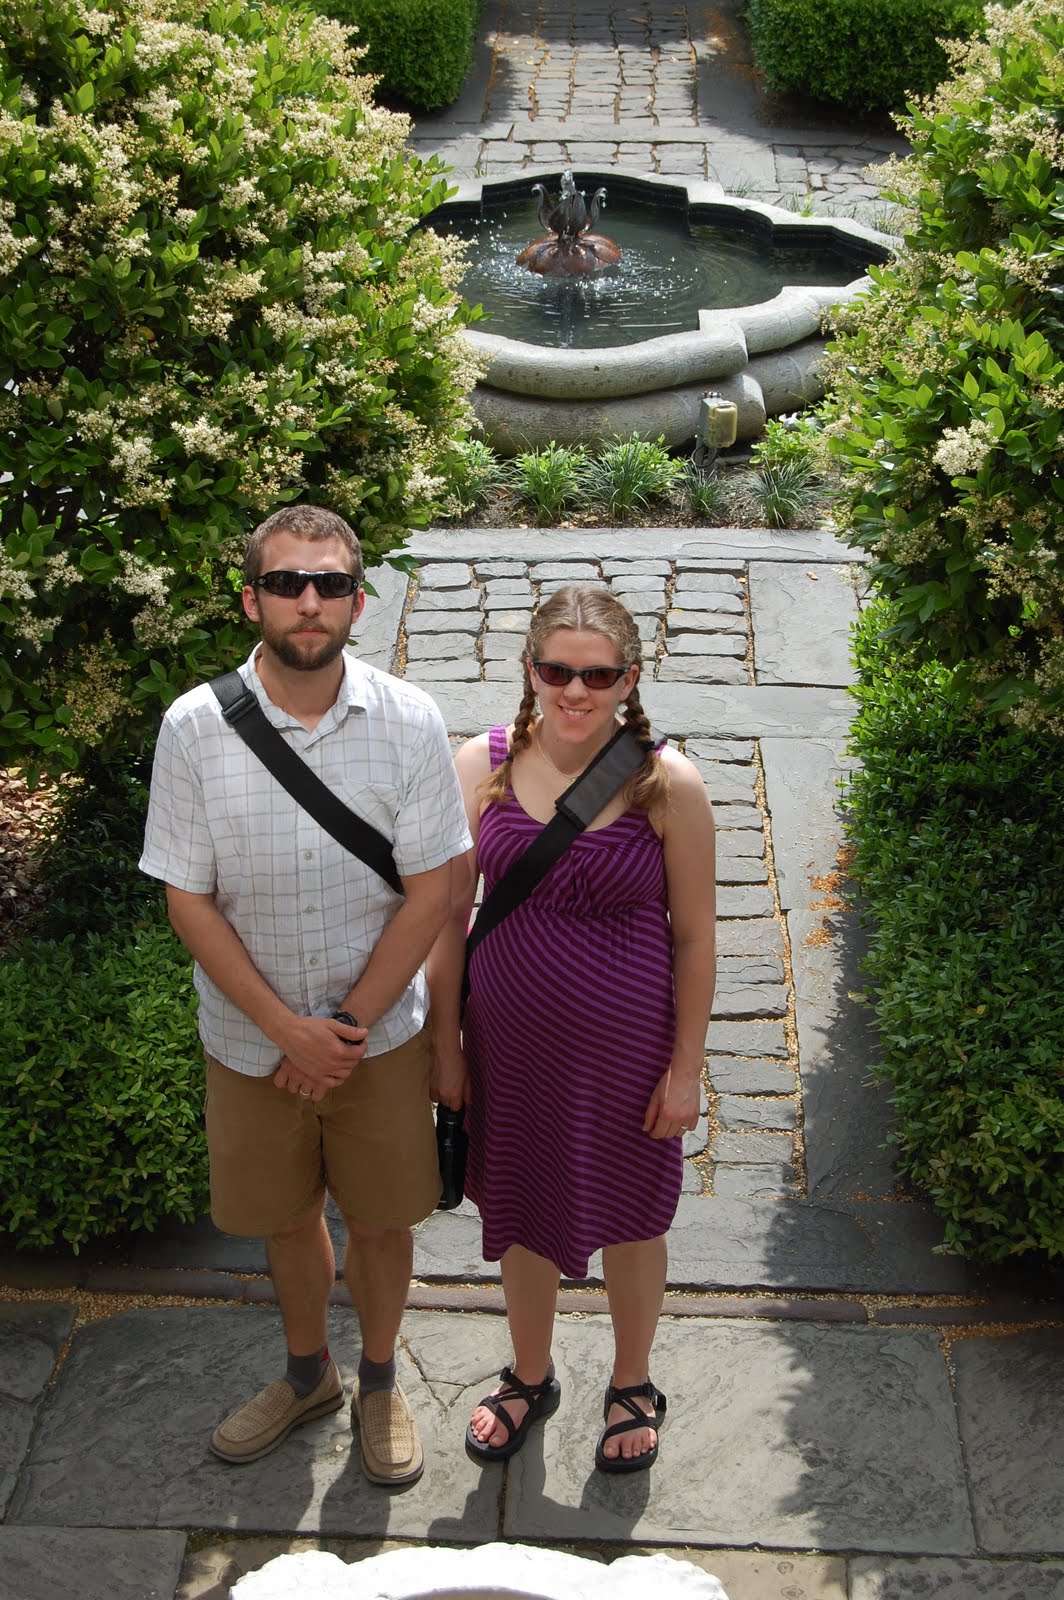
The 
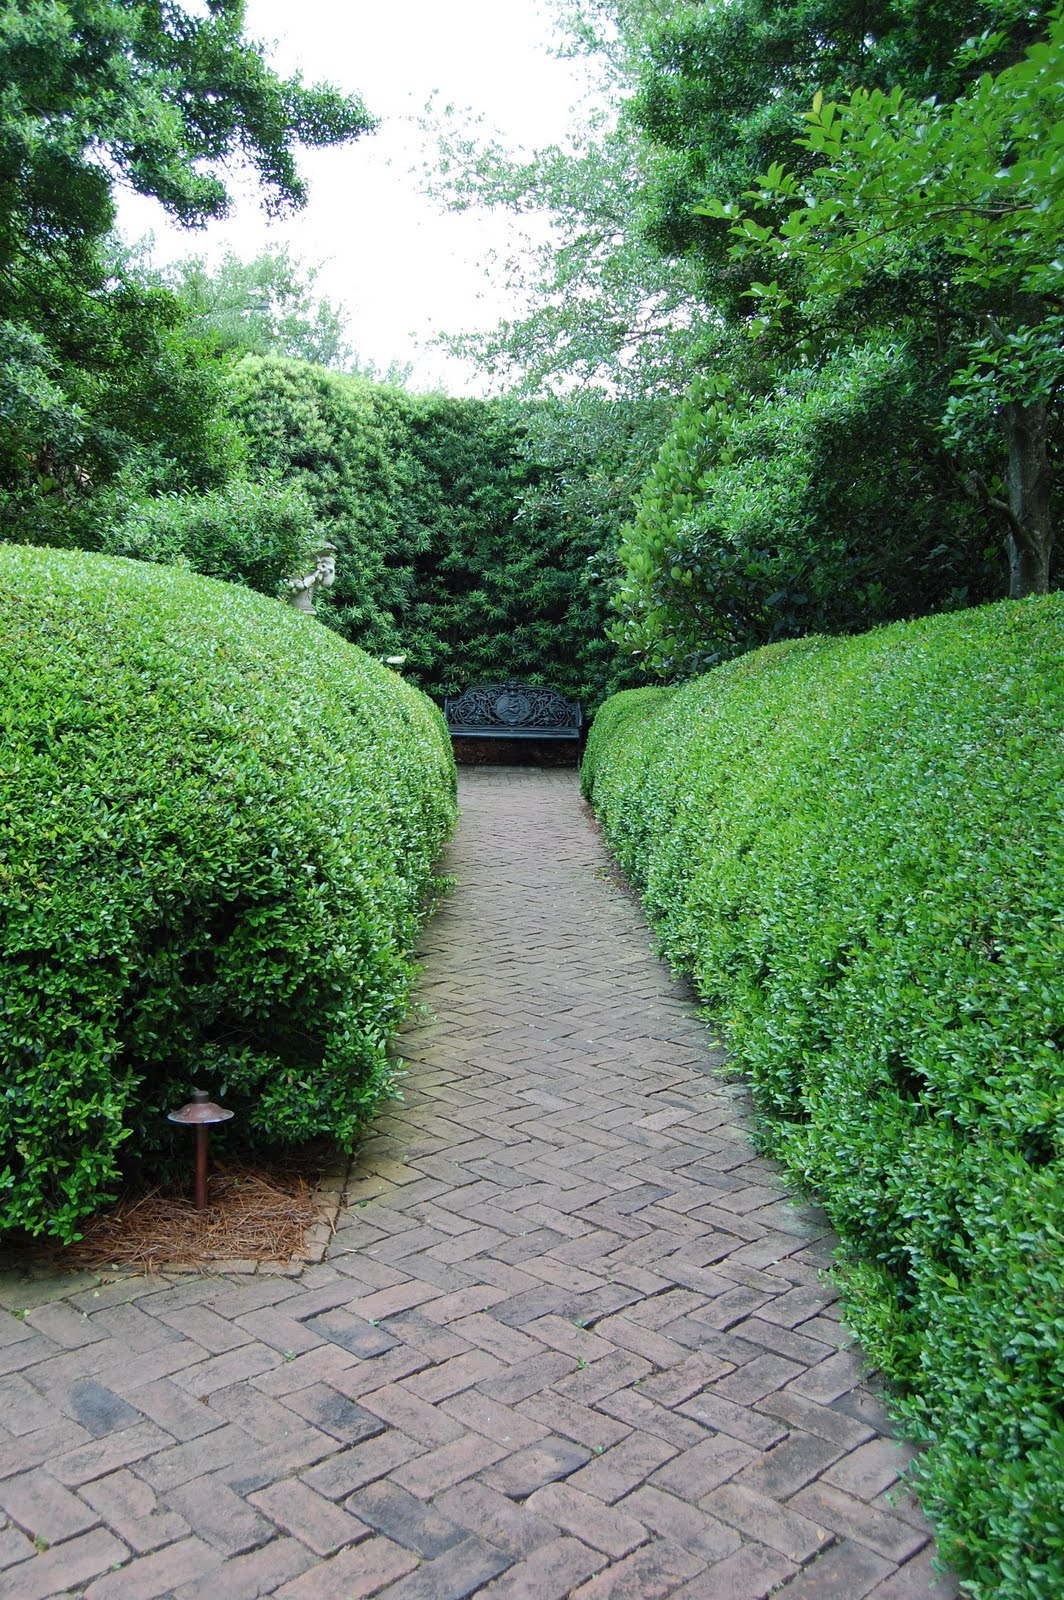
Davenport House Museum was an interesting tour with lovely gardens as well.  This home was completed in 1820 and marks the beginning of Savannah’s conservation of historic homes.  Some of the highlights of this home are the oval dining room, the curving double front staircases entrance, and the woodwork on the grand staircase.  
There are plenty of places to eat in Savannah.  My pregnant self did not slow down to photograph any of the great places to dine.  One place that stands out was the Firefly Cafe, however.  They have a corn chowder with crab meat!

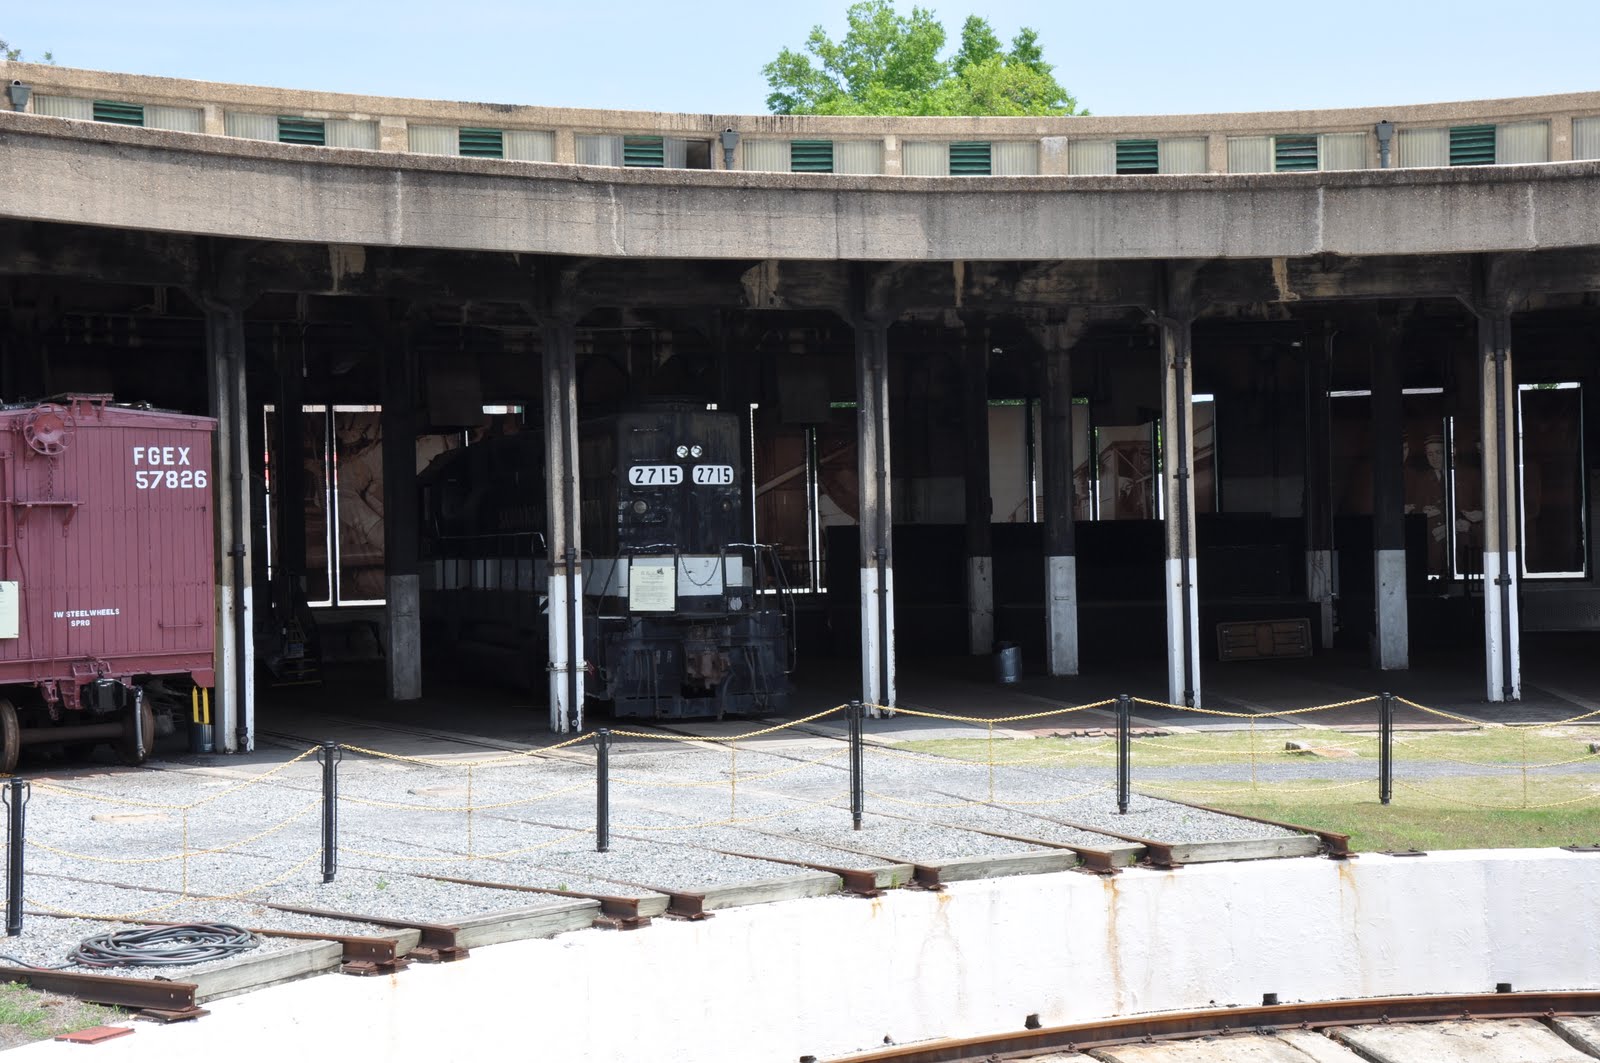
 We appeased Eric’s interest in all things transportation and visited the Roundhouse Railroad Museum.  This is a large roundhouse that contains various examples of trains, engines, and other railroad memorabilia.  Despite my expression, I really did enjoy this museum.  It was just hot.  Really hot.  Did I mention I was pregnant?

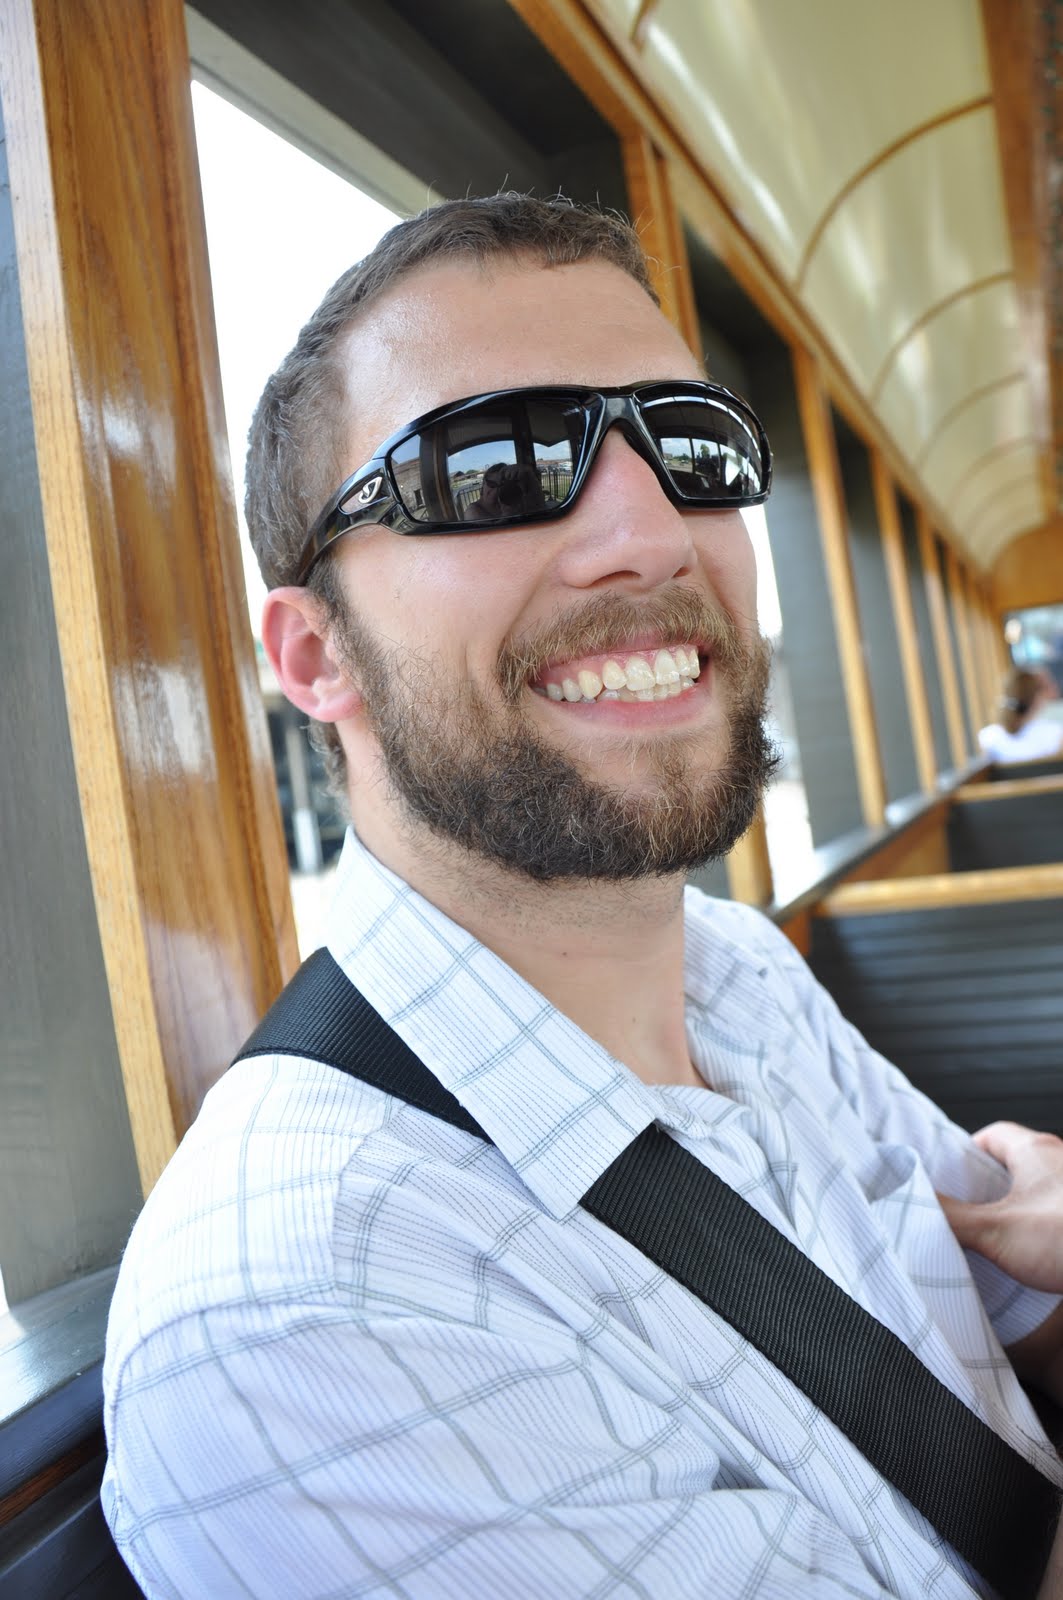
Eric was all grins when we went on an actual train ride.  This train ride takes you on the roundhouse, which turns the train around on a track.  

See, we are spinning around the face the opposite direction here.  
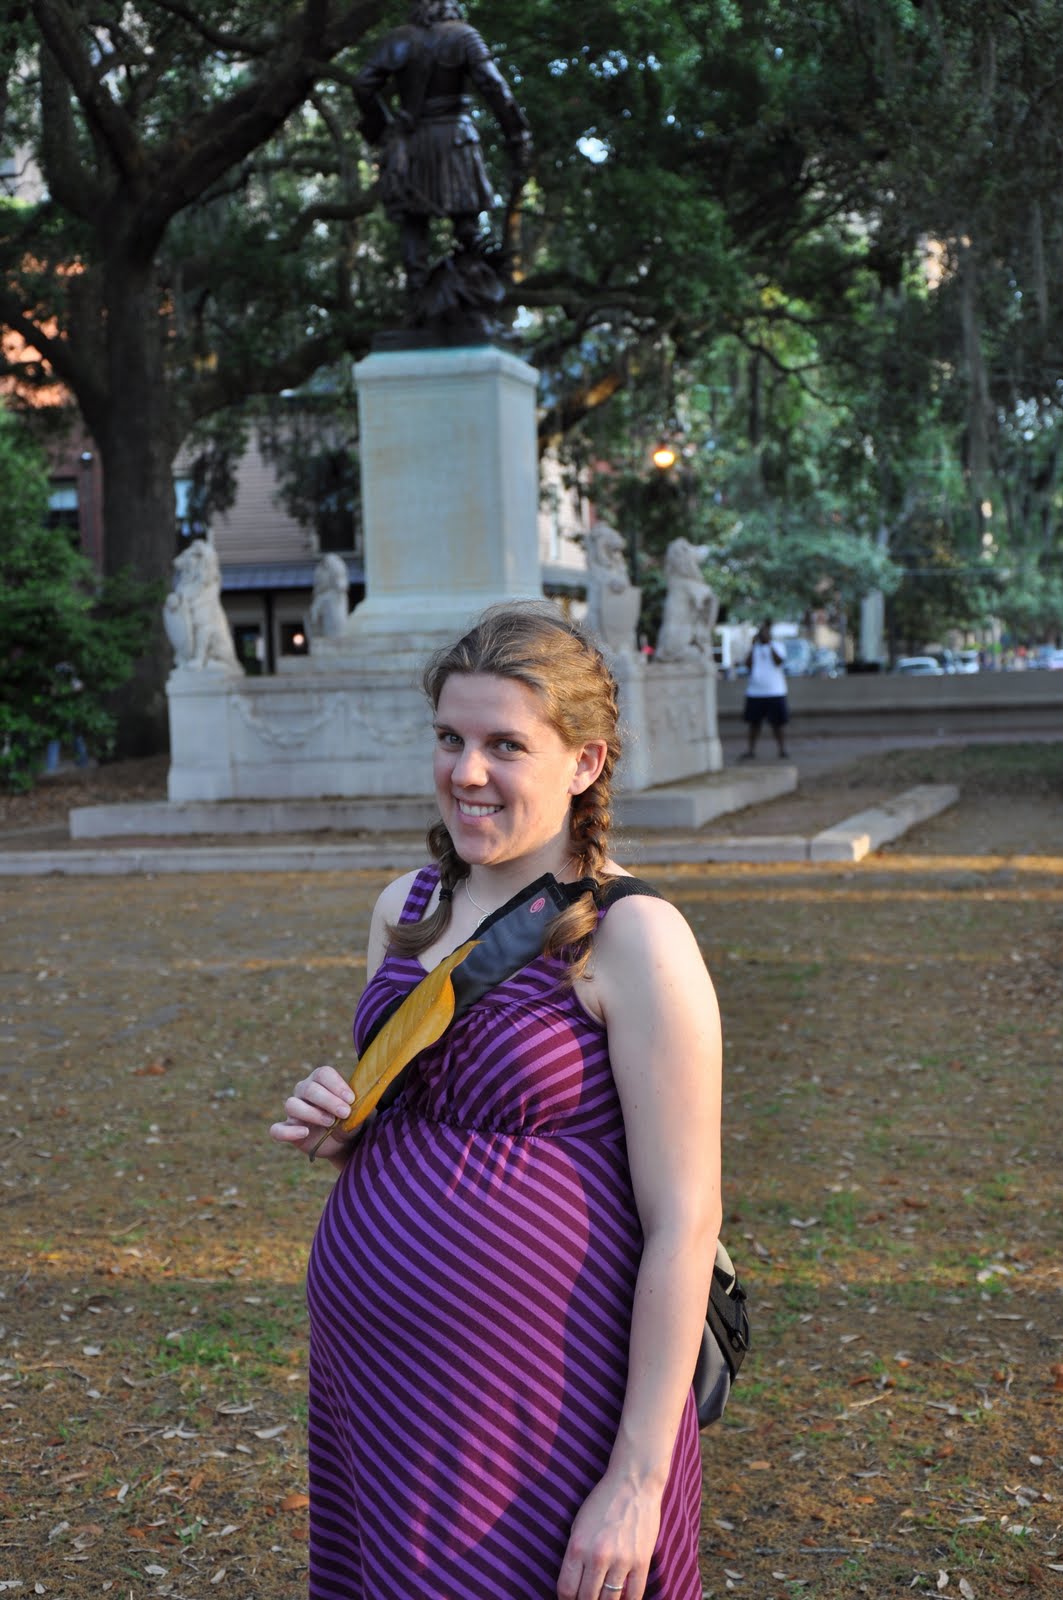
Later, we took one of those hokey trolley tours.  When you are pregnant, it is a good option.  We got off to see the Forest Gump square, also known as Chippewa Square.  That leaf is my feather.  

Recognize the church steeple in the background?  The feather floats past it in the opening scene of Forest Gump.  Yeah, I didn’t remember it at first, either.  What is that ghastly white thing in the corner? Sorry!
The Ships of the Sea Maritime Museum really impressed me.  Again, Eric’s love of all things transportation.  The house that holds this collection is called the Scarborough House.  
It has beautiful gardens with undulating bushes that bring to mind a heaving sea.  The house itself is dark and dreamy, like being in the underbelly of a ship.  The collection has an impressive array of model ships, paintings of ships, scrimshaw, and other various maritime items.  

 We did find time to make a quick trip to Tybee Island.  Alas, with no swimsuits, towels, or kites, we were left to only watch the swimmers.  The surf was steady and the wind strong that day – I was fine just sticking my toes in the sand and watching the fisherman line the pier.  This was a much more touristy beach spot than I had realized.

The beach was nice, but the charm of Savannah was the real treat of this trip.  We met a friend for lunch who was currently attending Savannah College of Art and Design.  Her stories of this lovely place were exciting to hear.  With the impending birth of my daughter, this was a perfect way to wind down the trip.  
Savannah was the perfect spring get away – plenty of walking, eating, art, sight seeing, and relaxing.  Hopefully, sometime in the near future we will get to the sister city – Charleston.  

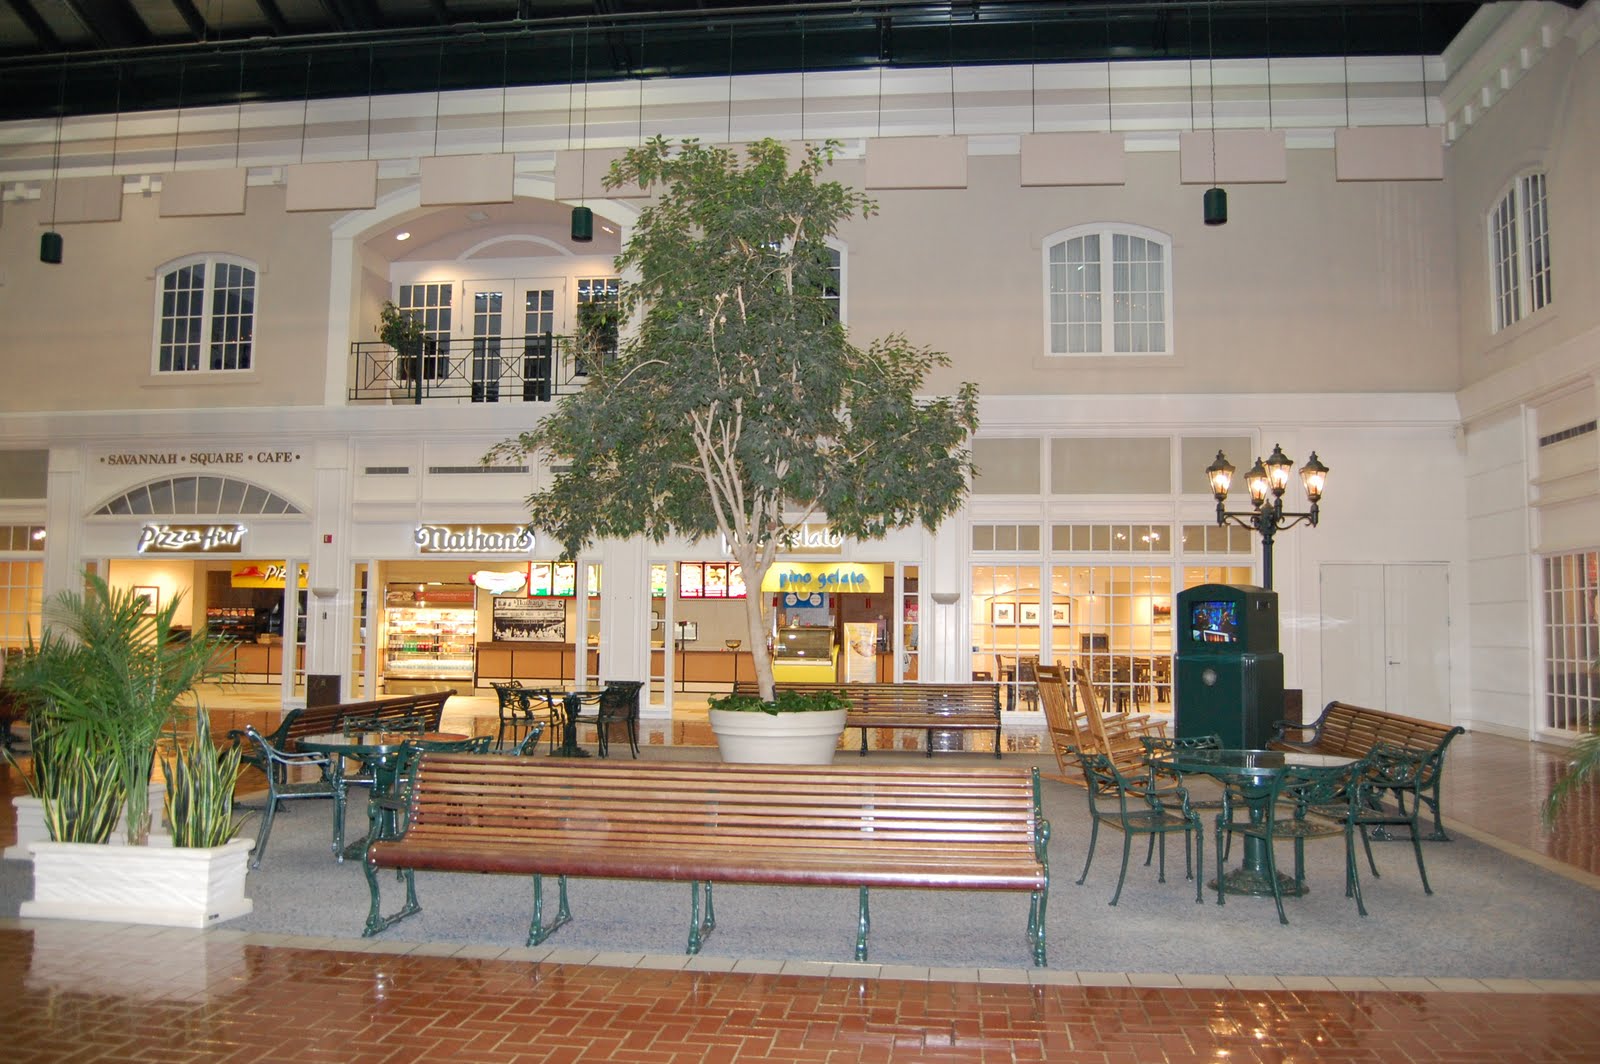
 Even the Savannah airport has a square inside!  Of course we did visit Forsyth Park and the iconic fountain, however the image seems to be missing.  I will keep hunting.  Until then, visit this site to see the spectacularly famous fountain seen on all postcards, key chains, and brochures of Savannah.

What is your favorite day dream vacation spot?  I think mine is still Key West.  

DIY Window Picture Frame + Reynolda House of American Art

Ugh, I have been home sick this week.  Hence the delay between posts.  Anyway, here is a oldie but goldie project for you plus a fun day trip idea to Winston-Salem, NC.  
One of the first things we updated in our house were the windows.  The old ones were charming with the old wavy glass and nice lines, but they were drafty and loud.  We upgraded to new windows with the double pane to insulate against traffic noise, trains – general city noise and also to keep as much of the air we like inside the house.  

Some of the old windows were beyond saving but a few were decent.  I grabbed a few of them to re purpose.  This one was a smaller size from the kitchen.  I cleaned it up, sanded a few areas, sprayed with a clear coat to prevent future flaking, and then mounted picture frame hanging hardware on the back side.  I hung it up in the dining room as an easily changeable artwork gallery.  I simply use double-sided tape or the clear scrap booking corners to affix postcards, photographs, cards, and other mementos to the windowpanes.

These days it is a cluttered mess and a lot more Greta.  We do still change out photos and artwork, but less frequently.  (It is hard to tell from this though!)

Greta greatly improved by Sunday and since the weather was so nice, we decided to check out an art exhibit at the Reynolda House in Winston-Salem.

While I packed a diaper bag, snacks, and water bottles, these two cuties sat on the step and threw acorns.  Greta is loving all her new abilities these days.  She is growing in leaps and bounds.  Anyway, on to the Sunday visit.

The Reynolda House of American Art is the former private home of Richard Joshua Reynolds, founder of R. J. Reynolds Tobacco Company.  The house originally was on a 1,067 acre estate, complete with greenhouses, a glassed-in pool, gardens, basement roller skating, basement bar, beautiful furnishings, barns, gardening buildings, and many more outer buildings.  These outer buildings have since been turned into a shopping area known as Reynolda Village.  The house was turned into an art museum in 1967.  The interior of the home has been restored and finished to way it would have looked when the family lived there.

This was the closing day of an exhibit I had been wanting to see all winter – The Black Odyssey by Romare Bearden, one of my all-time favorite collage artists.  He was born in Charlotte, NC in 1911 and died in New York in 1988.  The works were fantastic – large, brightly colored collages, often featuring contrasting complementary colors.  Bearden artfully adapted Homer’s Odyssey into the theme of the Great Migration, a movement in which Bearden’s family was a part of.

After viewing the exhibit, we headed outdoors to the gardens to walk around a bit.

Greta was fascinated by the lion water fountain.  She loves to roar at lions now.

 The pool is in a space surrounded by lovely walkways and usually green vines.

This arbors’ vines created interesting lighting on this sunny day.  

 The view looking from the pool, toward the greenhouse and Reynolda Village.

Curried Kale & Cauliflower Shepherd’s Pie

In honor of the third season of Downton Abbey beginning, I decided to throw in some British inspired fare this weekend.  Even though I scored an Isobel Crawley in the Which Downton Abbey Job is Right for You? Quiz, I am a fan of the downstairs crew, so I started with a dish that would be served by Mrs. Patmore.

Traditionally, shepherd’s pie would be made from leftovers – specifically minced lamb.  More modern versions in the States, use a beef and carrot mixture with a mashed potato topping.  I decided to spice up my shepherd’s pie and add a two vegetables I always  love – kale and cauliflower.  Obviously, my favorite spice is curry, but did you know that curry is considered a national dish by Great Britain? The love of curry is strong for the English people.

Read on for steps on how to make this deliciously spicy shepherd’s pie.  It would be best enjoyed tomorrow night for episode 2 of season 3 of Downton Abbey.

Peel and dice 3 medium-large russet potatoes.  Boil until tender.  Set aside.   
Chop 1/2 head of cauliflower (about 2-1/2 cups) and saute in a skillet with 2 tablespoons of olive oil.  


Add 2 cups chopped kale and 1 bag of soy crumbles to skillet.  Stir well.

Mix 1/2 cup water2 teaspoons of curry, and 3 teaspoons of Worcestershire sauce in a small bowl.  Add to skillet and cook on low heat for 15 minutes or until cauliflower is softened.  
Place vegetable mixture into a casserole dish.  Drain and potatoes.  Return to pot.  

Mash with 1/4 cup (almond) milk and 1 teaspoon curry
Spread mashed potatoes over veggie mixture and smooth out.
Bake at 350 degrees for 25 minutes.  Top should be golden and slightly dried out.  
Eric and I ate about three bowls each of this.  It is the best of both my food worlds – comfort casseroles and spicy Indian.  
Enjoy this recipe and the new episode tomorrow!  
I am off to take care of my sick baby.  She has the flu and has been napping all afternoon.  Poor thing.  There is nothing worse than watching your child suffer and knowing there is not much you can do to alleviate it.  Luckily, Eric is the best parenting partner around and steps up when I am crying in the kitchen because she is so sick. 
On the plus side, it is 70 degrees here today.  We have the windows open and there are flowers blooming.  My daffodils all have buds!  What happened to winter this year?  I am also looking forward to using this fun new cookbook that showed up since we donated to PBS.  Can you see the yellow flowers in the top right corner on this image?  Not to rub in to my Northern friends or anything. 🙂
Leave me a comment below, who is your favorite Downton Abbey character and why?


Mommy’s Medley Curried Kale & Cauliflower Shepherd’s Pie 

1. Peel and dice 3 medium-large russet potatoes.  Boil until tender.  Set aside.

2.  Chop 1/2 head of cauliflower (about 2-1/2 cups) and saute in a skillet with 2 tablespoons of olive oil.  Add 2 cups chopped kale and 1 bag of soy crumbles to skillet.  Stir well.  Mix 1/2 cup water, 2 teaspoons of curry, and 3 teaspoons of Worcestershire sauce in a small bowl.  Add to skillet and cook on low heat for 15 minutes or until cauliflower is softened.  Place vegetable mixture into a casserole dish.

3.  Drain and potatoes.  Return to pot and mash with 1/4 cup (almond) milk and 1 teaspoon curry.  Spread mashed potatoes over veggie mixture and smooth out.  Bake at 350 degrees for 25 minutes.

Just in case you are behind or out of the loop:

Valentine’s Day is Nearing…

This means only one thing: hand made cards coming soon.

I was going through my vast digital collection of photos this evening, while Eric is chaperoning a middle school dance, and found this old gem.  I have made Valentine’s Day cards as long as I can remember.  Some years I made collage cards, but most years I made linoleum block prints.  Some years I was ambitious and sent them out like Christmas cards.  Some years I only give them to those closest to me.  I have yet to decide on this year’s theme, media, and quantity.  I am fairly sure I made this dreaming cat card in college.  I no longer have any prints of it, just the linoleum block.  


Actually, scratch that, Valentine’s Day means two things: 

Dunkin Donuts heart donuts!  

Want to try making your own block print?  You will need a set of these.  More on block printing coming soon. 


Lemon Poppy Seed Yogurt Cake

One of the things I love about working at the school I teach at, is the family atmosphere that is created by the staff members.  We look out for one another, and we show an honest warmth.  We also love a reason to celebrate – weddings, babies, retirements, and of course birthdays.  My particular teaching team takes turns bringing in cake for the birthday boy or girl, and we eat it together during our lunch break.  I jump at the chance to bake birthday cake – it is always better to share cake.

Today we celebrated a birthday with the following cake.  The recipe was originally a plain yogurt cake from a publication I picked up in a Minneapolis grocery store called Lund’s back in 2009.  I adapted it slightly with lemon, lemon glaze, and poppy seeds.  I also doubled the recipe below to make about 16 servings – just the right amount to feed my coworkers.

I liked this recipe – I had all the ingredients on hand.  The yogurt replaced milk and cooking oil replaced butter.  4 teaspoons of vanilla don’t hurt either!

I opted for Chobani plain yogurt for this recipe.  The yogurt makes this cake really dense and moist.  

I zested one entire lemon for this recipe.  
When I zest, I tend to go a little nuts. 
The batter is so thick, you must spread it out once you pour it into the pan.  
I mixed up powdered sugar and lemon juice – honestly I do not know the measurements since I just throw it in a bowl and add more sugar if it is runny or more liquid if it is too thick.  I drizzled it in an abstract-textile-road map sort of way. Leave it to the art teacher to frost a cake in an homage to Abstract Expressionism.  One of my favorites from this time period is Pollock’s Mural from 1943.  It is owned by the University of Iowa and I spent many an afternoon gazing at this large painting during my under grad years.  What is your favorite artwork?  

Lemon Poppy Seed Yogurt Cake – serves 8.  Adapted from Real Foods Magazine, 2009.

1. Preheat oven to 350 degrees.  Grease the bottom and sides of a 9-inch round cake pan and dust with flour, knocking out any extra.  Stir together 2 cups flour, 1-1/4 cups sugar, 1 teaspoon baking powder, 1/4 teaspoon baking soda, and 1/4 teaspoon salt in a large mixing bowl.  Whisk together 2 large eggs, 1/3 cup vegetable oil, 1 cup plain low-fat yogurt, and 2 teaspoons vanilla in a bowl.  Pour the yogurt mixture into the flour mixture and stir just until moistened.  Add the zest from one lemon and fold into batter.

2. Scrape the batter into the prepared pan and bake until the top of the cake is light and golden and a knife or toothpick inserted comes out clean, about 40 minutes.

3. Let the cake cool for about 5 minutes in the pan.  Then, place on a wire rack too cool completely.  Drizzle in glaze made from powdered sugar and lemon juice.  Sprinkle with poppy seeds, slice, and serve.

4. Wrap in plastic wrap or store in cake keeper for 2 days at room temperature.

Iowa New Year’s Eve + Curried Pea & Potato Croquettes

The Christmas trip to Iowa wound down too soon this year.  We did make time to take a trip to the Science Center of Iowa in Des Moines, with Greta, Eric, and my in-laws.  

She was mesmerized by this spiral ball contraption.  Her newest word is, “ball!”  

She wasn’t as into the fishing, but Grandma and Grandpa tried.  

Eric strikes a pose with his profile. 

The bubbles were a hit!

Such a hit that she even stuck her hands in and got messy!

This photos captures Greta’s on-the-go attitude this particular afternoon. 

Dad and Grandpa were more interested in the water table than Greta was.  She was too busy eying the nearby ball racer.  

Tennis balls!  

Greta crashed and we were able to enjoy another nice Iowa winter walk with Brownie.  


We also fit in time to go ice skating at the downtown skating rink.  Greta and my mom watched as we skated.  


Eric made time to play around with some fun double exposures on the DSLR.  Diana pictures coming at a later date. 

Greta and Brownie made time to beg for cookies.  

All of this fun wound down, we packed, and then had one last Iowa dinner on New Year’s Eve.  I got a hold of one of my mom’s numerous magazines and found a new recipe to try out on everyone.  This was perfect, since my resolution this year is to eat more vegetables every day.  See below for Curried Pea & Potato Croquettes from Eating Well.    


Pierce 2-12 oz. potatoes all over with a fork. Wrap in parchment or wax paper and microwave on High until soft, 8 to 10 minutes.  My potatoes were small, so I used more than two. 

Any recipe with curry is a winner, in my book. 
Meanwhile, heat 2 teaspoons oil in a small saucepan over medium-high heat. Add 1 small chopped onion1 tablespoon curry powder and 1 teaspoon mustard seeds; cook, stirring, until fragrant, 1 to 2 minutes. Add 1-14 oz can stewed tomatoes; bring to a boil. Reduce to a simmer and cook, stirring occasionally, until onion is tender, 10 minutes. 

Stir in 1/2 cup frozen peas, cover; remove from heat.  

When the potatoes are cool enough to handle, cut into chunks and transfer to a large bowl. 

Add 1 1/2 cups frozen peas and 1 teaspoon curry powder2 cloves minced garlic1/4 teaspoon salt and 1/2 teaspoon ground pepper.  

Mash with a potato masher to the consistency of chunky mashed potatoes.

Form into 8 croquettes (scant 1/2 cup each), 2 inches wide and 3 to 4 inches long.  My croquettes are not at all pretty, hopefully you are less hungry than I was when you make this. 

Beat 2 large eggs in a shallow dish. Place 1 cup coarse breadcrumbs in another dish. Dip each croquette in the egg and then coat with the breadcrumbs.


Heat 1 tablespoon of oil in a large nonstick skillet over medium heat. Cook the croquettes until browned on the bottom, 4 to 5 minutes. Gently flip, drizzle 1 tablespoon oil around the sides and shake the pan to distribute the oil. Cook until the second side is browned, about 4 minutes. Serve with the sauce.

I transferred them to a glass baking dish as I cooked, placing them in the oven to keep them warm.  

My mom set a pretty table for New Year’s Eve – using the Heart and Pine china.  We had a side salad of fruit and yogurt and Iowa beer.  

My mom made salmon cakes to go along with the croquettes.  Don’t make the mistake I did and allow the sauce to cook too long – otherwise your peas will be overcooked.  I am not a fan of overcooked brownish peas!

During this entire time, Greta was dragging her blanket around and practicing standing and sitting on the bottom step.  

Dinner was wonderful – Greta even enjoyed her milk with us.  My mom taught her how to do cheers – she insists on the entire table doing cheers with her now.  

After dinner we played a game of Scrabble 

and enjoyed cookies Greta had decorated earlier in the day.  

Hope your New Year’s was as happy as ours and 2013 is off to a fantastic start!  What resolution did you make?  

Curried Pea & Potato Croquettes – from Eating Well
  1. Pierce 2-12 oz. potatoes all over with a fork. Wrap in parchment or wax paper and microwave on High until soft, 8 to 10 minutes.
  2. Meanwhile, heat 2 teaspoons oil in a small saucepan over medium-high heat. Add 1 small chopped onion, 1 tablespoon curry powder and 1 teaspoon mustard seeds; cook, stirring, until fragrant, 1 to 2 minutes. Add 1-14 oz can stewed tomatoes; bring to a boil. Reduce to a simmer and cook, stirring occasionally, until onion is tender, 10 minutes. Stir in 1/2 cup frozen peas, cover; remove from heat.
  3. When the potatoes are cool enough to handle, cut into chunks and transfer to a large bowl. Add 1 1/2 cups frozen peas and 1 teaspoon curry powder, 2 cloves minced garlic, 1/4 teaspoon salt and 1/2 teaspoon ground pepper; mash with a potato masher to the consistency of chunky mashed potatoes. Form into 8 croquettes (scant 1/2 cup each), 2 inches wide and 3 to 4 inches long.
  4. Beat 2 large eggs in a shallow dish. Place 1 cup coarse breadcrumbs in another dish. Dip each croquette in the egg and then coat with the breadcrumbs.
  5. Heat 1 tablespoon of oil in a large nonstick skillet over medium heat. Cook the croquettes until browned on the bottom, 4 to 5 minutes. Gently flip, drizzle 1 tablespoon oil around the sides and shake the pan to distribute the oil. Cook until the second side is browned, about 4 minutes. Serve with the sauce.

Beer Tasting + DIY Flight Paddle

One of the other fun projects Eric created with his band saw was a flight paddle.  We ordered two sets of glasses to use in the flight paddle.  This glassware is the Duralex – Picardie Clear Tumbler 130 ml (4 5/8 oz) Set Of 6.
NOTE: In response to the great interest in this post, I have updated with a more detailed version.  See post on DIY Beer Flight Paddle How-To here.


 This set happens to be from CB2.


If you aren’t the crafty type, you can always purchase very nice looking beer taster flights.

Eric used 2 pieces of poplar wood, stacked for the paddle.


Then, he used a 2-1/4″ hole saw to make the spaces for the cups.


It turned out beautifully, don’t you think?
Eric gave his dad the beer flight paddle for Christmas, so of course they had to give it a test drive.
Eric used a Crispin cider, Bell’s Best Brown Ale (Kalamazoo, MI), Natty Greene’s Old Town Brown (Greensboro, NC), Madhouse’s Hopburst IPA (Newton, IA), and Foothills Hoppyum IPA (Winston-Salem, NC).
An eclectic mix for the first tasting on this flight paddle.
Later on, we braved the snow to meet with some Iowa friends and share samplings of NC beer.
Stories were told,
laughs shared,


and NC brews sampled.
More on New Year’s and the drive back to NC soon.  I am catching up on this blog a little at a time.


Also, if you have had any of these beers, let me know what you think in the comment section below.  I’d love to hear your opinions.  I’d also love to hear suggestions and your favorite beer.

Gluten-free Black Forest Cake + Christmas Day

This chocolate cake was wildly delicious and one would never guess it was gluten-free!  My mother in law has a plethora of gluten-free baking and food items around the house due to gluten intolerance. 
This particular cake was made from the Williams-Sonoma Ad Hoc Gluten Free Cake Mix.  This mix is more expensive than others, but so delicious. 
It was baked according to the box directions in 2 cake pans. When they were cool enough to touch, Eric sliced them both in half, to create 4 thin cakes.
To assemble the cake, place the first layer on a plate and spread with cherry topping.  We used a jar all the way from Germany for a more authentic flavor.  Extra thanks to Eric’s sister for popping that into my mother in law’s luggage before she headed back to the States. 
Place the second layer on top and cover in Cool Whip or real whipped cream.  Repeat with the last two layers, ending with Cool Whip for the top layer. 

Note: a cooler cake will frost much easier.  This cake was still a little too warm and we had a little bit of oozing due to this. 

It turned out to be a gorgeous cake. 
We sat down to an afternoon meal with gluten-free items.
Pasta with shrimp, asparagus, and a pesto broth sauce for the main entree and a side salad of arugula, cherry tomatoes, and a mustard vinaigrette dressing (see below for the recipe).

After our Christmas meal, we opened some gifts.  Eric received some very nice woodworking accessories. 

After digesting a bit, we ate our dessert.  It was so good, I ate mine entirely too fast.  My father in law nicely offered to look away while I licked my plate clean.  I was so impressed with this simple and rewarding dessert. 

Greta finally awoke from her afternoon nap and had a few gifts herself to open. 

Poor thing was overwhelmed by Christmas this year.  We have spread things out for her though and allowed for plenty of napping in between events.  On Christmas Eve she tried to lay down on the floor and go to bed, after taking two naps prior to gift opening.  Oh to be almost 2 again.

After gifts, Eric and his dad made use of a homemade gift – a beer flight paddle.  Eric made sure to travel with North Carolina beers to sample as a Christmas treat.  More on this flight paddle later. 

Meanwhile Greta and Grandma played with a fun animal app and

Brownie considered another Christmas nap or possibly a round of barking at deer.  This dog hates deer, we have discovered on this trip.
Mustard Vinaigrette
Mix together in a bowl 6 tablespoons olive oil, 3 tablespoons white balsamic vinegar, 2 teaspoons coarse stone ground mustard.  Serve with salad of your choice.

Honey Cake + Christmas Birthday

My grandmother’s birthday is Christmas Day.  As kids, we would drive to Minneapolis to celebrate with her on Christmas Day.  We have started celebrating it on Christmas Eve now that she lives in Des Moines.  This year, I decided to use this cake recipe since her nickname is Honey and a Christmas birthday is often overlooked and cake left out completely.
It comes from my all-time favorite cookbook – The Joy of Cooking.
I liked the flavoring of this cake – spicy and fit it in well with the Christmas season’s flavors.


Two eggs and butter don’t hurt in making this cake delicious.
The additional flavoring of honey and coffee intrigued me and was the final selling point in choosing this for my grandmother’s birthday cake.  I used honey from my parents’ neighbors’ hives – delicious!


This thick batter worked perfectly for the winter pan my mom chose.
I was hesitant to use the fancy snowflake pan due to my past mishaps with decorative pans.  However, my sister and mom both assured me that they would help remove the cake from the pan.


It popped out easily with the aid of cooking spray and only waiting 1 minute after coming out of the oven..


They don’t make this particular cake pan anymore, but here is another stunning Nordic Ware Snowflake Pan.

A dusting of confectioner’s sugar and a pretty festive platter made this the perfect Christmas birthday dessert.
Next year we will have to go all out with 89 candles!  We served this cake with cinnamon ice cream and peppermint ice cream.


My sister and grandmother and me.


The Christmas Eve celebration ended with a rousing game of Yahtzee and even Brownie got in on the the festivities.


My sister loves to make this dog look as cute as can be.


It even snowed a little on Christmas Eve.


A walk with Brownie to the snowy pond was a perfect end to Christmas Eve.

Honey Cake
1. Cream together 1/2 cup butter and 1/2 cup sugar. Add 2 eggs and continue creaming until light and fluffy.
2. Sift together 2 cups all-purpose flour, 1/2 teaspoon baking soda, 1 teaspoon double-acting baking soda, 1/2 teaspoon cinnamon, 1/4 teaspoon ginger, 1/4 teaspoon salt.
3. Add the sifted ingredients to the egg mixture alternating in three parts with 1/2 cup honey and 1/2 cup cool strong coffee.  Stir in 1/2 teaspoon vanilla.
4.  Pour batter into a greased 9 x 9″ pan and bake for 30 minutes at 350 degrees.  Dust top with confectioner’s sugar.