Christmas means lefse time in our household!
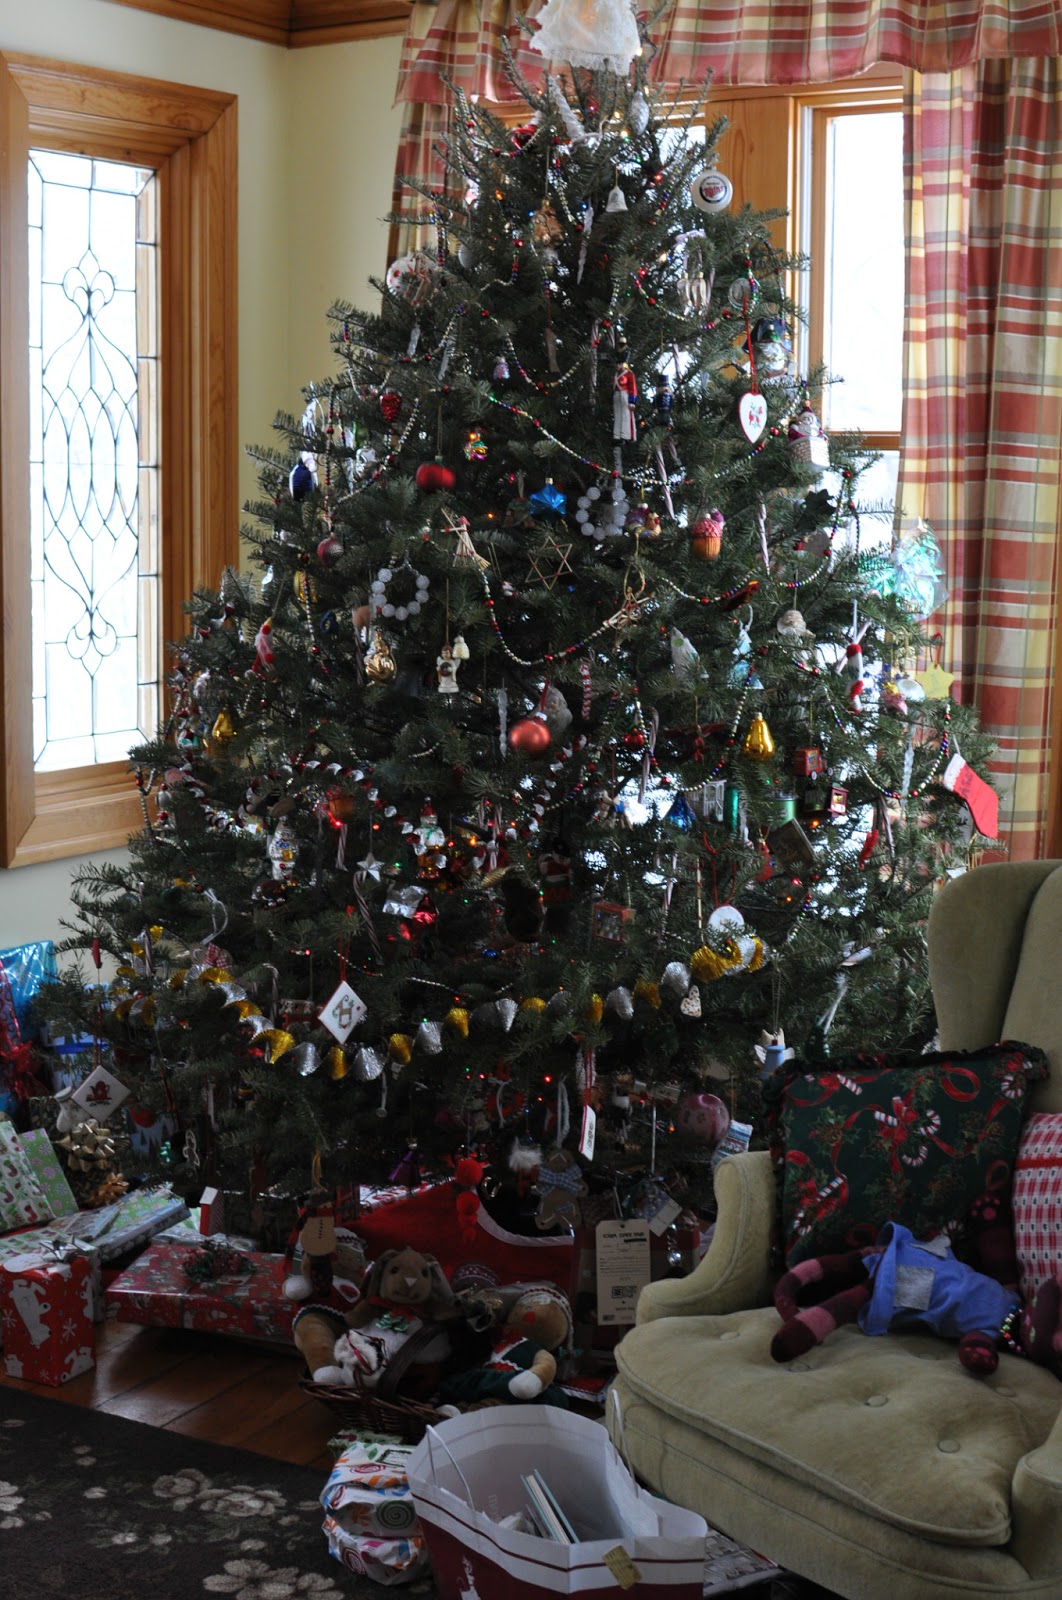
Christmas has always been celebrated on my side of the family on Christmas Eve. Originally, it was just the four of us – my parents, sister, and me. We would make Christmas dinner, go to the candlelight church service, and then come home to bundle up and ice skate on the pond by the light of only the moon and a bonfire. After skating, we would head back to the house and open the family gifts. Then, we would go to bed with visions of sugar plum fairies dancing through our heads. On Christmas morning, we would awake early, open Santa gifts and our stockings, eat too much candy, then force down some healthy breakfast. We would then load up the car and head off to Minneapolis to visit the extended family.

As more family members were added to my family, this turned out to be a fortunate way to celebrate Christmas for in laws and made it easier to celebrate with Eric’s family on Christmas Day. The older I get, the more I enjoy Christmas. To see Christmas through Greta’s eyes has made Christmas the most joyful it has ever been.
This year, we started Christmas Eve by making lefse in the morning. My mom mixed up the dough for it the morning before. Lefse is a Norwegian treat made from potatoes and cooked on a special lefse griddle. They look like something between a crepe and a tortilla but taste like nothing else. To those who have tasted homemade lefse, store bought is not even an option. As a kid, I remember my parents making lefse on a cast-iron skillet and filling the house with smoke. My mother remembers her grandparents making lefse and using all Norwegian to hide the bad words from the kids. Lefse can be tricky and requires special cooking utensils, which I will show in a moment. This year I knew I had to document this wonderful food, some day I will be relied upon to make this delicacy and I had better start paying attention and stop taking it for granted!
Just so you are prepared, this is a lengthy post – making lefse is quite the process.
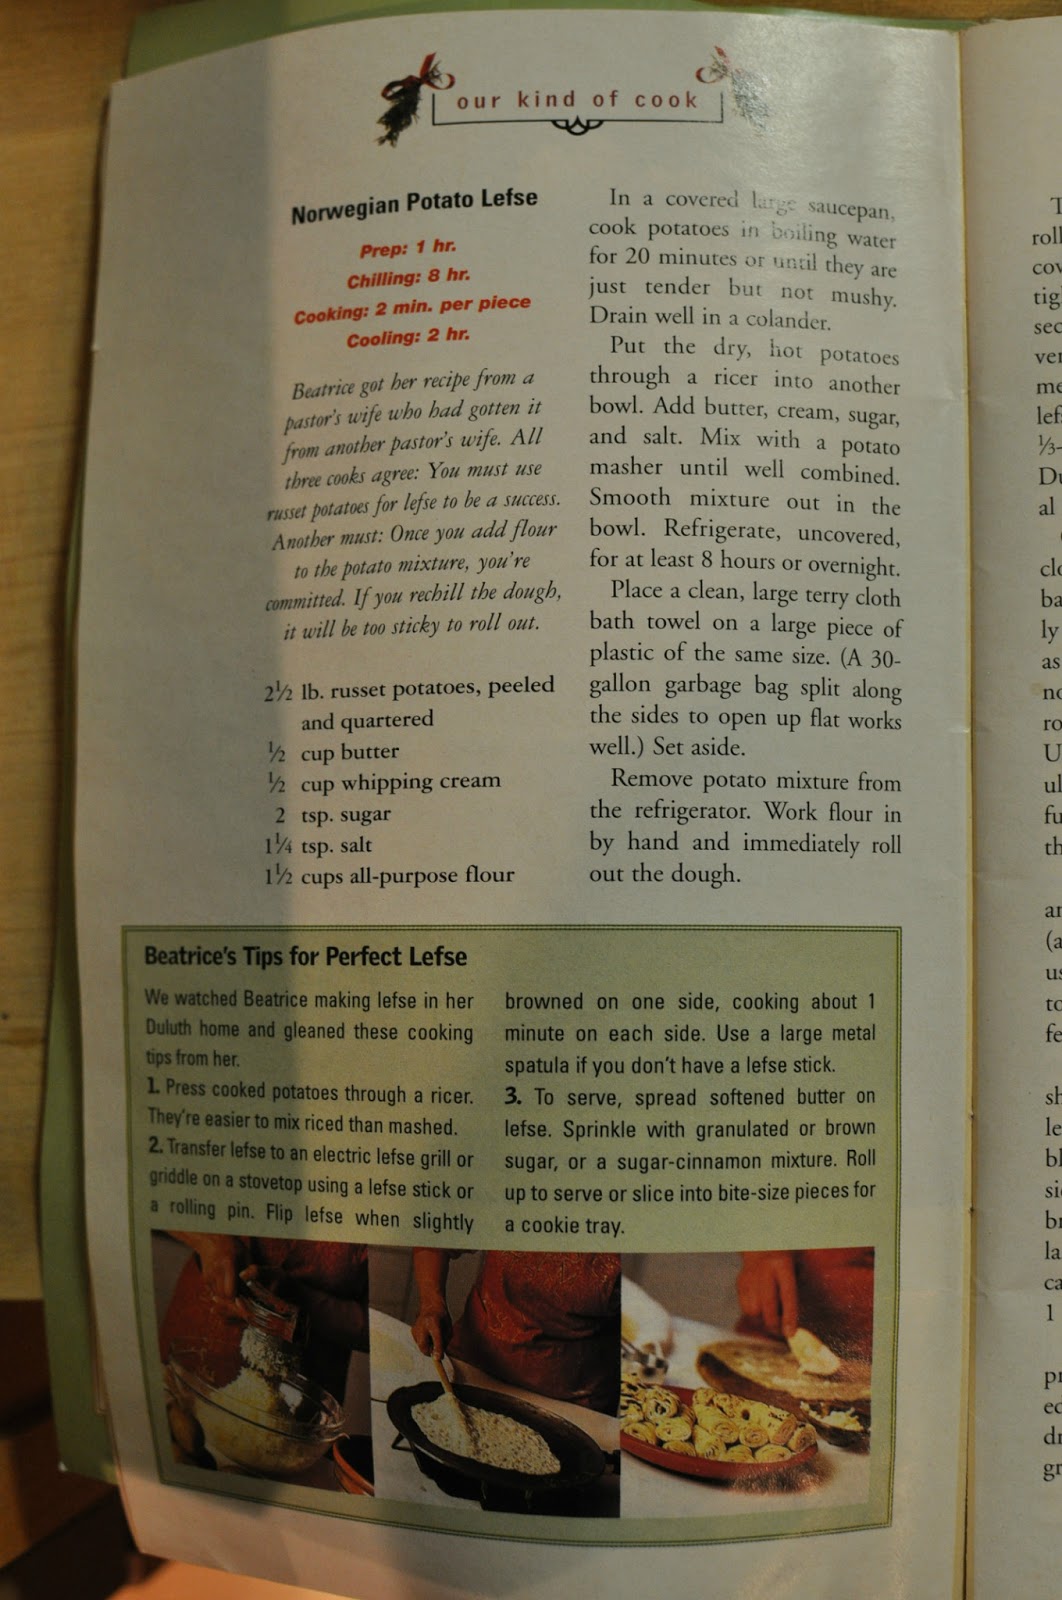
The recipe my mom uses is from Beatrice Ojakangas from Duluth, Minnesota. The recipe is from the Better Homes and Gardens publication Hometown Cooking.

Beatrice got her recipe from a pastor’s wife who had gotten it from another pastor’s wife. All three cooks agree: You must use russet potatoes for lefse to be a success. Another must: Once you add flour to the potato mixture, you’re committed. If you re chill the dough, it will be too sticky to roll out.
According to Beatrice there are a couple tips for making perfect lefse.
1. Press cooked potatoes through a ricer. They are easier to mix than mashed.
2. Transfer lefse to an electric lefse grill or griddle on a stove top using a lefse stick or rolling pin. Flip lefse when sightly browned on one side, cooking about 1 minute on each side. Use a large metal spatula if you do not have a lefse stick.
3. To serve, spread softened butter on lefse. Sprinkle with a sugar-cinnamon mix. Roll up to serve.
There are a couple of tools that will make lefse making a lot smoother for you. A great place to purchase these items is at Ingebretsen’s in Minneapolis. They have quite the variety of lefse goodies.
Here are my lefse recommendations:
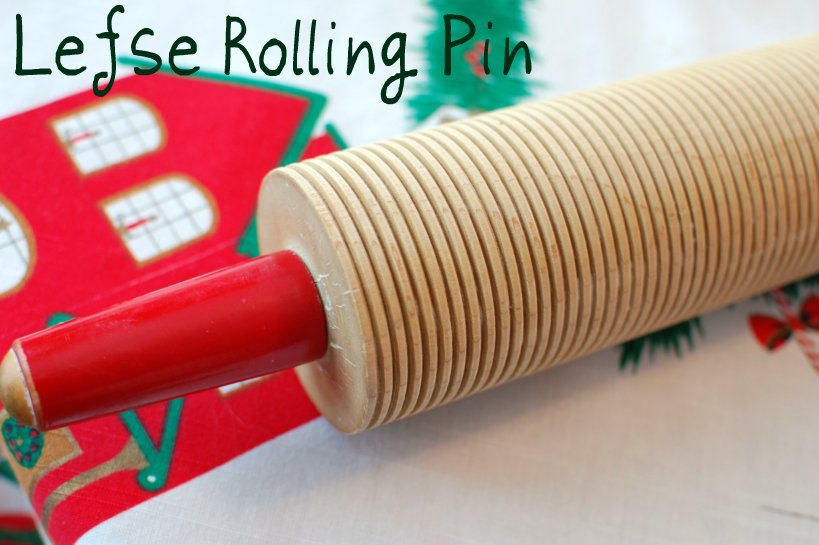
The grooves in the Lefse Wood Rolling Pin allow flour to be pressed in, preventing the lefse from sticking too much and creating a more even rolling thickness.
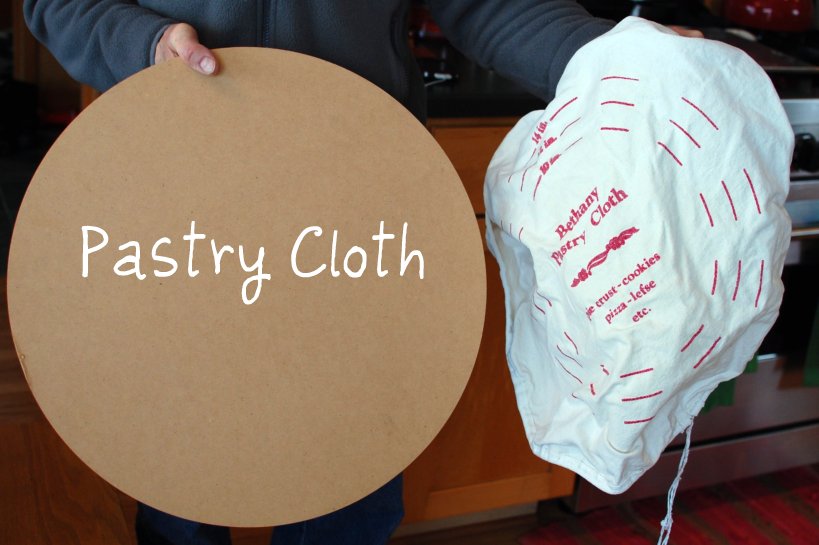
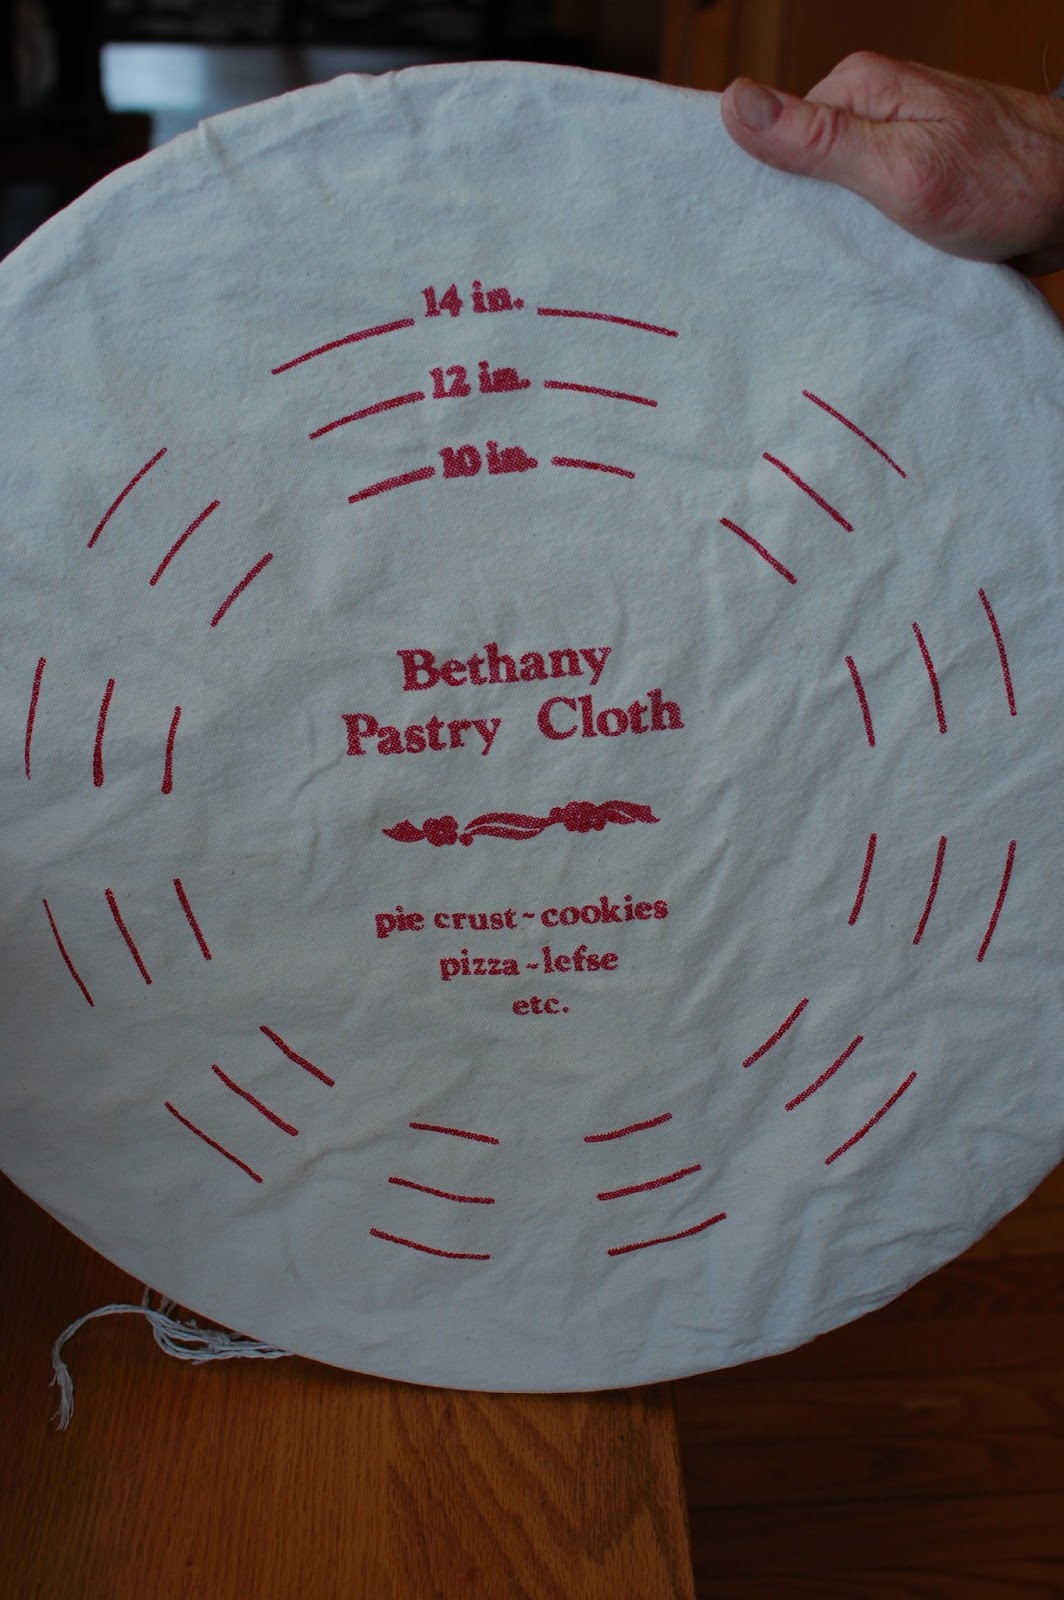
The Pastry Board and Cloth Set enable a better rolling surface. It will also help in creating an even size of lefse pieces.

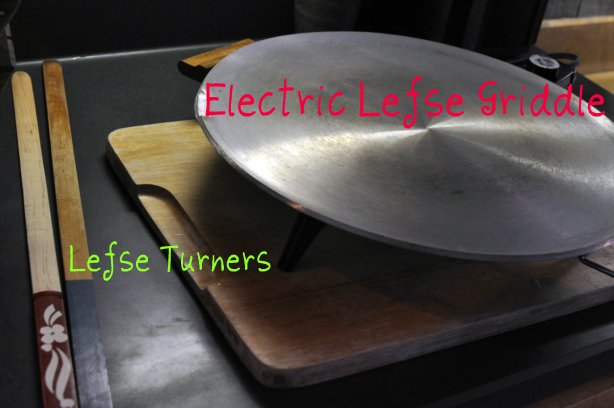
The long, thin Lefse Turning Stick make moving the dough and flipping the cooking lefse a breeze. The electric Heritage Lefse Grill
 is a must in keeping the temperature consistent and preventing your house from becoming a smoky mess. Since the griddle gets so hot and you use it for over an hour, you’ll want to put a wooden board under the griddle. It will still warm up the board, but your counter should be fine.
If you are ready, here we go!

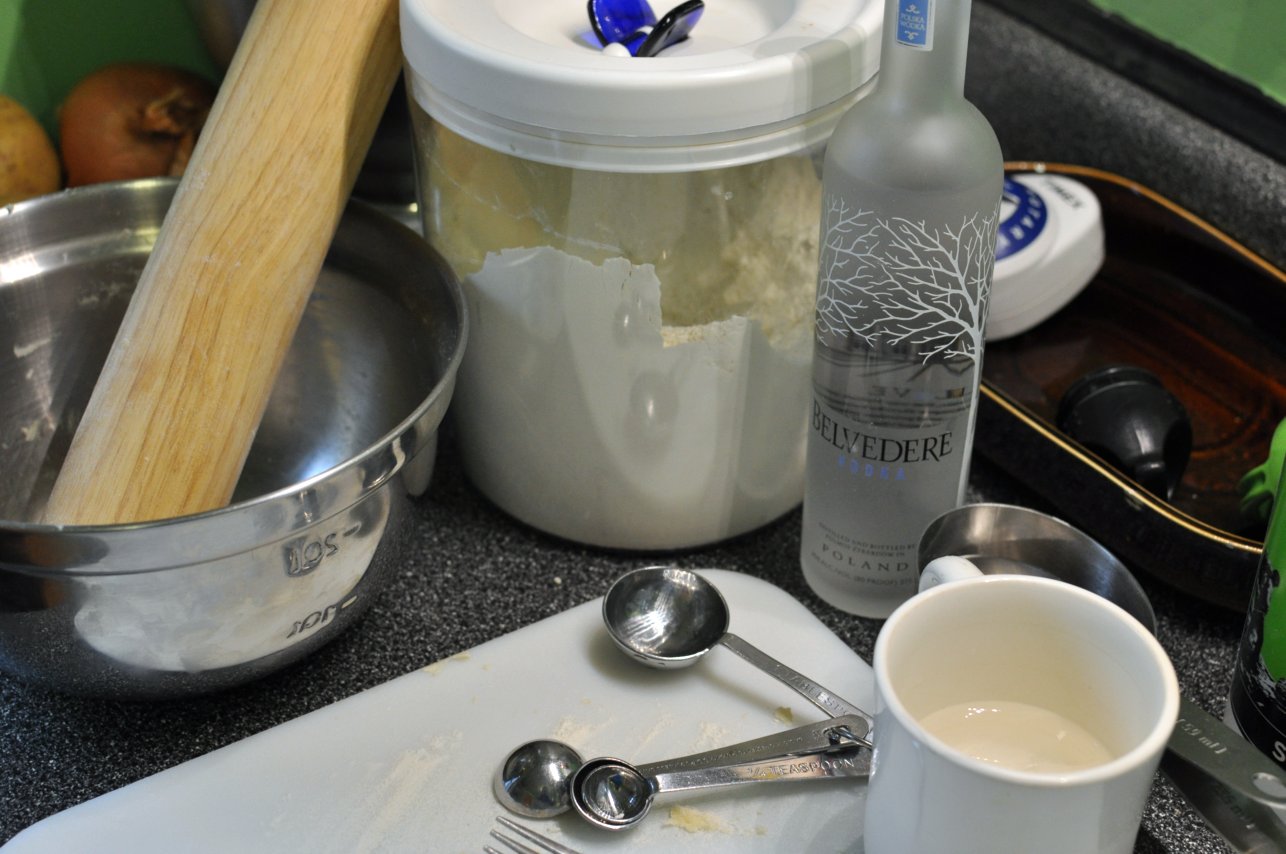
In a large covered saucepan, cook 2-1/2 lb. russet potatoes, peeled and quartered in boiling water for 20 minutes or until they are just tender but not mushy. Drain well in a colander.
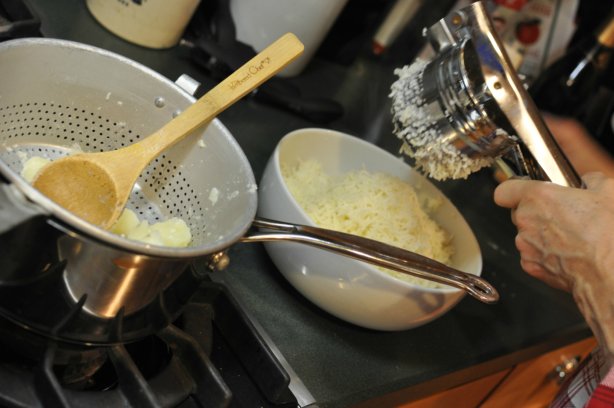
Put the dry, hot potatoes through a ricer into another bowl.
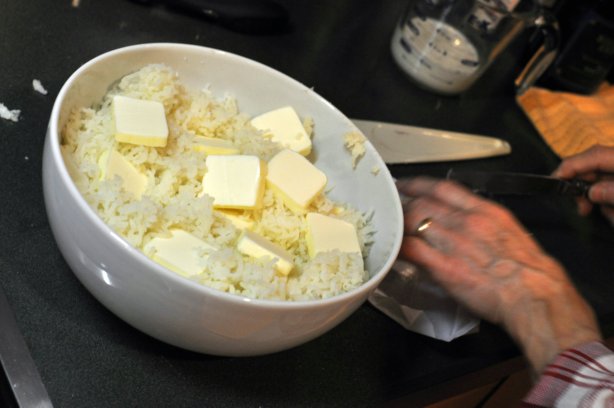
Add 1/2 cup butter,

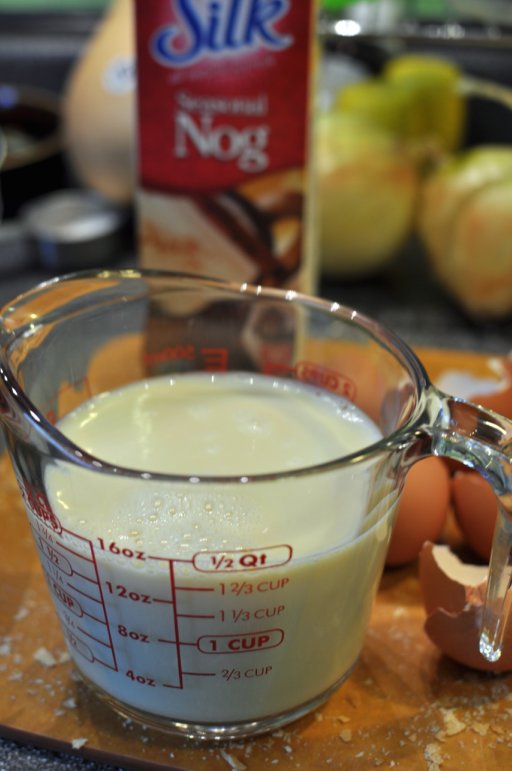
1/2 cup whipping cream,
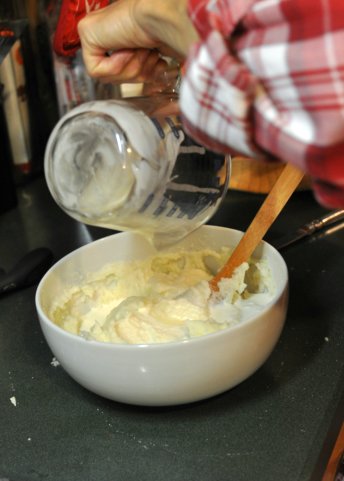
and 2 teaspoons sugar.

Mix well and smooth mixture out in the bowl. Refrigerate, uncovered, for at least 8 hours or overnight.

Remember, once you start adding flour, you are committed. Remove potatoes from the refrigerator, work 1-1/2 cups flour in by hand and immediately being the hour-long process of rolling out the dough. You need a helpful partner to make this process go quicker and smoother. Otherwise, you are looking at about 3 hours of cooking and rolling time.
Prepare terry cloth towels and a large piece of plastic – plastic wrap or a garbage bag cut down the sides. The plastic should be the same size as the towel. These will be used to cover the cooked lefse as you roll and cook more.
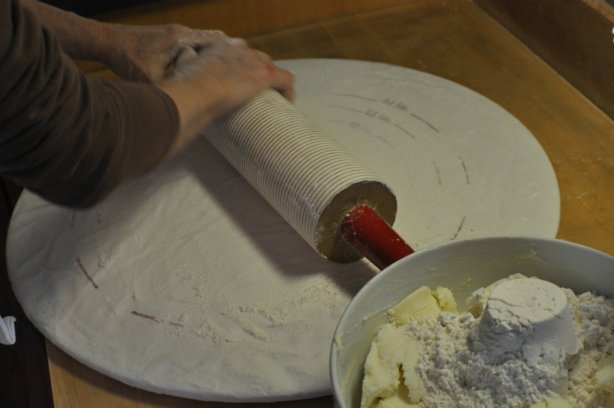
To roll out dough, cover a lefse rolling pin in flour. Stretch your pastry cloth over the board; fasten securely.
Heat the ungreased griddle over medium heat, or preheat lefse griddle. Without a lefse griddle, you will be extremely frustrated, as the temperature for cooking lefse should be at 500 degrees. You and your partner will be hollering, windows will be open, and smoke alarms will be ringing without the lefse griddle. Trust me, I know.

Generously flour the pastry cloth and rolling pin.

Flatten a ball of dough, the size of a walnut.
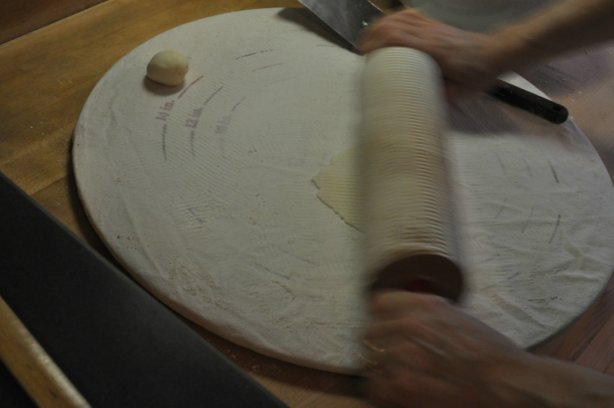
Roll out as thin as you can, adding more flour as necessary, and being careful not to let the dough stick to the rolling pin or the pastry board.
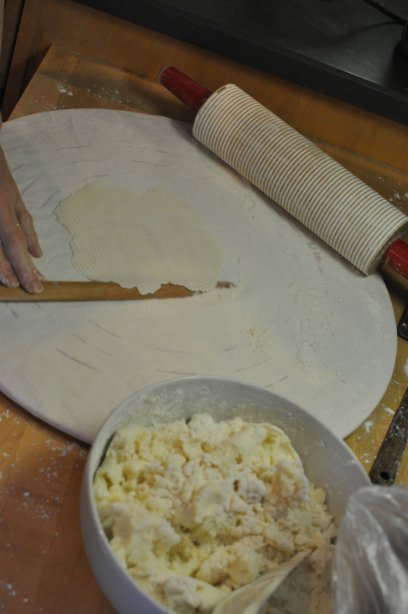
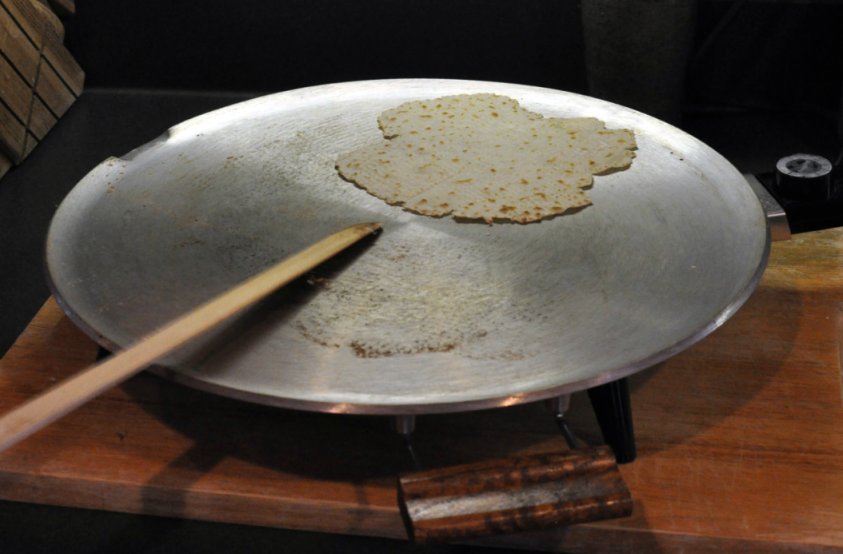
Using a lefse stick, loosen the dough often, carefully pushing the stick between the dough and the pastry board.
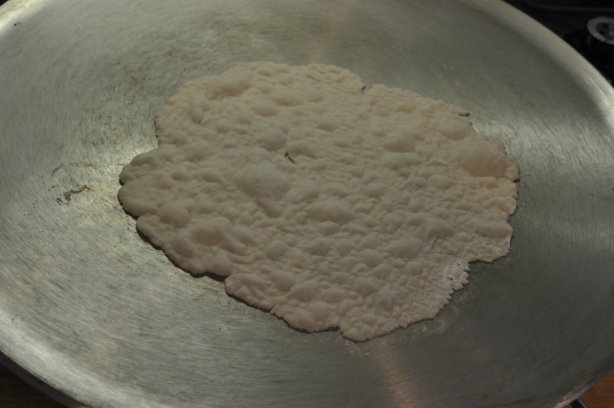
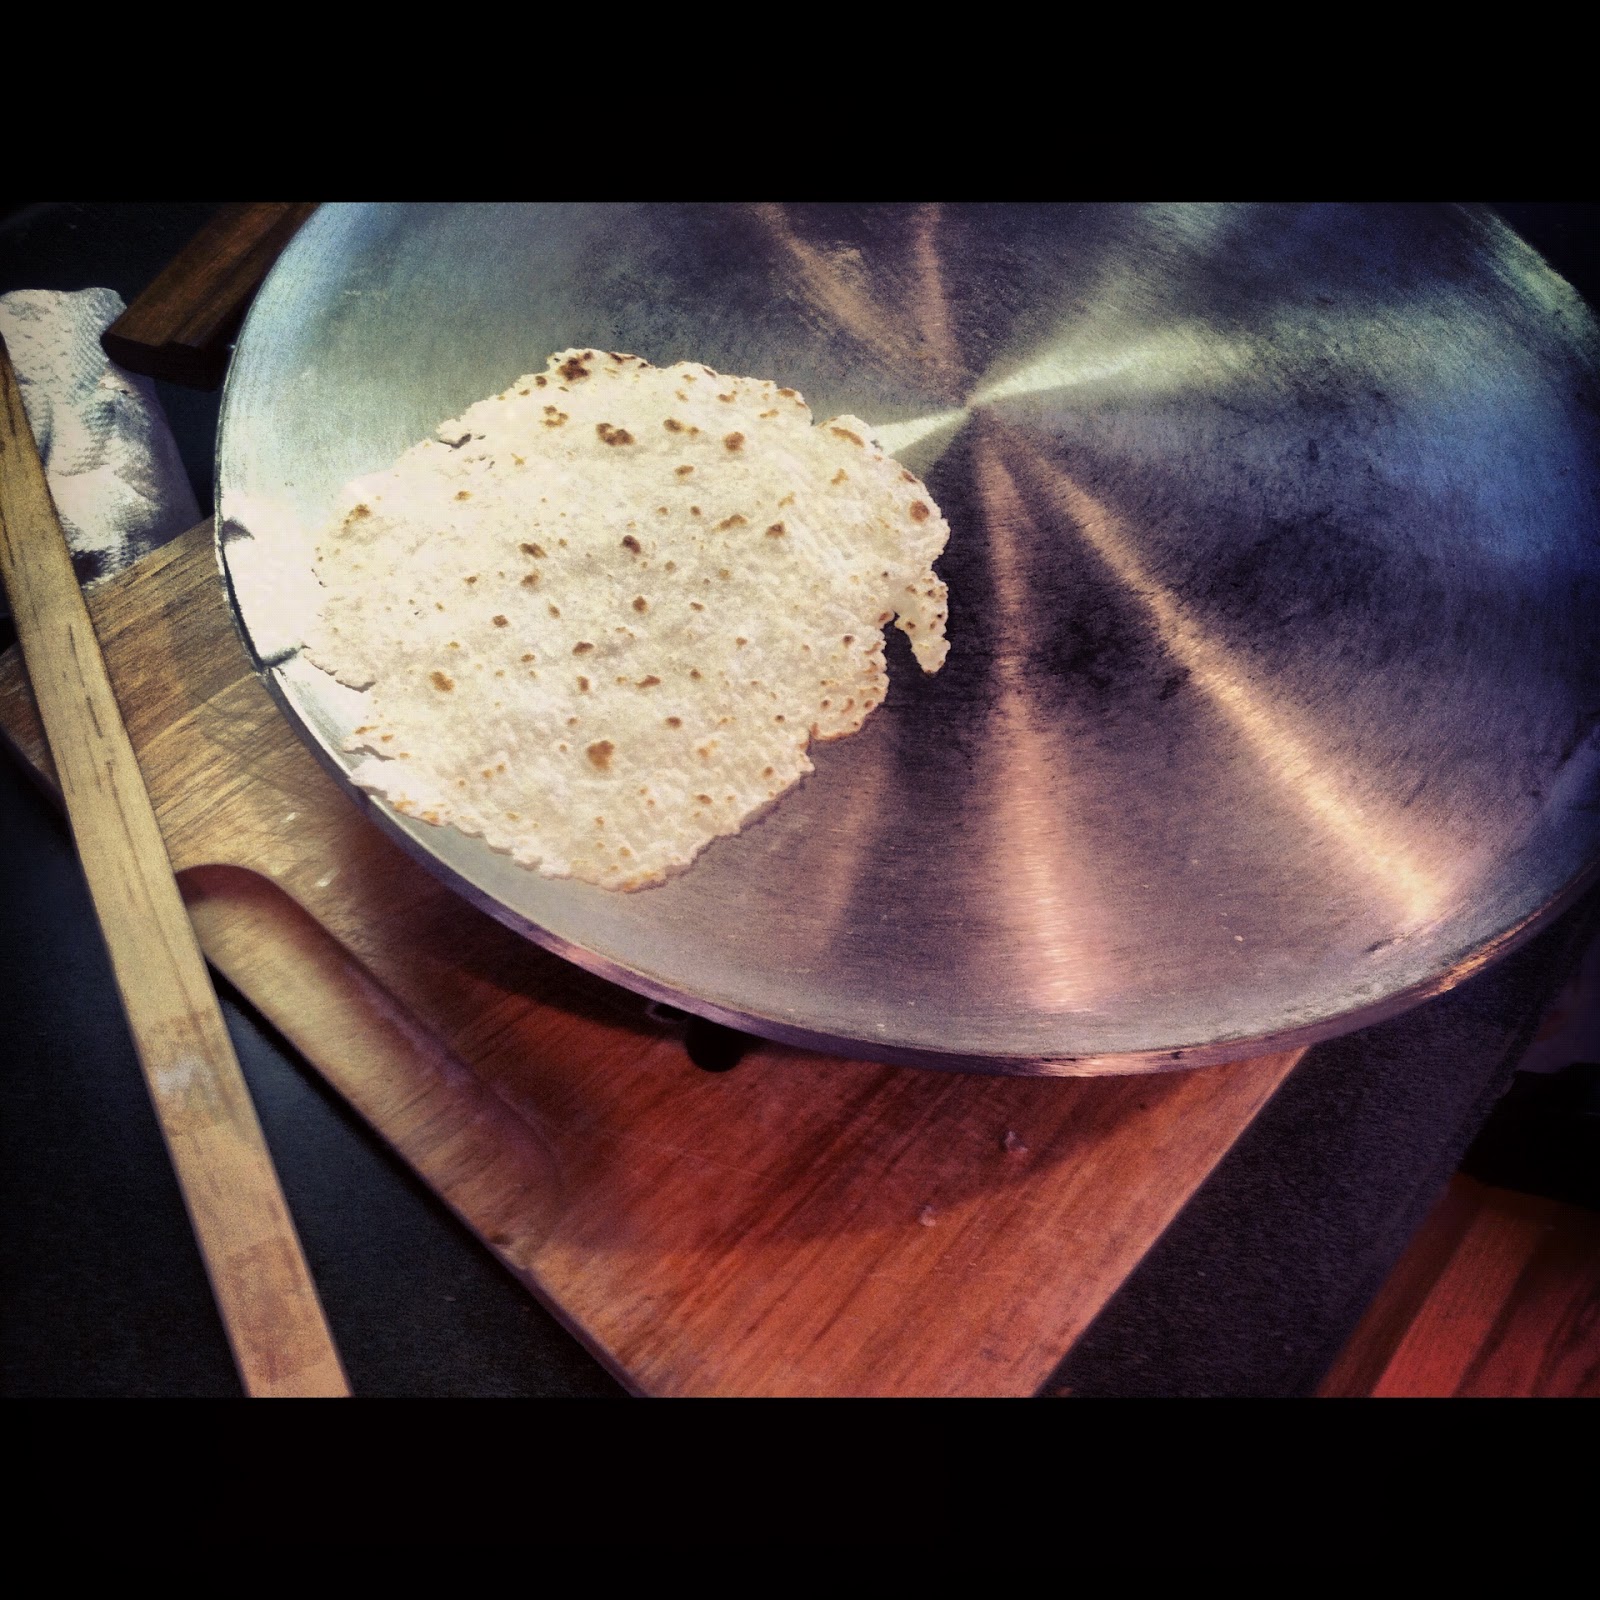
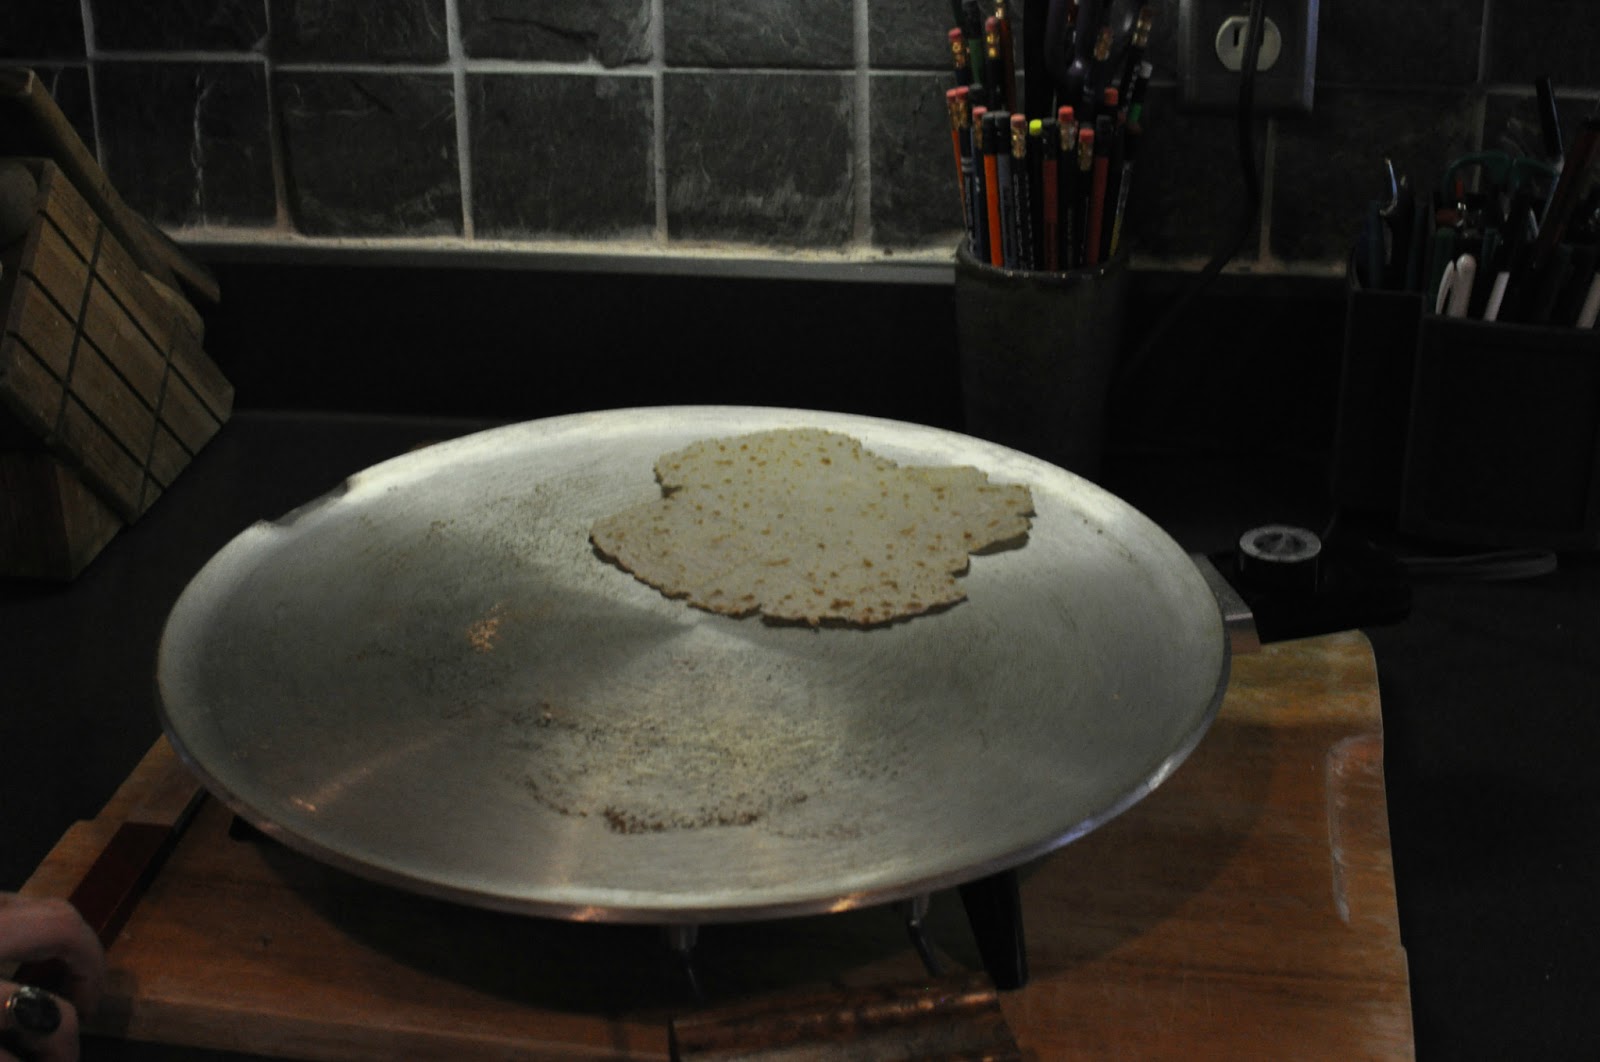
When the dough is as large and as thin as you can make it, use the lefse stick to pick up the round and transfer it to the hot griddle. The lefse griddle should be hot enough that the lefse immediately begins to bubble, as shown above.
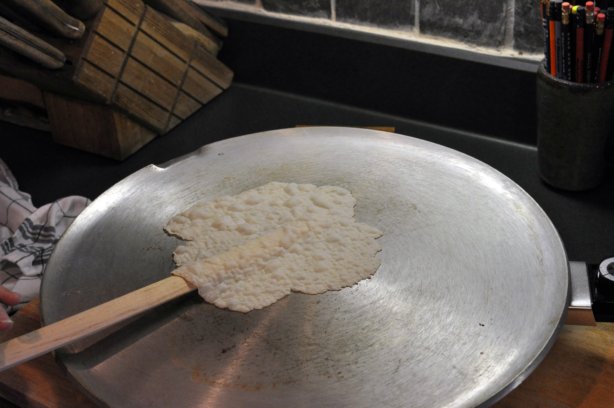
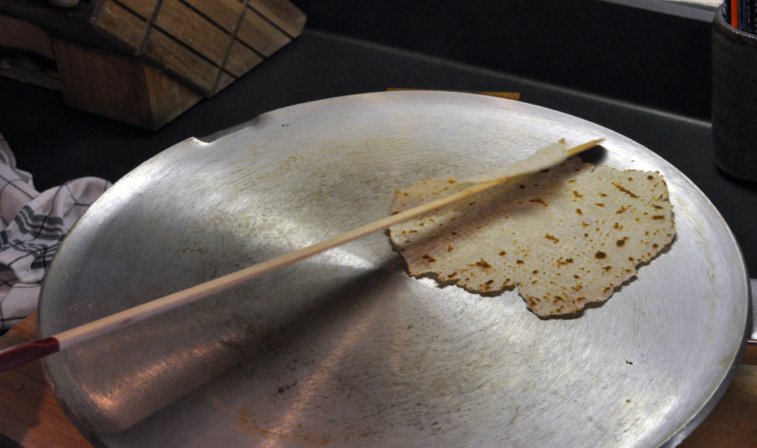
When a peek at the cooking side shows a surface of nice brown dots, see above, slide the stick under the lefse, and carefully flip it over. Allow about 1 minute per side. Reduce heat, if necessary, to prevent over browning. If the edges of the lefse begin to get dry, brown, and curl, you are grilling the rounds too long. If the lefse is not browning well, but remaining light-colored, the griddle temperature is too low.
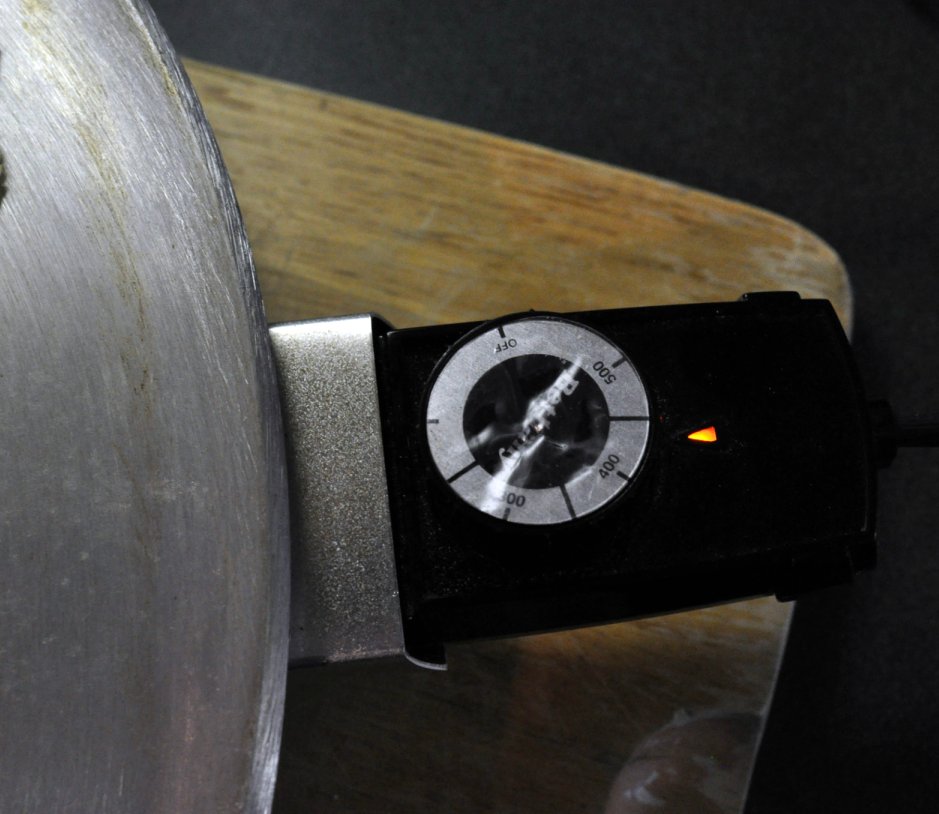
The nice thing about having a lefse griddle, is keeping the temperature consistently high – 500 degrees. When flour begins to build up on the lefse griddle, use a wadded up dry paper towel to wipe it clean. This will prevent smoking and scorching of the lefse.
As the lefse is cooked, stack them on one end of a terry cloth towel, folding the other end of the towel and the plastic over the lefse as you cook more dough rounds. The towel absorbs excess moisture from the lefse as it cools, and the plastic keeps the moisture inside the towel to prevent drying out too much.
Continue rolling out dough, cooking, and stacking on top of each other on the towel. Let covered lefse stand 2 to 3 hours or until cooled completely.
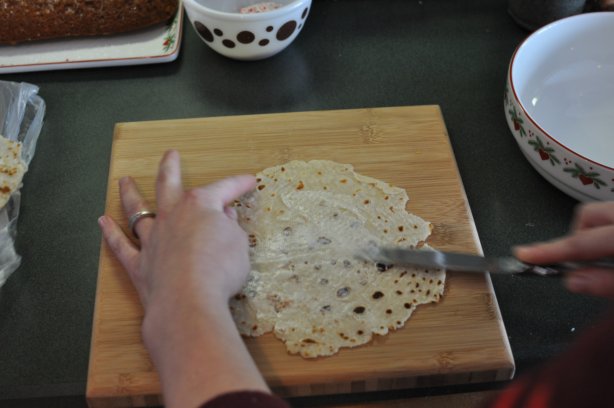
To serve immediately, spread with softened butter and roll up to eat. You may also add a sprinkling of cinnamon and sugar, although no real Norwegian would adulterate their lefse in such a way.

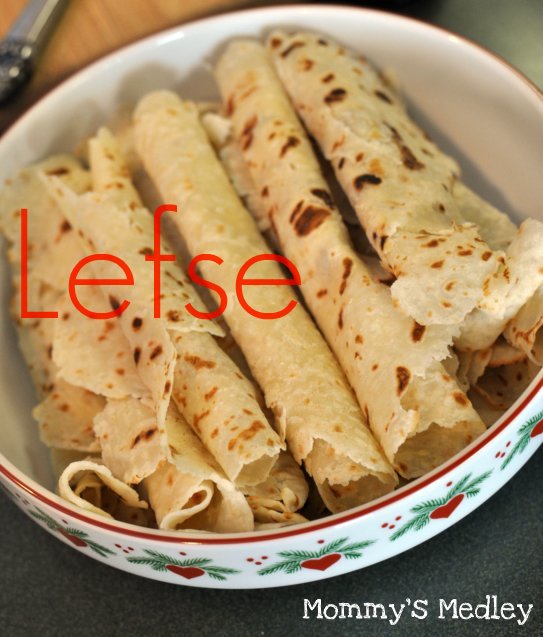
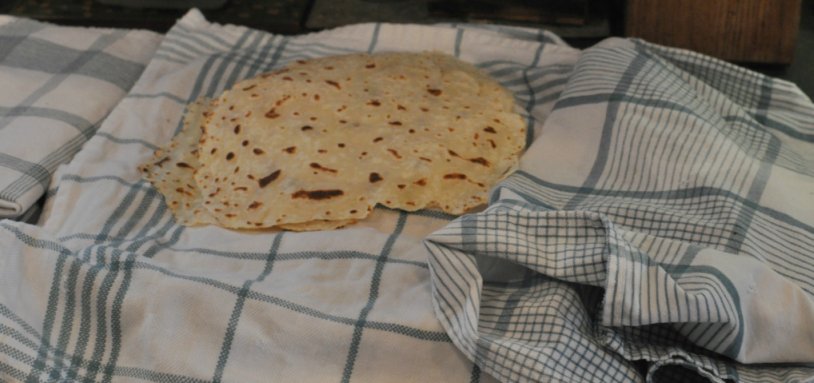
Our lefse is ready for our Christmas meal.
To store lefse, carefully peel each lefse off the pile, fold it into quarters, and place in a self-sealing plastic bag. Refrigerate lefse and use within 2 or 3 days. Freeze the rest in freezer bags.
After making lefse and Christmas dinner we prepared to sit down and enjoy one another’s company.
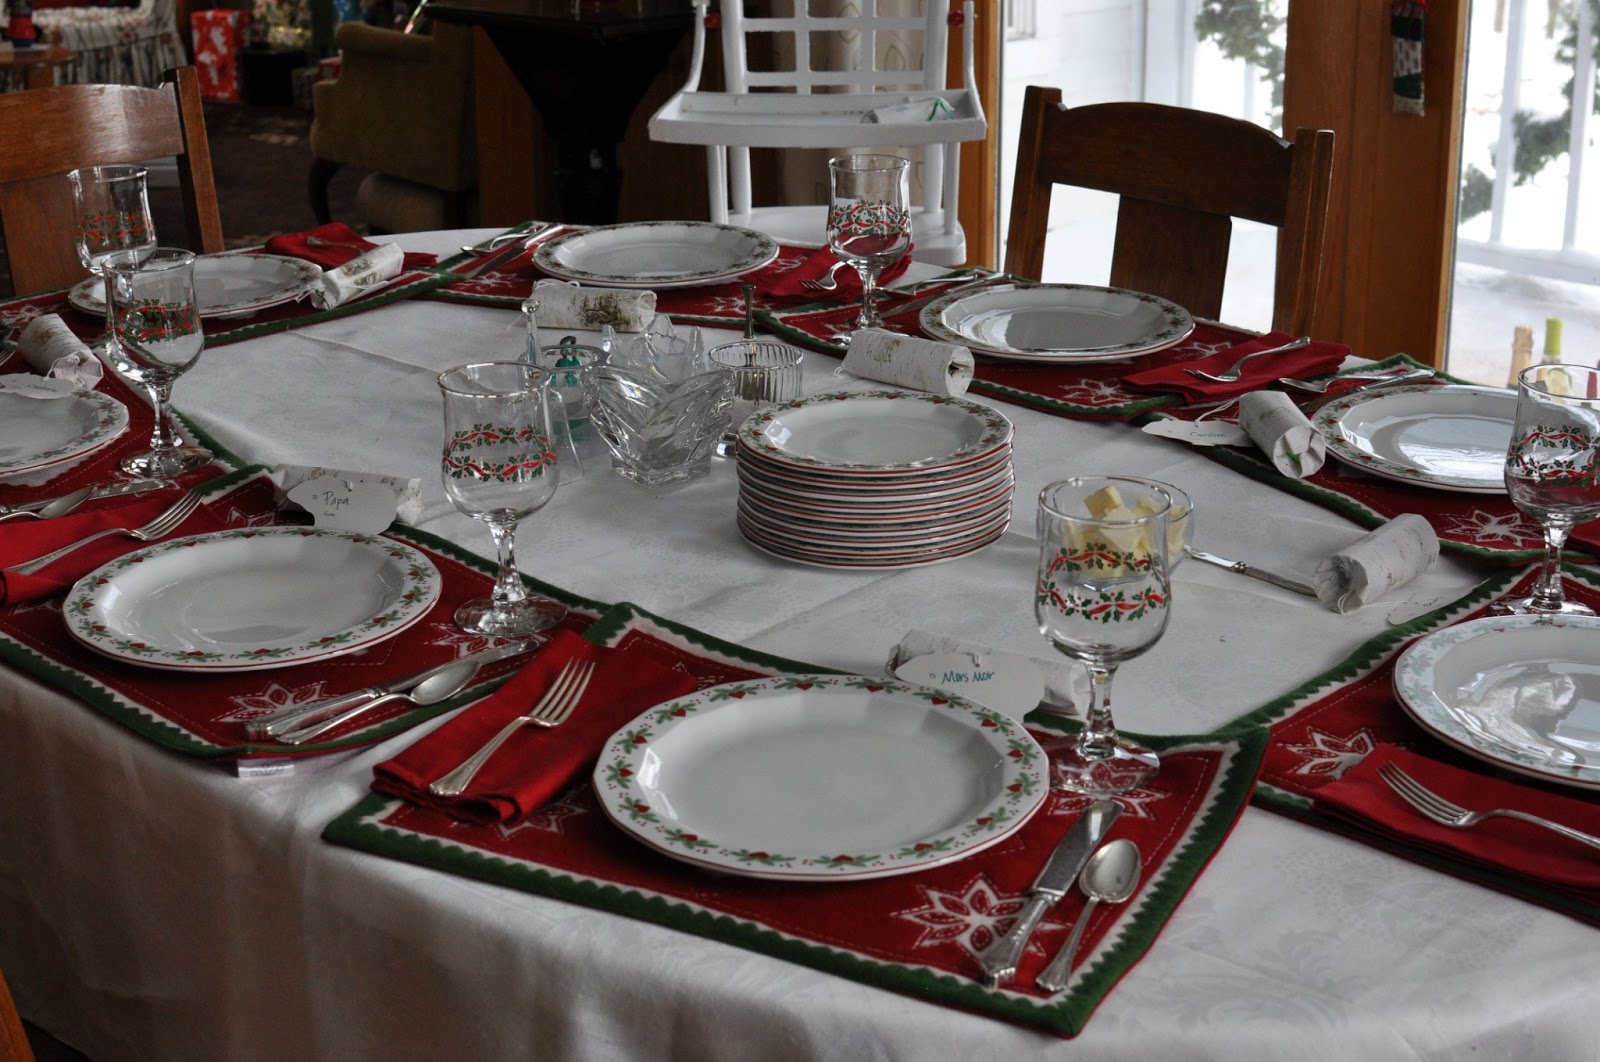
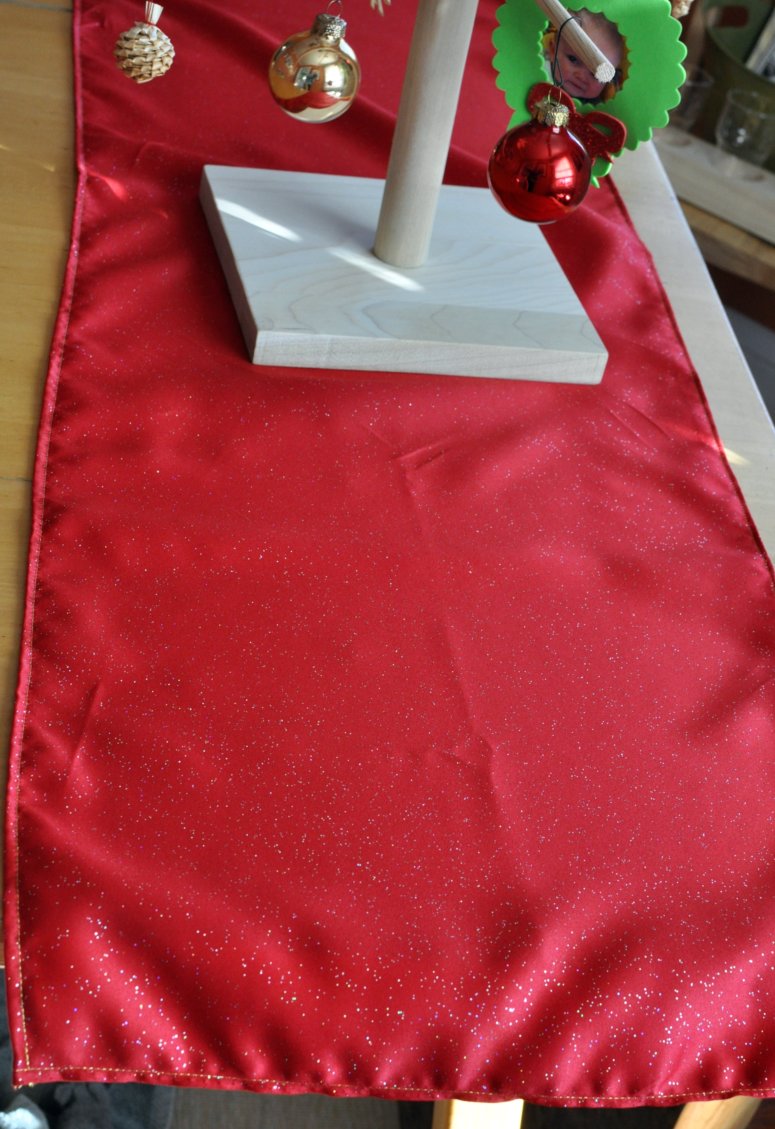
My mom set the table in a festive Christmas setting of Heart & Pine china, white linens, and Scandinavian looking snowflake place mats.
Instead of our usual poppers, my mom created tubes with quotes inside for everyone to share aloud with the group.

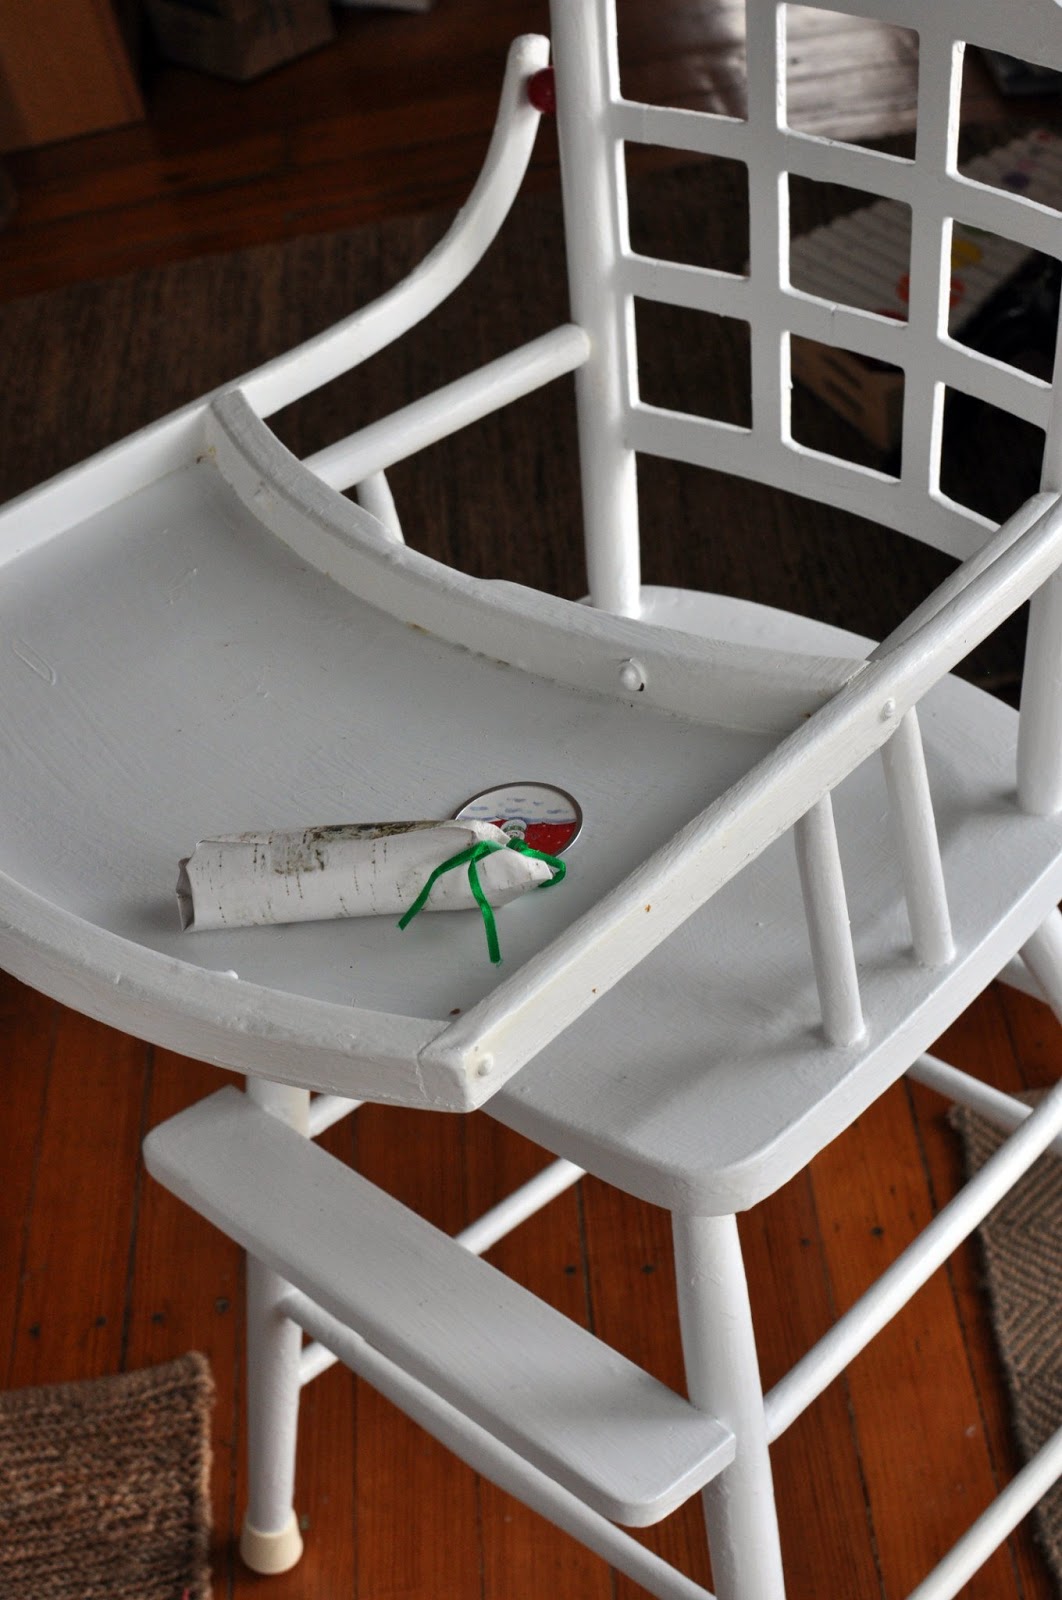
The quote tubes were labelled with sparkly polar bears.

Guests were: my parents, Eric, my grandmother, neighbor Gail, and my sister and her husband Brady.

Greta had her own place in her highchair.
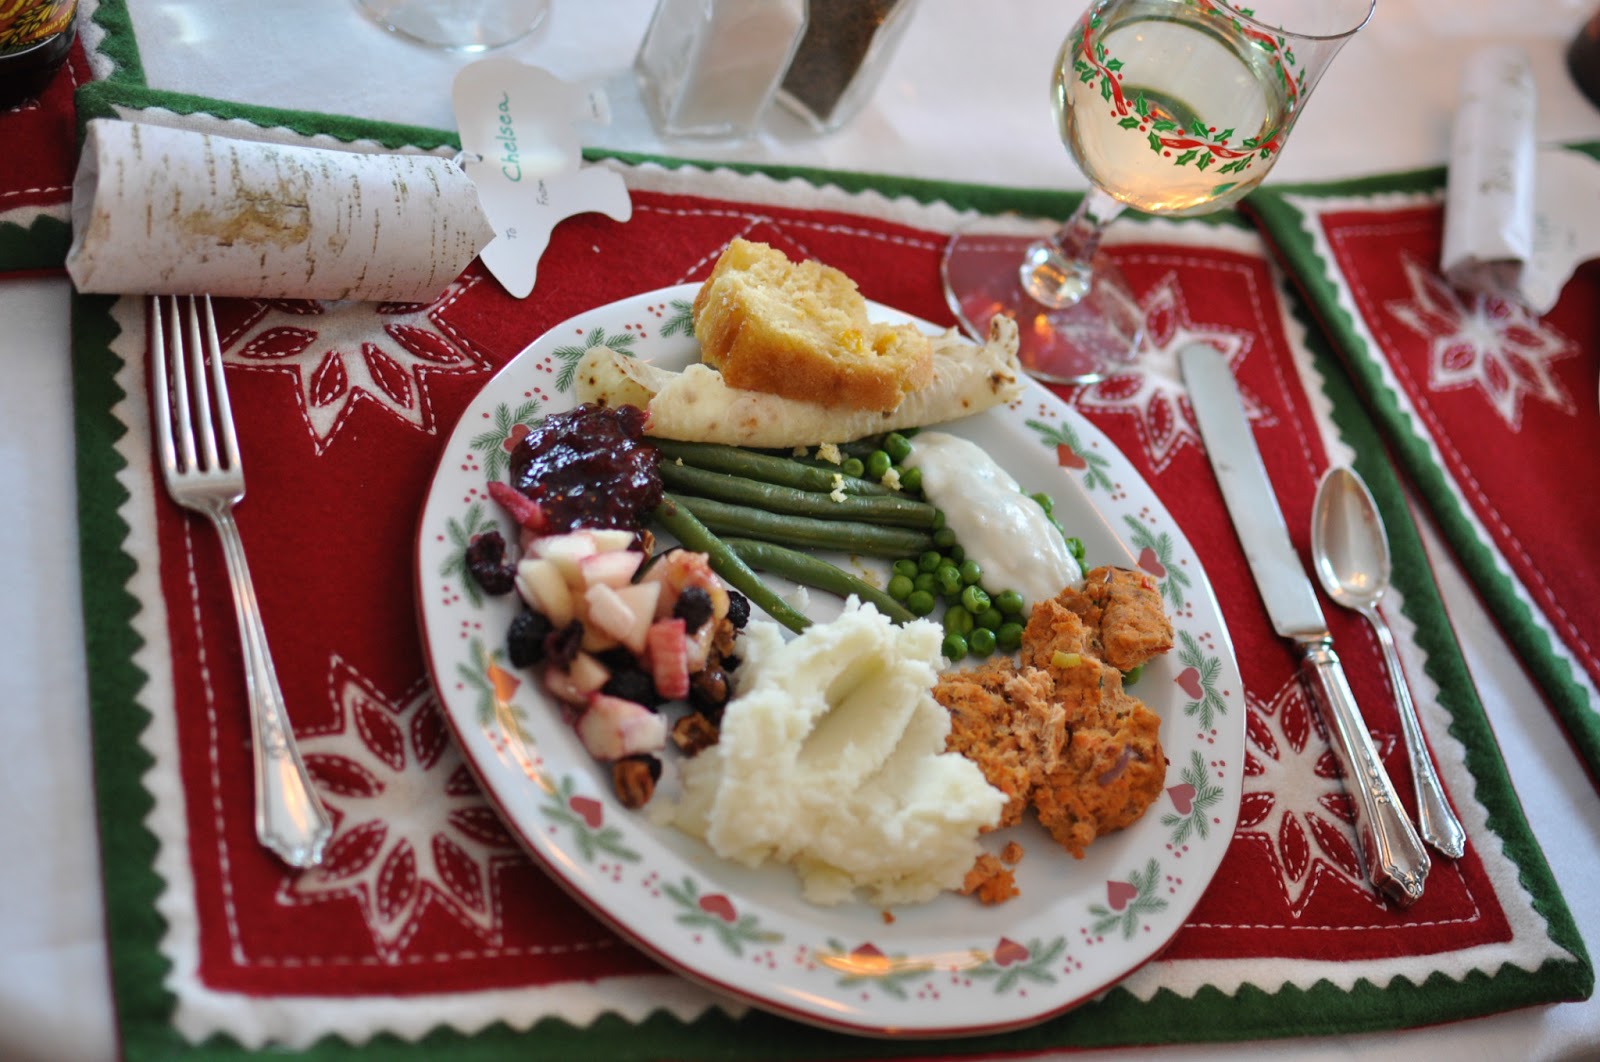
Dinner was salmon cakes, mashed potatoes, green beans, cornbread, lefse, peas with white sauce, cranberry sauce, and fruit salad. More on cake and my grandmother’s birthday celebration tomorrow.
Lefse
1. In a large covered saucepan, cook 2-1/2 lb. russet potatoes, peeled and quartered in boiling water for 20 minutes or until they are just tender but not mushy. Drain well in a colander.
2. Put the dry, hot potatoes through a ricer into another bowl. Add 1/2 cup butter, 1/2 cup whipping cream, and 2 teaspoons sugar. Mix well and smooth mixture out in the bowl. Refrigerate, uncovered, for at least 8 hours or overnight.
3. Remove potatoes from the refrigerator, work 1-1/2 cups flour in by hand and immediately being the hour-long process of rolling out the dough. Prepare terry cloth towels and a large piece of plastic – plastic wrap or a garbage bag cut down the sides. The plastic should be the same size as the towel. These will be used to cover the cooked lefse as you roll and cook more.
4. To roll out dough, cover a lefse rolling pin in flour. Stretch your pastry cloth over the board; fasten securely. Heat the ungreased griddle over medium heat, or preheat lefse griddle. Generously flour the pastry cloth and rolling pin. Flatten a ball of dough, the size of a walnut. Roll out as thin as you can, adding more flour as necessary, and being careful not to let the dough stick to the rolling pin or the pastry board. Using a lefse stick, loosen the dough often, carefully pushing the stick between the dough and the pastry board.
5. When the dough is as large and as thin as you can make it, use the lefse stick to pick up the round and transfer it to the hot griddle. The lefse griddle should be hot enough that the lefse immediately begins to bubble, as shown above. When a peek at the cooking side shows a surface of nice brown dots, see above, slide the stick under the lefse, and carefully flip it over. Allow about 1 minute per side. Reduce heat, if necessary, to prevent over browning. If the edges of the lefse begin to get dry, brown, and curl, you are grilling the rounds too long. If the lefse is not browning well, but remaining light-colored, the griddle temperature is too low.
6. As the lefse is cooked, stack them on one end of a terry cloth towel, folding the other end of the towel and the plastic over the lefse as you cook more dough rounds. The towel absorbs excess moisture from the lefse as it cools, and the plastic keeps the moisture inside the towel to prevent drying out too much. Continue rolling out dough, cooking, and stacking on top of each other on the towel. Let covered lefse stand 2 to 3 hours or until cooled completely.
7. To serve immediately, spread with softened butter and roll up to eat. You may also add a sprinkling of cinnamon and sugar, although no real Norwegian would adulterate their lefse in such a way. To store lefse, carefully peel each lefse off the pile, fold it into quarters, and place in a self-sealing plastic bag. Refrigerate lefse and use within 2 or 3 days. Freeze the rest in freezer bags.