Cornbread and corn muffins have and always will be a staple around my household – they were when I was a kid and will continue to be into Greta’s childhood. I have two recipes that are easy and quick – one savory and one sweet, but both easy as pie to make for a snack or meal.
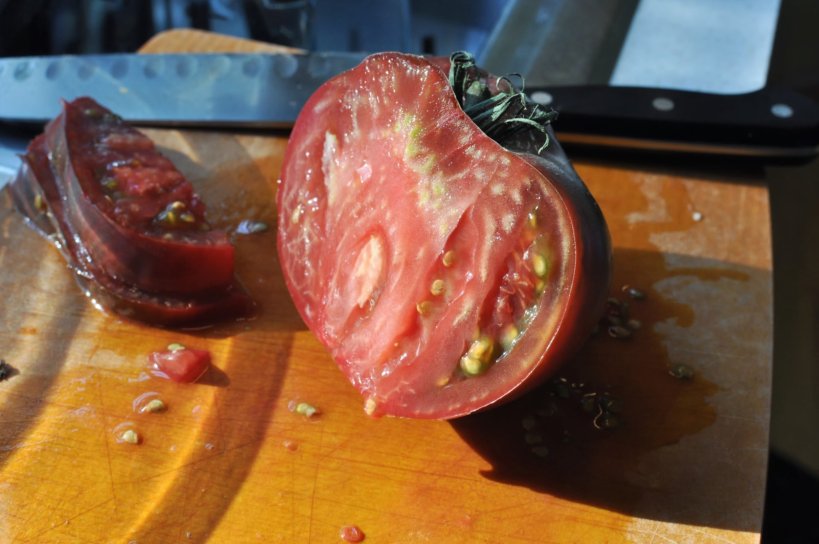
The first recipe comes from the need to use tomatoes. No, don’t worry, I will not go on a tomato binge like my previous zucchini posts. Though I admit, I am not done with zucchini recipes, merely resting from them for the time being. This gorgeous tomato comes from my mother’s garden, along with hundreds more. Tomatoes anyone?
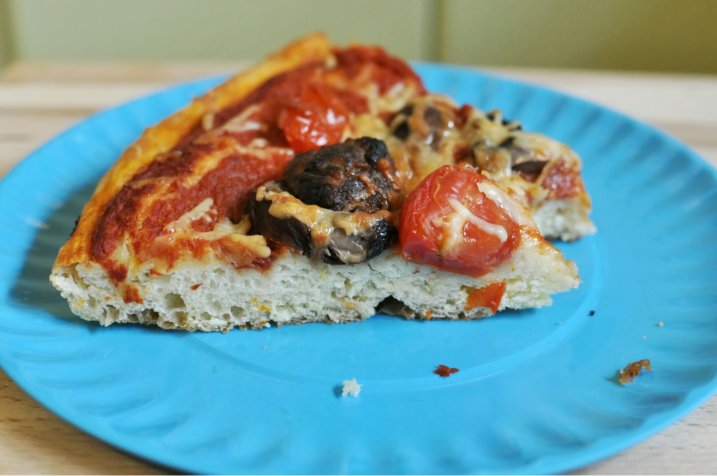
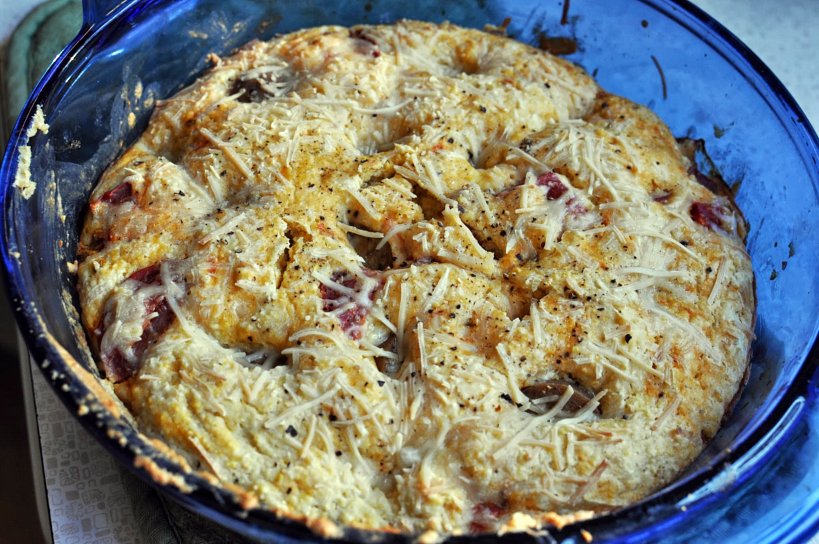
This dish is truly something worthy of a painting – soft and chewy on the inside with lovely bites of tomato and sausage (I opted for fake) with a crusty Parmesan pepper top. This is sure to please all – real or fake sausage.
This was our dinner tonight – tomato sausage cornbread and steamed green beans. More mom’s garden vegetables – the green beans are so good this year.
Greta asked me for seconds tonight because she helped me to prepare them!
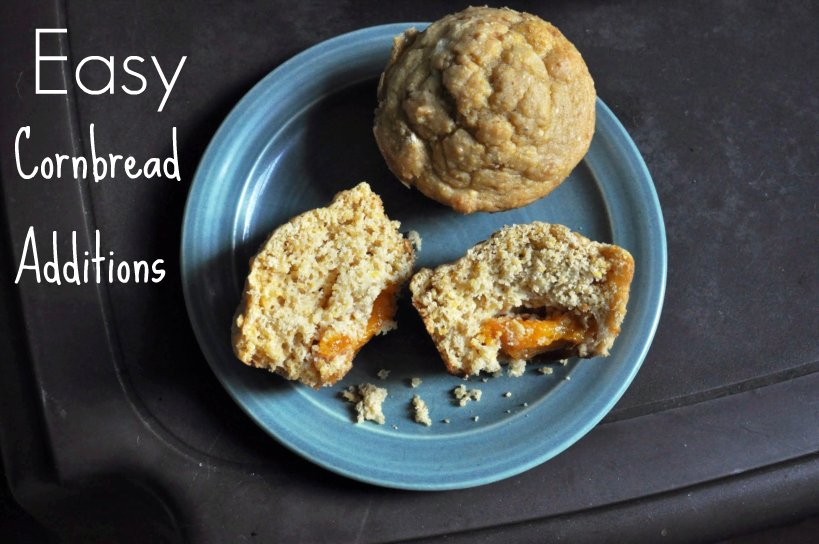
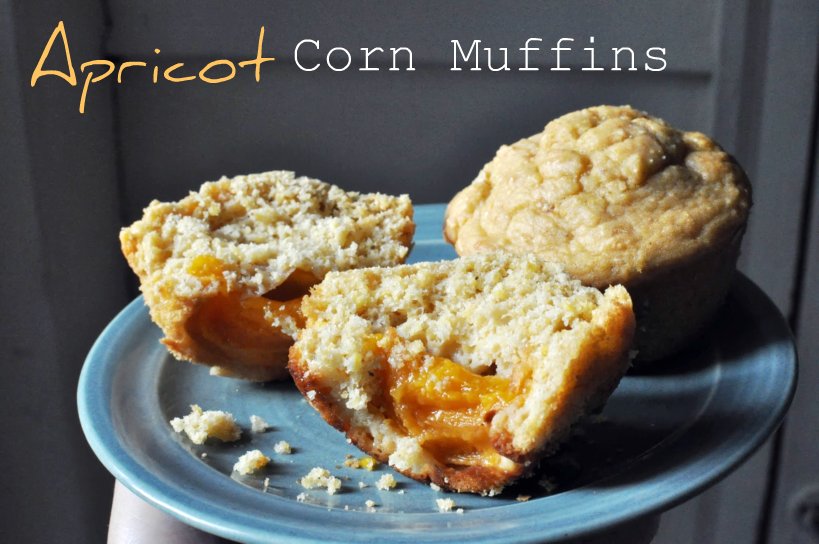
These sweet treats were born from a large quantity of fresh apricots on the verge of being non-edible in their raw stage. Necessity is the mother of invention, most certainly in the use it or lose game of baking and cooking. The addition of fruits and vegetables to cornbread requires a little more baking time – so watch the oven and use a knife to ensure you avoid doughy centers.

Tomato & Sausage Cornbread
1. Grease a glass 8×8 inch baking dish with margarine, set aside. Preheat oven to 350 degrees.
2. In a medium bowl, mix together 1 cup cornmeal, 1 cup flour, ¼ cup sugar (OR 2 tablespoons Truvia Stevia blend), 2 teaspoons baking powder, and ½ teaspoon salt.
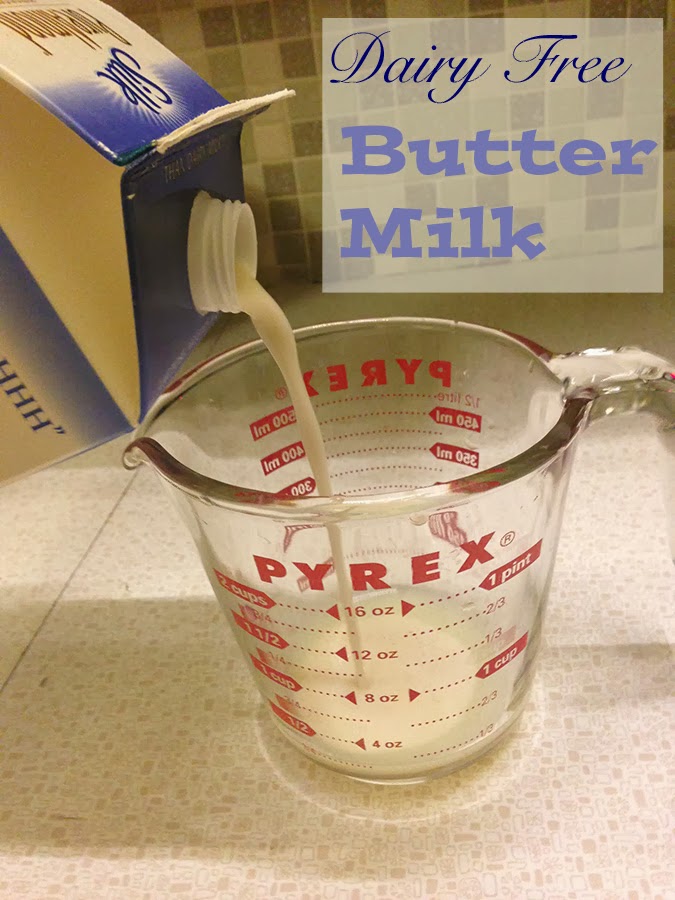
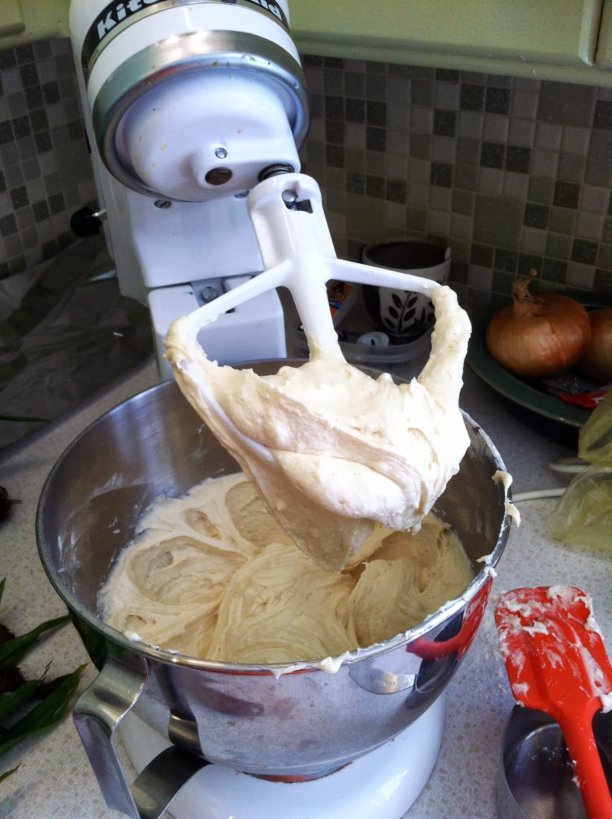
3. In a glass measuring cup, combine 1 cup (almond) milk, ¼ cup vegetable oil, and 1 beaten egg. Combine with flour mixture in a few swift strokes, scraping the bottom of the bowl to ensure adequate mixing.
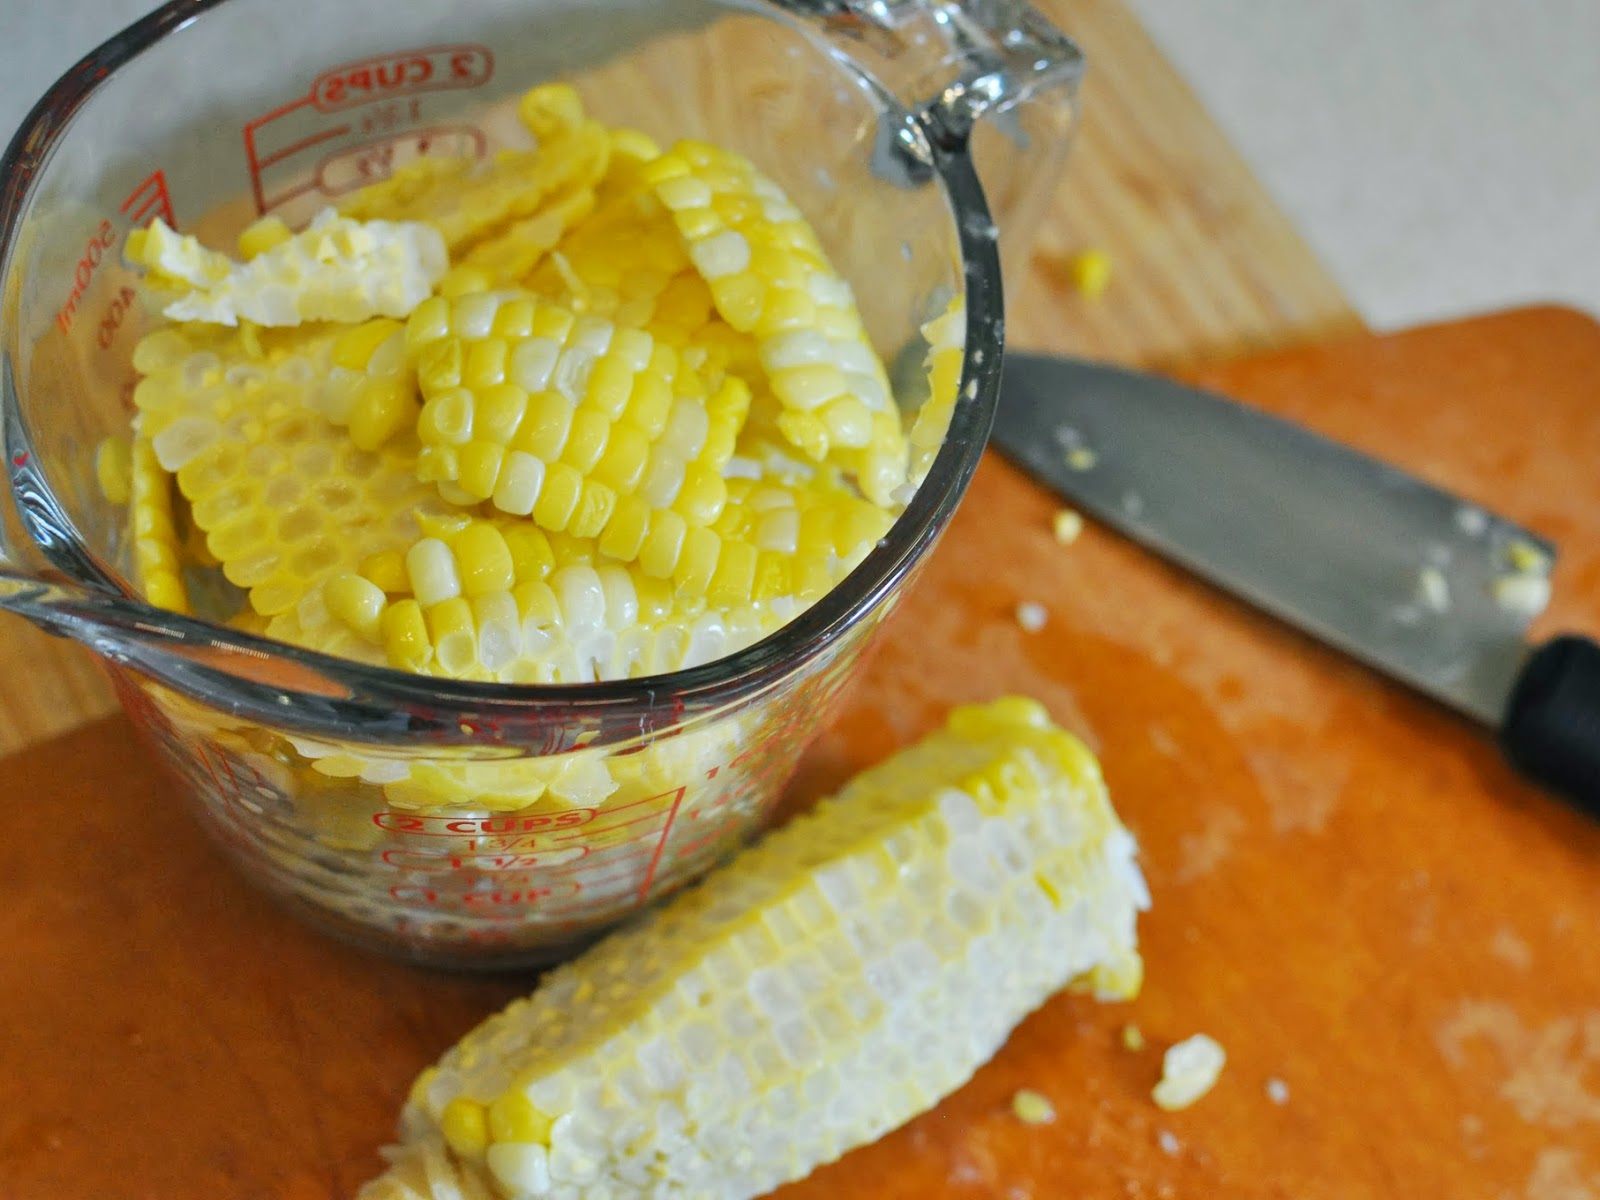
4. Chop ½ large or 1 medium tomato into ½ pieces. Dice 1 sausage (real or fake) into ½ inch wide pieces. Fold into batter. Pour batter into prepared pan. Sprinkle with Parmesan cheese and grate fresh peppercorn on top.
5. Bake at 350 degrees for 30 to 35 minutes, or till knife inserted in middle comes out clean.
Apricot Corn Muffins – makes 12
1. Grease 12 muffin cups with margarine, or line with paper, set aside. Preheat oven to 350 degrees.
2. In a medium bowl, mix together 1 cup cornmeal, 1 cup flour, ¼ cup sugar (OR 2 tablespoons Truvia Stevia blend), 2 teaspoons baking powder, and ½ teaspoon salt.
3. In a glass measuring cup, combine 1 cup (almond) milk, ¼ cup vegetable oil, and 1 beaten egg. Combine with flour mixture in a few swift strokes, scraping the bottom of the bowl to ensure adequate mixing.
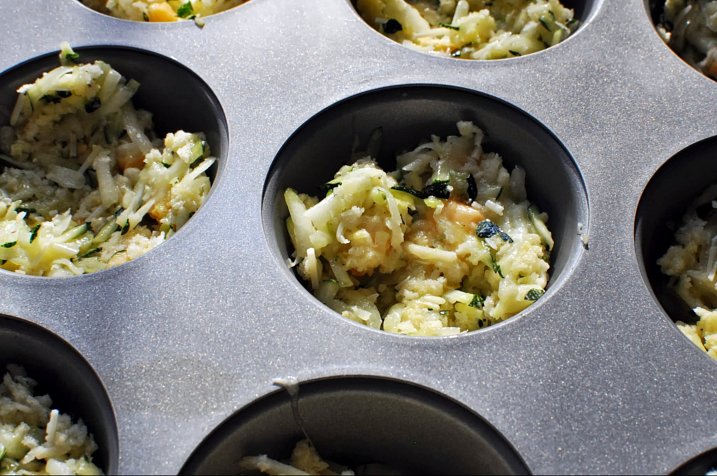
4. Cut in ½ and remove pit from 6 fresh apricots. Place one apricot in the bottom of each muffin cup. Pour batter into prepared muffin cups.
5. Bake at 350 degrees for 30 to 35 minutes, or till knife inserted in middle comes out clean.