High Trestle Trail Ride

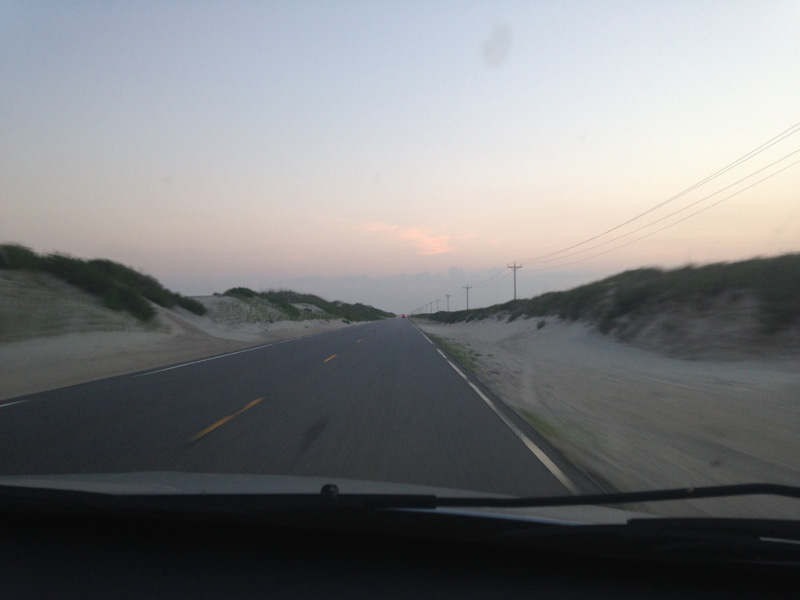
 Last Sunday we finally made our way to the High Trestle Trail in Iowa.  We started in Woodward, Iowa, which is about a 30 minute drive from Des Moines.  We drove up after breakfast, fully loaded with snacks, water bottles, and the orange bike sticking out on either side of our car rack like an large orange dragon.  We parked in the High Trestle Trail parking lot and promptly realized we left the entire diaper bag at home.  So, off we road to a local gas station that was teeming with coffee sipping cyclists.  It’s amazing to see what a bike trail can do for small communities.  The best part – we were banking on lighter crowds due to the start of RAGBRAI.
IMG_6543

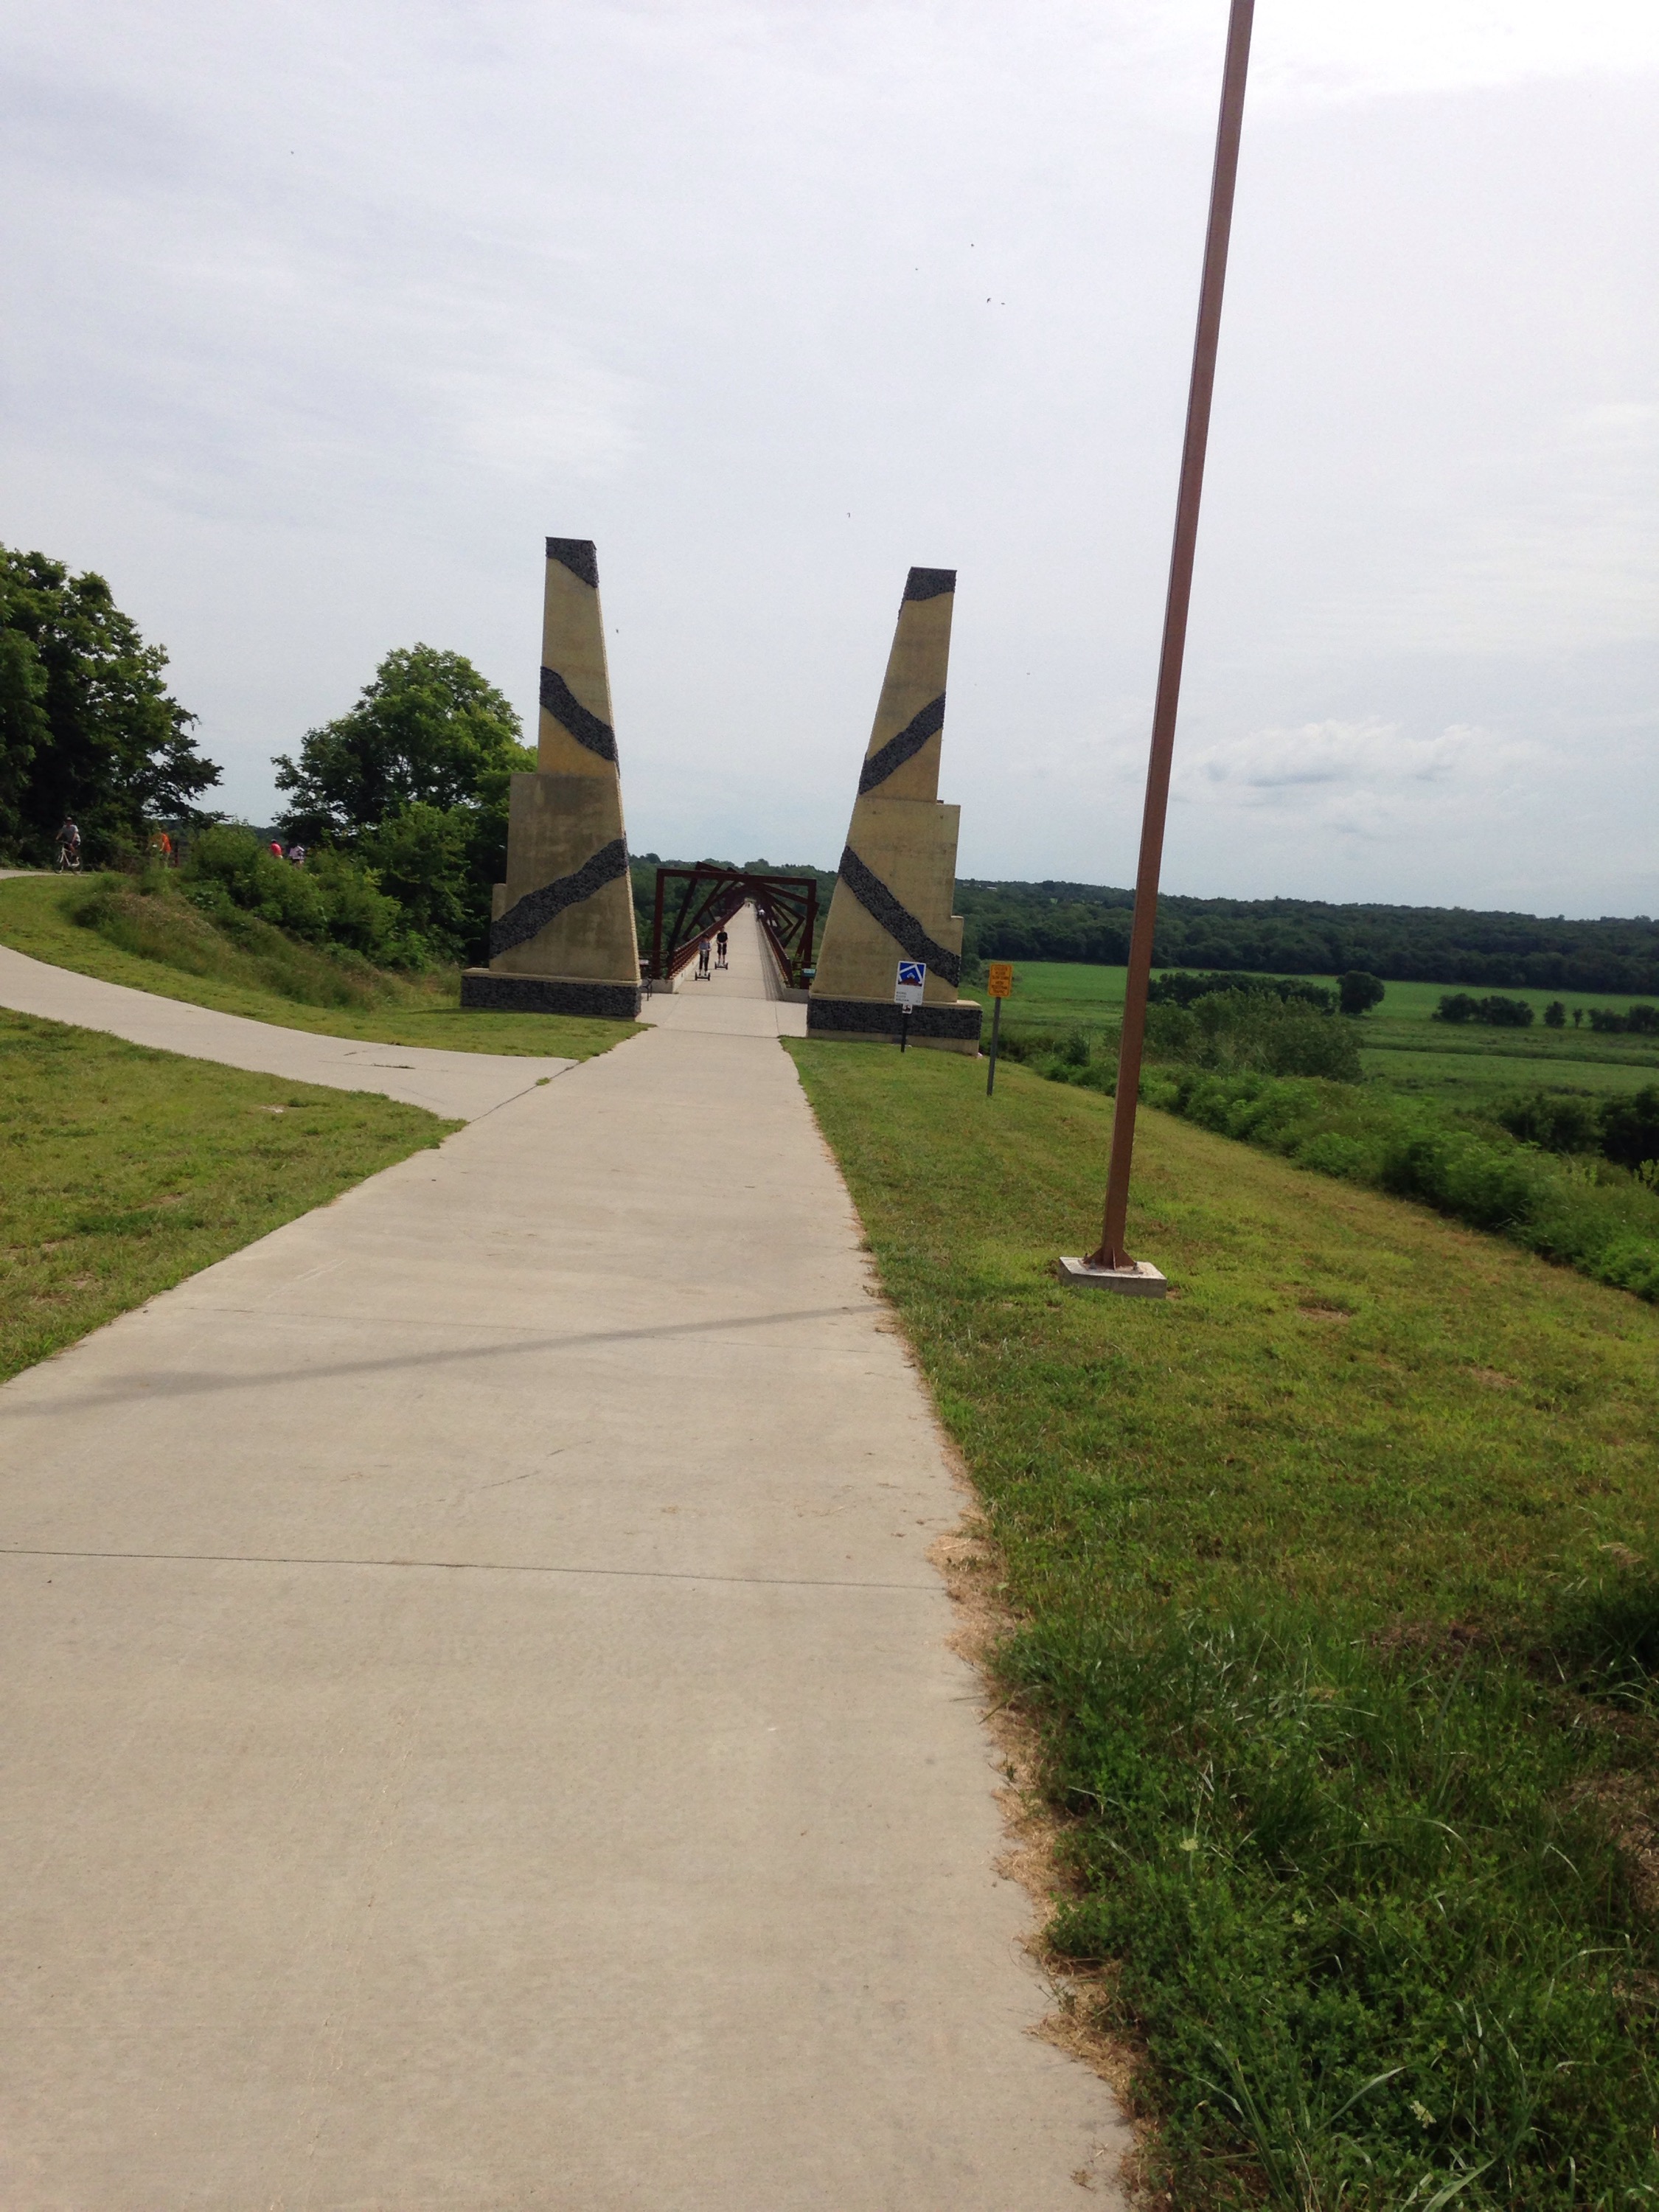
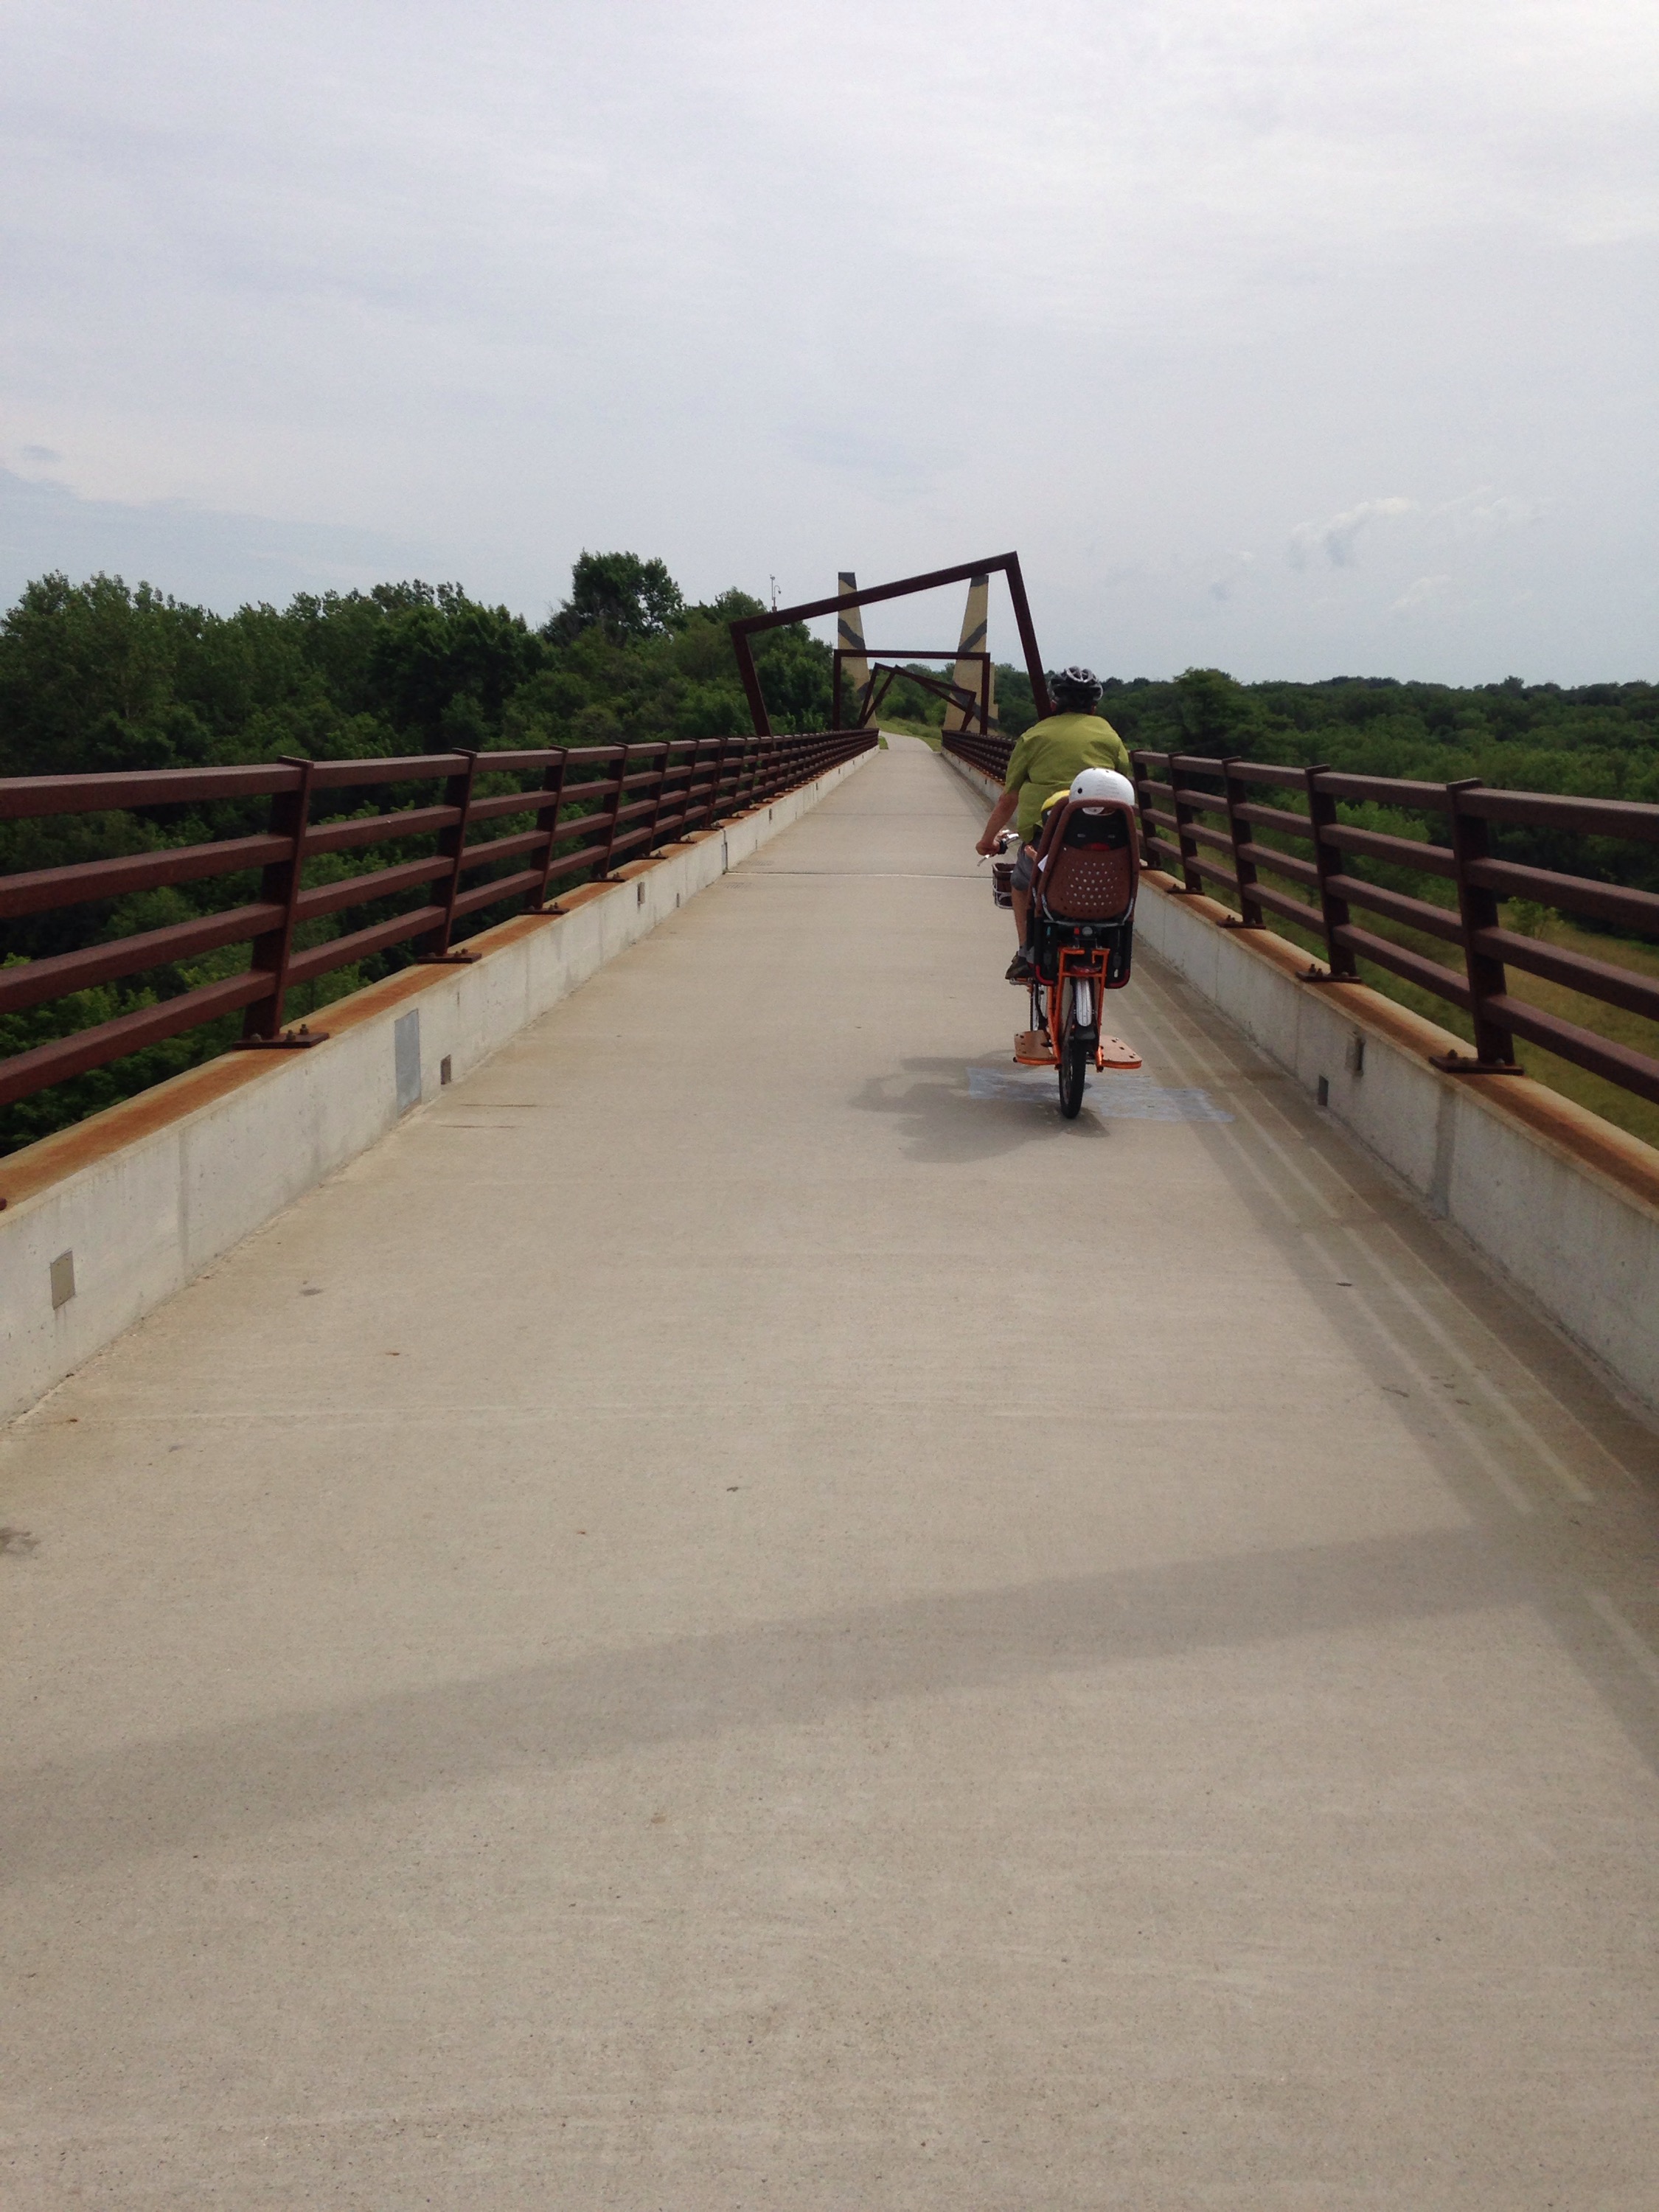
It is an easy 3 mile ride from Woodward to “The Bridge,” as it is dubbed.  The High Trestle Trail Bridge is a 13-story, 1/2 mile long bridge that was formerly a railroad bridge.  There are outlooks along the bridge that spans the Des Moines River, with informative signs detailing items such as river wildlife and cultural features.  There are 41 steel frames over the bridge which are meant to represent the frames used in historic coal mines.  The pillars at either end of the bridge have ceramic tiles created to look like coal veins.

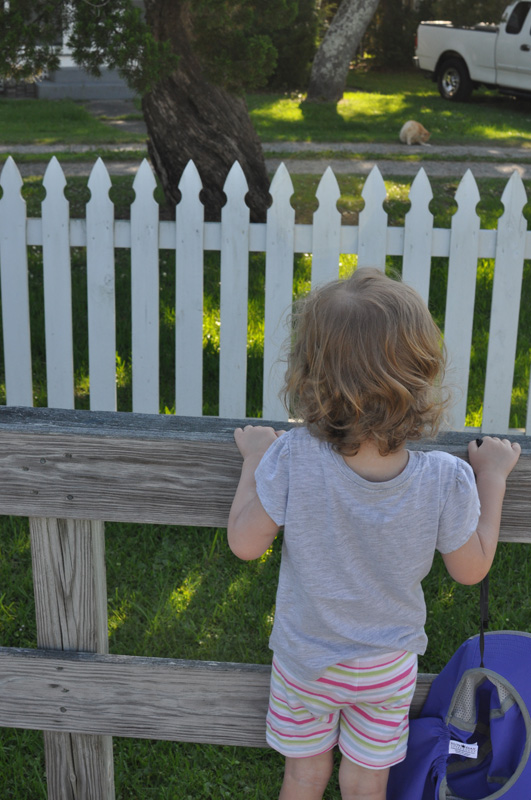
We stopped the orange dragon at the first major scenic overlook, where we had nice views of the entire span of the bridge.  The kids were in great spirits and just wanted to be on the bridge.

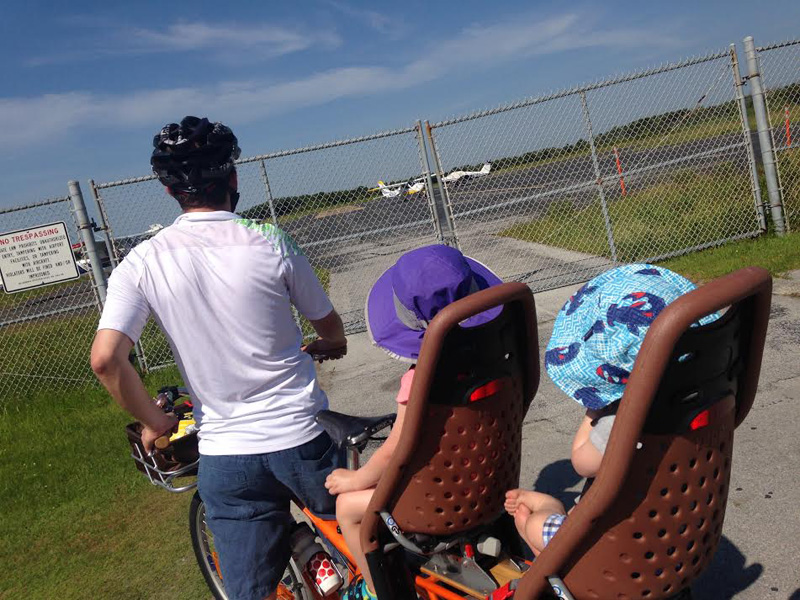
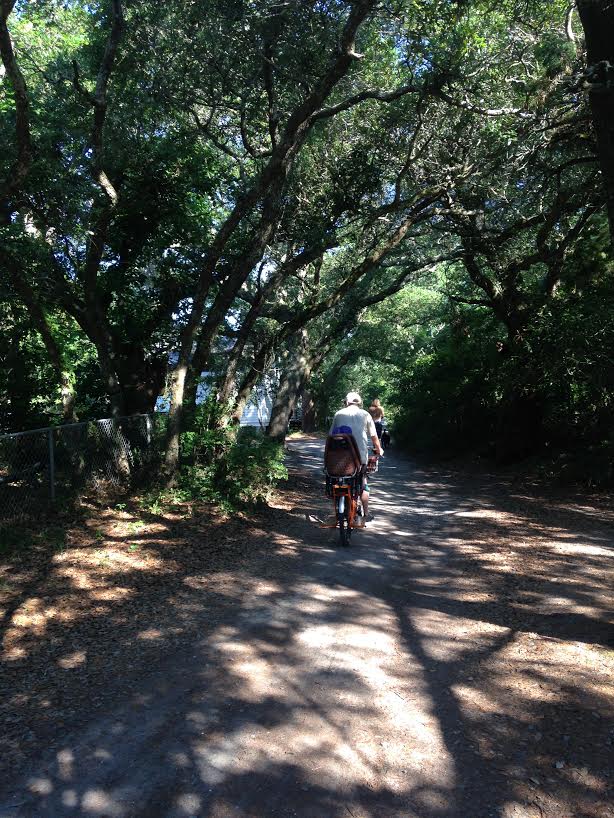
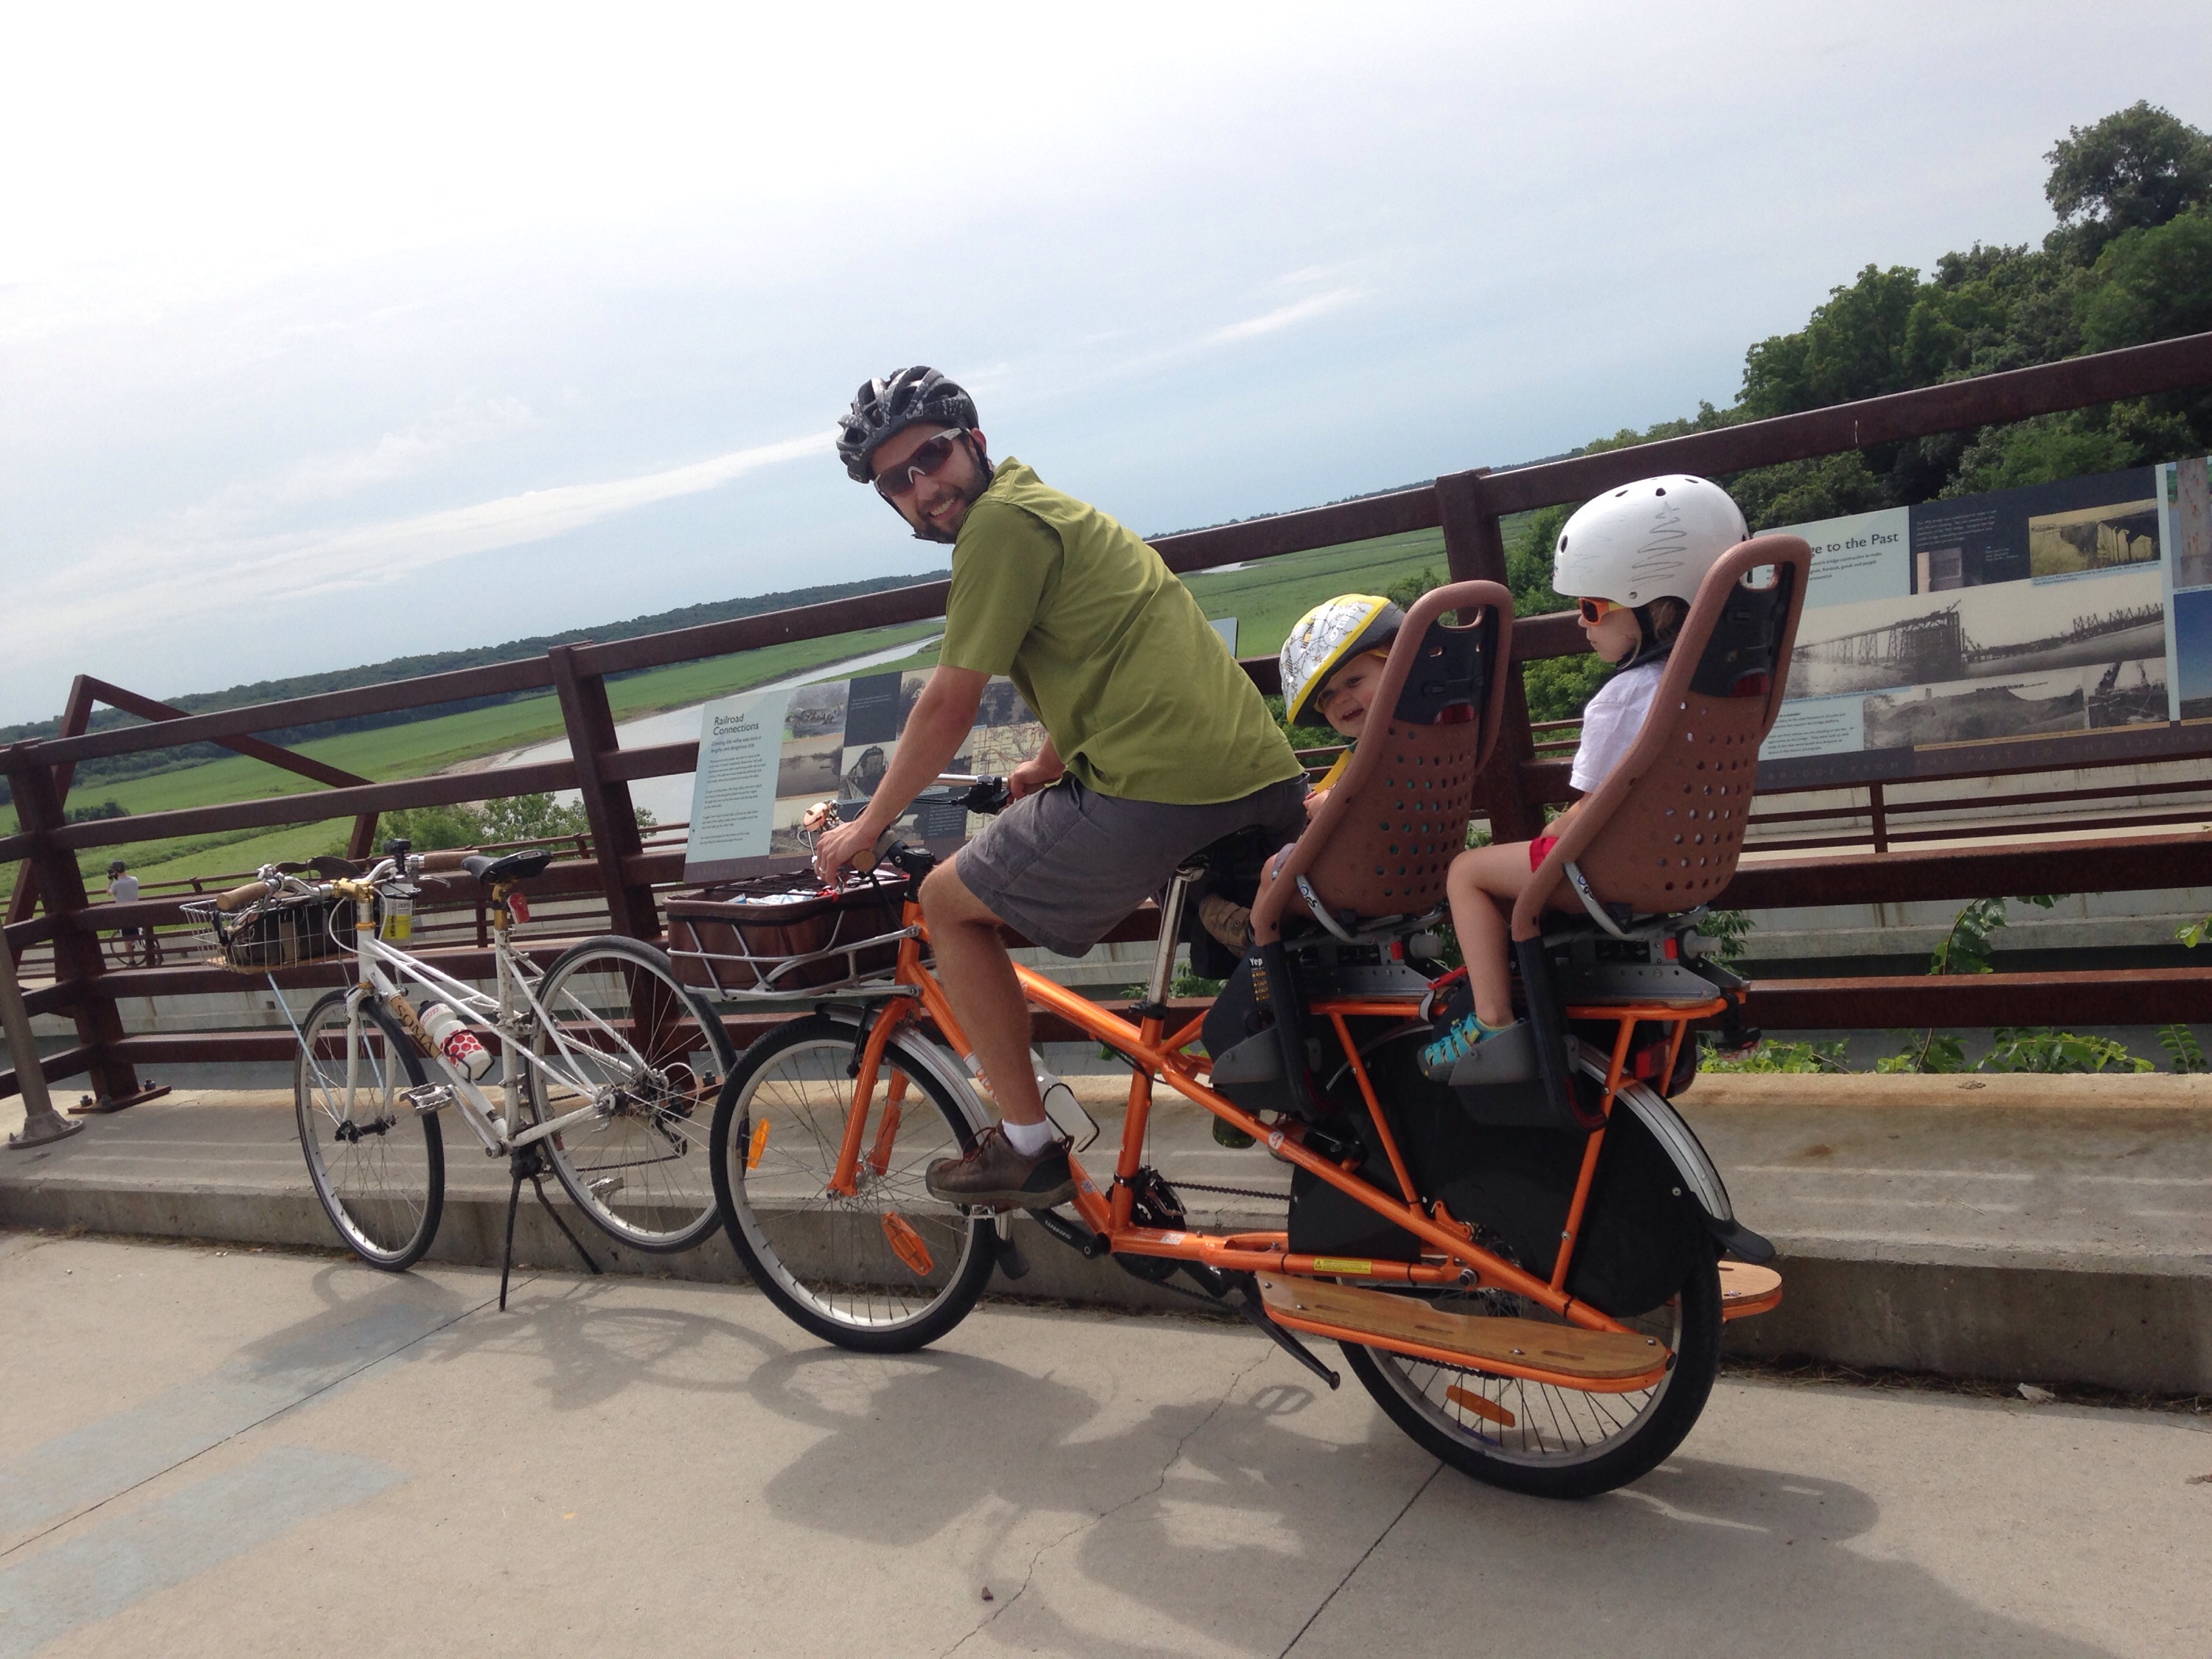
I love taking this bike out – everywhere we go we get compliment and questions.  I think most people just assume that a bike trailer is the only way to ride with kids.  We used a bike trailer at first, but once we found out #2 was on the way, we started to explore other options.  We have discovered that a cargo bike is more enjoyable for adults and kids alike for a few reasons: A. it is lighter and easier to turn on a fully loaded cargo bike than you’d think. B. The cargo bikes can be configured in a variety of ways to suit your family. C. Kid passengers are not enclosed in a hot trailer, stuck in a reclining position, but are able to sit up and interact just as the adult cyclists are able to.

We bought our cargo bike from REI, but check around your area for dealers.  Even if you are not in the market for a cargo bike, I highly recommend the Yepp Bicycle Seat as an alternative to a trailer.  They can be used on regular bikes as well.
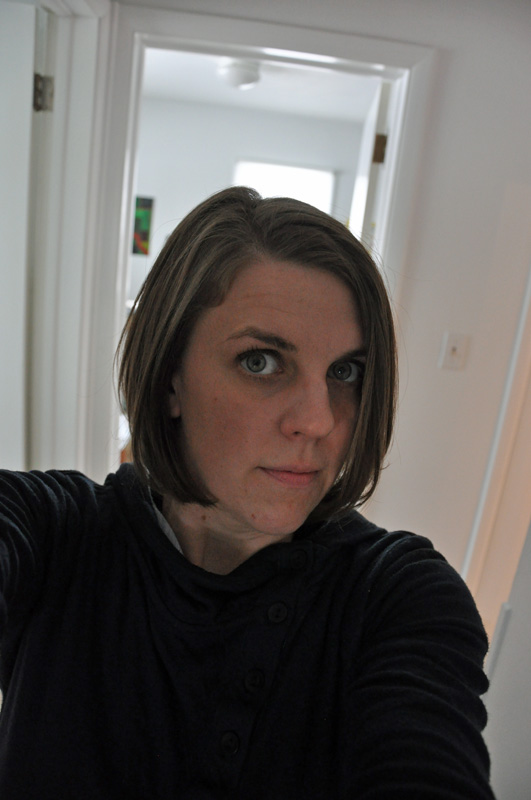
We stopped at an overlook for a selfie.  Yay for not being on RAGBRAI this year, and enjoying this inaugural ride with fantastic Iowa countryside views.  As you can see, the bridge is deserted!  It was not this empty on our return ride after noon, though.

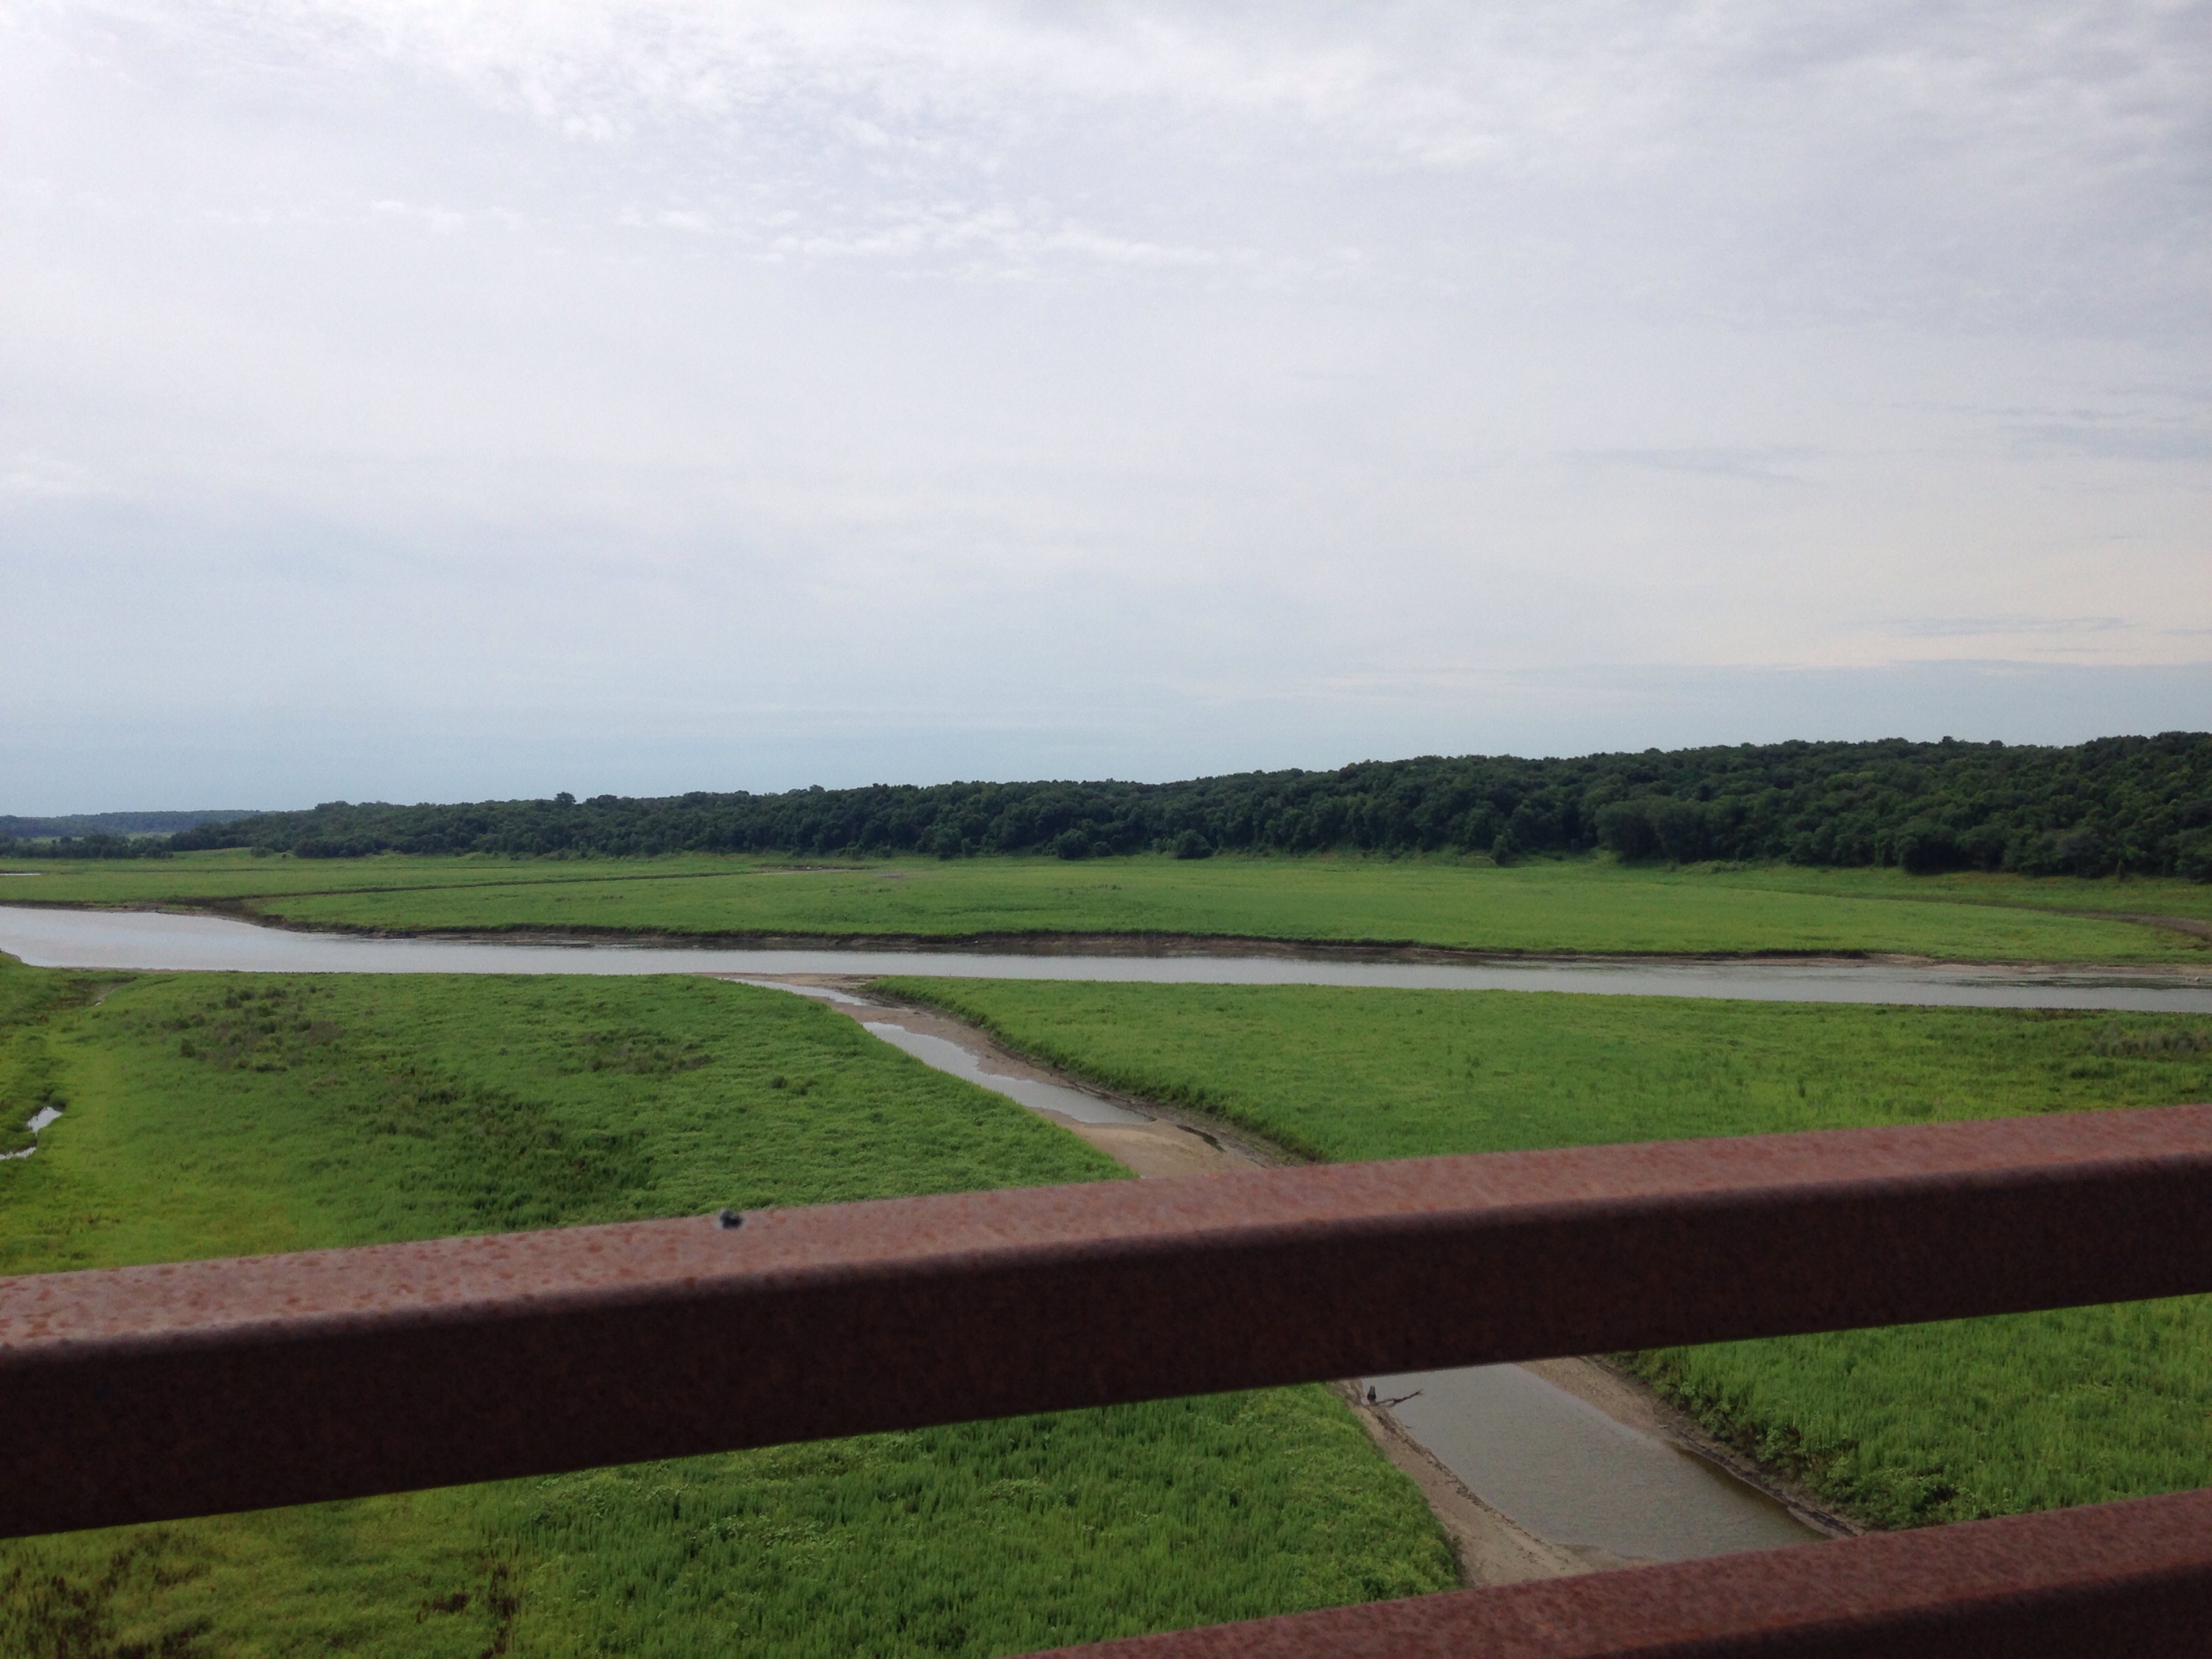
 The verdant valley with the Des Moines River.  Lots of rain = a very green Iowa this year!
The pillars at the far end of the bridge.  We are heading on toward Madrid, Iowa (not pronounced like Madrid, Spain).

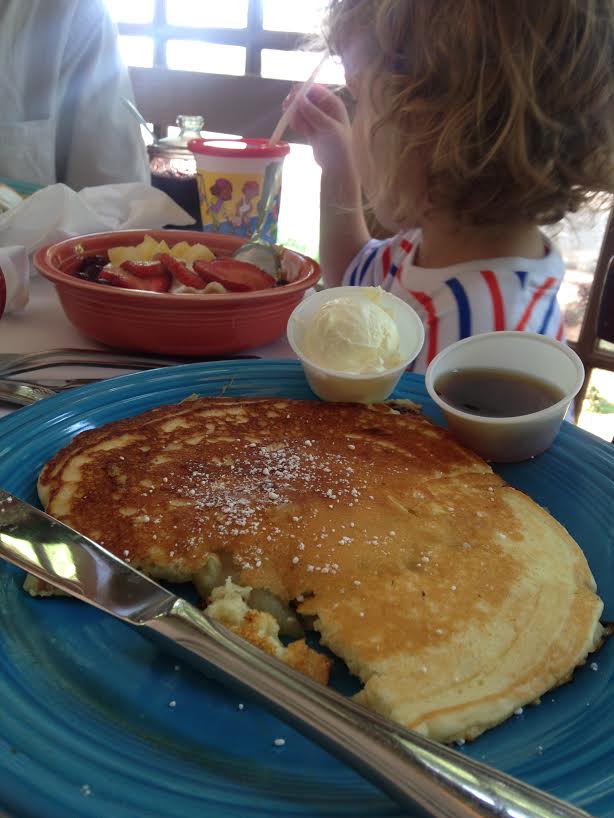
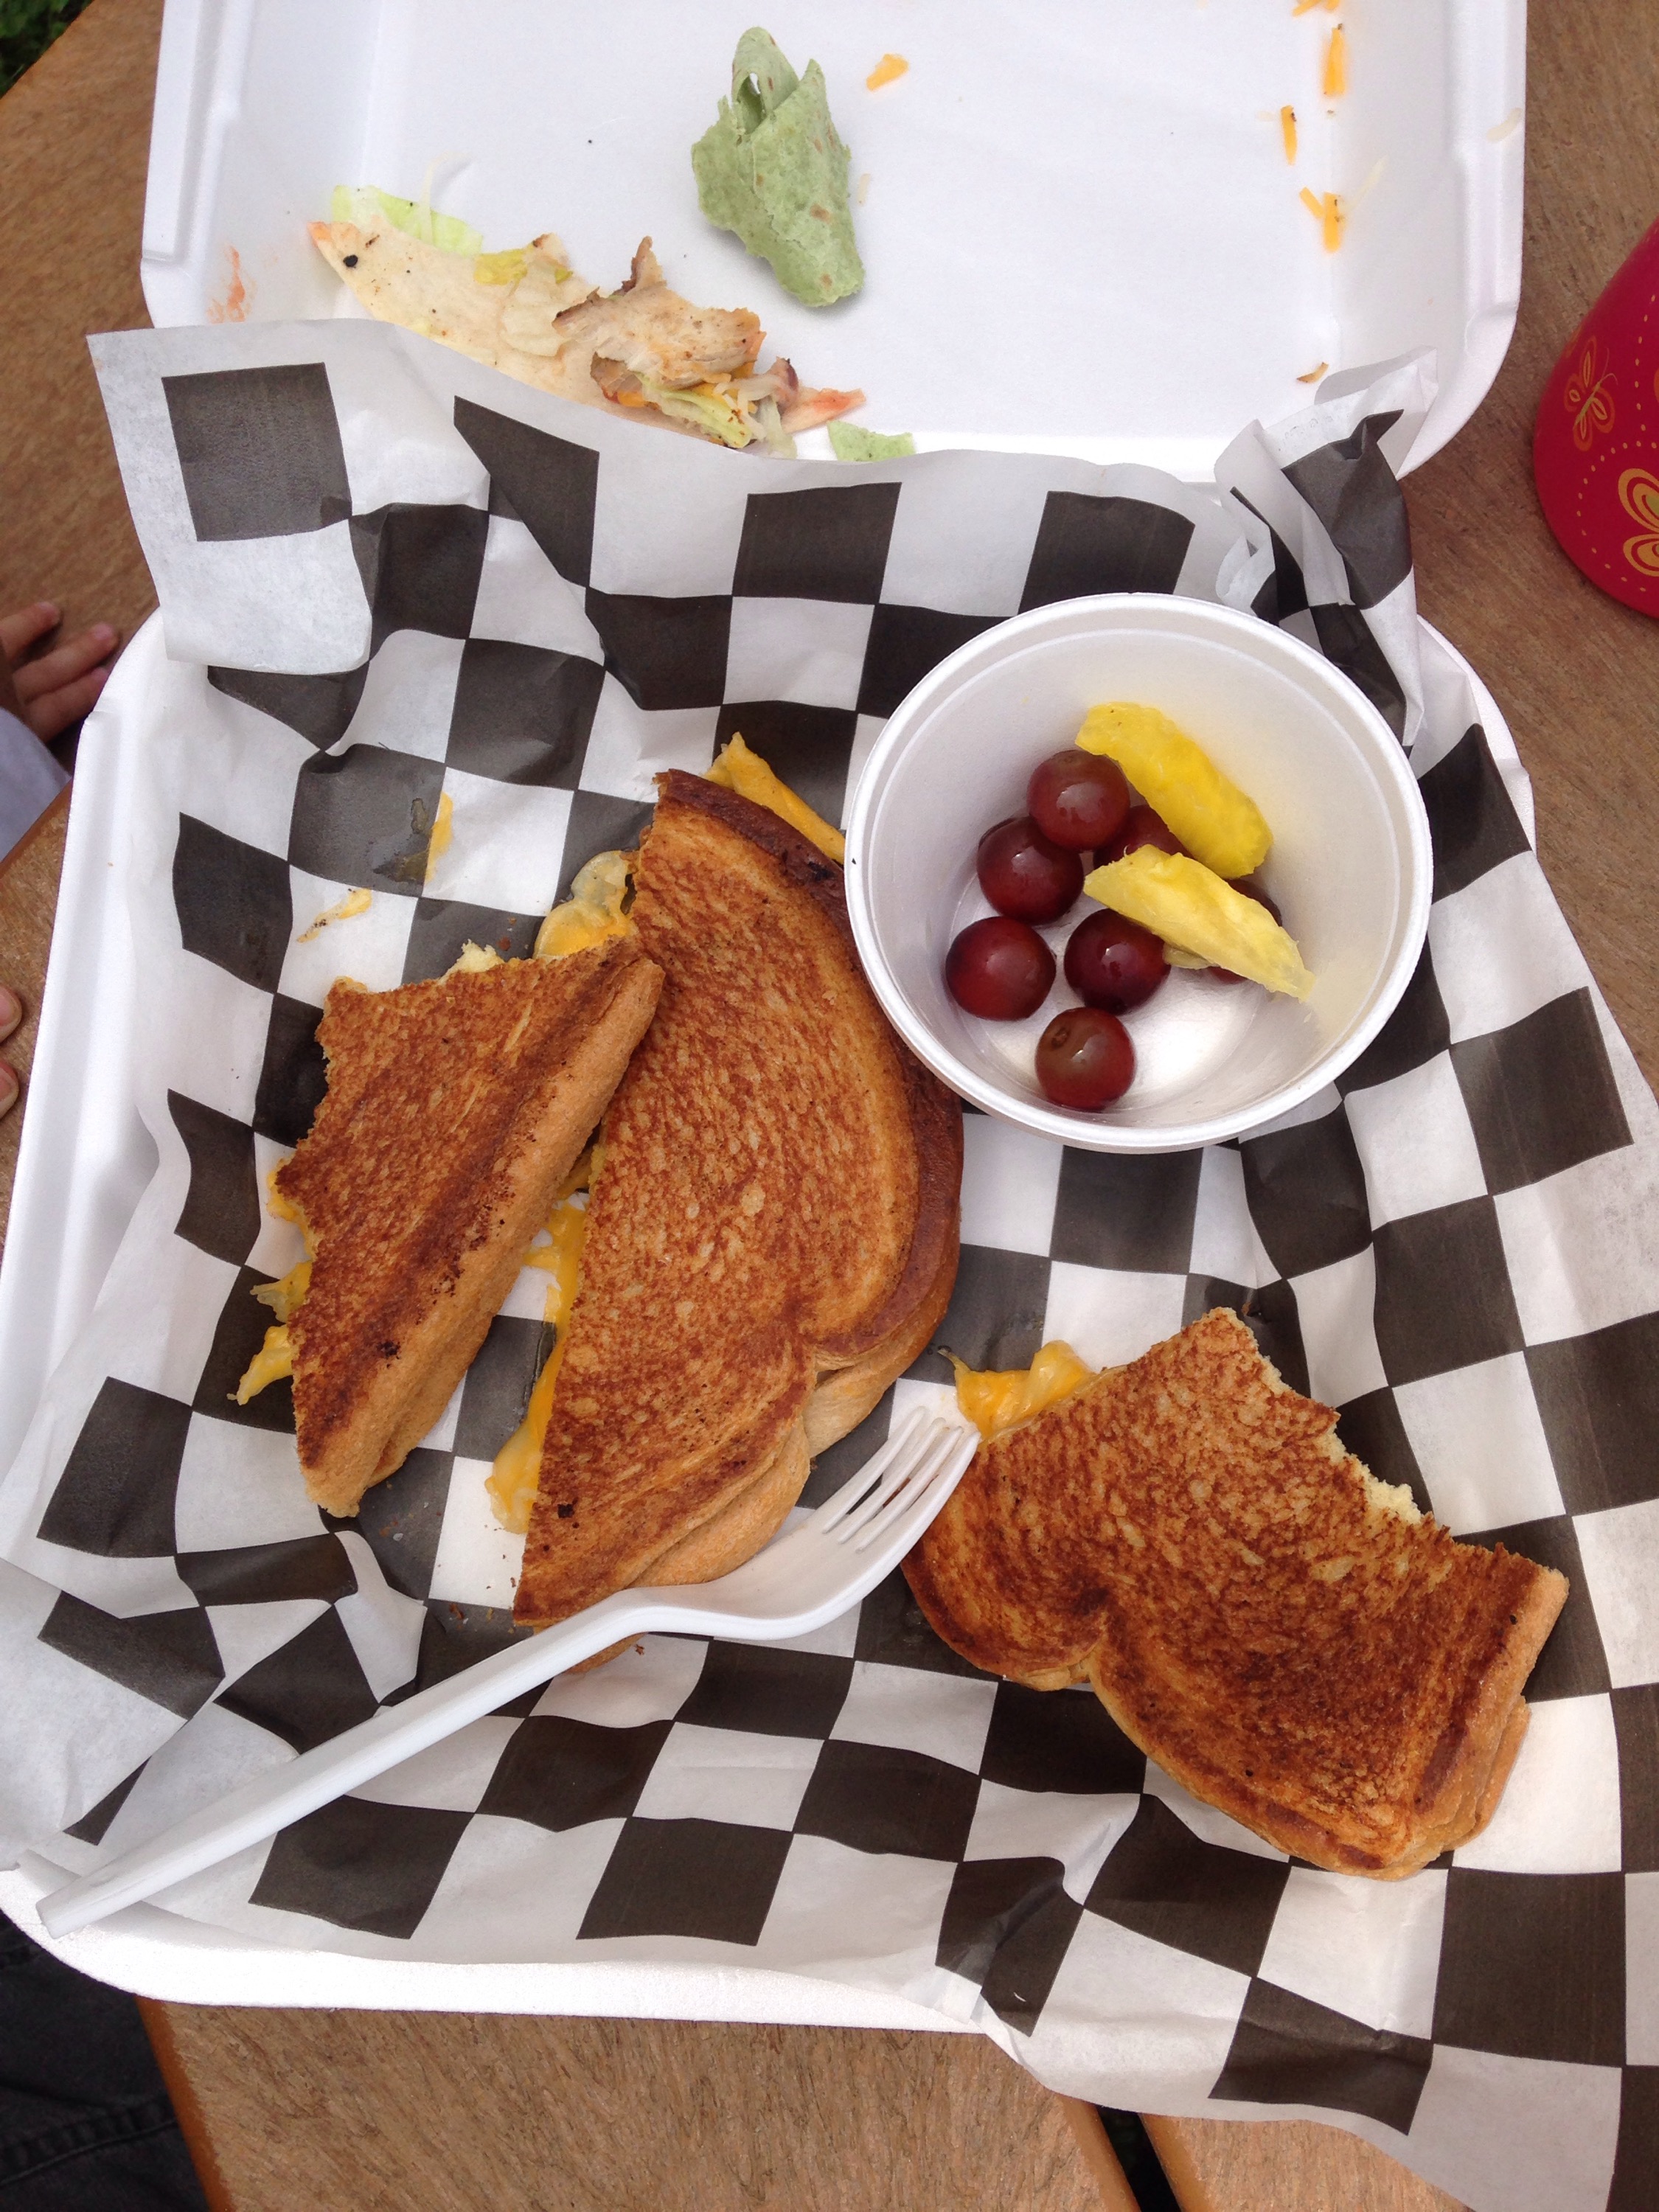
We found a great lunch spot in Madrid.  The kids split grilled cheese, fruit, and mac and cheese.  As my daughter said, “It is so good, it tastes like candy.”  There you have it, a strong endorsement from a 4-year old.
Saddles BBQ Bistro was the perfect mid-ride stop.  The kids were happy with their meal and Eric and I enjoyed our wrap and tacos immensely.  Madrid was a little deserted on this Sunday at lunch time, so we opted to eat our lunch outside.

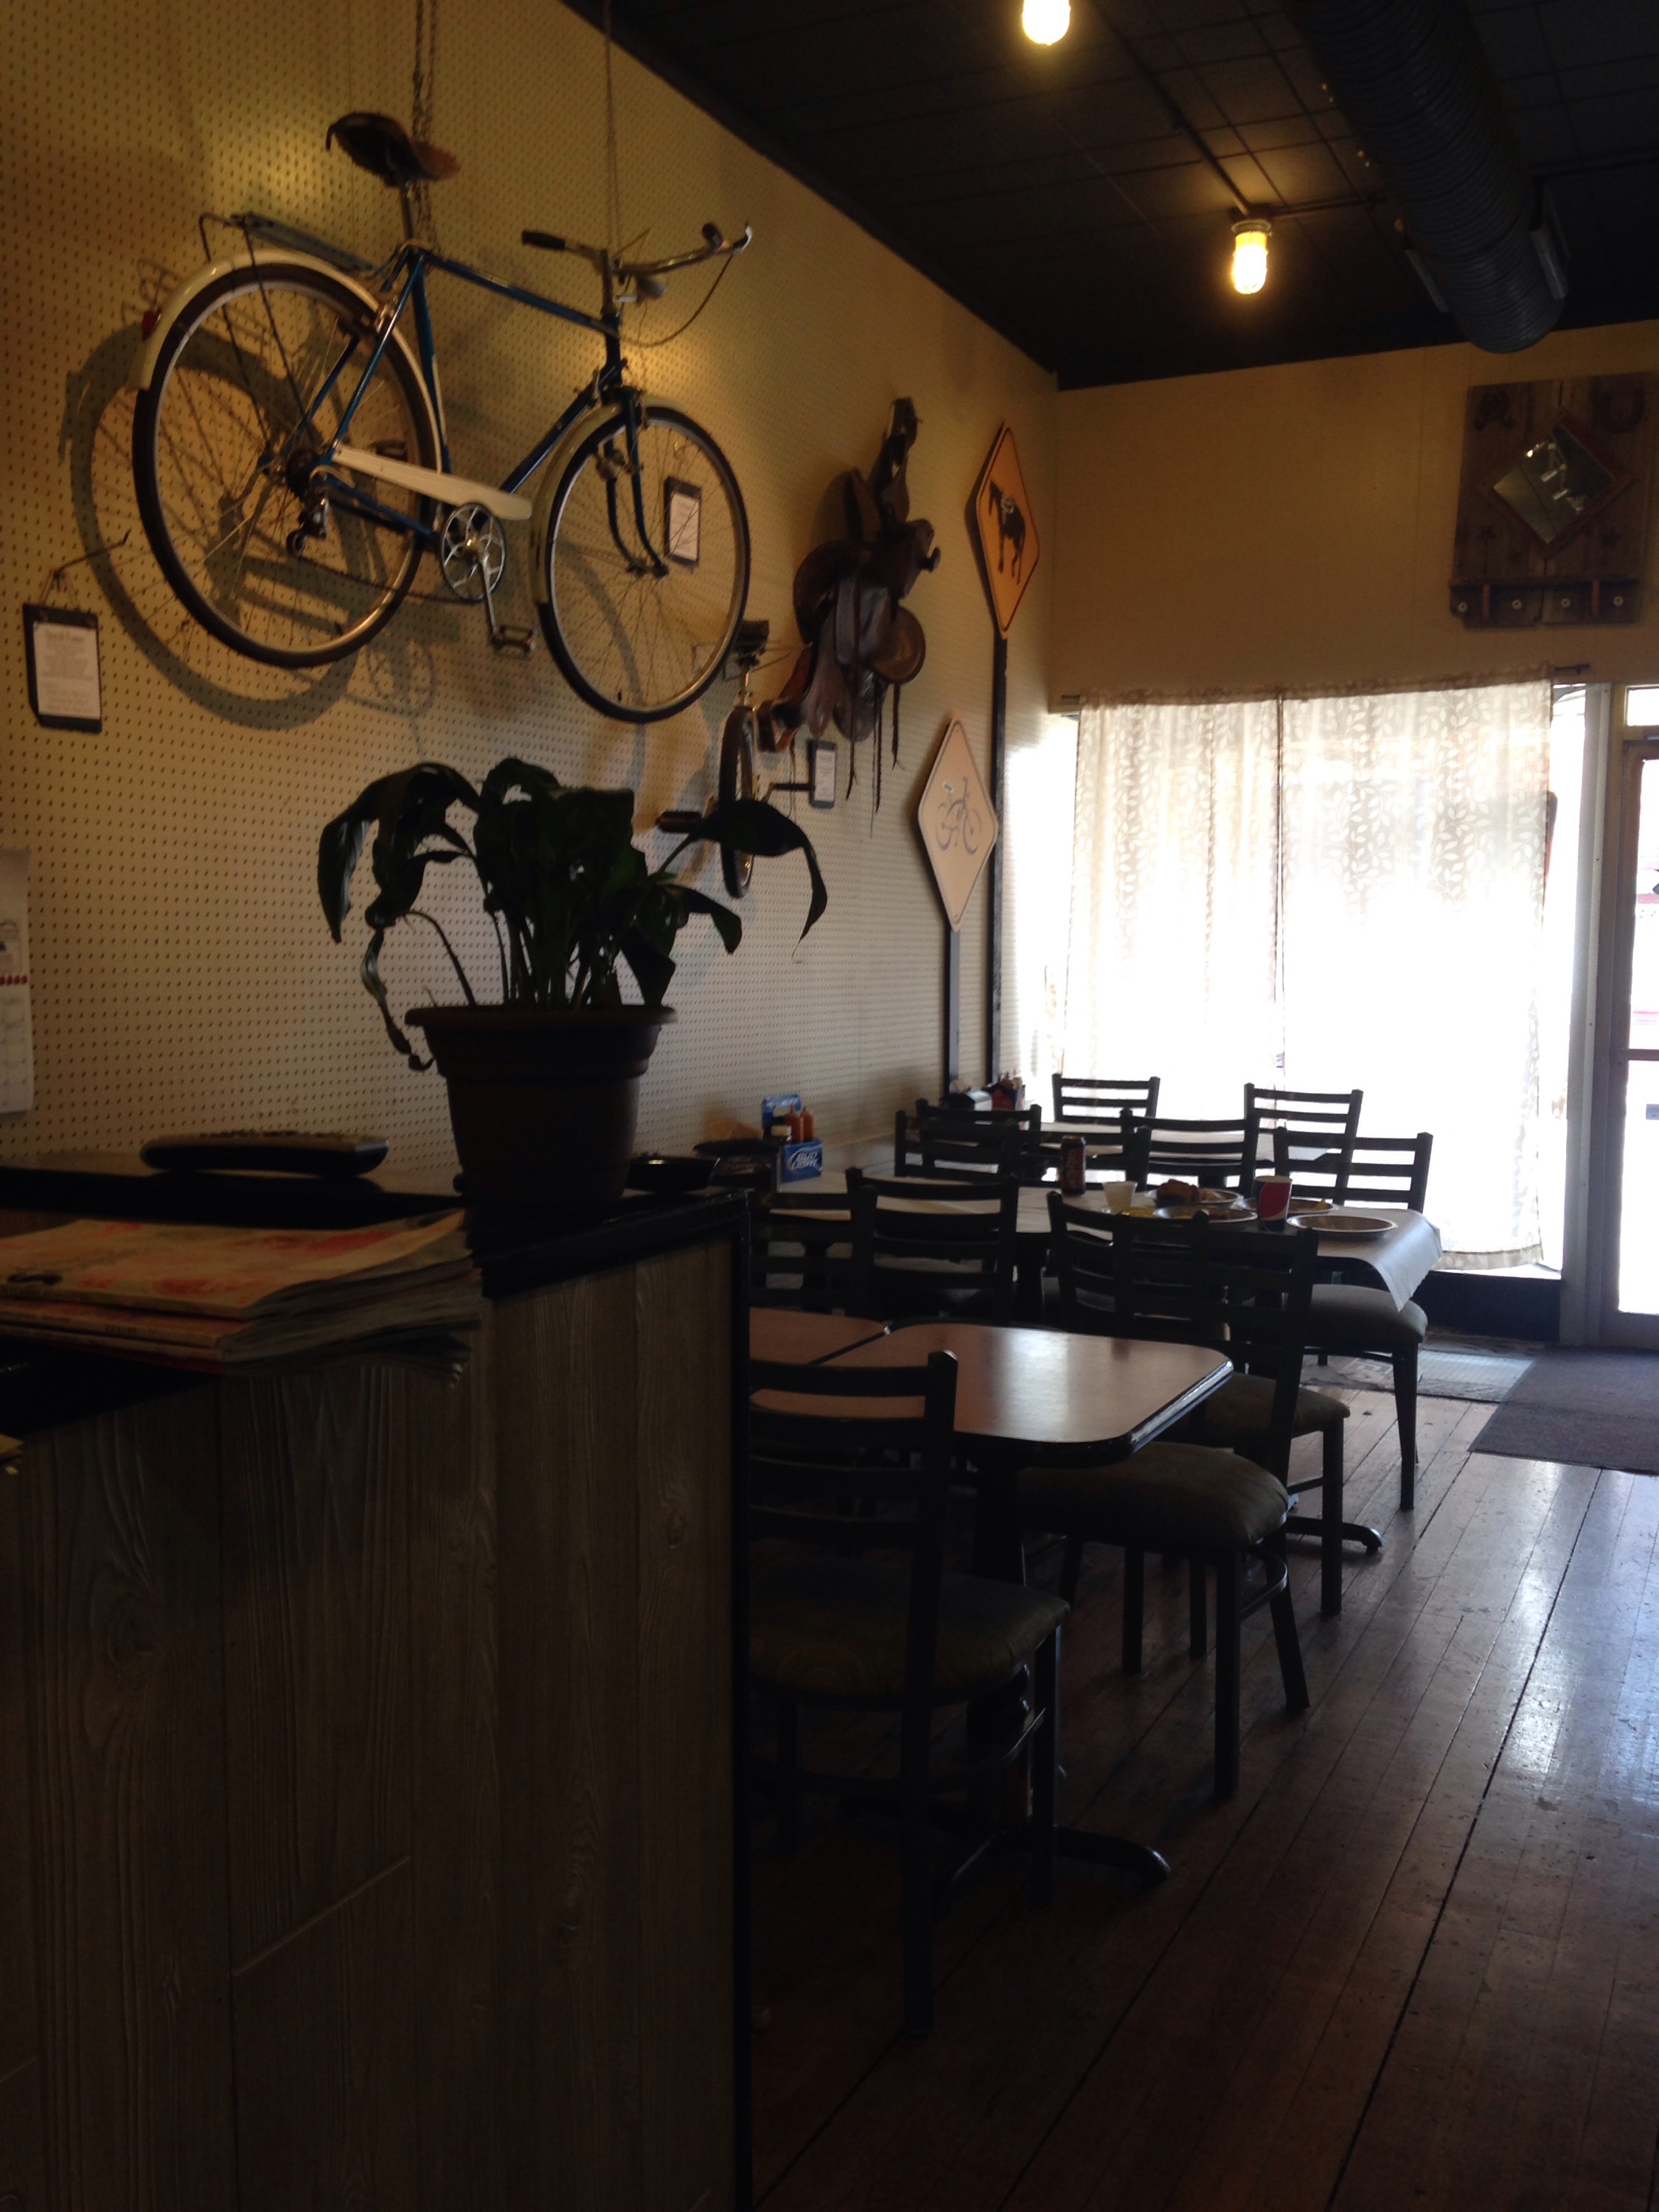
 However, the inside of the restaurant was tastefully outfitted in cycling and Western riding decor.
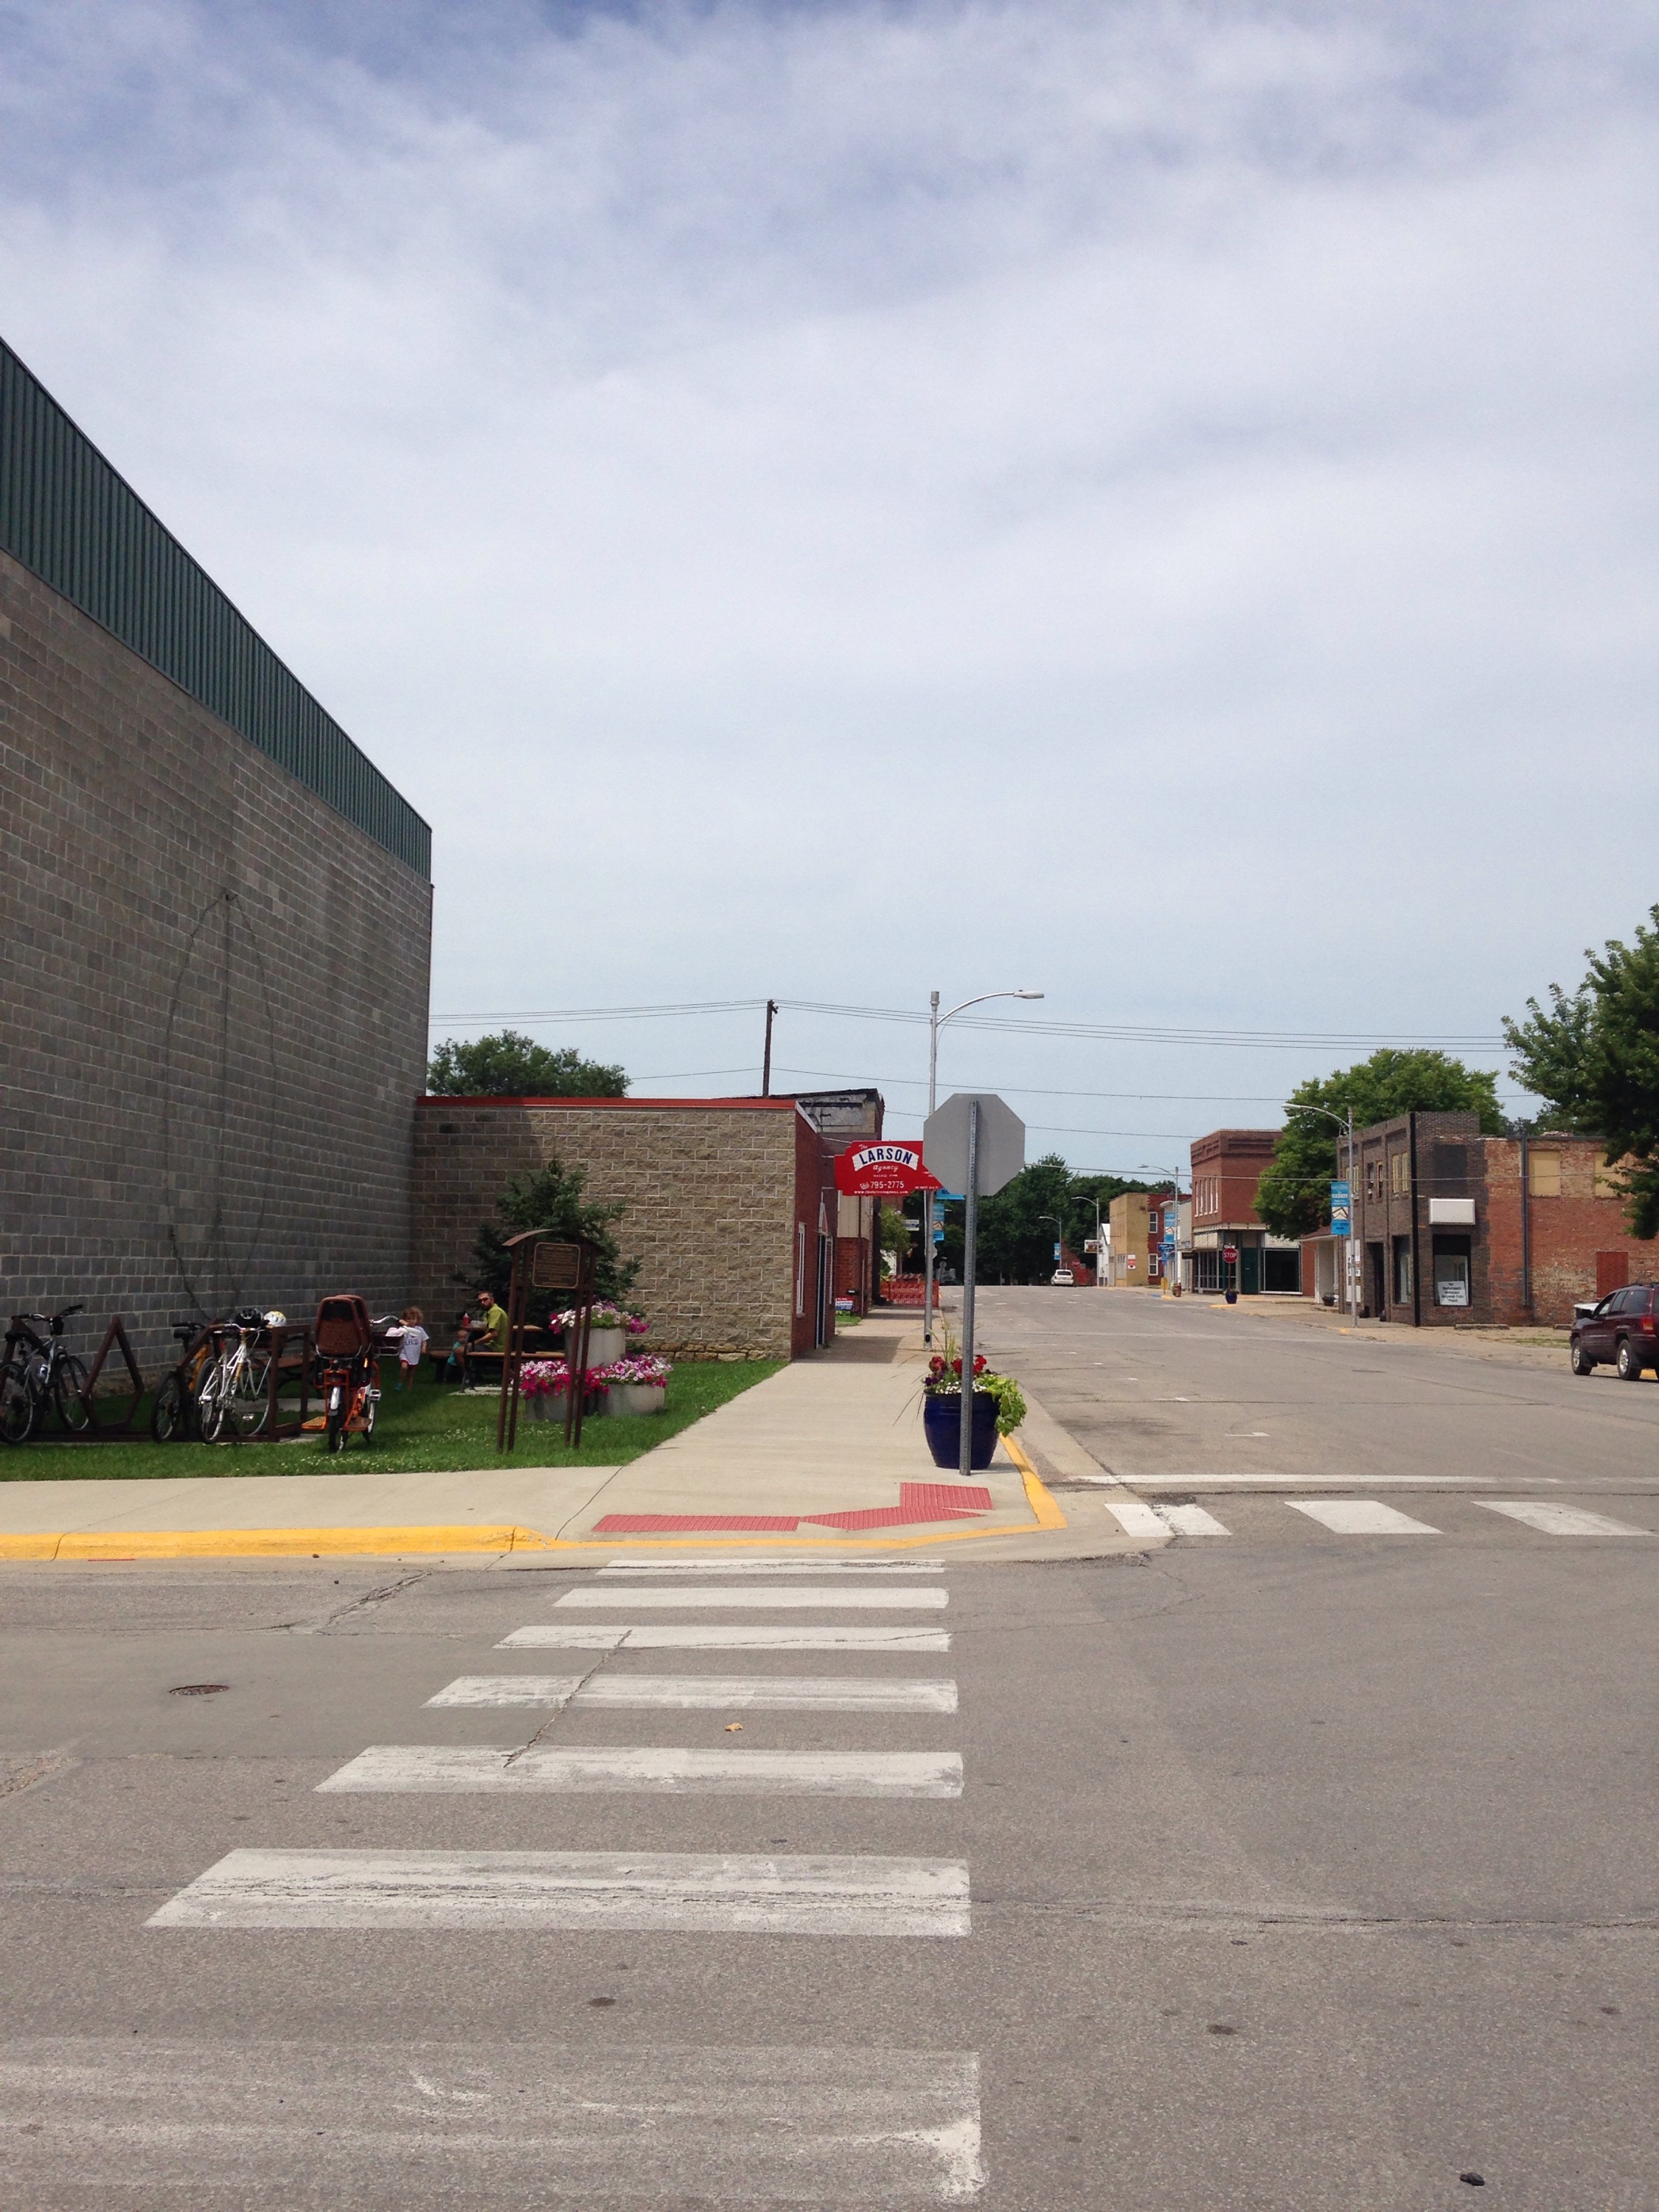
We chose to dine al fresco in a small picnic area directly across the street from Saddles.  This way, the kids could stand and dance while eating.  They both get antsy after sitting on the bike for a while.

The weekday specials were prominently displayed in the front window.  After finishing our meals, we packed up and headed back toward Woodward.  It is only 6 miles between the two towns, so all in all, we ended up doing an easy 12 miles.
 My favorite shot from the day – selfie in motion.  Next time, we will ride more of the trail and hit up some of the infamous watering holes along the route. Cheers!

What’s your favorite bike route?

Caramelized Nectarine Pancakes

pancakes.small

These breakfast bad boys came about due to an abundance of ripe nectarines, reminiscing about North Carolina beach breakfasts, and my absolute undying devotion to making delicious breakfast foods.  Fact: I am much more likely to go all out on breakfast than any other meal of the day.

nectarines

Nectarines are right up there with peaches and black raspberries as my favorite fruit.  I mean just look at them!  They are perfect golden slices of sugary goodness.  As with the other two fruit favorites, they are best eaten in season.  I bought a bunch of these nectarines with the intention of grilling them and serving them with ice cream, but that did not happen because we went for strawberry ice cream cones instead.  So, the following morning, I peeled them and thinly sliced them to be put into my favorite basic pancake recipe.

butter

Then, I placed tabs of butter on the hot cast iron griddle, and cooked the thin slices of nectarine for a few minutes on medium heat, until they were softened and the butter was bubbly brown and caramelized.  This griddle is a must-have in my kitchen – we bought our two-burner cast iron griddle a few years back and use it pretty much every day for breakfast.

batter

Next, I poured about a 1/2 cup of batter on top of the caramelized slices and sprinkled some cinnamon on top.  I let it cook for 2-3 minutes, or till the edges were starting to dry and bubbles appear on the surface of the pancake, but don’t yet break.  Check for doneness by gently lifting the edge of the pancake with a spatula.

cakeNectarine perfection when flipped!  I cooked the pancakes for 1-2 more minutes on the other side, check though, as the other side never takes as long to cook as the first. That little plain guy is for my youngest – he was happier to eat his foods separated.  Check below for the base recipe of this easy, yet decadent pancake recipe.  Note: I used all-purpose flour instead of cake flour.  I never have that specialty flour around.

I recently read that the best pancakes are the ones that are mixed, covered, and refrigerated for 3-6 hours, or longer before cooking.  I will be testing this out for tomorrow – check back for the results.

Buttermilk Pancakes (from Joy of Cooking) Makes about ten 4-inch cakes.

1. Combine: 1 cup cake flour, 1 teaspoon sugar, 1/2 teaspoon salt, 3/4 teaspoon double-acting baking powder, 1/2 teaspoon baking soda.

2. Beat until light: 1 egg.  Add: 1 cup buttermilk, 1-2 tablespoons melted butter.

3. Combine the dry and liquid ingredients with a few swift strokes.

Nectarine Caramelized Pancakes

1. Mix pancake base from buttermilk pancake recipe above.

2. Slice and remove pits from 2-3 ripe nectarines.  Peel and thinly slice.  Place small tabs of butter onto a hot griddle and place 2-3 slices of nectarine in the melting butter.  Use a fork to move the slices around so they are coated in butter.  Allow them to caramelize by cooking the slices over medium heat for 2-3 minutes, or until the slices are softened and the butter is bubbly and slightly browned.

3. Pour about a 1/2 cup of batter over the top of the caramelized slices and a sprinkle a dusting of cinnamon on top of the batter.  Cook pancakes for 2-3 minutes, or till the edges start to dry and bubbles appear on the surface of the pancake, but don’t yet break.  Check for doneness by gently lifting the edge of the pancake with a spatula.  Flip pancake and cooke 1-2 more minutes on the other side.  Watch pancakes carefully, as the second side always cooks faster than the first.  Serve immediately and warm with warm maple syrup.

Ocracoke Summer 2015 Trip

DCIM100GOPROGOPR0099.

We spent a nice chunk of our June in North Carolina for a family vacation at the beach and visiting Greensboro.  This was the first time we had been back since moving to Iowa two years ago.  The 3,200 miles we logged in our 11 day trip was worth the memories and beautiful images that I have been revisiting.  This lovely beach is on Ocracoke Island.
hwy12We reached Ocracoke Island by driving south along the barrier islands on NC Highway 12.  This is the longer route, but it is very scenic, taking you over the Oregon Inlet bridge, through the Pea Island National Wildlife Refuge, along the Cape Hatteras National Seashore, and past numerous towns and several lighthouses, depending on how much of Highway 12 one travels.  In our younger years, Eric and I rode the entire stretch from Nags Head to Ocracoke and back to Nags Head by bicycle.  We were trying to race a nasty March storm and rode the whole 80 miles back from Ocracoke to Nags Head in one day.  I can still feel the sand blasting my face along this stretch of desolate road.

boardwalk

The kids were exhausted of the car and itching to get out and see the scenic surroundings.  We stopped at a beach access point before the ferry to Ocracoke, near Avon.  The girl is running full speed ahead to reach that ocean!IMG_5833I call this one anticipation.  It will become an artwork at some point.

wadingThe urge to be a part of the ocean was just too much – she was soaked and sandy by the time we were done.  This girl’s water-loving viking heritage will call her to the coast too.

IMG_5850After a fantastic seafood dinner (truly one of the best I have had) at the Dolphin Den, in Avon we boarded the ferry to Ocracoke.  This little guy slept for the first part, but awoke to seagulls, waves, and his excited sister.  We had enough evening light for a selfie.

ferry

I do not think it is a coincidence that ferry sounds like fairy.  There is something magical about these boats.

ocracoke12

We got off the ferry and continued our drive onto Ocracoke.  This stretch is one of my favorite roads on earth.  I even immortalized it in a painting a few years back, I will have to dig that out of storage.

beach

Once on Ocracoke, we took things slow.  We spent some time at the beach.  This is the very beach where the most recent North Carolina shark attack happened, actually in the exact spot we were swimming in the water too.  Shudder.

airport

We ditched our car and opted for our cargo bike.  The kids enjoyed watching the small planes land and take off at the airport.

hermit

On our bike ride to the Ocracoke Lighthouse, we found this little fellow crawling across the road.  I had never seen a hermit crab just out walking before.

lighthouse

The Ocracoke lighthouse is always a little shocking to me, in its stark white form.

cat

Greta was more interested in the marmalade cat that was grooming itself just out of her reach.

biking

The small winding roads, cloaked in live oaks are always a treat on sunny hot afternoons.  I feel like I have stepped back in time.

sign

I love this sign on Old Howard Road.  It truly needs a y’all in there, though.

ferry picnic

We got take out from Thai Moon and it took it to the picnic area just outside the Ocracoke Visitor Center to watch the ferries.  It was one of the nicest and breeziest spots on the island, outside of the beach.

Dajio

We enjoyed a breakfast at Dajio. This is the massive apple pancake which had thinly sliced apples, caramelized, on the bottom of the most perfect fluffy hotcake.  My sailor dressed daughter is enjoying the fruit and yogurt parfait.  I would also recommend the shrimp and crab omelet.  Heaven on a plate.

jolly roger

We enjoyed dinner at the Jolly Roger with our friends from Greensboro.  This marina and restaurant has excellent seafood and terrific hush puppies.

After three glorious nights of being at the ocean, we left by Cedar Island ferry to mainland.  I felt a little squashed up inside, not knowing when we would be back to this place I love so much.  I actually keep it as one of my locations on my weather app on my phone.  I love to see its steady 70° rainy afternoons when snow is pounding and drifting in Iowa.  The almost three hour ferry ride back was a nice slow way to say goodbye to the coast.

I may or may not get around to blogging about Greensboro.  My days since returning have been filled with my babies having birthdays, finishing up a grad class, jury duty, and germs.

Roots Watercolor Painting

roots.paintingI finally finished my most current watercolor painting, Roots of Motherhood.” It’s one of the first large artworks I’ve done in quite some time, at a whole 22 x 30″. 

 I have been working on it since March, slowly plugging away on it whenever I carve out the time. In other words, after children are in bed. The downside of a long-term watercolor is letting the orange frisket masking fluid sit for far too long on the paper. I have a few orange tinged root sections, as a result. 

  Photo credit: James Marvin Phelps flicker user.

The idea came from a church sermon by Erin Gingrich on Chapel Rock, a unique geological formation on Lake Superior in Michigan. The original arch collapsed in the 1940s, leaving a tree with a root connecting a single tree to the mainland. The question in the sermon (if I remember correctly, because I was daydreaming about this painting) was, what would it look like if we had roots coming out of our hips? 

Morel & Asparagus Quiche

morel.quiche

Spring in Iowa has been refreshing to say the least. Watching the world explode into green and blossoms, while my children excitedly dash outdoors for biking, Morels are an interesting fungi. They appear on forest floors in the spring after rains and warm weather. It is not unusual to see scores of cars parked along roadways that back up to forests, as people are hunting, eager to fill bags with the intriguing honey-comb like mushrooms. True morels have a hollow inside and a stem that connects at the base. Morels are prized for their flavor and texture, but must be eaten cooked.

IMG_5255

So, when my parents recently brought me a bag of morel mushrooms they had picked. It has been ages since I have eaten this Midwest delicacy, and I set to work deciding on how to prepare them. I sautéed them in butter with pasta and pesto the first night. The second night we had them with omelets and the third night I made a heavenly quiche.

IMG_5269

I started with a single pastry crust. Read my tips on pastry crusts for the perfect crust every time. I have finally freed myself of using a recipe every time I bake a quiche, by measuring the amount of liquid that fits into my pie pan, throwing in the ingredients I want, all while making sure I do not exceed my liquid maximum. My favorite pie pan holds 1 quart, so this recipe creates a filling that is 1 quart in volume.

IMG_5277

Even though morel season is now over, and I am late on this post, you can swap out the morels for shiitake mushrooms for a similar flavor.  We gobbled up this quiche in no time flat – it’s a perfect texture, moisture level, and density.  Enjoy!

Pastry for Single-Crust

1.  Using a pastry blender, cut in 1/3 cup butter into 1-1/4 cups flour. Pieces should be pea-sized. Sprinkle 1 tablespoon of ice-cold water over part of the flour mixture; toss with a fork.  Push moistened flour to one side of the bowl.  Repeat, using 1 tablespoon of the liquid at a time until all the flour is moistened, using 4-5 tablespoons of ice-cold water in all.  Form dough into a ball.

2. On a lightly floured board, use hands to slightly flatten dough.  Roll dough from center to edges into a circle about 12 inches in diameter.

3. To transfer pastry, wrap dough around a rolling pin.  Unroll into a 9-inch pie plate.  Do not stretch the dough, as this will cause shrinking.  Trim excess dough and fold over.  Do not prick dough.

4. Line with double thickness of aluminum foil.  Bake in a 450° oven for 8 minutes.  Remove foil, bake for 4 to 5 more minutes or until pastry is set and dry.  Reduce oven temperature to 325°.

Morel & Asparagus Quiche Filling

1. Sauté 1 cup of chopped morels in 1-2 tablespoons of olive oil until softened.  Combine in a large mixing bowl with 5 beaten eggs, 1-1/2 cups asparagus, sliced in 1/1/2″ pieces, 1/2 cup milk, 1/2 cup sour cream, 1/2 cup fresh chopped parsley, 1 cup shredded cheese (Italian blend), and salt and pepper to taste.  Pour into baked crust and bake in 325° oven for 45 – 50 minutes or until a knife inserted near the center comes out clean.  If necessary, cover edges of crust with foil to prevent overbrowning.  Let stand for 10 minutes before serving.

Sweet Potato Nachos

sweetpotatonachos

Hold your horses, these are some amazing nachos.  We’ve had them for dinner a couple of times in the past month now.  I dreamed them up while playing, let’s use up what’s in the fridge and pantry.  That is one of Eric’s favorite meal-time methods – he hates hates having too much of one item around, while I am the opposite and would stockpile 15 of everything if I could.

sweet.potato

Start by roasting 1 sweet potato, at 425° for 45 – 55 minutes, or till soft.  I made a 1/2 pan, which easily fed Eric, myself, and toddler.  If you want a full size baking sheet, double the recipe.  Line a baking sheet with foil.  Place a layer of tortilla chips on the foil.  Tear the sweet potato into chunks and sprinkle 1/2 over the layer of chips.

nacho.cold

Cover sweet potato in 3 oz of cooked ground beef or fake beef crumbles, 1/2 cup shredded Mexican cheese, and a sprinkling of Mexican spice mixture.  Repeat layers once.  Top with 1-2 sliced jalapeño peppers, seeds in or removed.

qorn

I am a big fan of Quorn meatless and soy-free grounds.  I use them in all my recipes in place of ground beef.

baking

Bake nachos in oven for 8-10 minutes at 350°, or till heated and cheese melted.  I love my Breville toaster oven and use mine for baking a variety of things – Eric converted me years ago and I will never go back.  Can you catch my mistake in baking these?

table

Serve with a dollop of sour cream and a choice beverage, of course.

Sweet Potato Nachos (serves 2-3)

1.  Roast 1 large sweet potato, at 425° for 45 – 55 minutes, or till soft.

2. Line a baking sheet with foil.  Place a layer of tortilla chips on the foil.  Tear the sweet potato into chunks and sprinkle 1/2 over the layer of chips.  Cover 1/2 of sweet potato in 3 oz of cooked ground beef or fake beef crumbles, 1/2 cup shredded Mexican cheese, and a sprinkling of Mexican spice mixture.  Repeat previous steps for second layer.  Top with 1-2 sliced jalapeño peppers, seeds in or removed.

3. Bake nachos in oven for 8-10 minutes at 350°, or till heated and cheese melted.  Serve with sour cream.

April So Far

I have no idea where March went and April is moving along at that pace as well.  It is hard to believe this school year has already begun the wrap-up – I guess that is what happens when you spend most of the year in new baby fog.  That fog is apparent in my blogging as well – not much to share around here lately.  I bake, cook, make art, and sew when I can.  If I have to time to document it, I do.  The bigger problem is finding time to finish projects and then do something with the documentation of the finished product.  You get the picture.  Well, anyhow, here is an April work-in-progress update…

IMG_5154

I am still carving out art-making time for myself, staying true to my New Year’s Resolution.  Except I have been working on larger and more time-consuming projects, so I have fewer opportunities to share them.  Soon, soon though.

IMG_5011

I have been keeping myself busy with updating one of our bathrooms.  So far we have ripped out and replaced flooring, installed a new sink, and repainted the walls.  Home projects move at a much slower rate when there are two small children to interrupt progress, so the finished product may or may not be ready for presentation sometime later this summer.

IMG_5125

We of course made time to celebrate Eric’s birthday this month – a whole 10 years old!  (That was Greta’s guess on his age.)  I love love love the expressions in this photo.

IMG_5149

I finally got Eric on Pinterest so I can share project ideas with him more easily.  He has found a plethora of amusing pyro projects for himself, including this little brick rocket stove.  Google it and you will find plenty of plans.  It is small, cheap, and burns fuel incredibly efficiently.  We plan to cook some meals on it in the near future.

IMG_5170

My number 1 kitchen helper these days is the youngest member of the household.  My little guy is on the move – crawling, pulling up, monkey around things, and trying to walk on his own.  It won’t be long now until I am running after him.  And with that brief update, I am off to enjoy the remainder of this rainy Sunday afternoon.  I’ll be back soon to share more artwork and a killer nacho recipe.  Enjoy!

Roasted Beet & Goat Cheese Salad

beet.salad

Let me preface this post by saying I am honestly not much of a salad person. Don’t get me wrong, I will eat them, order them at restaurants, but I rarely make them myself. This is for a few reasons: 1. I always seem to forget about the greens in my fridge and they turn to black sludge. 2. There are millions of others types of foods I would rather try making. 3. Salads never fill me up. 4. I’d rather make salad from during fresh from the garden season, not the grocery store.

I recently went to the Des Moines Art Center’s cafe – Baru at the Art Center – for lunch with family and a salad on the menu piqued my interest.  I liked it so much that I actually thought about it a few times since then, and decided to make my own version of it, tweaking it slightly.  I made it last week for a dinner with friends and was pleasantly surprised at the outcome.  It is one I will make again once the farm-fresh home-grown produce comes in.

This recipe can be done in stages.  I roasted the beets the previous day, so they could chill in the fridge before combining them with the rest of the salad makings. I did not specify exact amounts with the goat cheese, lettuce, and pecans, as I figured these are a matter of taste.  I did use a standard-sized box of mixed greens from the grocery store, for my recipe.

Roasted Beet & Goat Cheese Salad

1. Preheat oven to 425°. Peel and dice 2-3 medium beets into 1-inch chunks. Spread into a single layer on a rimmed baking sheet and toss with 1-2 tablespoons of olive oil. Bake for 20-25 minutes, turning once.

2. Once beets are cooked, remove from pan and chill.

3. To prepare salad, combine in a large bowl: mixed greens, 1/4 – 1/2 of small red onion, thinly sliced, and roasted beets.

4. Top with crumbled goat cheesepecan halves, and honey balsamic vinegar dressing (see below).

Honey Balsamic Vinegar Dressing 

1. Combine in a jar: 1/3 cup olive oil, 1/3 cup balsamic vinegar, 1-2 teaspoons honey, ground black pepper.  Place lid on jar, shake thoroughly.

Hot Pool Watercolor Painting

hot.pool

Hot Pool, Watercolor on paper, 9×12″, 2015.

I am still doing a fairly decent job on my resolution on setting aside creative time for myself each week (this is getting easier and easier, the more sleep that I get each night).  This resolution is also helping to me to finish projects that were interrupted by big moves and babies.  I started this watercolor painting a while back, but did not manage to get very far on it.  Sometimes I find myself floundering on an artwork, and the only cure for me is to set it aside for an unspecified amount of time.  I pulled it out again this spring, and finally had the energy and vision to see it through.  It is based on a photo I took of a hot pool in an area of extensive burn damage from the 1988 fires in Yellowstone National Park.  It was taken via a cell phone shot, and then an Instagram share, from our trip there in the summer of 2012.  I have had an ongoing idea to use Instagram images for the basis of paintings, and perhaps I can keep this up now, as this is my second endeavor of the likes.

This is a short and sweet post – more to come soon!

February Wrap-up

snow.mt

It is no longer February.  Somehow, February escaped me this year – it has been filled with snuggly sick kids, baking, making Valentine’s, mountains of snow – this is the mall parking lot and its mounds of snow that will last until June.  Speaking of June, we have been discussing the warmer months ahead on a daily basis around here.  It is interesting to me how my toddler’s memories of summer are a mythical past – her questions are numerous and ideas endless.  Lately, she has been dreaming of places we can bike to, now that little brother is bigger and stronger, she knows his biking days are coming.  Meanwhile, I dream of days where getting myself and two small children out the door do not involve as many layers of clothing, just layers of sunblock.

me

Everyone. has. been. sick.  I am so tired of snot!  On the bright side, I did find time to get a haircut this month. Newly shaped and straightened ‘do always overrides tired mommy eyes.  Fresh from the salon is as coiffed as my hair ever gets.

sock.mouth

In the land of Q, he is sitting, trying to crawl and currently has 3.5 teeth.  He keeps all of us busy!

glitter

I managed to get Greta’s Valentine’s done on time, though she couldn’t enjoy the party this year due to being sick.  We dropped them off and she got her bag to go.  I broke out gel medium and a bag of glitter to doll up her extra valentine’s with an adult theme.

valentine

Sorry, my child.  She actually told Eric, quite incredulously, “Daddy, did you know horses make glitter?!”

linoleum

We Eric managed to tear up the upstairs bathroom and put in new flooring and a new sink cabinet in a weekend, marathon DIY project.  Still to be done: painting, new light fixture, switch plates, and new vent cover.  More on that later.

tubeIn the meantime, the tube that held the flooring has been an endless source of fun – for children and cats alike.  Cars can really get some momentum shooting down this tube!

I’ll leave you with my current favorite quote:

guard.your.time

May your March be healthful, productive, and joyful.