Mommy’s Medley Banana-Peach Pancakes

Greta has been a carb fiend lately and rather than loading her up on processed carbs, I like to bake for her whenever possible.  These are the pancakes I have been working on perfecting over the past six months.  I wanted whole grains, no added sugar, hidden veggies and/or fruit, and minimal ingredients.

These pancakes are moist, flavorful, and different flavors of yogurt and fruit or veggies are easily substituted.  I have done applesauce, pumpkin, sweet potato, strawberry, and blueberry versions of these.  Greta devours them every time.  I usually take the extras and freeze them in bags for her to take to daycare – it makes mornings a breeze.


Mommy’s Medley Banana-Peach Pancakes

Ingredients
1-1/4 cup whole wheat flour
1 teaspoon baking soda
1 teaspoon baking powder
1 teaspoon ground cinnamon
1 egg
1/4 cup plain yogurt
3/4 cup water
1 cup mashed banana & diced peaches

1. Mix dry ingredients in a bowl.

2. Mash 1 medium ripe banana and dice 1 small ripe peach (about 1 cup of fruit).

3.  Beat egg, mix with yogurt, water and mashed fruit.  Combine with dry ingredients in a few strokes.  Batter will be thick and lumpy.

4.  Pour 1/4 cup batter onto preheated, oiled pan.  Cook 2 minutes per side.  Patience and well-heated pan are essential here.  I used to always mess up the first three pancakes, and flip them early due to impatience.

5. Serve warm with desired toppings.  Suggested topping: no sugar added pear butter.

Greta approved pancakes.  

The recap:

Mommy’s Medley Banana-Peach Pancakes
Ingredients
1-1/4 cup whole wheat flour
1 teaspoon baking soda
1 teaspoon baking powder
1 teaspoon ground cinnamon
1 egg
1/4 cup plain yogurt
3/4 cup water
1 cup mashed banana & diced peaches

1. Mix dry ingredients in a bowl.  
2. Mash 1 medium ripe banana and dice 1 small ripe peach (about 1 cup of fruit).
3.  Beat egg, mix with yogurt, water and mashed fruit.  Combine with dry ingredients in a few strokes.  Batter will be thick and lumpy.

4.  Pour 1/4 cup batter onto preheated, oiled pan.  Cook 2 minutes per side.

5. Serve warm with desired toppings.

Broiled Tofu

I love tofu.  
I know, that sounds weird, but to me, tofu is like the egg.  It is versatile, can be used in a variety of recipes, and can take on any flavor. In my opinion, the best tofu is the deep-fried stuff that comes with Pad Thai.  Since I am not a pro deep-fryer and try to cook healthier, I tend to stick with broiled tofu.  

Start by slicing extra-firm tofu into slices or cubes.  The smaller they are, the quicker they will cook and more thoroughly they will be cooked.  Place on a rimmed baking sheet lined with aluminum foil. 

Mix a sauce.  This can be as simple as sesame oil and soy sauce or something more complicated.  For this recipe I used: 5 tablespoons rice vinegar, 2 tablespoons peanut oil, 2 teaspoons soy sauce, and 1 teaspoon hoisin sauce.  
Using a spoon, cover each piece of tofu in sauce.  Pour remaining sauce in pan.  
Broil on low, on top shelf, for 10-12 minutes.  Watch carefully, as tofu will burn quickly, depending on the heat of your oven.  You may turn once, halfway through, if desired.  

Add to your favorite stir-fry.  

Even my bandit baby will eat this tofu!  

Backyard Beautifying

We have been in our house almost five years now and it seems we are just now figuring out the best use of our space.  Take for example, the yard.  There is a shady corner, just off the deck, that I struggled with for four years.  
I kept trying to grow grass.  It kept dying due to the shade the the run-off from the gutter.  As you can see below, it was an ugly eye sore of a patch of yard.  
Before. 
My mom came to visit just before the birth of my daughter.  She helped to transform two garden spaces for me, the one shown here, and an herb garden in the front of the house. She did the work, as I watched, a mere day away from giving birth.  
We put in hostas, grasses, wild ginger, a Japanese holly fern, irises, and some ground cover that did not last due to drought.  
The addition of a brick edge, a few stepping stones, and mulch made it a bona fide garden space.  I will actually sit on my deck and look at this corner of my yard now!  
Early spring with hyacinth blooming.  Later spring with hostas appearing.  This spring I added bleeding hearts, a couple more hostas from the garage tear-down, and some astilbe
It’s still a work in progress – I will be adding a few more things this fall.  Around here, plants have the ability to grow all winter if it is mild enough.  In fact, the lawn always looks best around December.  

Here is the spot as of this week.  You can see how parched things are with the lack of rain this summer.
   
I am in rip-out mode right now.  This front corner was being taken over by chocolate mint – unless you want mint EVERYWHERE, plant it in a pot.  I stuck one runner in a pot to put on the front porch.  That’s all I need.  There were also some sad-looking daylilies on their way to sprouting and blooming again, so I moved them along the side of our house.  This was a low-maintenance and drought-tolerant corner, but it was not doing anything for me.  So, I ripped it all out and it will become an edible corner.  More on that later.  

Rainy Day Play: Shadows

Yesterday evening the sky darkened with thunderheads.  And then…
it poured!  
Hopefully the rain the will stave off what looks to be a really early fall.  Greta found this leaf outside yesterday, and from this you’d think it were already October!
The forecast is showing rain off and on the rest of the week  So, I pulled out some ideas from my art classroom project files.  Hopefully this will give me some new ideas for fall in the classroom and help to entertain Greta and me inside this week.  
This morning I dug out my shadow art book and brushed up on my shadow hand puppetry.  This book has simple to complicated puppet ideas.  There are sections on sound effects and even creating backgrounds.  
This stuff is harder than I remember!  
I used an easy set up for shadow puppets.  First, I set up a sheet in her room, which is the darkest room in the house.  Then I set up a simple desk lamp.  Be careful using one of these lamps, as some can get quite hot to the touch.  

For younger kids, using toys is an easy way to create shadows.  

Greta enjoyed making her bunny jack-in-the-box make shadows.  Her attention span was short-lived, due to Thor interrupting with peek-a-boo.  
For older kids you have more options due to ability.  My middle schoolers love the shadow art unit and generally the entire class goes nuts and creates things far more creative than even the art teacher could imagine.  This puppet was made form a paper bag, cardboard pieces, Styrofoam, markers, hole puncher, tape, glue, and paper towel tubes.  Anything in a recycling bin is fair game for the shadow art unit. 
We use the classroom projector and screen to test the shadows.  My only instructions to the students are that the end product must be an interesting shadow and that is what will be photographed.  Students spend two to three 45-minute class periods working on their shadow art.  The overhead is always on for  a test drive.  Since students are so engrossed in their work, I photograph everyone’s art as they finish.  On the last day, we look through all the shadows created.  They love to see their own work as well as others’ work on the screen.  
This was made with a Styrofoam tray, hole puncher, scissors, and pencil.  
Some of the materials used. 
Shadow art examples by middle schoolers. 

Best.Pizza.Crust.Ever.

Adapted from Food Network Kitchens, Making it Easy, 2004.

Best.Pizza.Crust.Ever.

1 cup tepid water (105 degree water)
3 tablespoons extra-virgin olive oil, plus more as needed
2 teaspoons agave syrup (you can also use honey or sugar)
1-1/2 teaspoons kosher salt (optional)
1-1/2 cups all-purpose flour, plus additional for kneading
1-1/2 cups whole wheat flour
1 packet active dry yeast

1. Mix flour and yeast in a bowl.

2. Mix warm water, olive oil, agave syrup, and salt in a bowl.  I use a glass measuring cup – the kind with the handle.

3.  Make a well in the dry ingredients.  Add liquid ingredients and mix well.

4.  Knead for about 5 minutes, use extra flour if the dough is really sticky.  To minimize dirty dishes and areas, I knead right in the large bowl I mixed the dough in. 

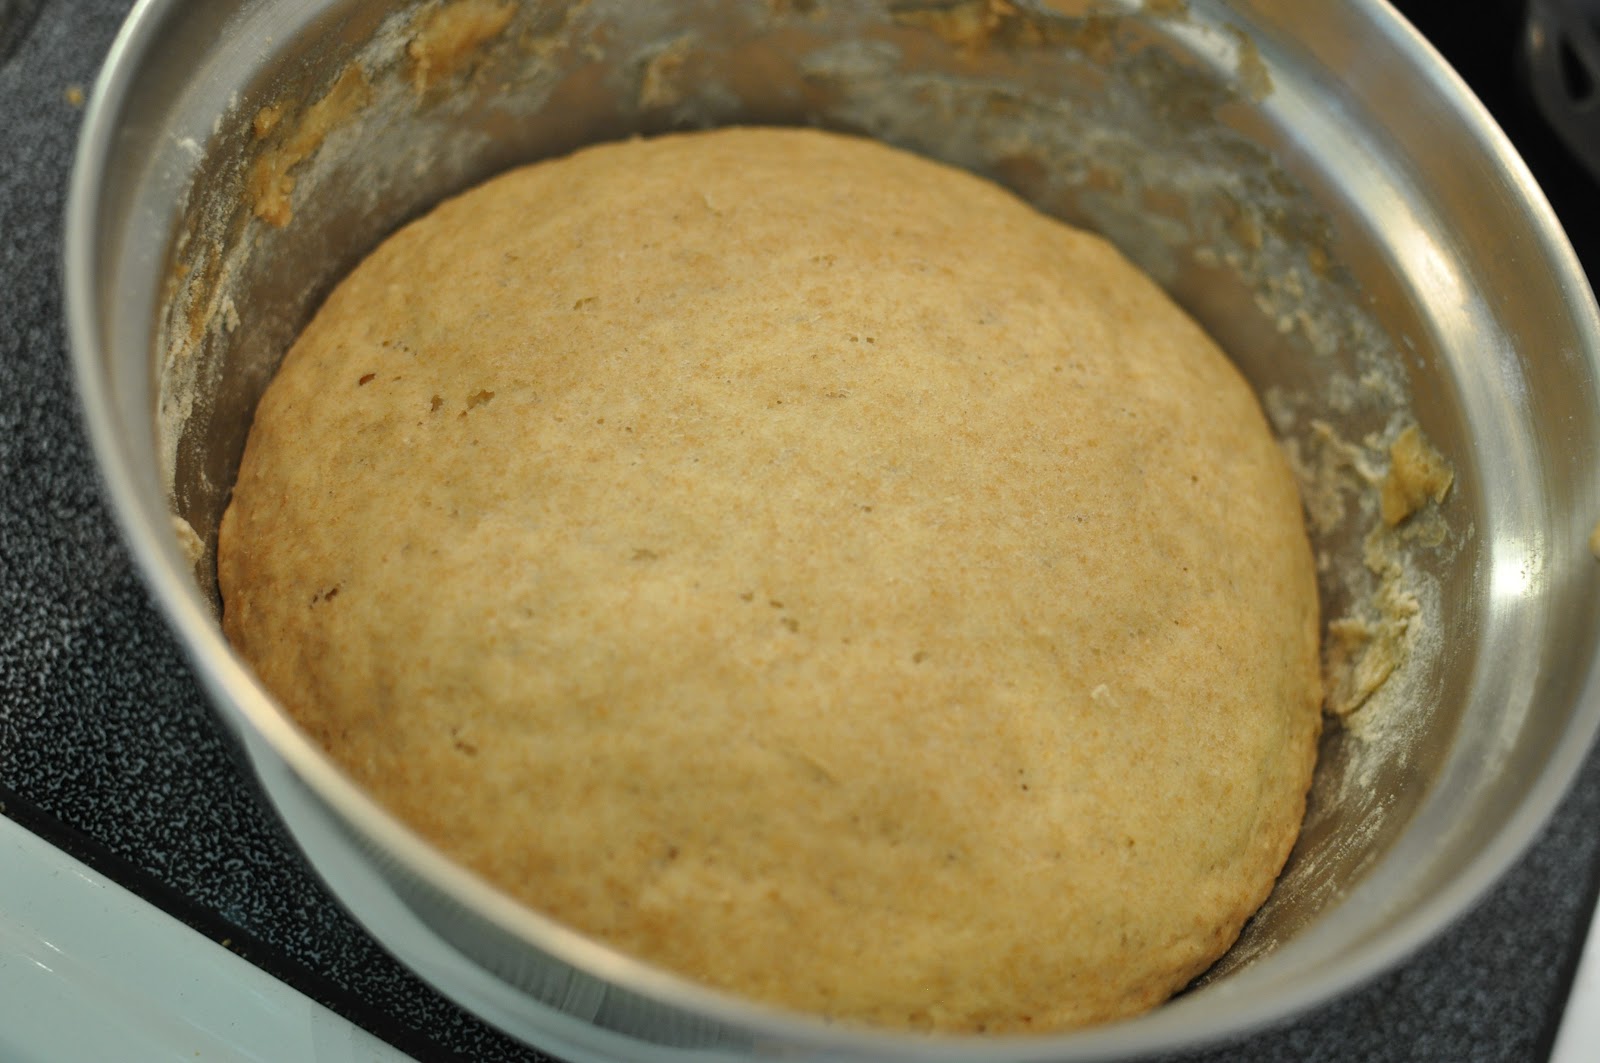
5.  Place in a greased bowl and let rise in a warm spot for 45 minutes.  I turn my oven on at 350 degrees for one minute as my warm spot for dough to rise.  

The dough after 45 minutes of rising.
6.  Punch down dough and let rest for 10 minutes.  In the meantime, preheat oven to 425 degrees and prepare pizza  pan(s).
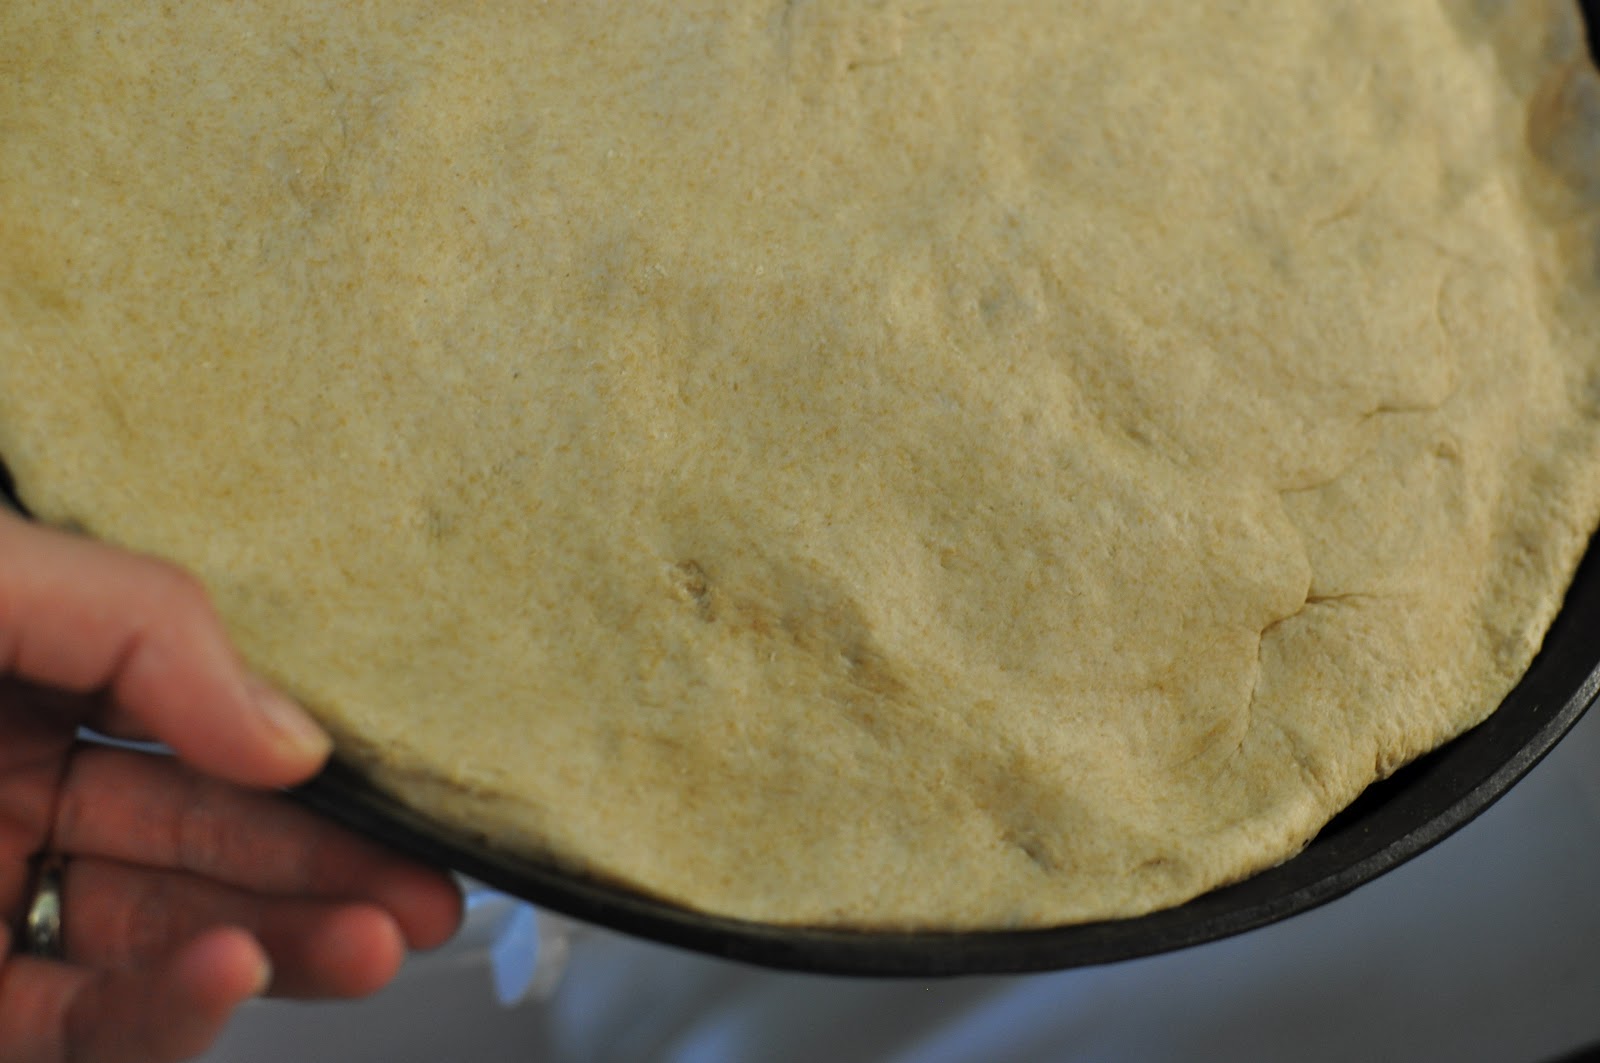
7.  Stretch (or hand toss, if you are really talented) into desired size.  We use a large cast iron pizza pan that yields a thicker crust.  You could make 4 small personal size pizzas with the dough.  
 
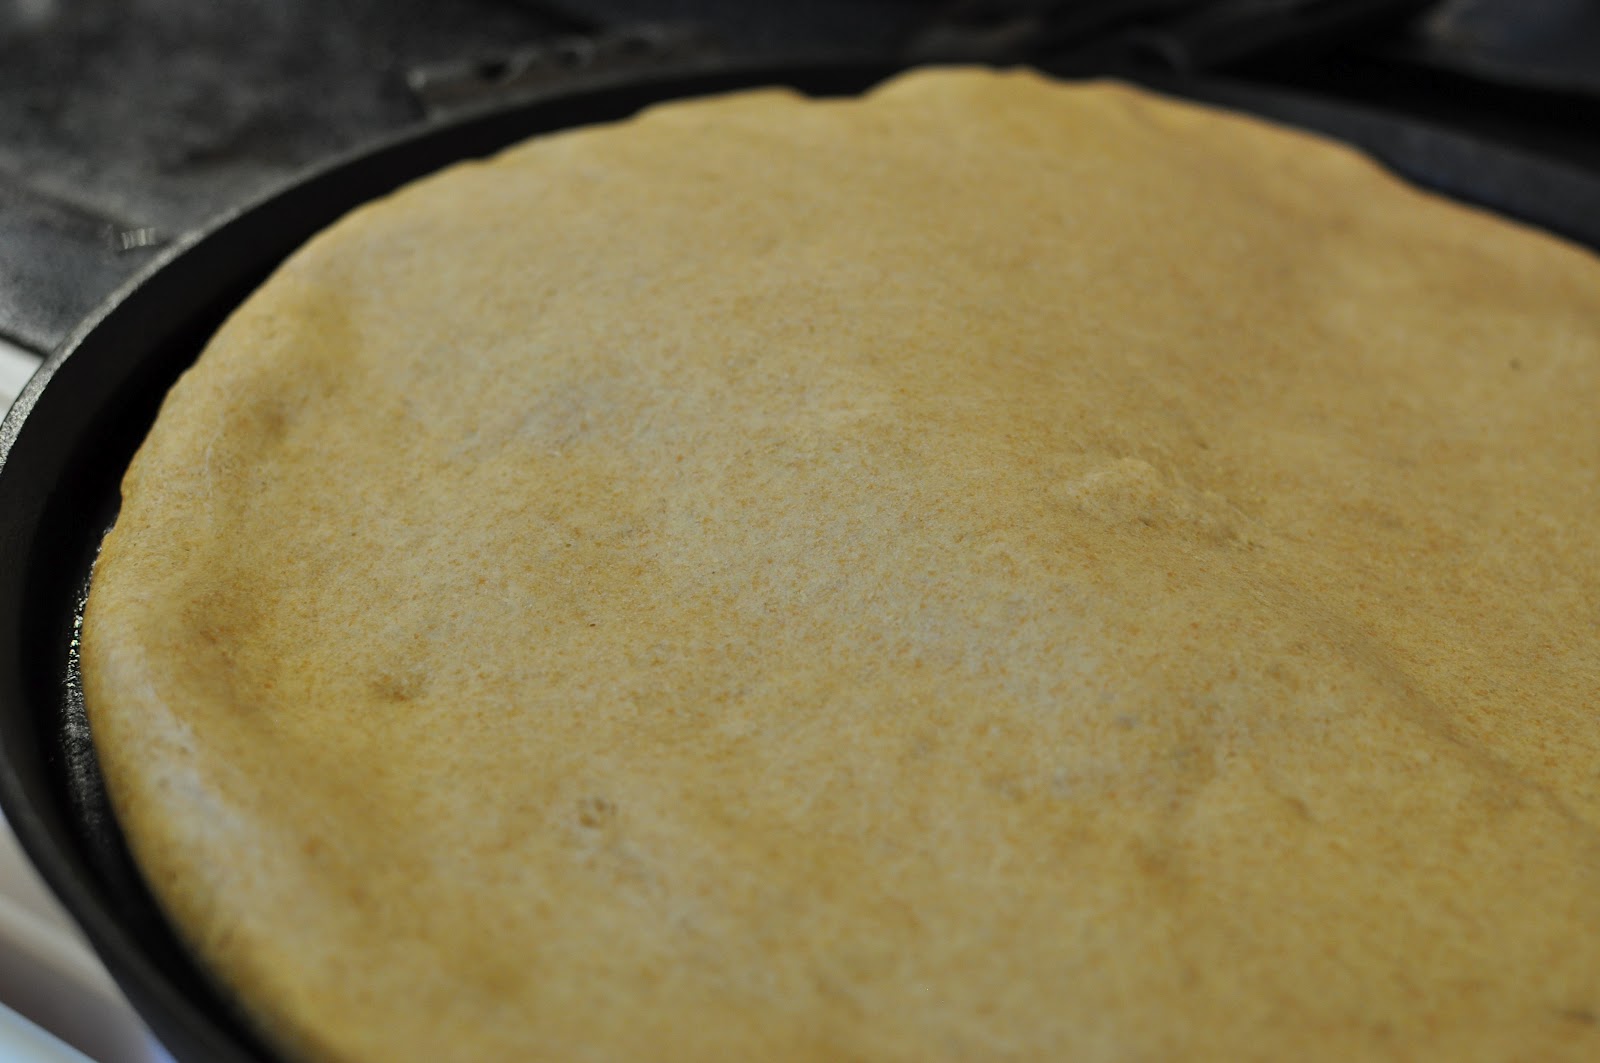
The dough ready to be baked – we love, love, love the even crispiness of a pizza dough baked on a cast iron pizza pan.
8.  If you are making a thick crust pizza, bake the dough at 425 degrees for about 10 minutes before adding and toppings.  This will ensure you do not get the doughy, uncooked center.
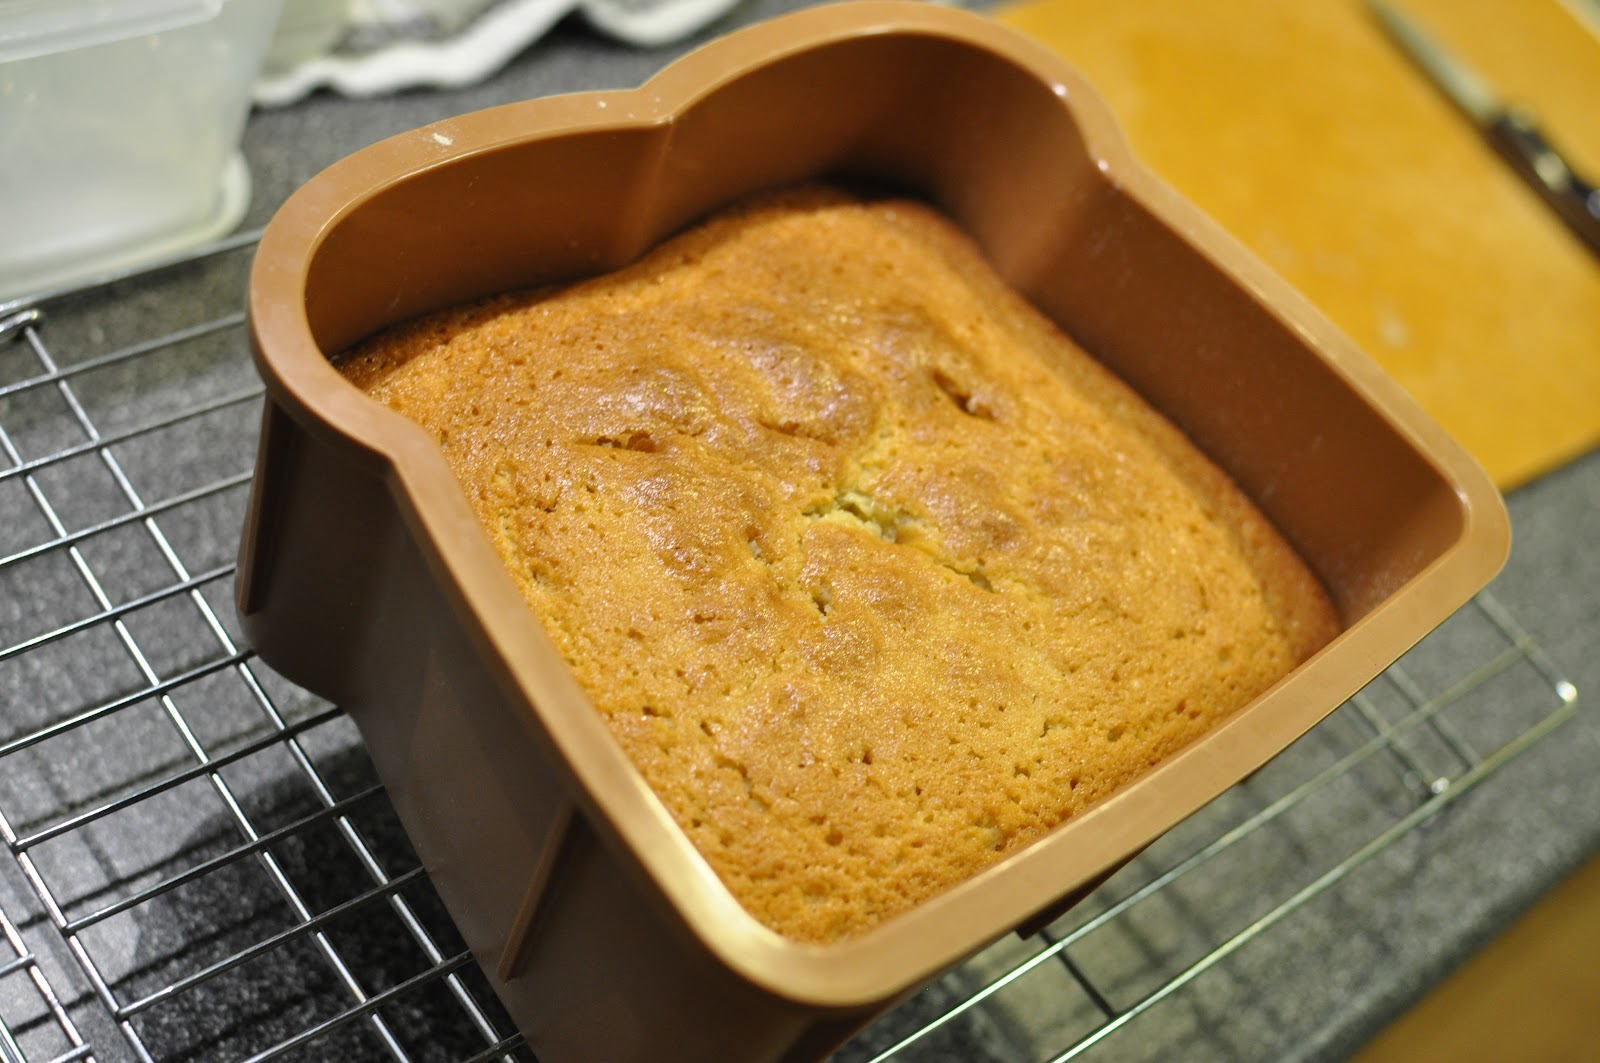
The crust post baking.
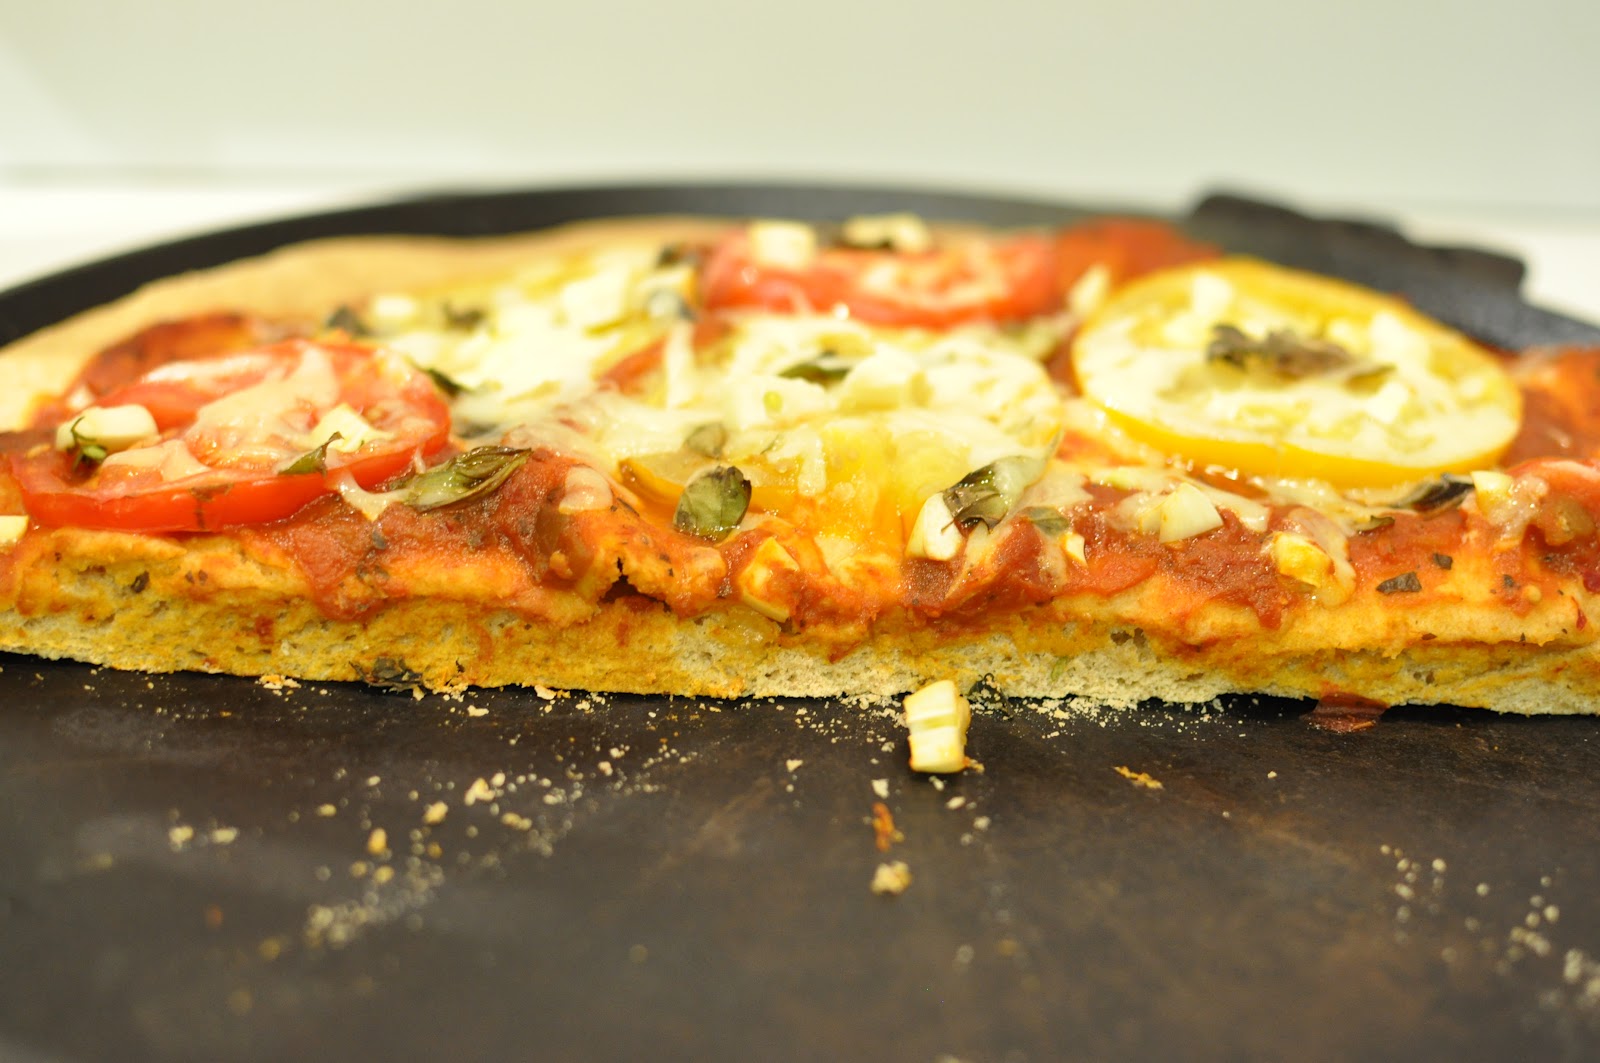
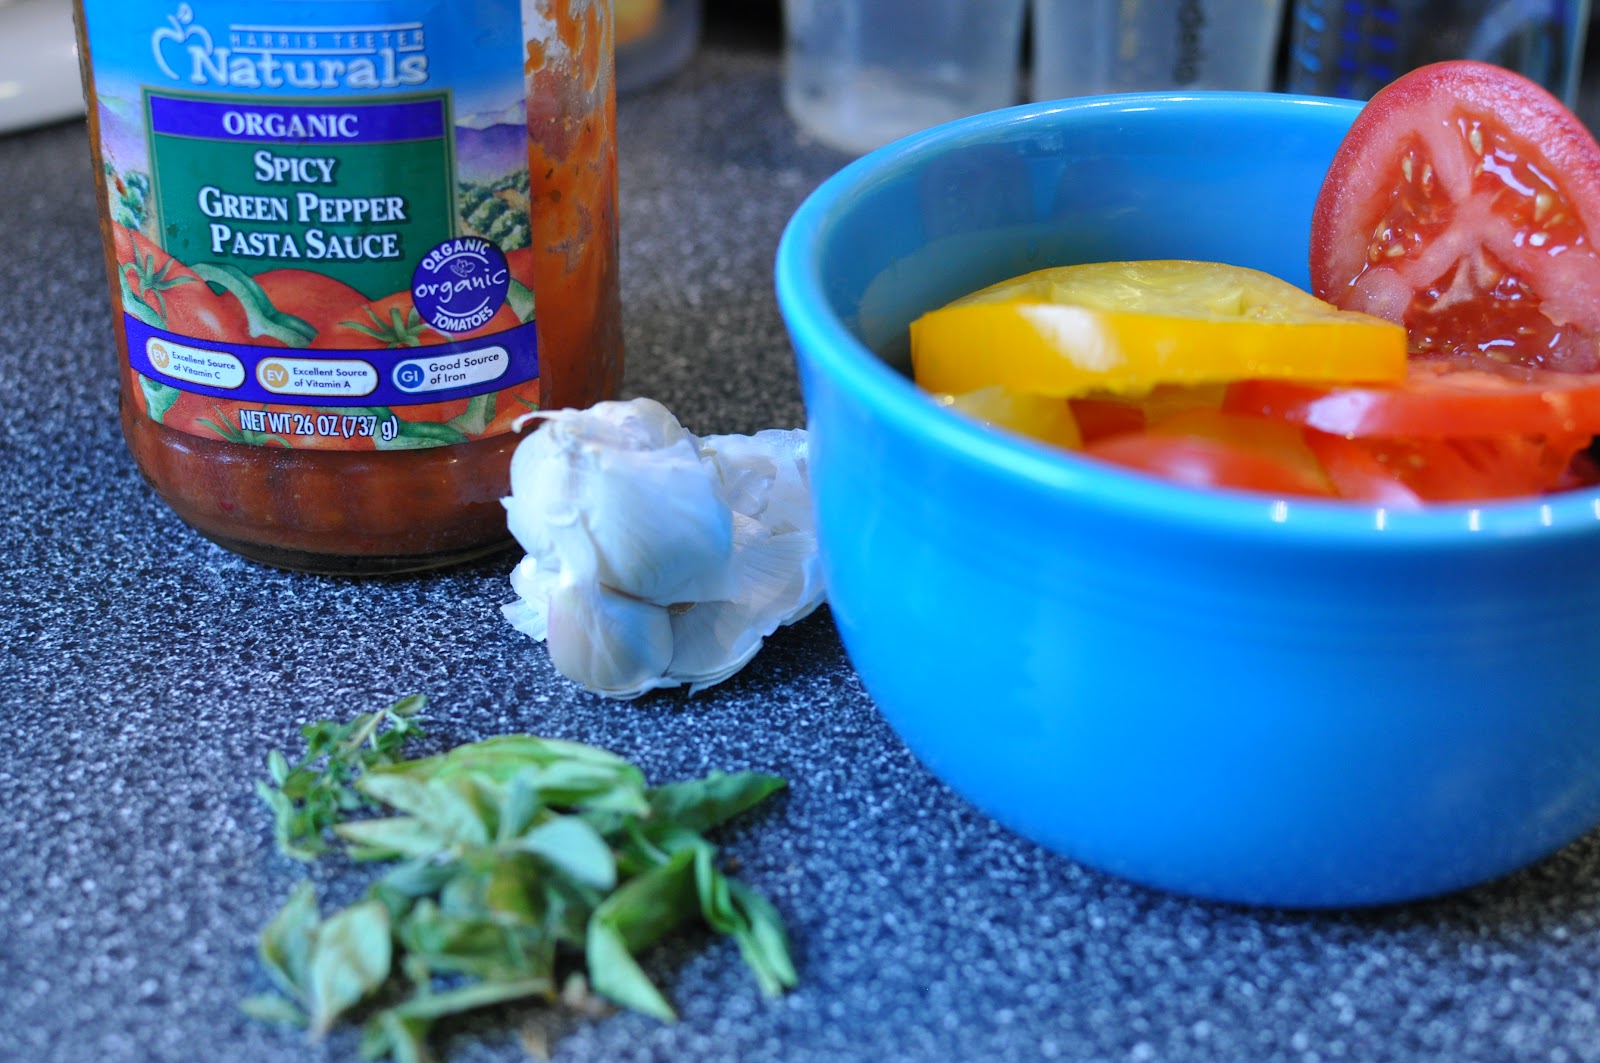
9.  While your crust is baking, prepare toppings.  We kept ours simple this time, but the possibilities are endless.  I used some leftover pasta sauce (more sodium than I thought!), fresh garlic, fresh sliced tomatoes, and fresh herbs out of the garden.  The herbs were a little burned up from our dry weather, I guess it is liked having sun-dried herbs.  
 
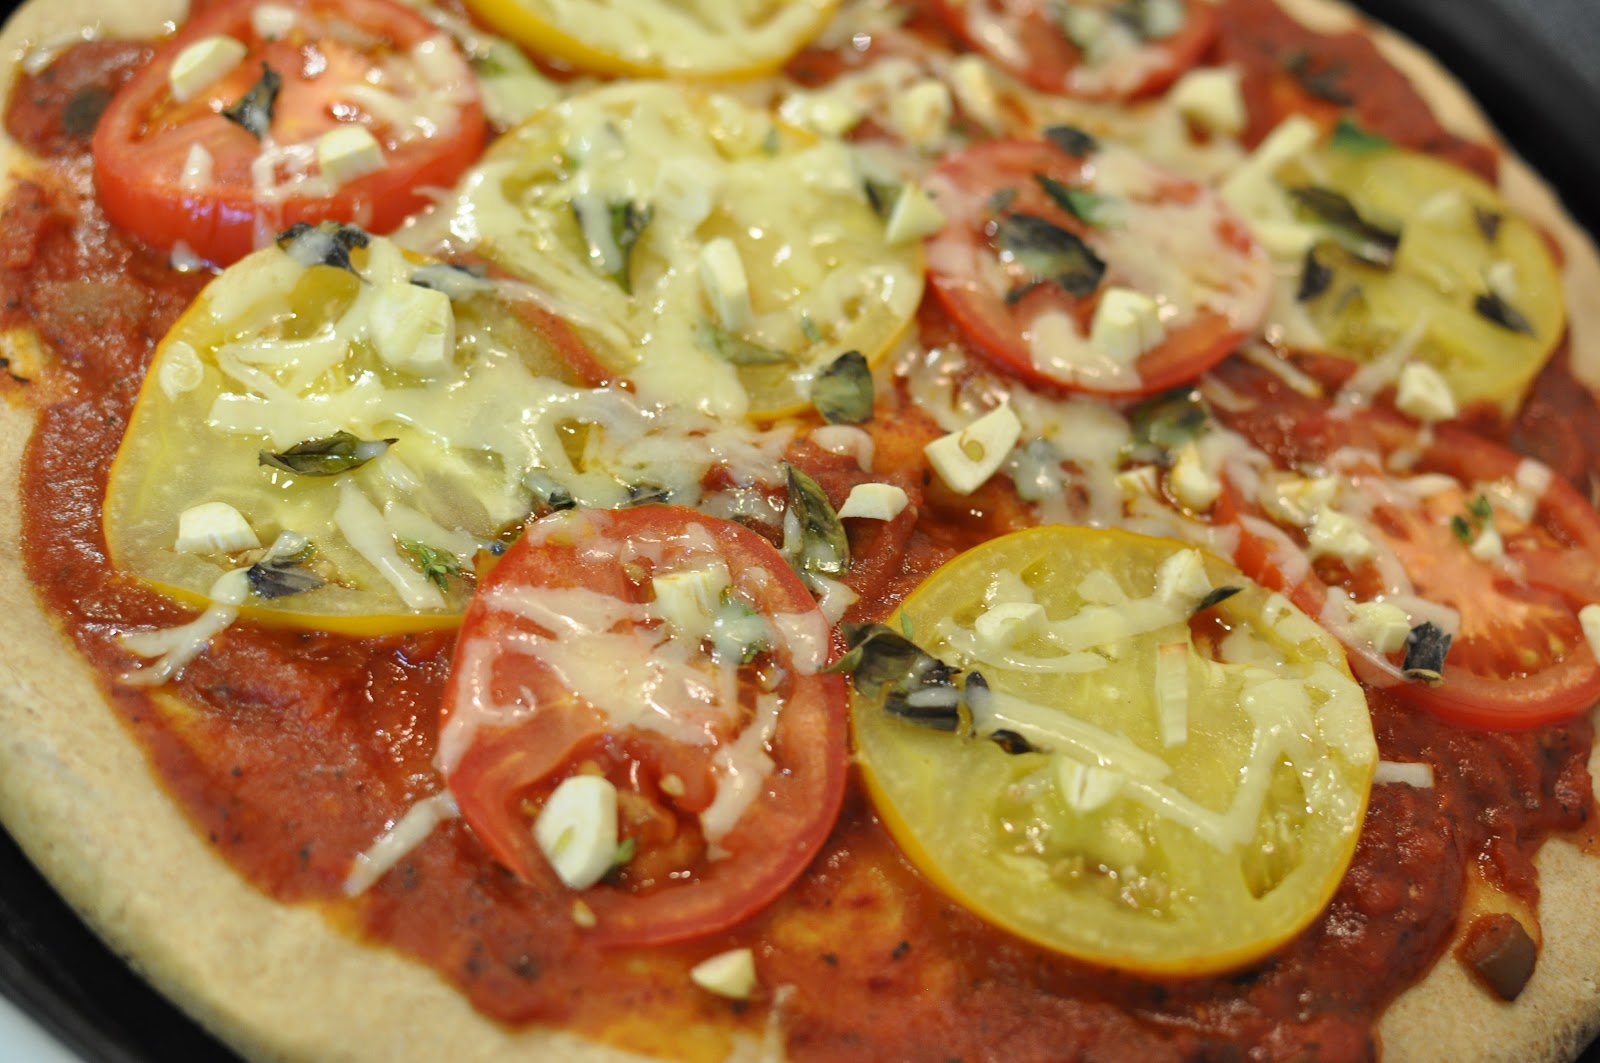
The pizza ready to be baked.  I added a small dusting of cheese just before baking.
10. Bake pizza in 425 degree oven for about 12 more minutes or til done, on the lowest oven rack.  Keep an eye on your toppings so they do not burn.
  The only downside: it disappears quickly!
We use this recipe so often that the cookbook it came from is falling apart but luckily it is memorized now.  I have tweaked it just right for us, but there are other things you can do with this recipe:
  • Turn the dough into bread sticks and after the dough rises, shaped the dough into twisted ropes and place on a baking sheet.  Sprinkle with dried garlic bits and sesame seeds.  Bake at 425 degrees for about 20 minutes or til golden.
  • Mix herbs into the dough to give the crust/bread sticks a savory flavor.
  • Try different combinations of flours – all white flour, all wheat, half and half, or rye flour.
  • Before baking the crust, brush olive oil and sprinkle freshly ground pepper.
  • Freeze dough in plastic wrap for your own pre-made pizza dough.


So, here’s the recap:

Best.Pizza.Crust.Ever.
1 cup tepid water (105 degree water)
3 tablespoons extra-virgin olive oil, plus more as needed
2 teaspoons agave syrup
1-1/2 teaspoons kosher salt (optional)
1-1/2 cups all-purpose flour, plus additional for kneading
1-1/2 cups whole wheat flour
1 packet active dry yeast
1. Mix flour and yeast in a bowl.
2. Mix warm water, olive oil, agave syrup, and salt in a bowl.
3.  Make a well in the dry ingredients.  Add liquid ingredients and mix well.
4.  Knead for about 5 minutes, use extra flour if the dough is really sticky.
5.  Place in a greased bowl and let rise in a warm spot for 45 minutes.
 
6.  Punch down dough and let rest for 10 minutes.  In the meantime, preheat oven to 425 degrees and prepare pizza  pan(s).  
 
7.  Stretch (or hand toss, if you are really talented) into desired size.  
 
8.  If you are making a thick crust pizza, bake the dough at 425 degrees for about 10 minutes before adding and toppings.  This will ensure you do not get the doughy, uncooked center.  
 
9.  While your crust is baking, prepare toppings.
10. Bake pizza in 425 degree oven for about 12 more minutes or til done, on the lowest oven rack.


4th of July Onesie

Happy 4th of July!
I whipped up a quick patriotic onesie for Greta yesterday.  
I started with a clean white onesie, scissors, riboons, fabric, and fusible web. 

Cut the desired shape out of the fabric. 
Arrange ribbons on the wrong side of the fabric. 
Cut shape of fusible web so that it is just a little smaller than the edges of the fabric. Iron, rough side down, onto back of fabric, so that it covers the ribbon edges.  Use a hot iron on the wool setting with no steam.  Press for 3-5 seconds.  Let the fabric cool completely.  Then, carefully peel the paper backing off.
Cut the same shape and size out of the fusible web as the fabric.  Iron this to the onesie.  Again, use the wool setting with no steam for 3 – 5 seconds.  Let the fabric cool completely.  
Carefully peel off the paper backing. 
To attach the ribbon & fabric decoration to the onesie, place the fabric decoration onto the fusible web on the onesie.  Be sure the edges line up and the fabric is right side up (hey, I have done silly things like that before).  Place a damp cloth between the fabric and the iron.  Place iron over the damp cloth and iron for 10 seconds or until damp cloth is dry. Now your decoration should be attached to the onesie. 
This next step is not necessary if your fusible web steps were done correctly.  However, I wanted to add a little more flair and I am in love with the decorative stitching on my machine. I used red thread for the patriotic theme.
I stitched a star design around the edges of the fabric.  This will make sure my curious daughter does not find a way to tear the ribbons out from between the fusible web layers. 
Enjoy your 4th of July!
Save Up To 70% Off Retail! Now at DiscountSchoolSupply.com! Click Here!

256534_Save Up To 70% Off Retail! Now at DiscountSchoolSupply.com! Click Here!

First birthday: Grilled Cheese

We decided, after a little research, to try grilled cheese sandwiches on the grill.  Everything I read was encouraging.  Here are the best tips I can offer:

  • Have a staging area for people to put together their sandwiches.
  • Offer a variety of breads, condiments, and fillings.  
  • Denser, thick breads work better – think thick crust bread.
  • Warm your butter so it’s easy to spread or melt it (or use oil) and brush it on the bread.  
  • Be creative with your combinations.
  • Let the coals get low enough that you won’t burn your sandwich and even then, watch the grill closely!  We had only one butter fire.

Sourdough bread, tomato, sharp cheddar cheese, habanero mustard, and mayo. 


The grilled cheese on the grill took no time at all to cook.  1 minute per side if it was in the coals.  If you put your sandwich on the edges, you have a couple minutes per side. 


Start with bread and soft butter (or have the butter melted and ready to brush on at the grill).

Choose your cheese(s).  Pre sliced makes it easier on your and the guests. 


Use some creative fillers.  We had sliced tomatoes, avocados, and smoked turkey. 

Sometimes sweet goes well the smoky, cheesy, grilled flavor.

The spicy sauces.

The run-of-the-mill condiments. By the way, the ketchup made with agave syrup is the best ever!  I never really liked ketchup until I tried this stuff!

Put all sandwich ingredients together and bring to the grill.  Cook on each side for about 1 minute.  This is a fun way to cook out because the kids can put together fun combinations, everyone has more choices, and it costs relatively little to feed a large group!  It was a huge hit and we will most certainly be doing this again soon. 


Mine: sourdough on one side and wheat on the other side, swiss cheese, tomato, and avocado. 

I ate my sandwich with chipotle ketchup – just mix the two according to your taste.


So what did we serve with our grilled cheese?  Whole kosher dill pickles were a must, as was potato salad and pasta salad.  I had every intention of making potato salad but just ran short of time.  

The grocery store brands were a no-brainer for these three. 

We also served sliced watermelon, chips, and this amazing sweet and zingy Peach-ginger Slaw from Southern Living, July 2012.  We skipped the pecans to keep this recipe nut-free for those not liking or able to eat nuts.  See the recipe below.


Peach-Ginger Slaw

Ingredients

  • 1 cup chopped pecans 
  • 3 tablespoons pepper jelly
  • 1/4 cup rice wine vinegar
  • 1 tablespoon sesame oil
  • 1 teaspoon grated fresh ginger
  • 1/3 cup canola oil 
  • (16-oz.) package shredded coleslaw mix 
  • large fresh peaches, unpeeled and coarsely chopped (about 2 cups)
  1. Preparation
  2. 1. Preheat oven to 350°. Bake pecans in a single layer in a shallow pan 10 to 12 minutes or until toasted and fragrant, stirring halfway through. Cool completely (about 10 minutes).
  3. 2. Meanwhile, microwave jelly in a large microwave-safe bowl at HIGH 15 seconds. Whisk in vinegar and next 2 ingredients until blended. Gradually add canola oil in a slow, steady stream, whisking constantly until well blended.
  4. 3. Add coleslaw mix, and toss to coat. Gently stir in peaches. Stir in pecans; add salt to taste. Serve immediately, or cover and chill up to 8 hours, stirring in pecans and salt to taste just before serving.


First Birthday: Cakes Part II

After dreaming about cakes all night after exploding the bundt cake, I came to a solution.  But first, let’s talk about the cakewich.  The recipe from the back of the box is below:

Fred’s Famous PB&J Pound Cake:

Ingredients
2 cups all-purpose flour
1-1/2 teaspoons baking powder
1/4 teaspoon salt
3/4 cup unsalted butter
1-1/2 cups sugar
2 teaspoons vanilla
6 large egg whites (if you want the cake to be white bread-like, but I used 3 whole eggs)
3/4 cup milk

1. Set rack in the middle level and preheat oven to 315 degrees.  
2. Grease and flour the inner bottom surface of your cakewich pan.
3. Combine the flour, baking powder, and salt in a bowl. 
4. Whisk together the egg whites and milk by hand, just til combined.
5. In a heavy-duty mixer, cream butter and sugar until light and fluffy, about 5 minutes.  Add vanilla and beat vigorously.  
6. Reduce speed to low and add 1/4 of the flour, then 1/3 of the milk mixture, mixing just until combined, scraping the bowl and beater after each addition.  
7. Scrape the bowl well with a large spatula.  Pour the batter into the cakewich pan and smooth the top. 
8. Bake about 60 to 70 minutes, until a toothpick inserted in the center comes out clean. 
9. Cool the cake on a cooling rack for one hour, then unmold it to finish cooling right side up.  

If using a different pan other than silicon cakewich pan, change temperature to 350 degrees and bake using times below:

  • 24 Cupcakes = 18 – 23 minutes
  • Two 8 x 1-1/2 inch round baking pans = 35 – 40 minutes
  • Two 9 x 1-1/2 inch round baking pans = 30 – 35 minutes
  • Two 8 x 8 x 2 inch baking pans = 25 – 35 minutes
  • Two 9 x 9 x 2 inch baking pans = 25 – 35 minutes
  • One 13 x 9 x 2 inch baking pan = 30 – 35 minutes
  • One 15 x 10 x 1 inch baking pan = 25 – 30 minutes
  • 10 to 12 cup Bundt cake pan = 50 – 60 minutes
  • loaf pan = 50 – 60 minutes
Always do the toothpick or knife check!


To assemble the sandwich cake: use a serrated bread knife and cut off the dome of the cake, this is the rounded top.  Then, cut in half horizontally. 

Make, prepare, or open can of frosting.  

I used store bought buttercream frosting with a few tablespoons of peanut butter mixed in. I added banana slices to make this even more of a Greta favorite.

Assembled cake looks like a sandwich!

Top shot of the cakewich.


Onto the exploding cake debacle from the previous day.  After a little fuming at myself, I figured that this would be a perfect way to create a new cake experience.  I headed off into the unknown territory of ice cream cakes.  This was a totally new thing for me to make and I make it without anything other than my own flavor creativity. 

The first step was to chop up the cake and press it into a 9 x 13 inch glass pan.  This was then frozen for a couple of hours.  

Next step, layers.  Since the cake was a lemon poppy seed pound cake I decided to play it safe with my layers.  I started with a layer of red raspberry jam.  


Next, was a layer of vanilla ice cream.  Let the ice cream sit out and thaw a bit before using.  If it is softer, it will spread more easily.  Eric used the entire 1.5 quart ice cream container on this layer.  

This Cutco spreader is the best I have used for spreading and slicing!  I added some sprinkles and froze the cake until it was time to eat.  

Greta enjoyed her cake, luckily the candles were not lit.

The evidence of the cake on her birthday bib. 

Check back tomorrow for the first birthday menu.


First Birthday: Cakes

Utter and totally exhausting exploding cake night.

Sigh.

I should be in bed right now.  But instead I am waiting on the second cake to cool COMPLETELY.  Why do I even bother with pretty bundt pans?  I torture myself at least once a year with this problem.

Ok, rewind time.

I started with the recipe on the back of the Fred & Friends sandwich cake pan.

I made a double batch so that I would have two cakes.

I made the second bake, the bundt cake, a lemon and poppy seed pound cake.  I zested an entire lemon and added the poppy seeds.

I greased both pans and floured them.

I did not wait long enough on the bundt cake to take it out.  Sometimes I wait too long.  I cannot figure out the happy medium.

At least the sandwich cake is still in one piece.  I am going to wait longer on this one.  Check back tomorrow for creative ways to piece a cake back together.  Hey, at least this way I don’t have to worry about slicing her first piece of birthday cake.

I guess I could always go and buy an ice cream cake.

At least we have a pretty peach pie to eat tomorrow, in honor of my father in law’s birthday.

First Birthday: Decorations

I have lost a great deal of art & sewing time this week, due to Greta cutting back on her naps drastically.  She used to take at least two 1-hour naps, sometimes 2-hour naps per day.  The increased wake time has increased her interest in everything.  It has been so much fun to spend time with her this summer and watch her learning taking place every hour.

The good news is that it is birthday week!  Greta turns 1 this weekend.  So, the next few posts will be kid birthday oriented…hope you’re ready, ’cause I don’t think I am.  🙂

I wanted flags to hang from the ceiling and chandelier for Greta’s birthday.  I just wanted the typical triangular flag banners that you see everywhere. Here’s what I came up with.

Triangular Flag Banner How-to

Supplies needed:
  • scissors
  • cardboard (for stencil)
  • glue
  • pencil
  • scrap booking paper
  • string

I started by creating a cardboard stencil.  I traced it around colorful scrap booking papers and cutting out the triangles.  Once I had a stack of these I began attaching them to string.  
A thin strip of glue along the top secures the string.

To make the flags double-sided, spread a small amount of glue on the other two sides and attach a second triangle.  
The finished banners look festive in the dining room.  I stuck with a purple, green, and brown palette.  The dried triangles have a few wrinkles due to the dried glue.  This bothered me, so I began searching for other options for banner-like decorations.
Lo and behold, I found these!  I found this on Pinterest, of course.  The pin comes from Martha Stewart and was intended for weddings, but I knew it would work perfectly for my birthday girl.  
Vellum Banner How-to

Supplies needed:
  • vellum (translucent scrap booking paper)
  • paper cutter or scissors, pencil, and ruler
  • sewing machine
  • thread

I cut my vellum into 4 x 4 inch squares using a paper cutter.  A paper cutter is a must-have for the amount of paper cutting I do.  I am simply too sloppy and rushed most of the time to cut things by hand.  
After I cut all my squares it was time to sew.  I started by pulling out extra length from the needle and bobbin.  This would give me a little extra length to hang my banners.  
Then I just simply started sewing.  I used a straight stitch and as I finished one square, I fed in the second square.  This created a little extra thread length in between each square.  This will create the ability for the squares to spin and move in a breeze.  
A close-up of one of the sewn square vellum pieces.  
They turned out beautiful and this really only took mere minutes to complete.  I wish I had done this before hand cutting and gluing the other banners.  Oh well, the variety is interesting at least.  
When Greta woke from her nap she was so interested in the banners hanging above her high chair.  I am getting more and more excited for her birthday.  The cake mold showed up today.  🙂