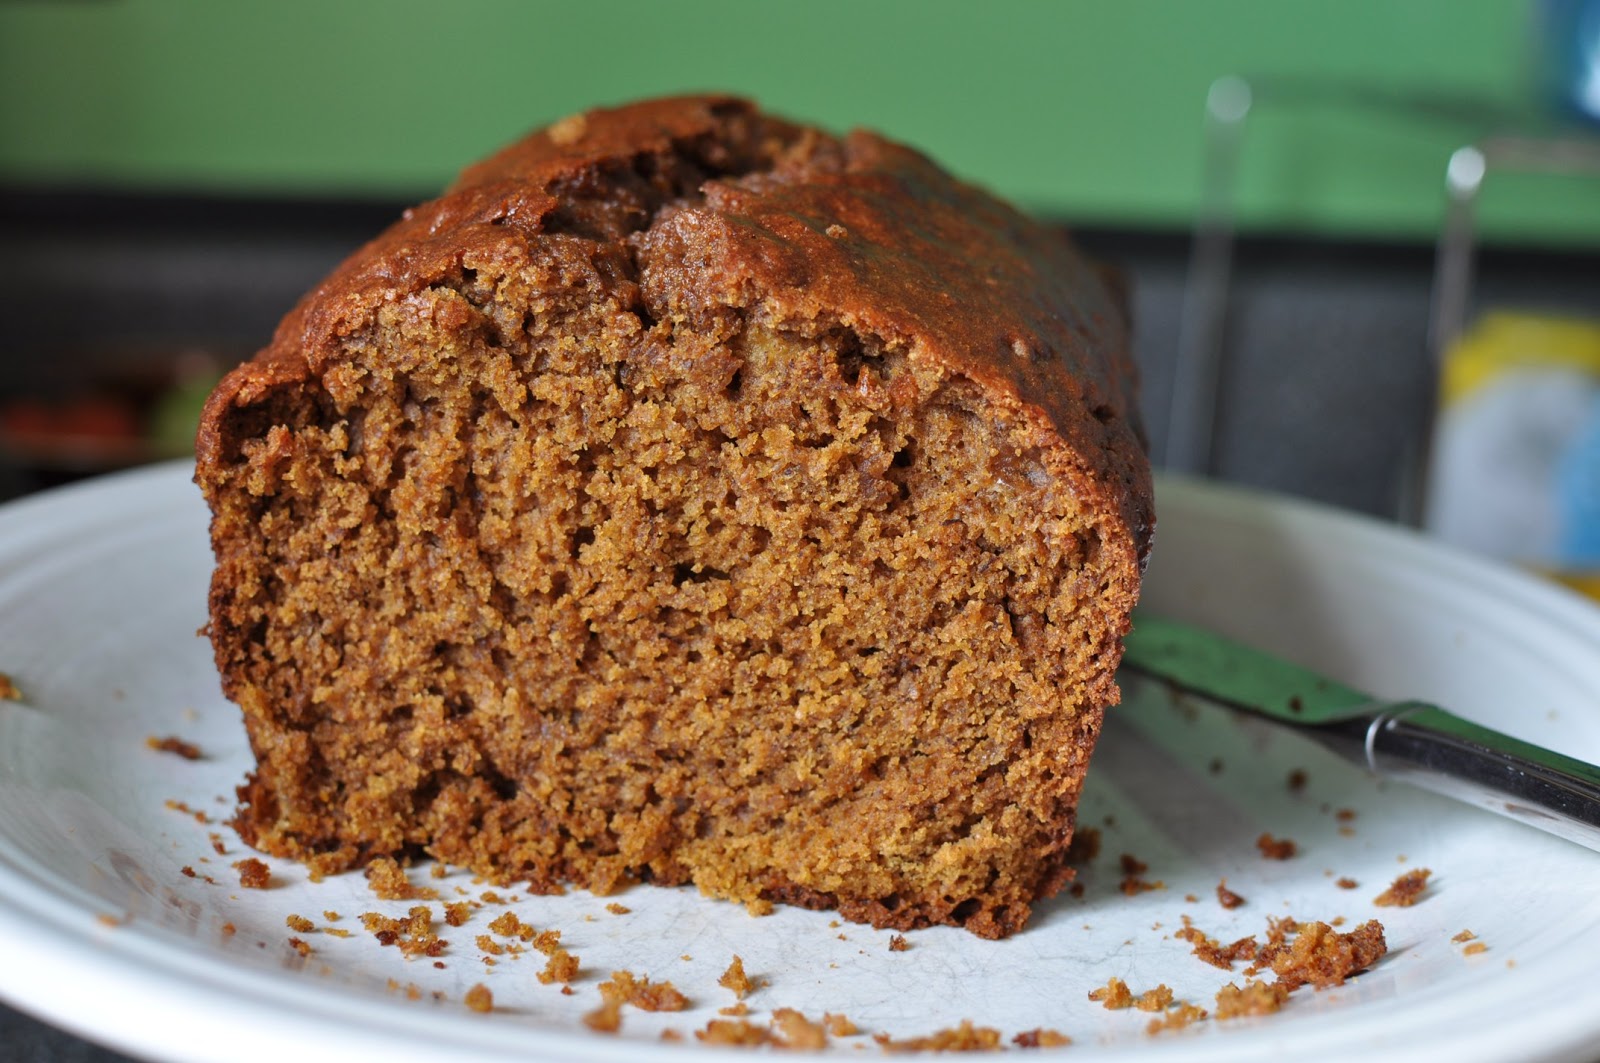
Greta has been home sick the past couple days. Yesterday afternoon she napped for a lengthy four hours. In that time, I worked on lesson plans, organized the kitchen, and baked banana pumpkin bread. This is a recipe my sister gave me at my bridal shower and it’s only taken me 5 some years to try it out. I wish I had tried it much sooner. The molasses adds such a warm autumn taste to this bread.
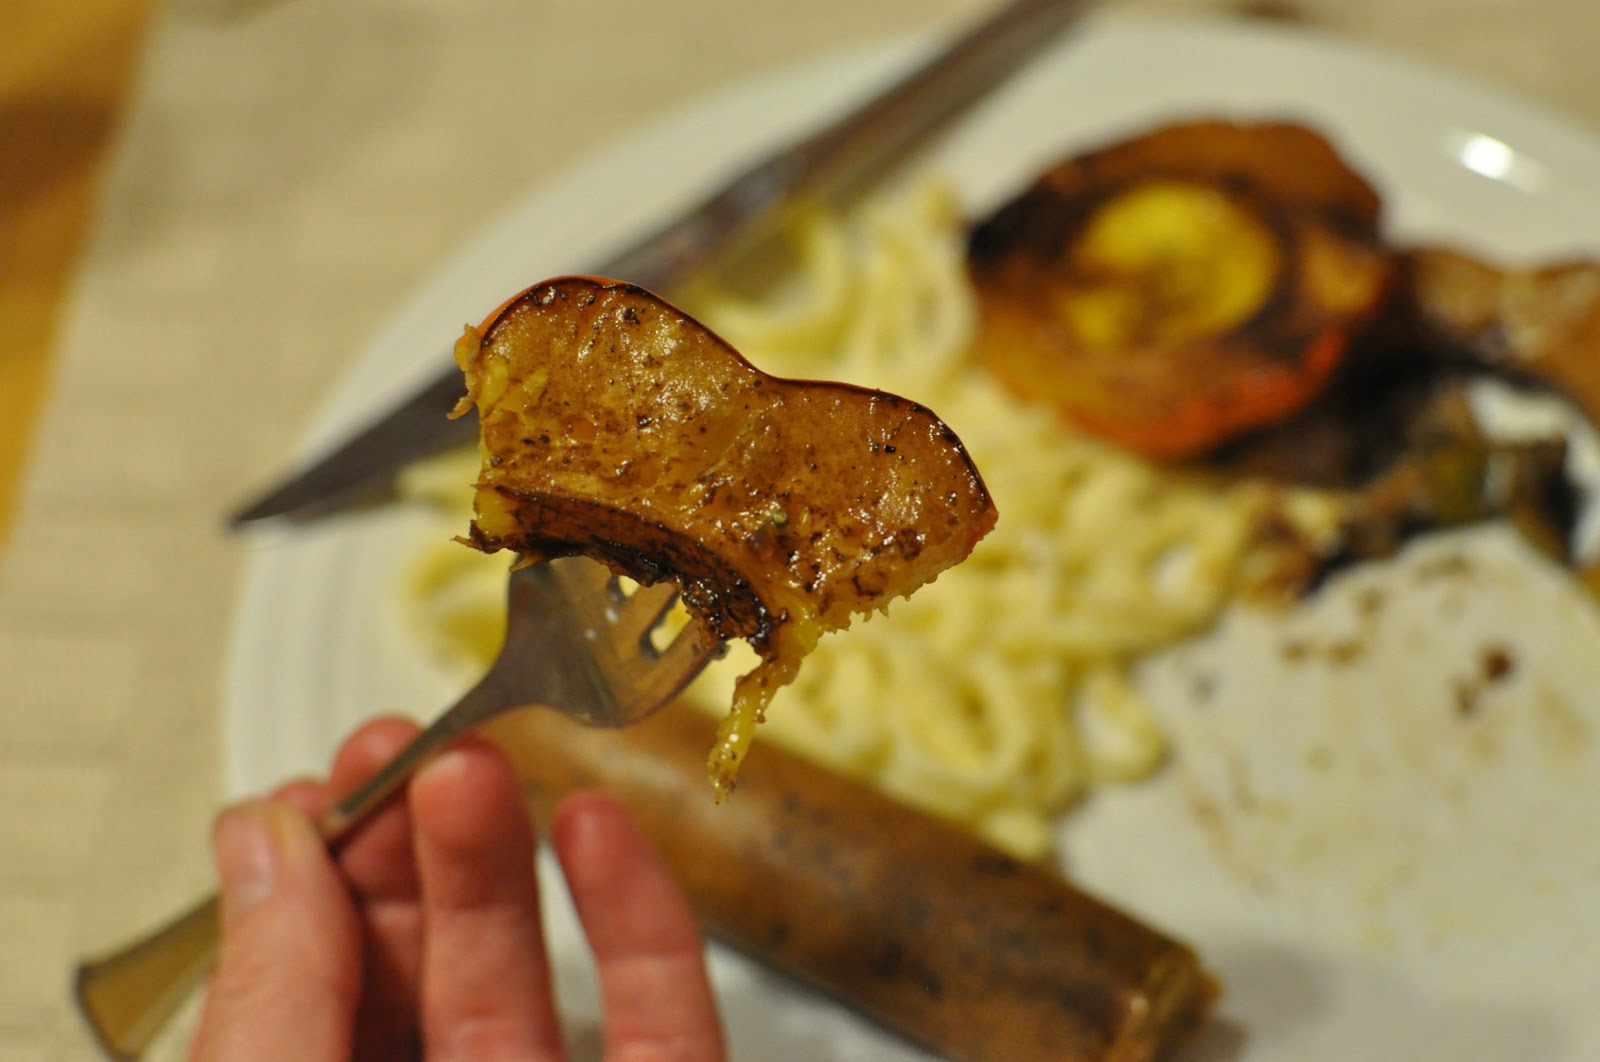
We are already missing half of the loaf and Eric threatened to take the other half with him for his lunch today. Try this out with only bananas or half banana and half pumpkin, as shown below.

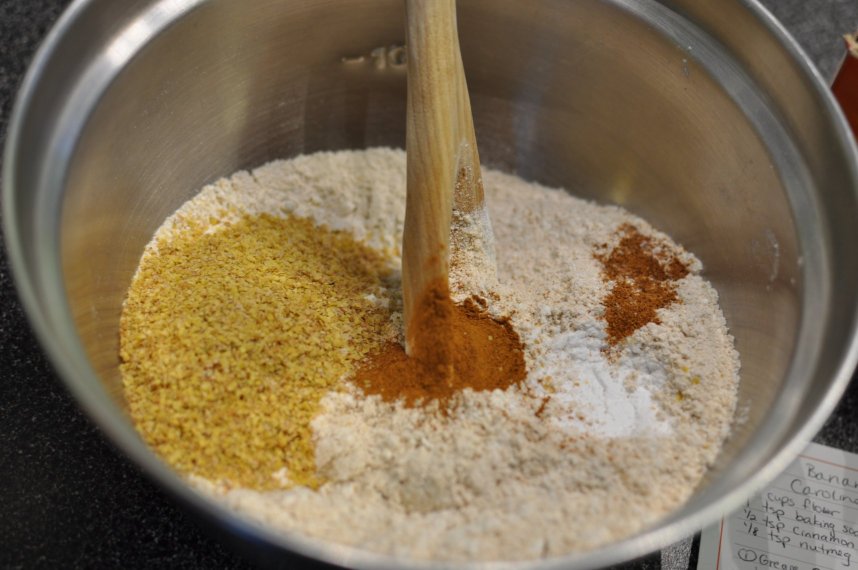
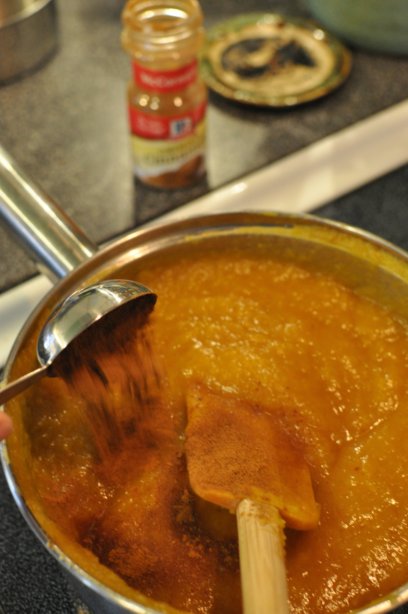
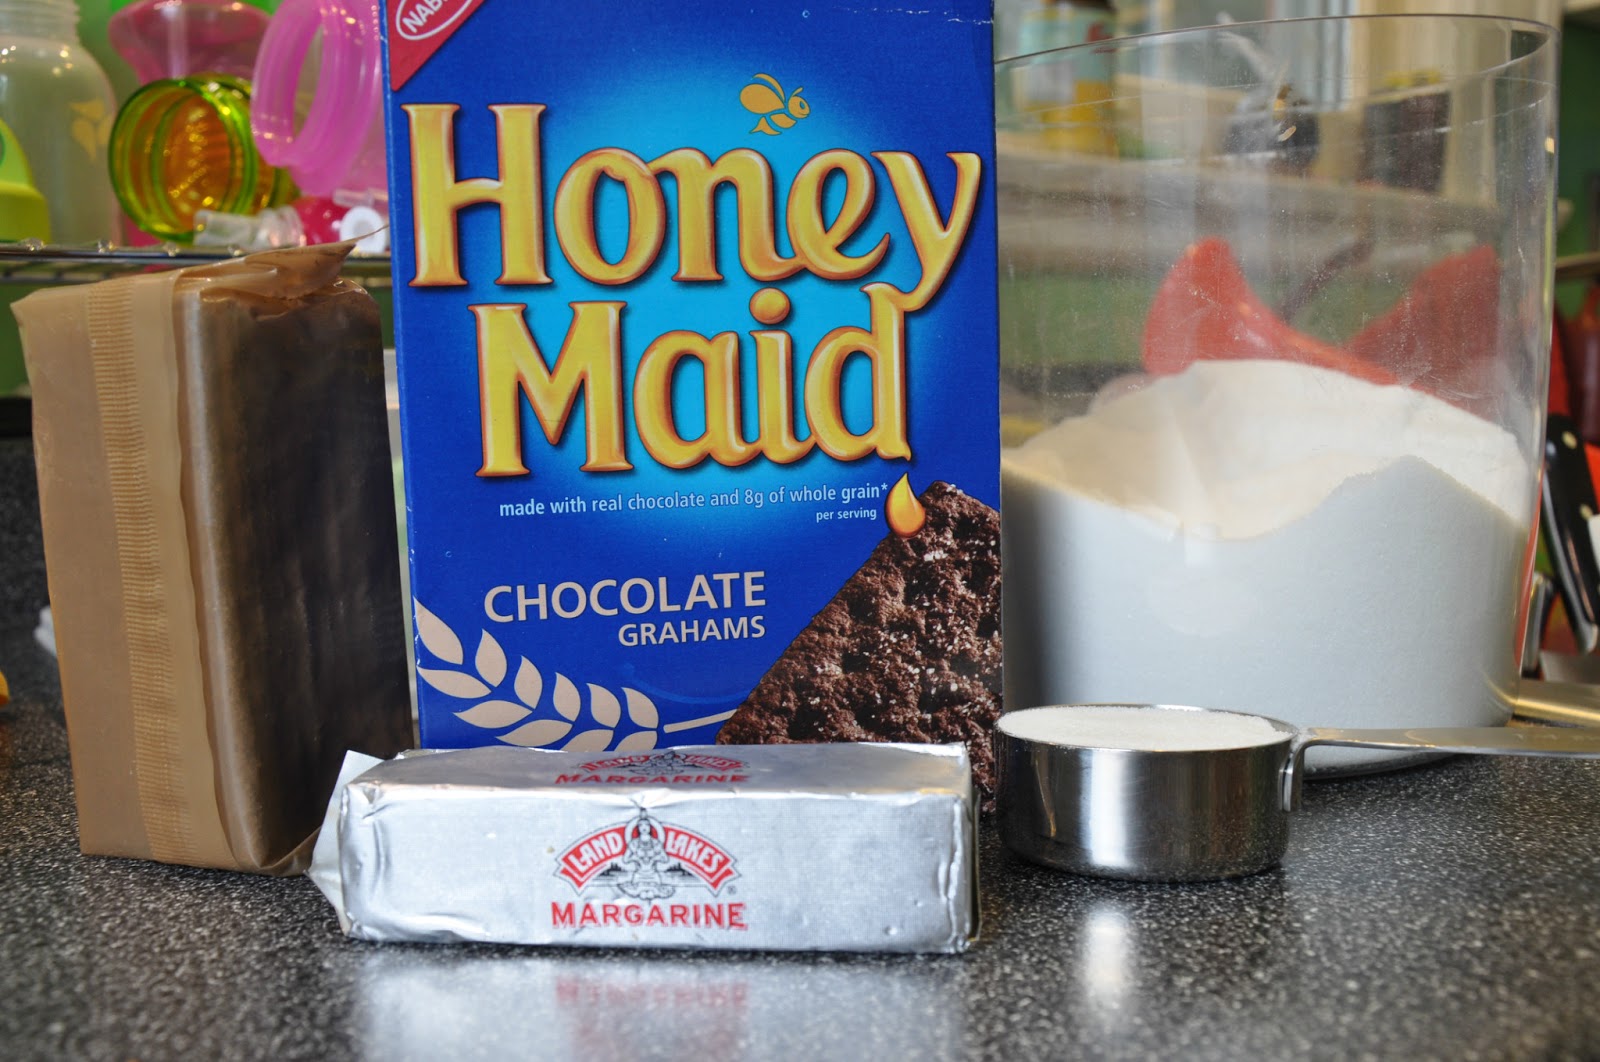
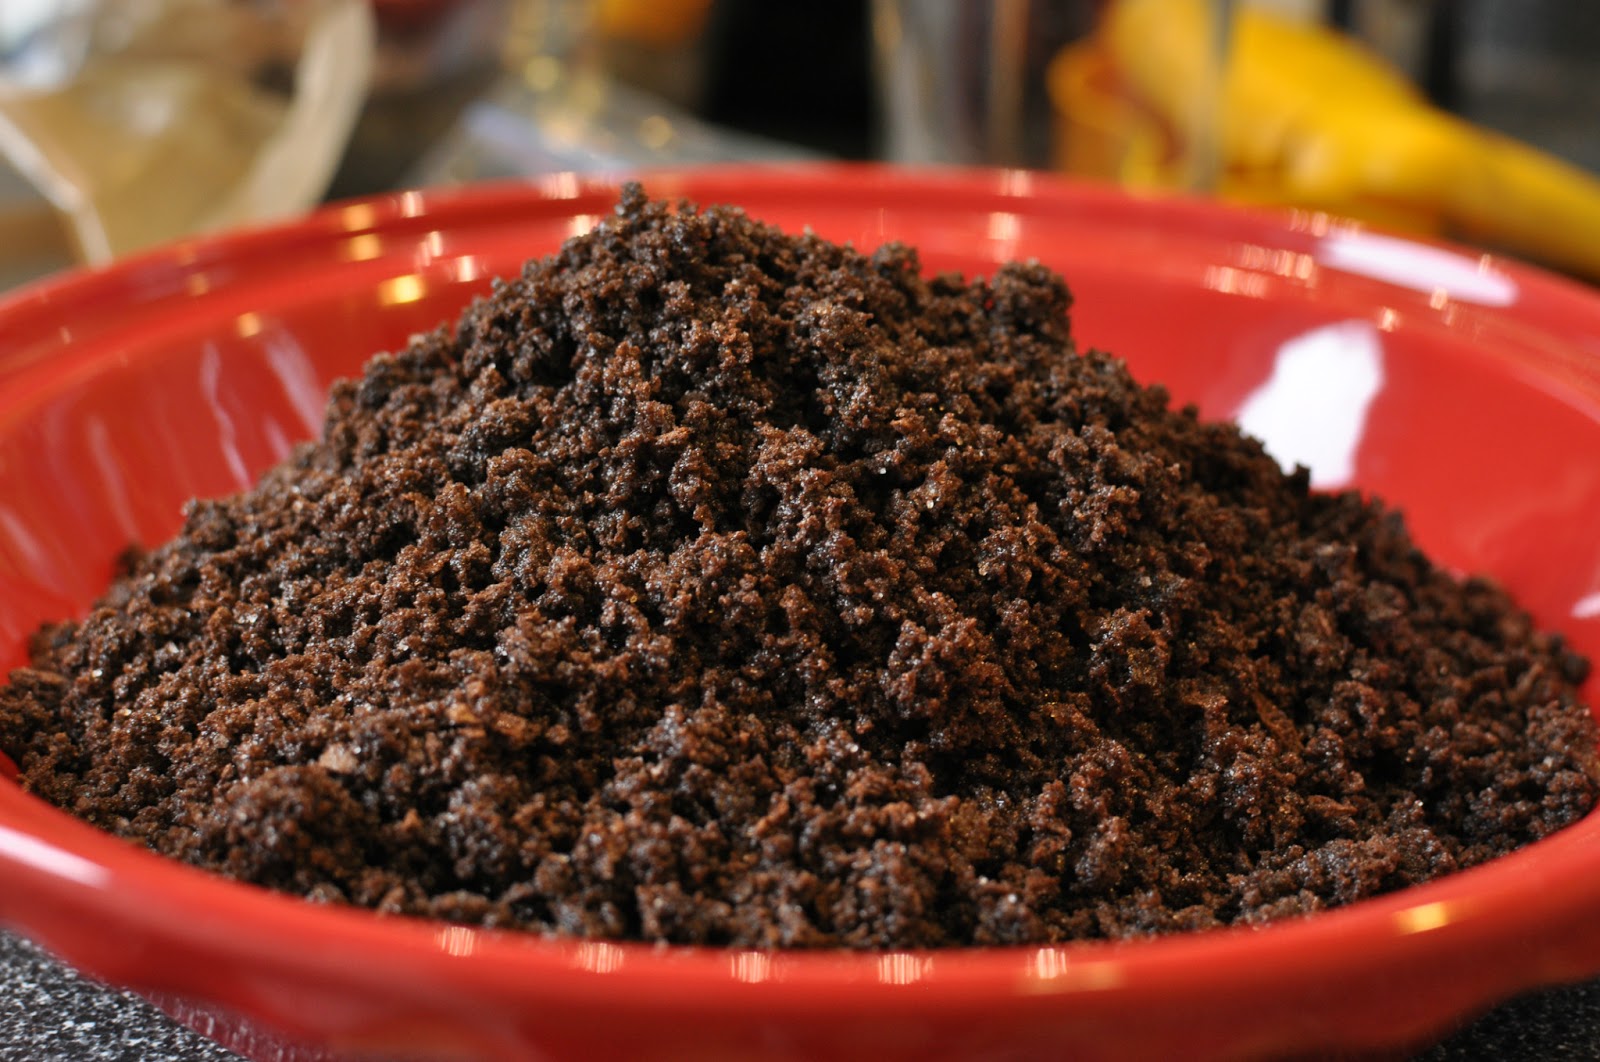
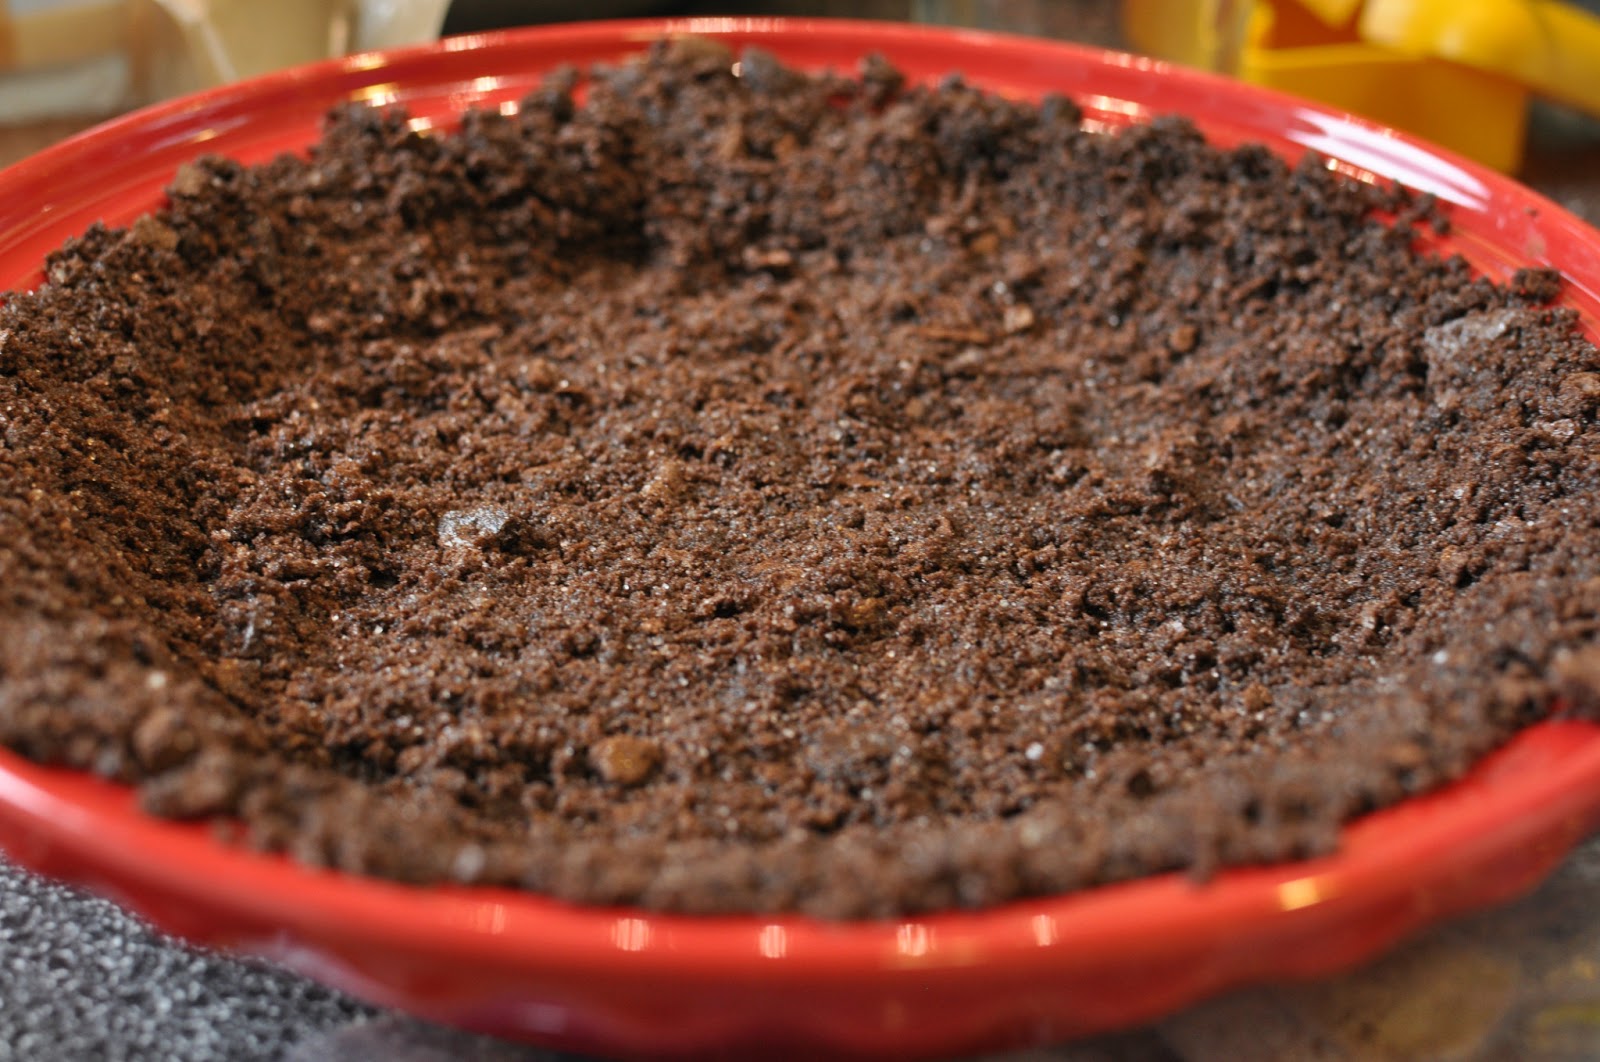
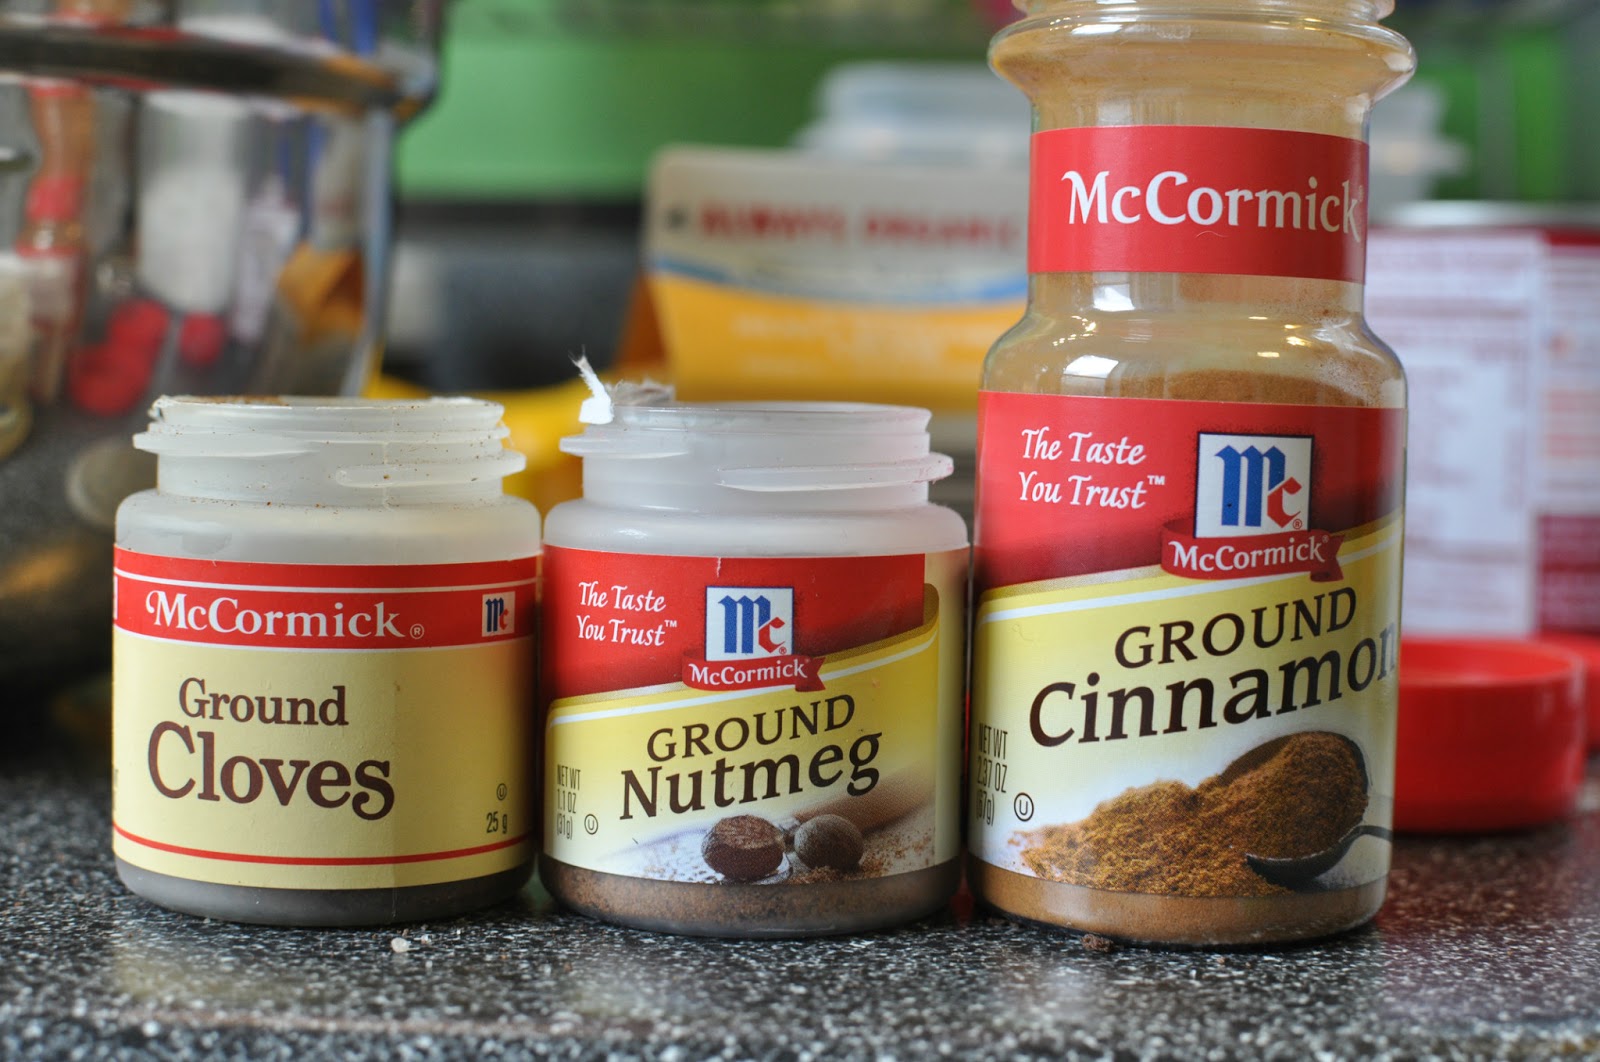
Grease a loaf pan. Combine 2 cups whole wheat flour, 1 teaspoon baking soda, 1 teaspoon cinnamon, 1/4 cup wheat germ, and 1/8 teaspoon nutmeg in a bowl.
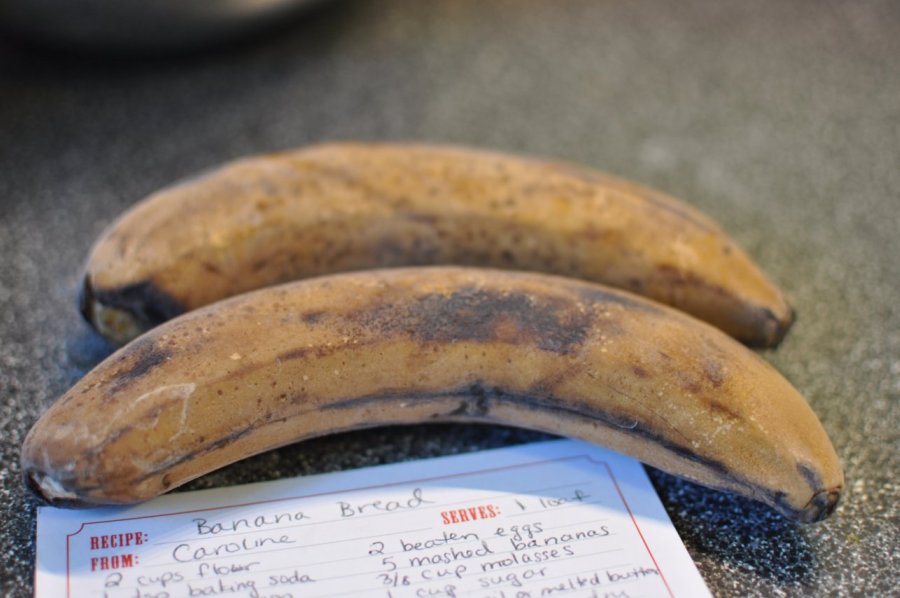
I always freeze extra really ripe bananas so I have them on hand.
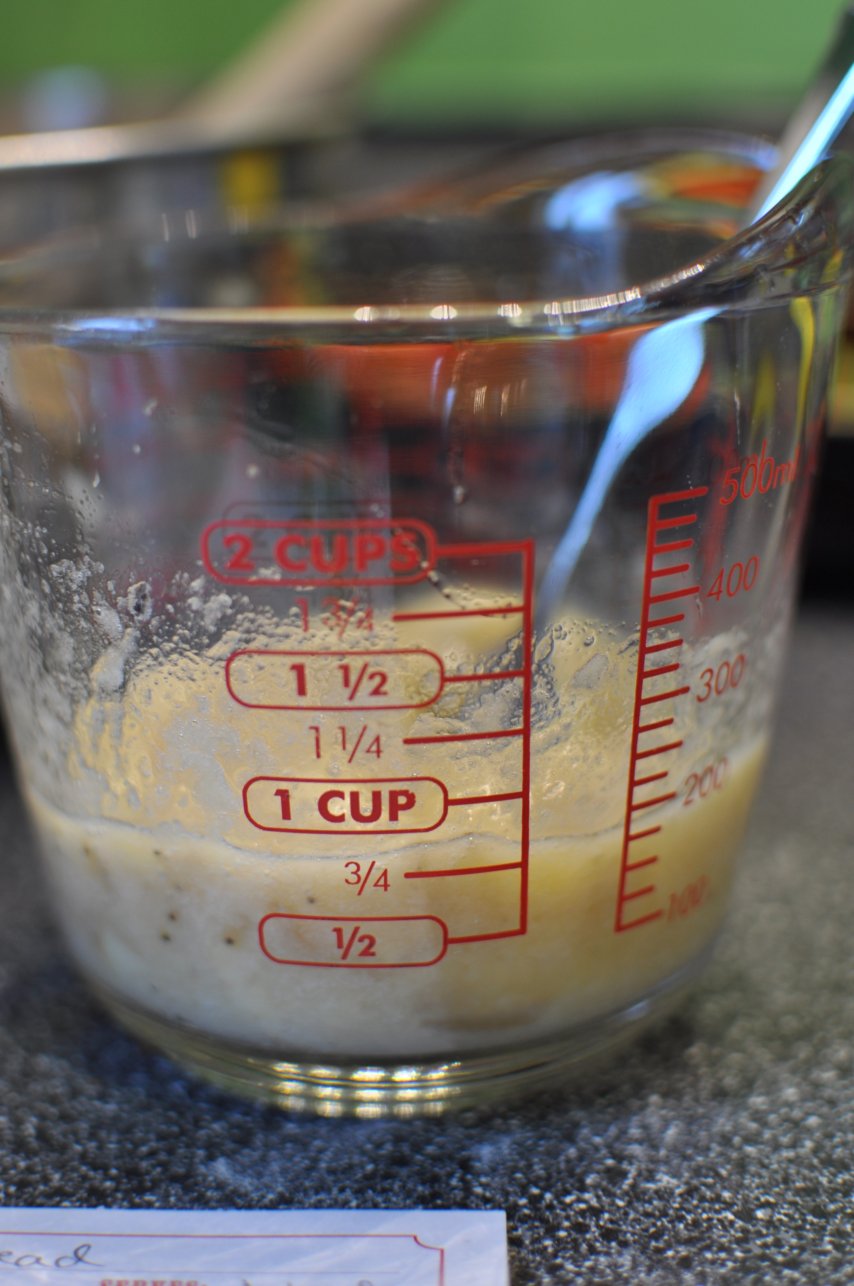
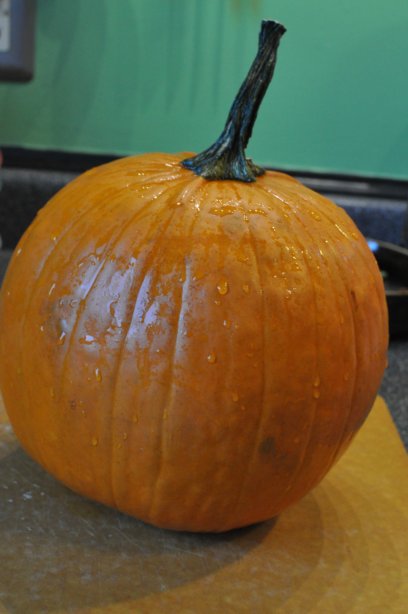
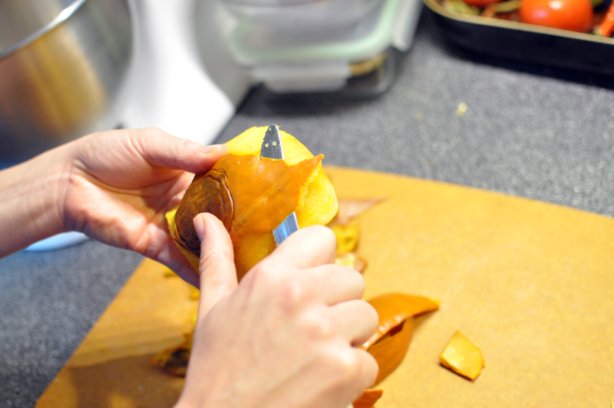
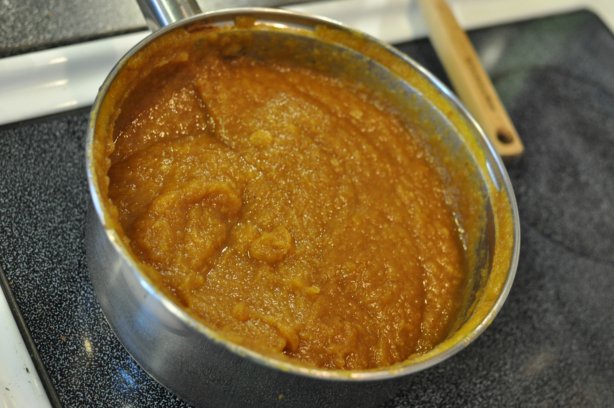
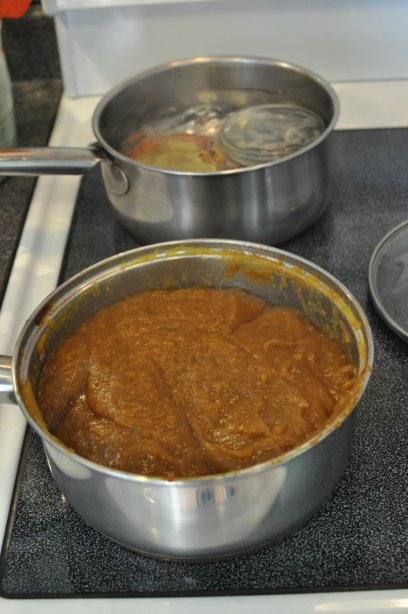
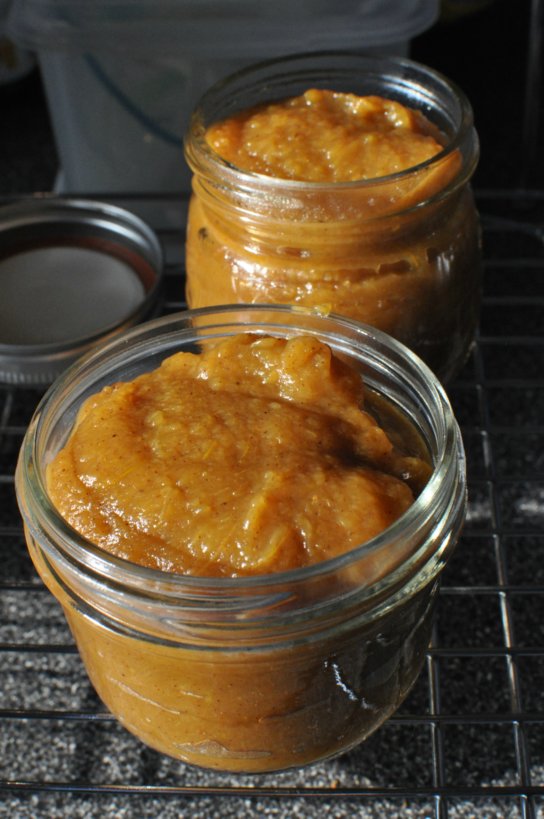
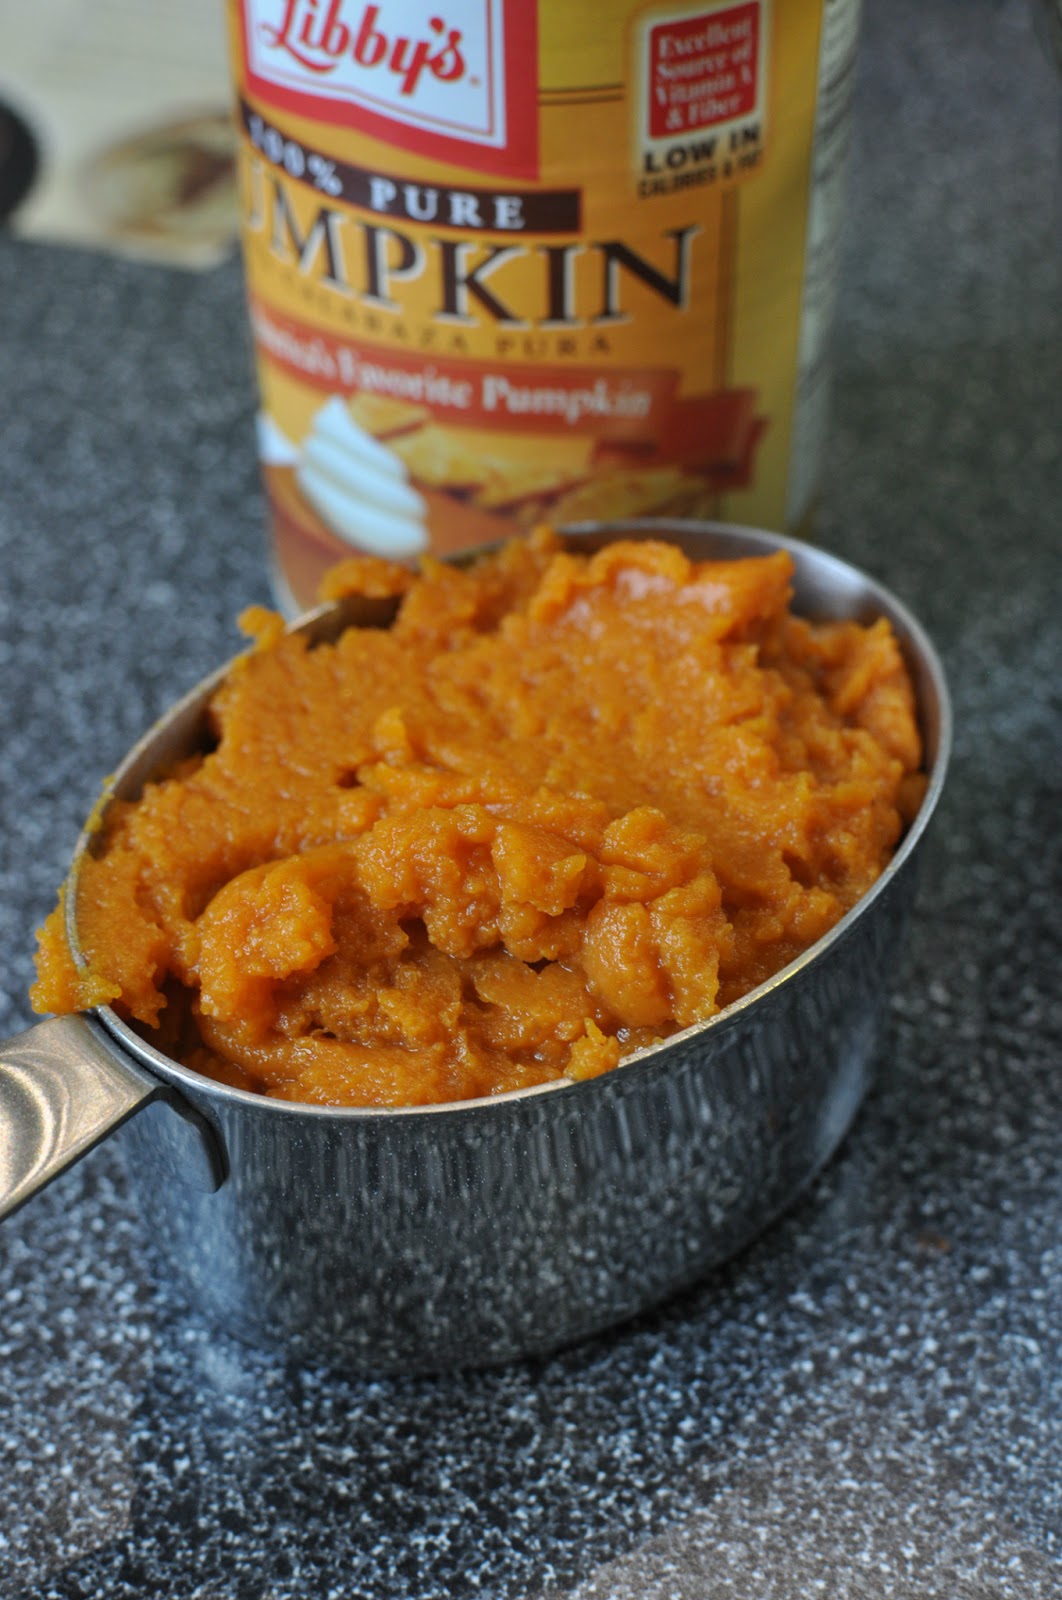
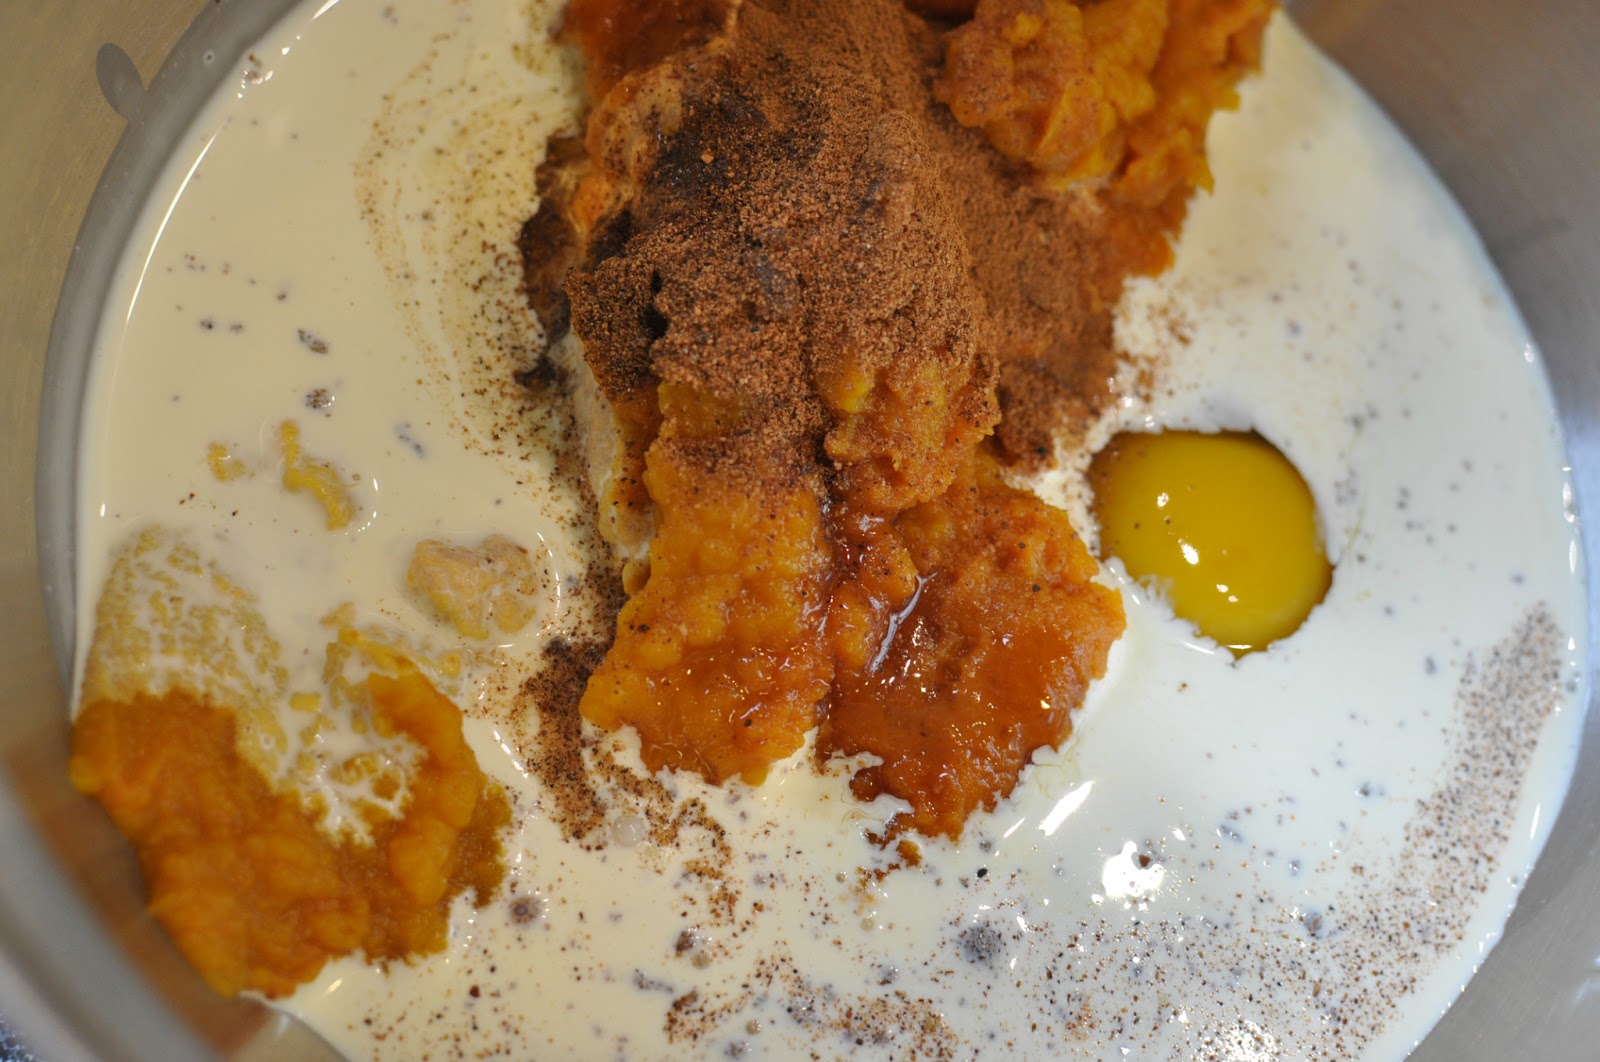
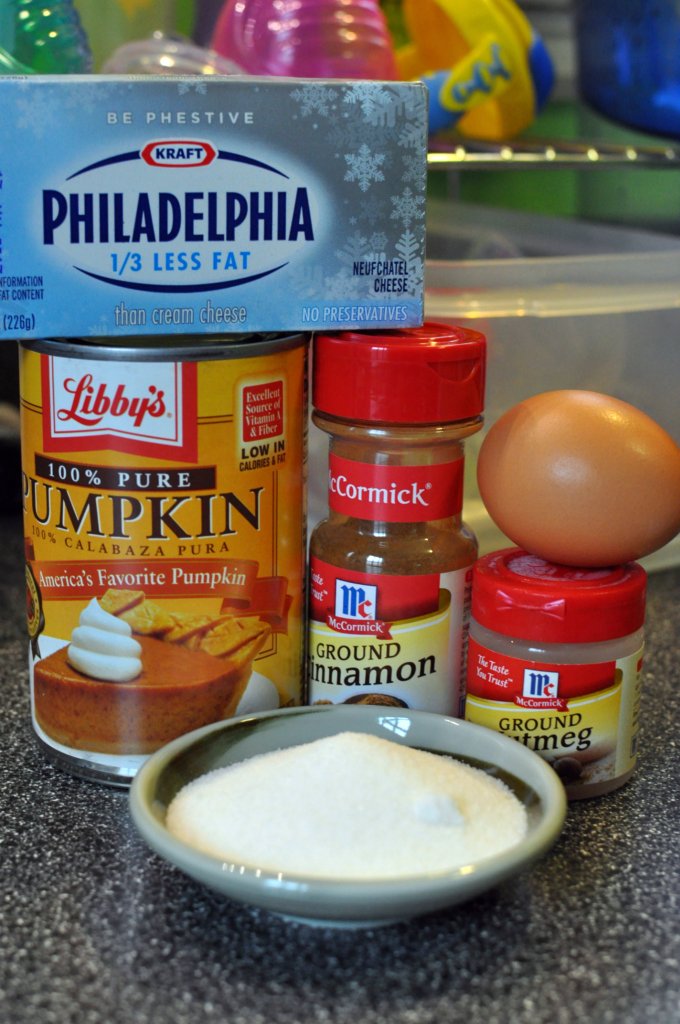
When I am ready to bake banana bread, I simply defrost them in the microwave and then mash them in a glass measuring cup. For this recipe, I combined mashed banana and pumpkin puree to create the 1-1/2 cups needed.


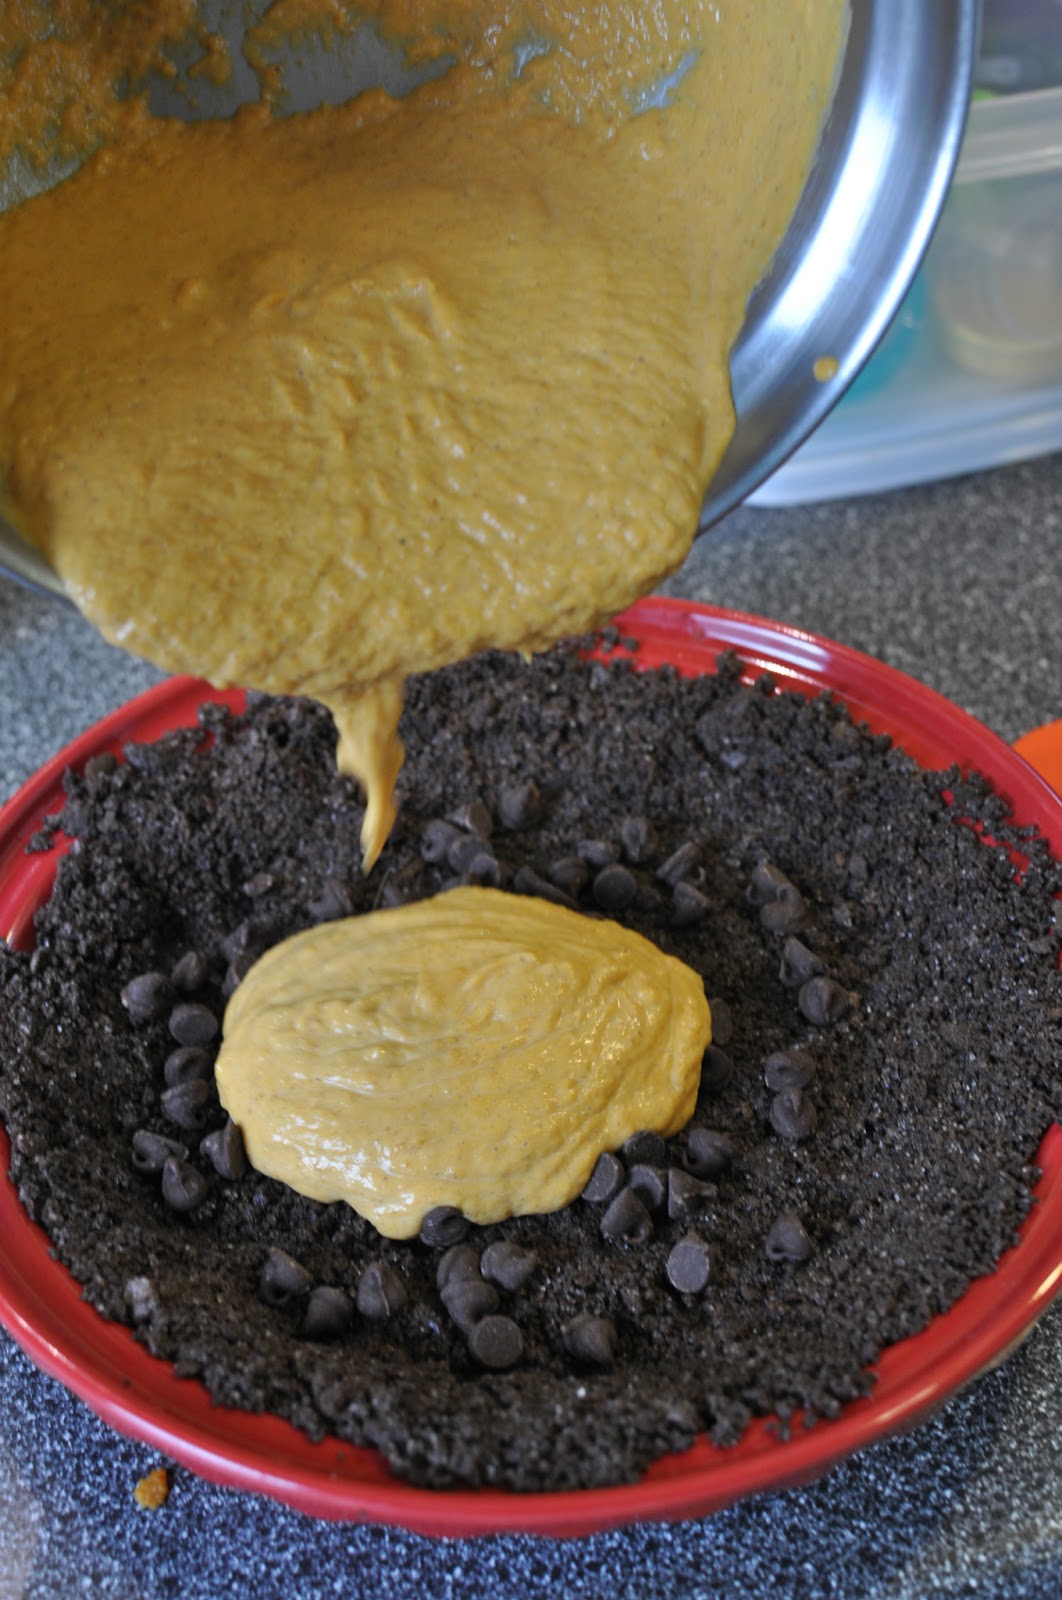
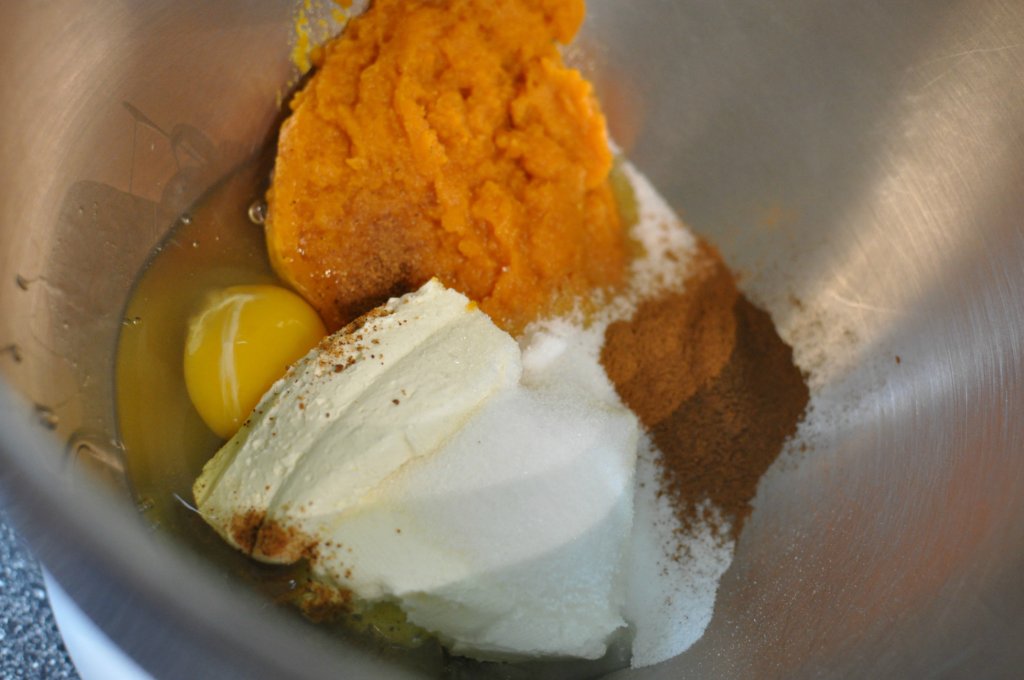
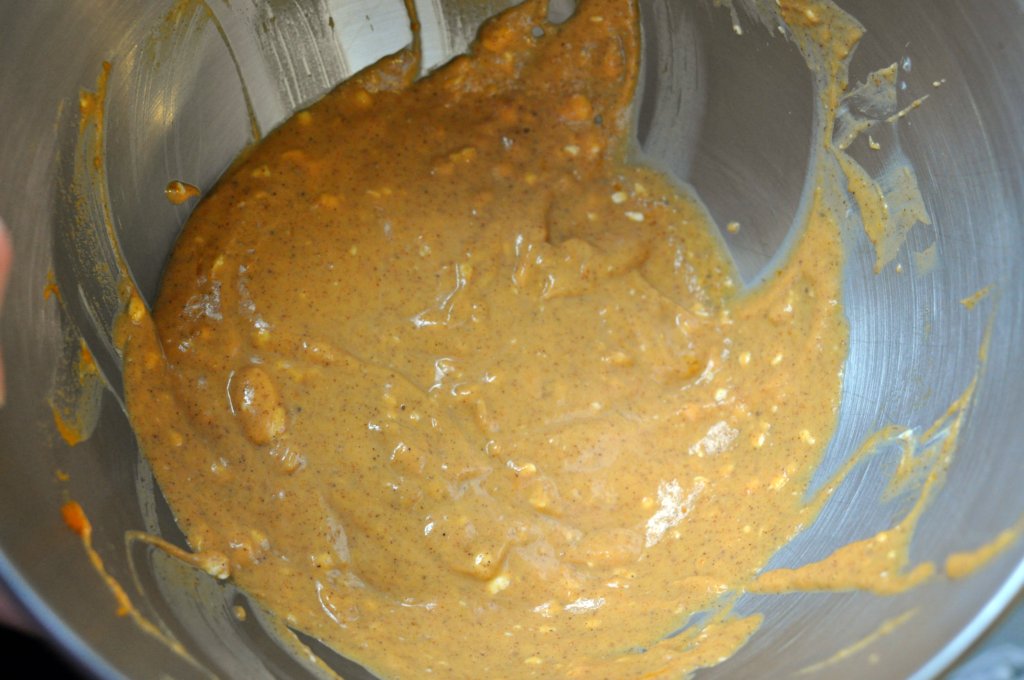
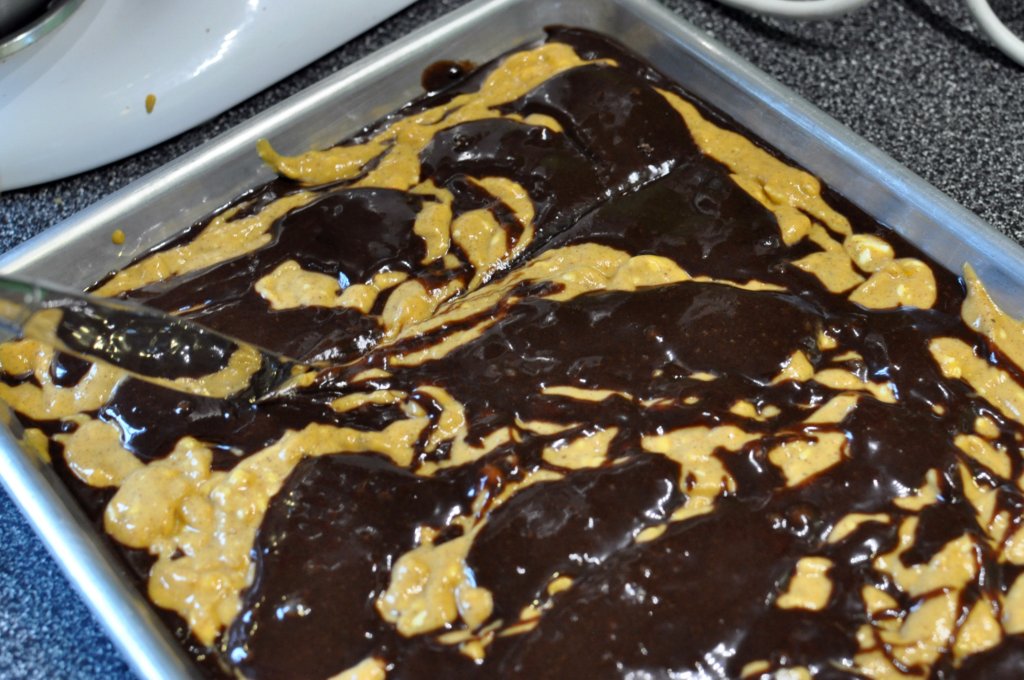
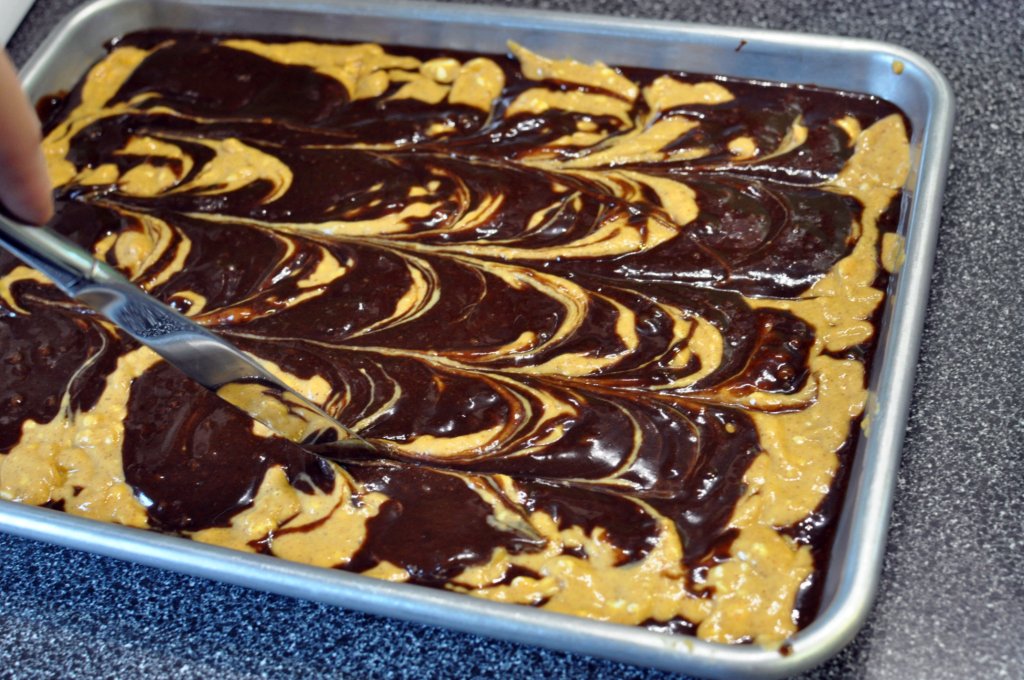
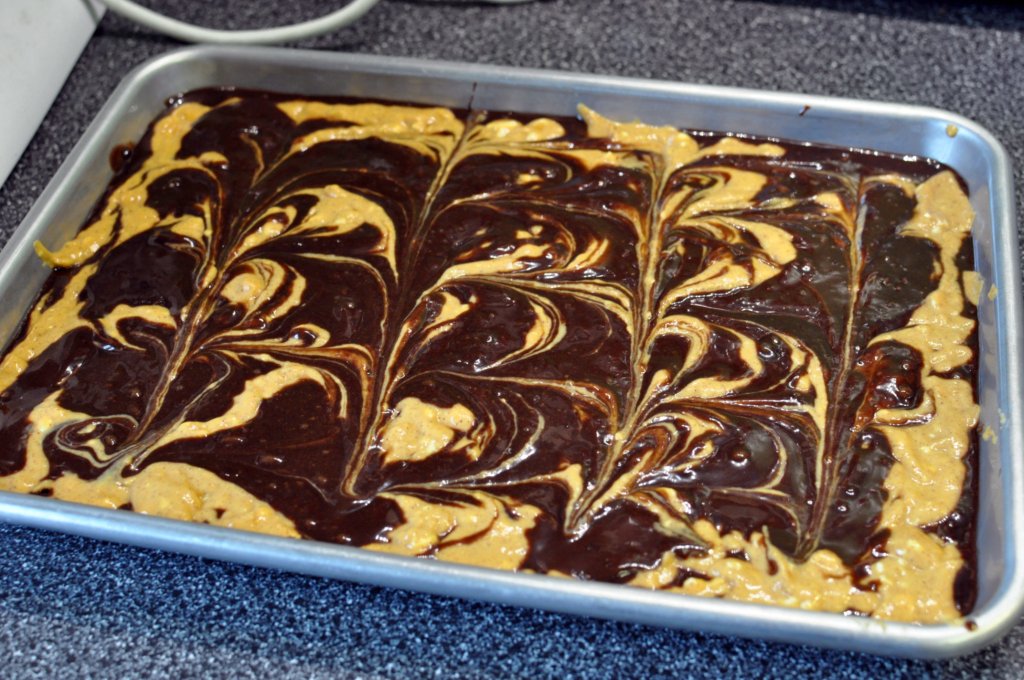
Combine 2 eggs, 1-1/2 cups mashed banana and pumpkin puree, 3/8 cups molasses, 1 cup sugar, 1/2 oil or melted butter. Stir just until moistened. Pour batter into prepared loaf pan.
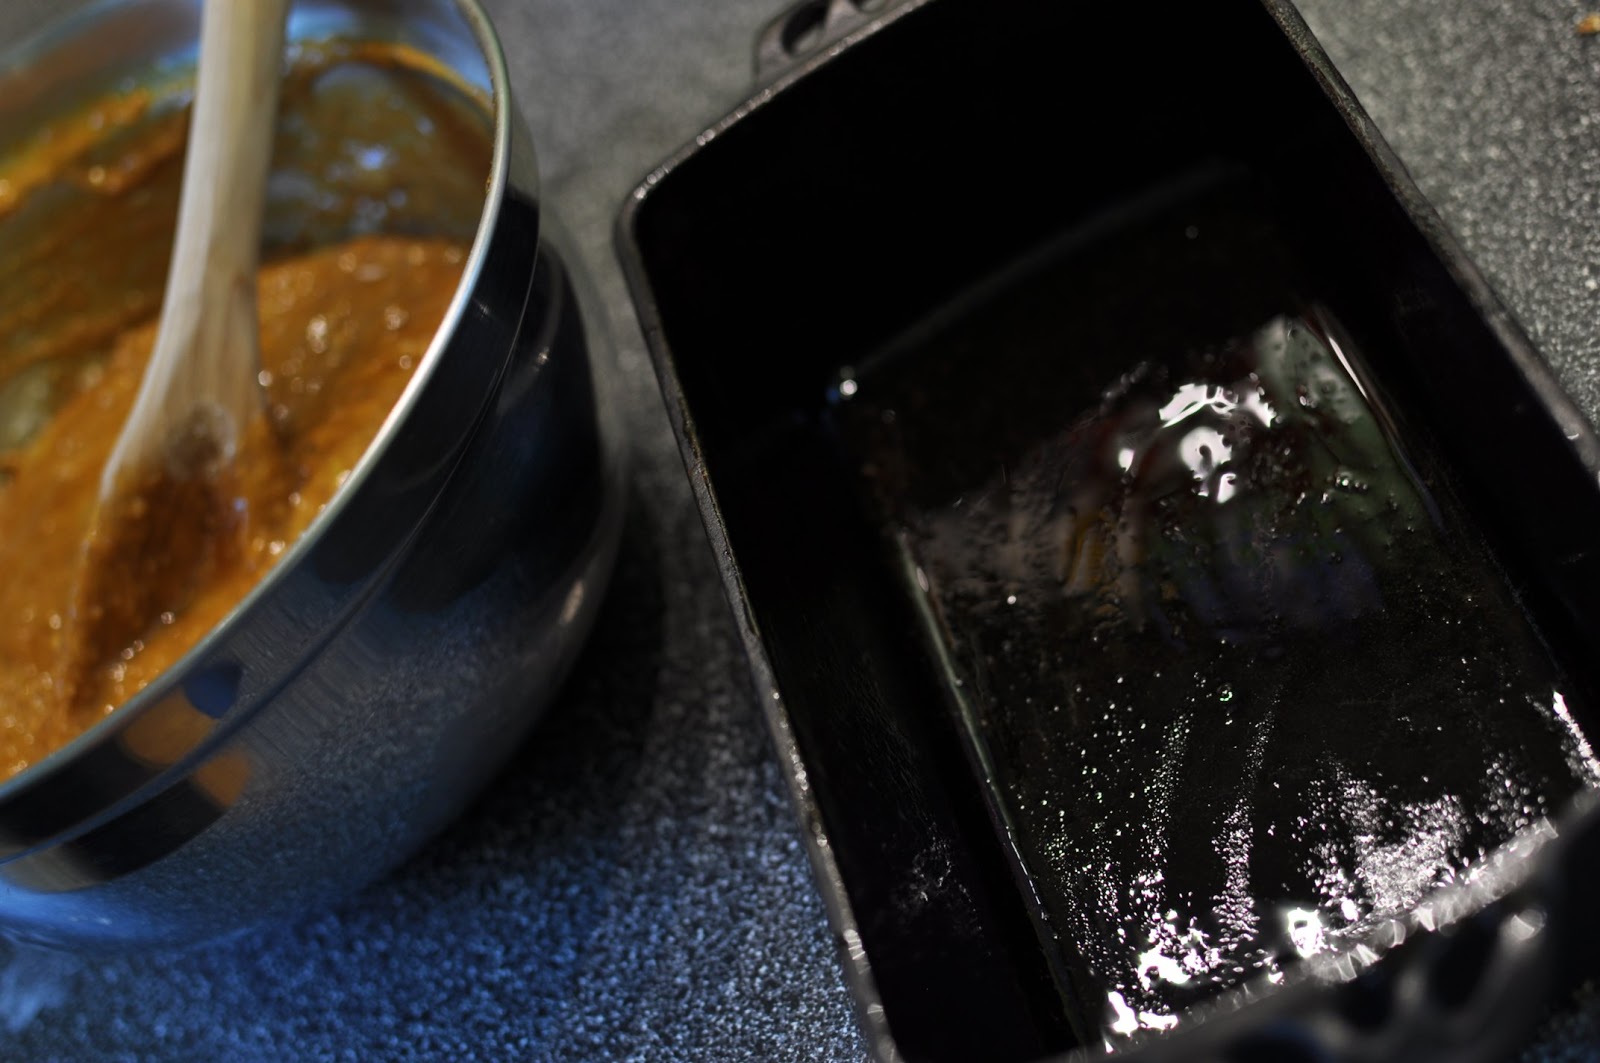
I have a cast iron loaf pan that I use all the time. It is sturdy, cooks foods evenly, and easy to remove baked goods because it stays greased. I highly recommend using one of these pans.

Bake in a 350 degree oven for 60 minutes or until a toothpick inserted in the middle comes out clean. Cool in pan 10 minutes, then remove to cool on wire rack.

Enjoy, I am off to work on some more lesson ideas, but before I do that, I have something fun for you to try. It’s a creative website called Mr. Picassohead where you can create your own drawing in the style of Pablo Picasso. I made one called Winking Beauty.
Banana Pumpkin Bread – courtesy of my sister, tweaked a little
1. Grease a loaf pan. Combine 2 cups whole wheat flour, 1 teaspoon baking soda, 1 teaspoon cinnamon, 1/4 cup wheat germ, and 1/8 teaspoon nutmeg in a bowl.
2. Combine 2 eggs, 1-1/2 cups mashed banana and pumpkin puree, 3/8 cups molasses, 1 cup sugar, 1/2 oil or melted butter. Stir just until moistened. Pour batter into prepared loaf pan.
3. Bake in a 350 degree oven for 60 minutes or until a toothpick inserted in the middle comes out clean. Cool in pan 10 minutes, then remove to cool on wire rack.
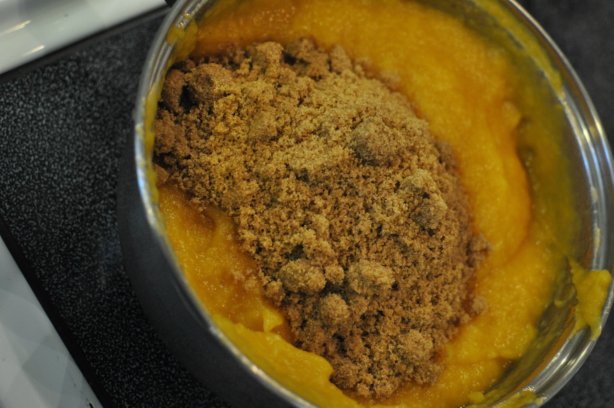
Optional streusel topping: Cut 3 tablespoons butter into 1/3 packed brown sugar. Sprinkle over batter before baking.