For this costume you will need:
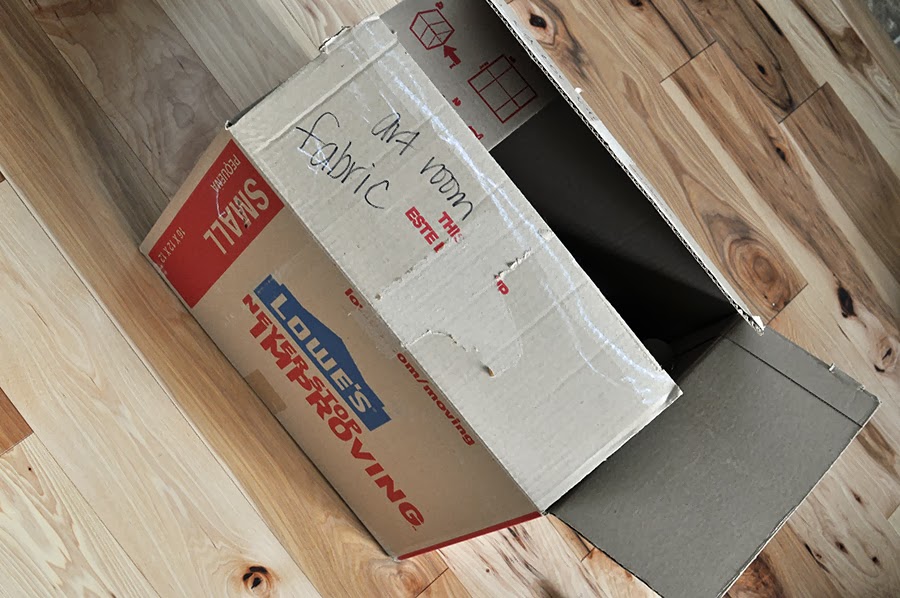
- 1 box or large piece of cardboard
- white packing foam
- 1 pencil
- 1 marker
- scissors
- ruler/straightedge
- hot glue gun & glue
- ribbon
- red felt
- orange, red, or yellow hat
- brown clothing

A piece of newspaper was the perfect size to use as a template for Greta’s small frame. If you want to use a larger piece of cardboard, simply measure and use a straight edge with a right angle to make precise squares.
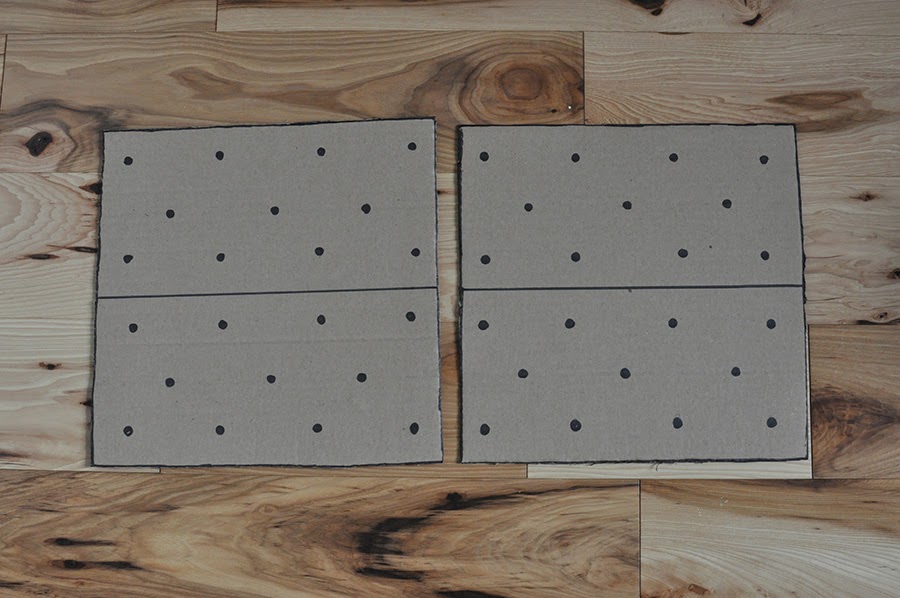
After cutting out two identical squares from cardboard, I drew lines across the middle (only to realize later that they should have been dotted lines) for the sections of the graham crackers. I always draw in pencil first, tracing over with marker later. Then, I made three rows of dots in each section.
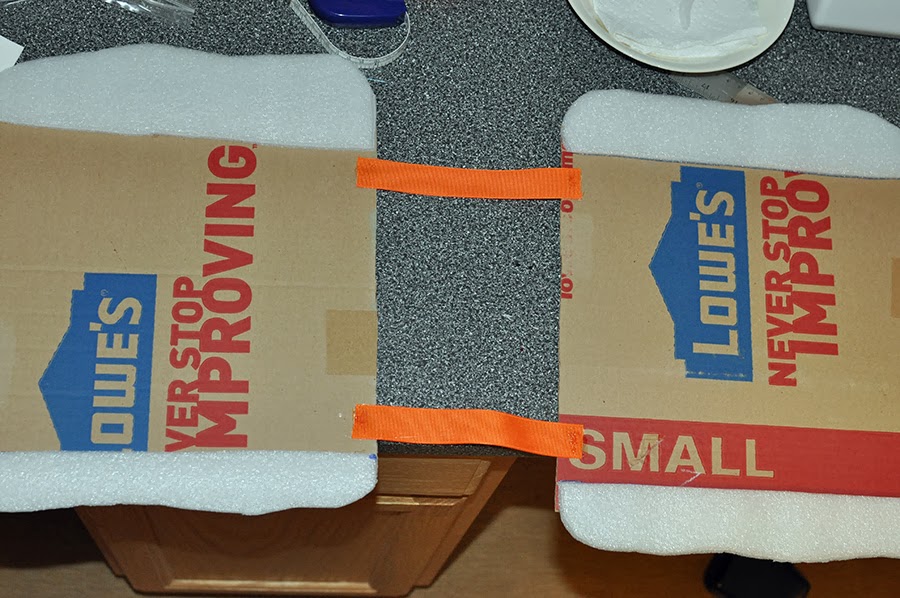
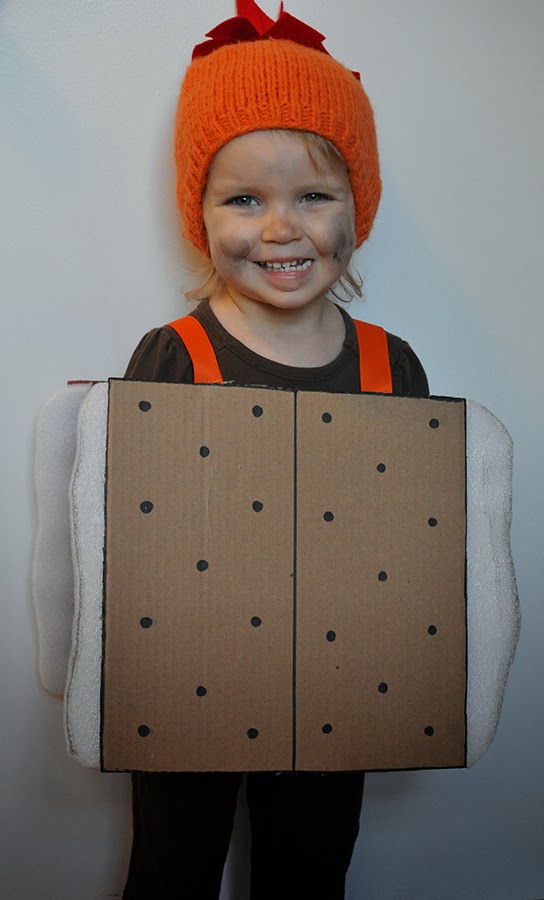
I cut 4 sections of white foam (see above), with one straight edge and one free form, curvy edge. These were hot glued to the sides of the cardboard graham. Next, I measured across G’s chest and over her shoulders to find the best possible placement for the ribbons to hold her grahams. I marked them on the cardboard and glued them with hot glue.
For her flame hat, I took an orange hat and safety pinned one layer of triangles made from red felt. I created a second layer of red triangles on top by hot gluing more triangles on top. See the first photo of this post for a more detailed image. You could also loosely hand stitch the red felt triangles on, I was simply trying to stick with the challenge of a no-sew costume this year.