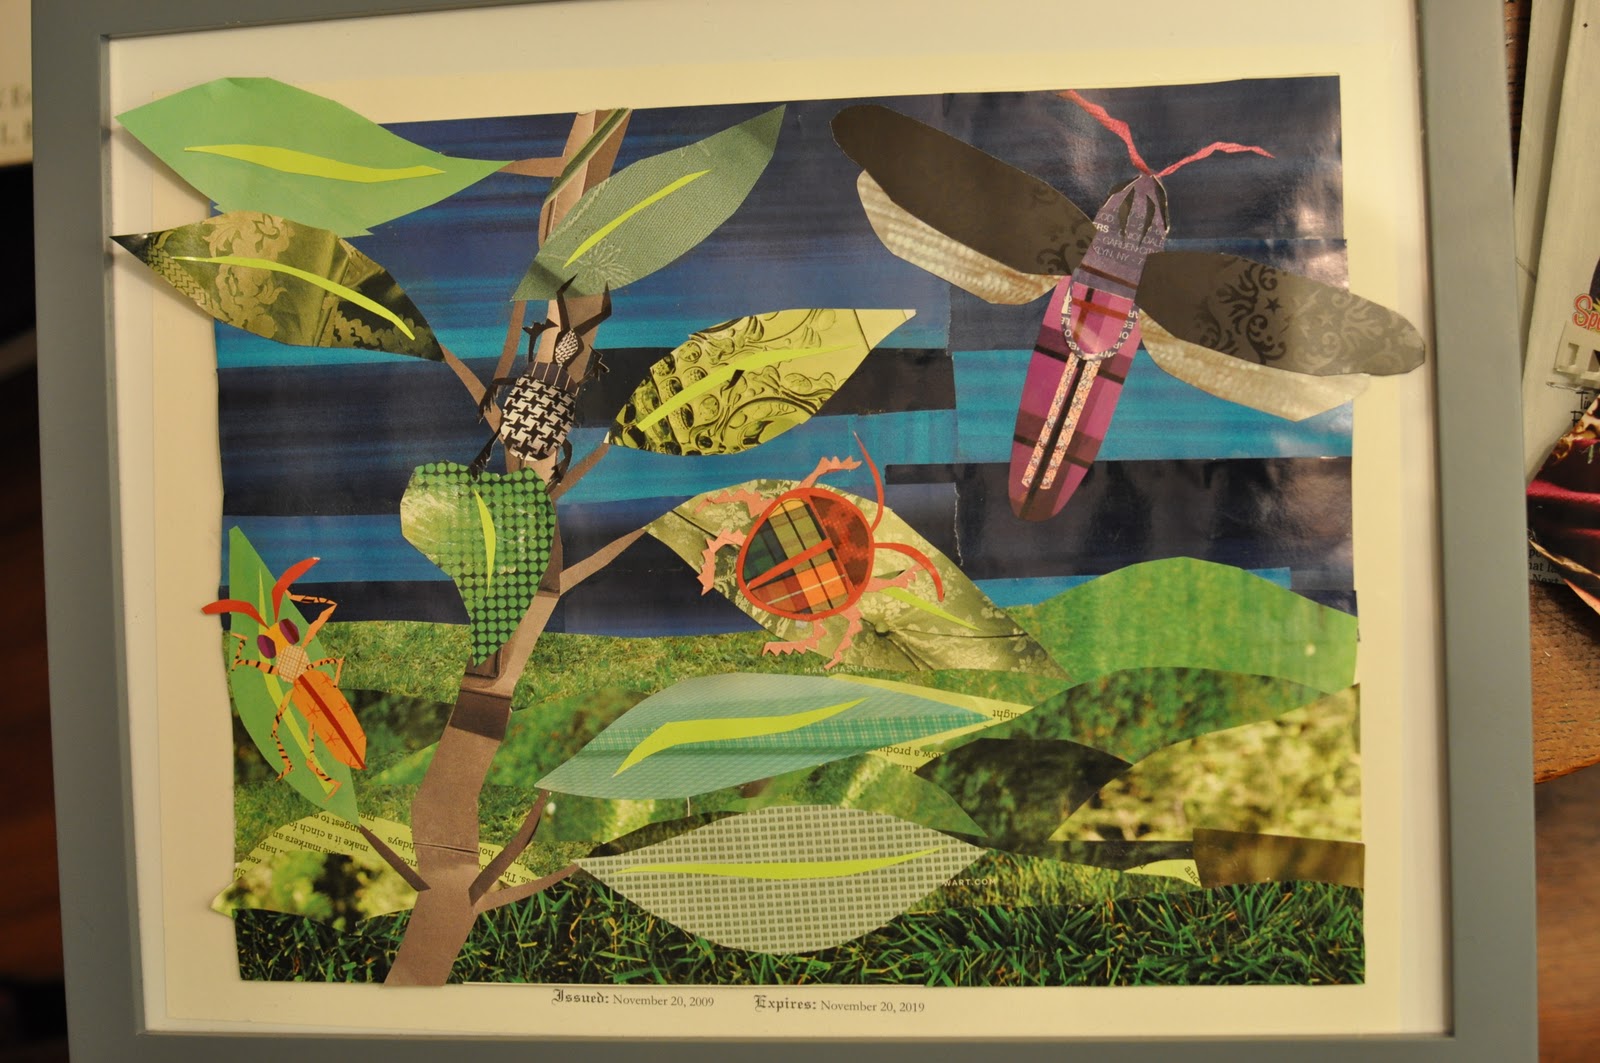
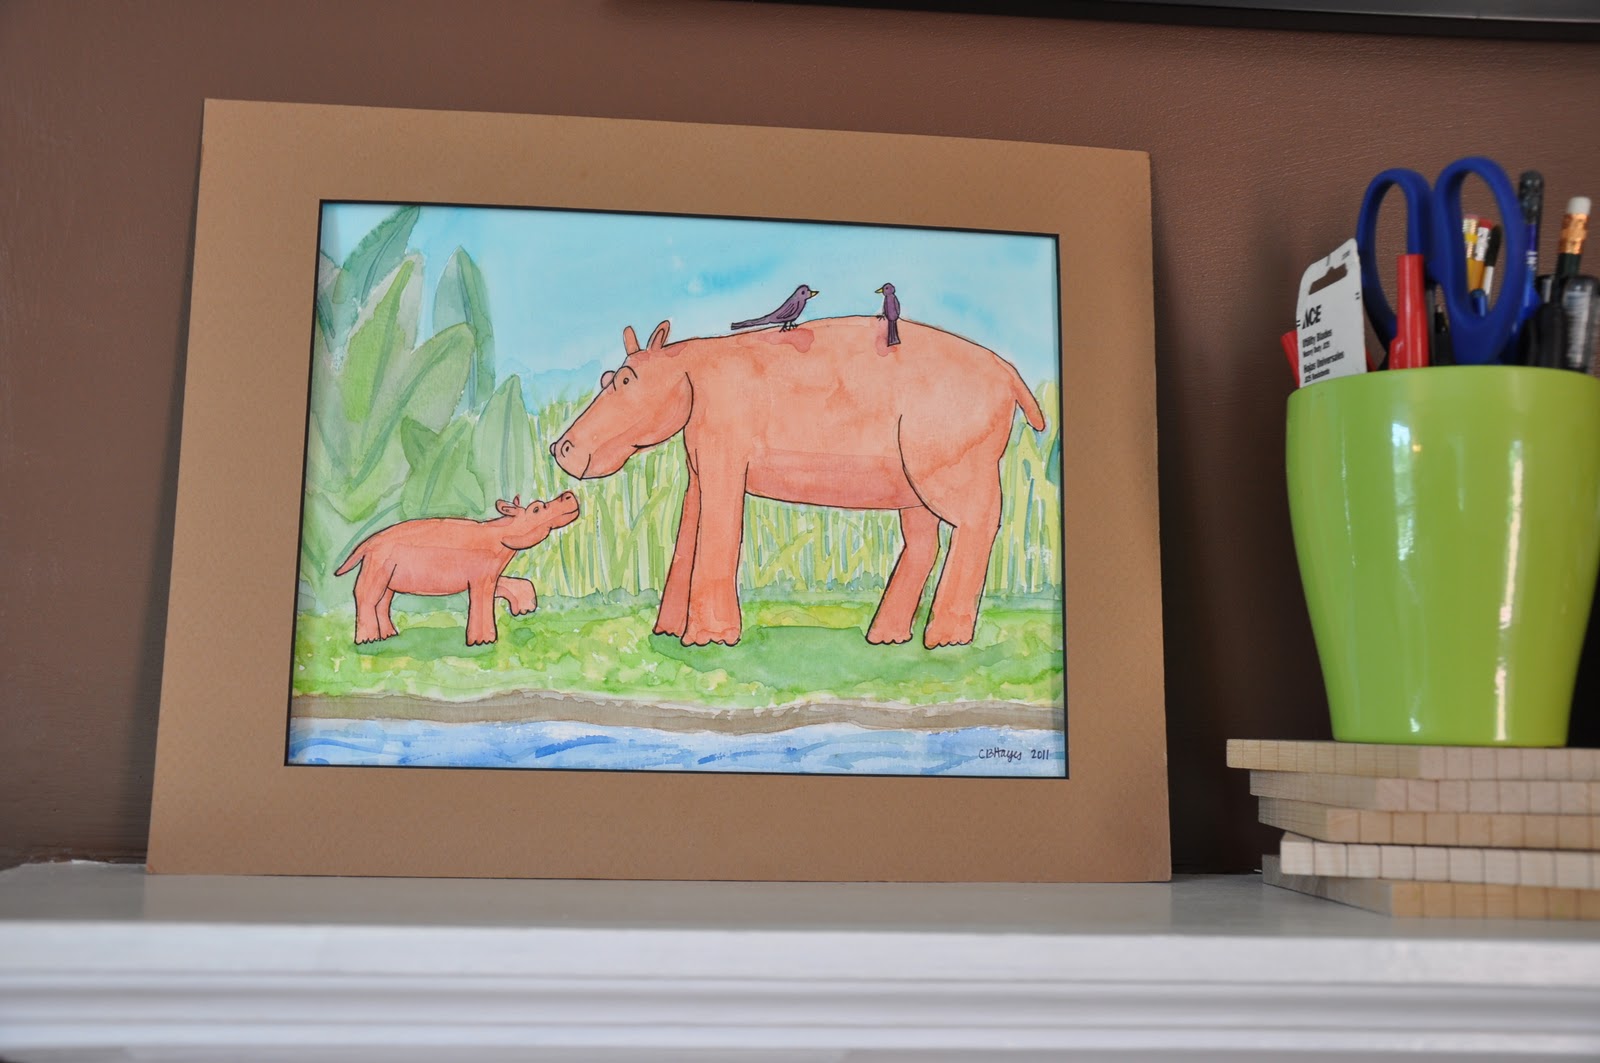
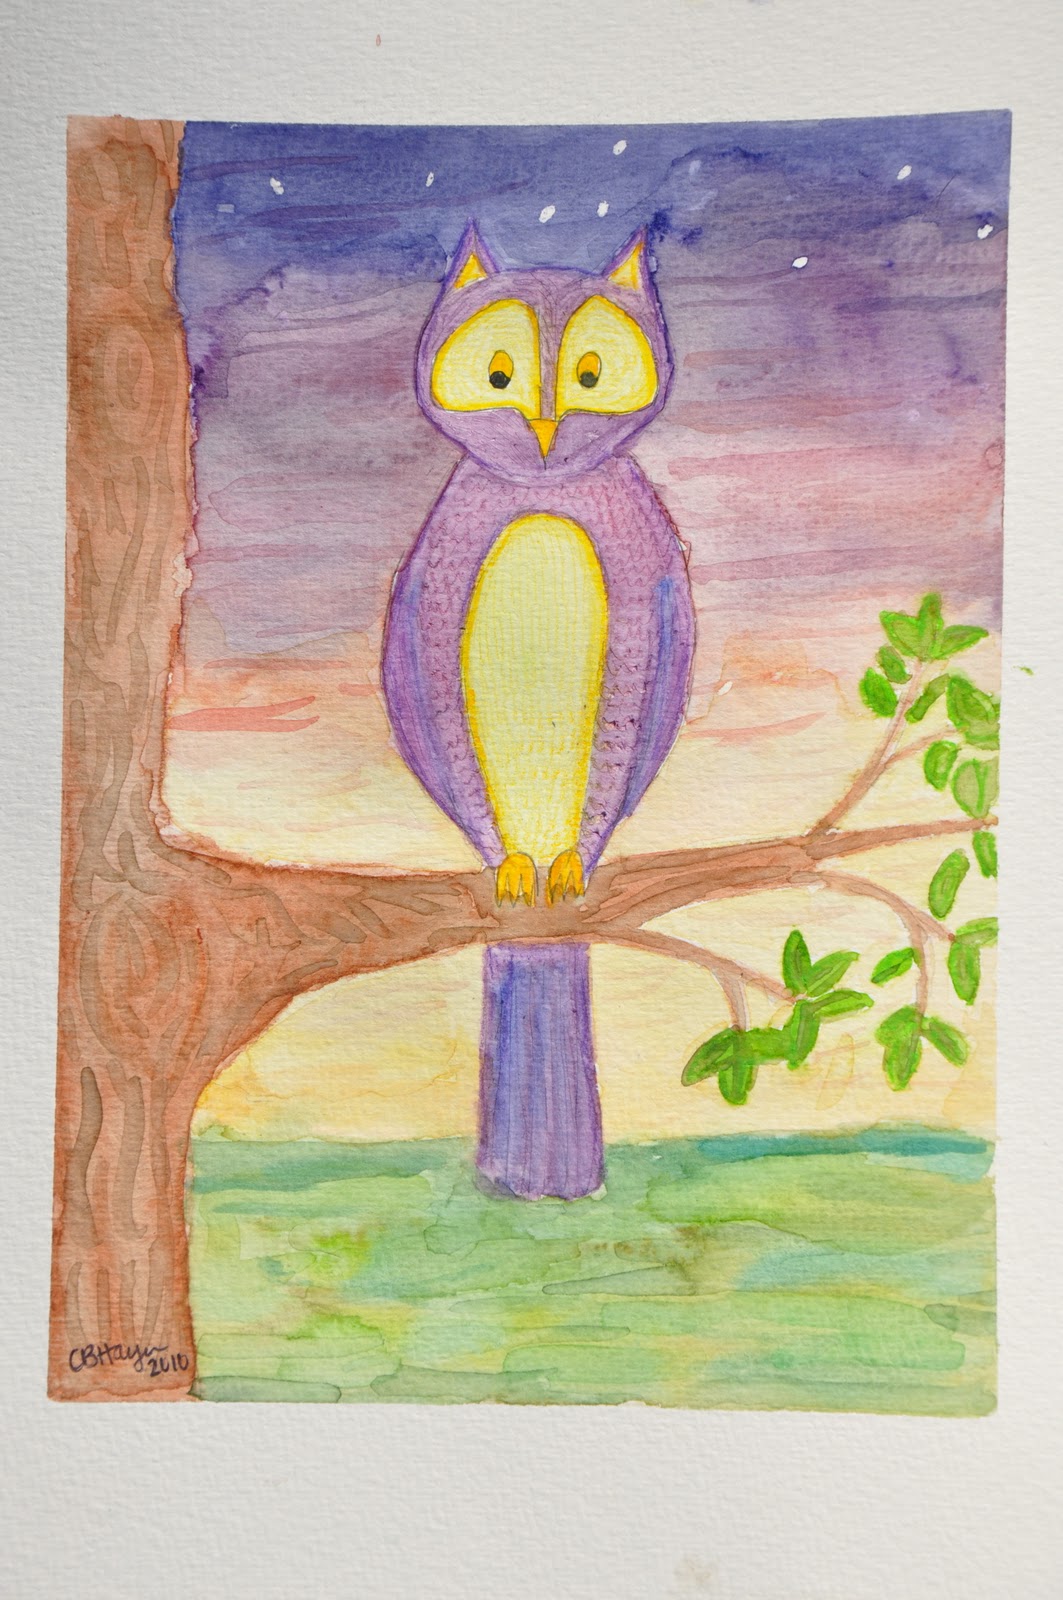
The collage is all finished!
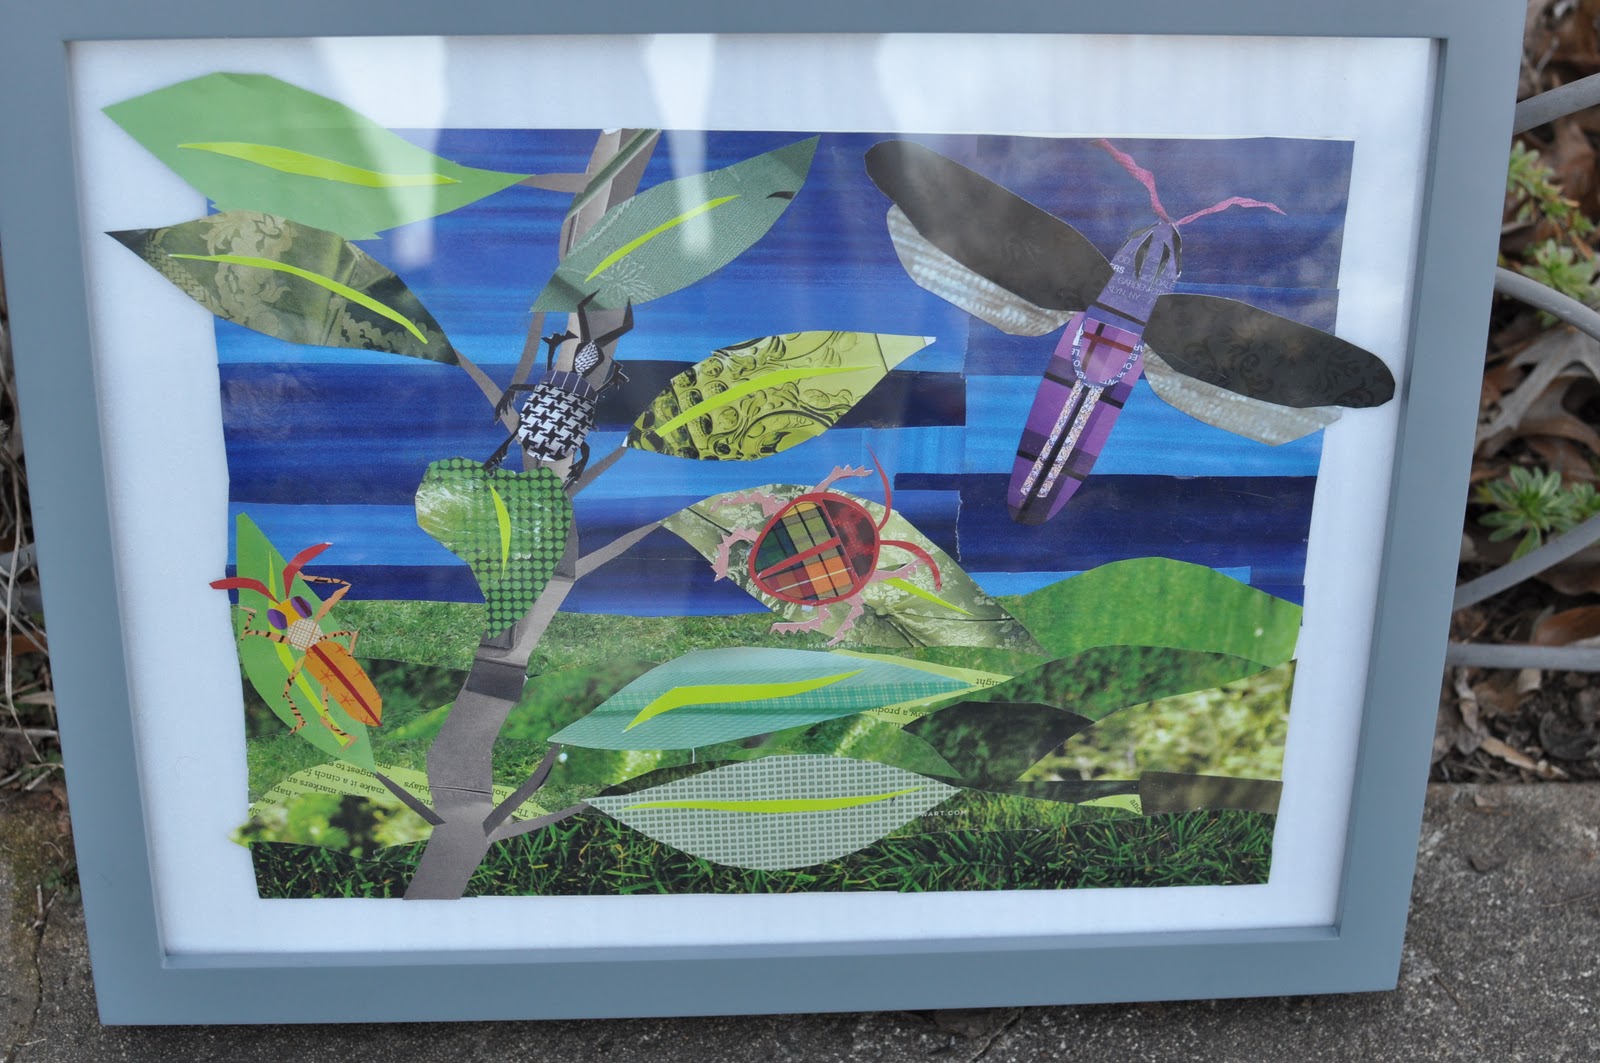
Framed and ready for the art show it will be a part of, starting on Thursday. After that, it will be in Greta’s room.
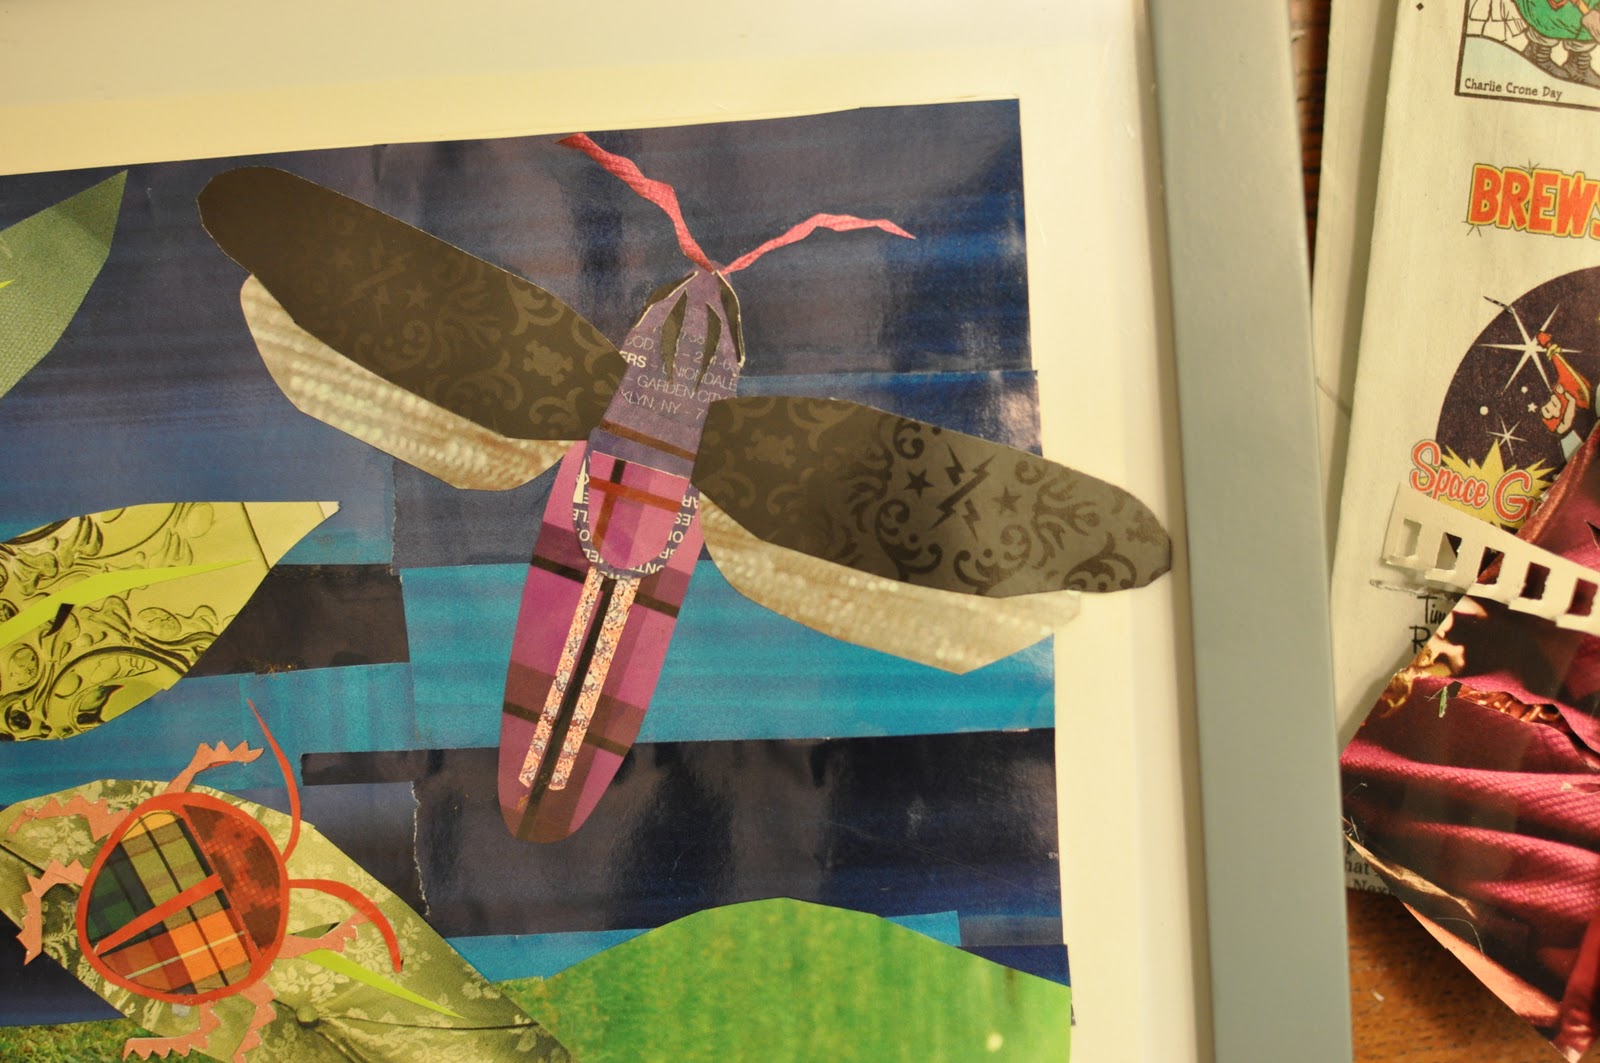
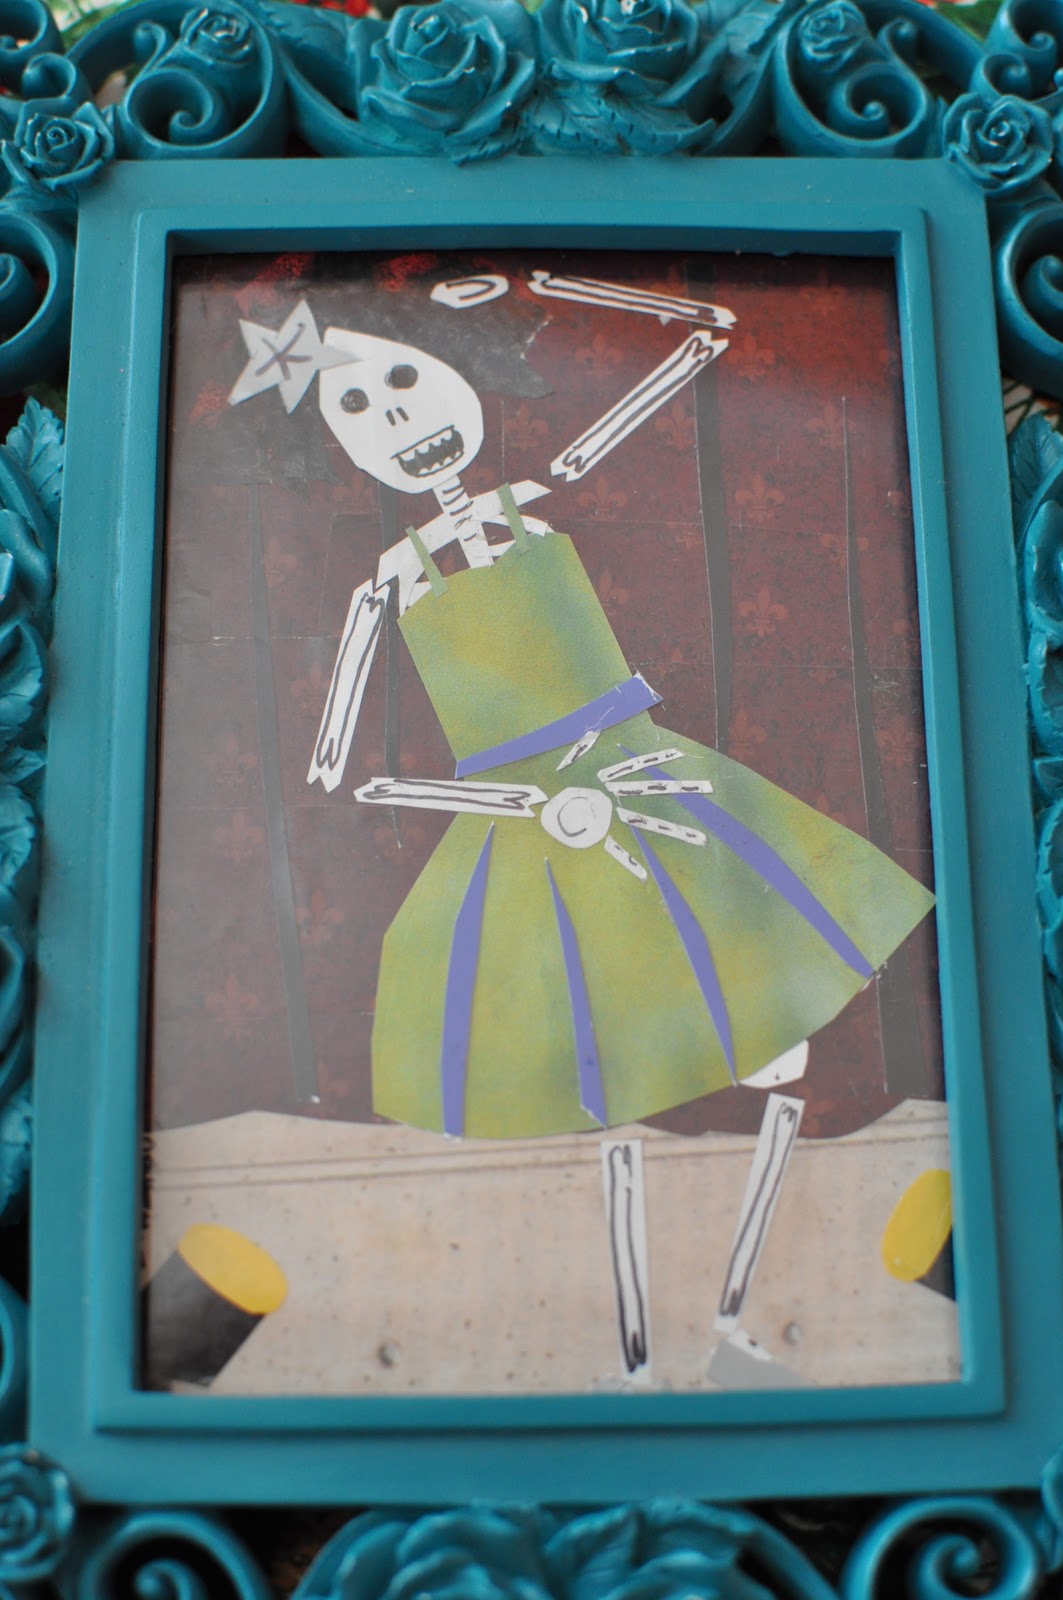
Detail #2.

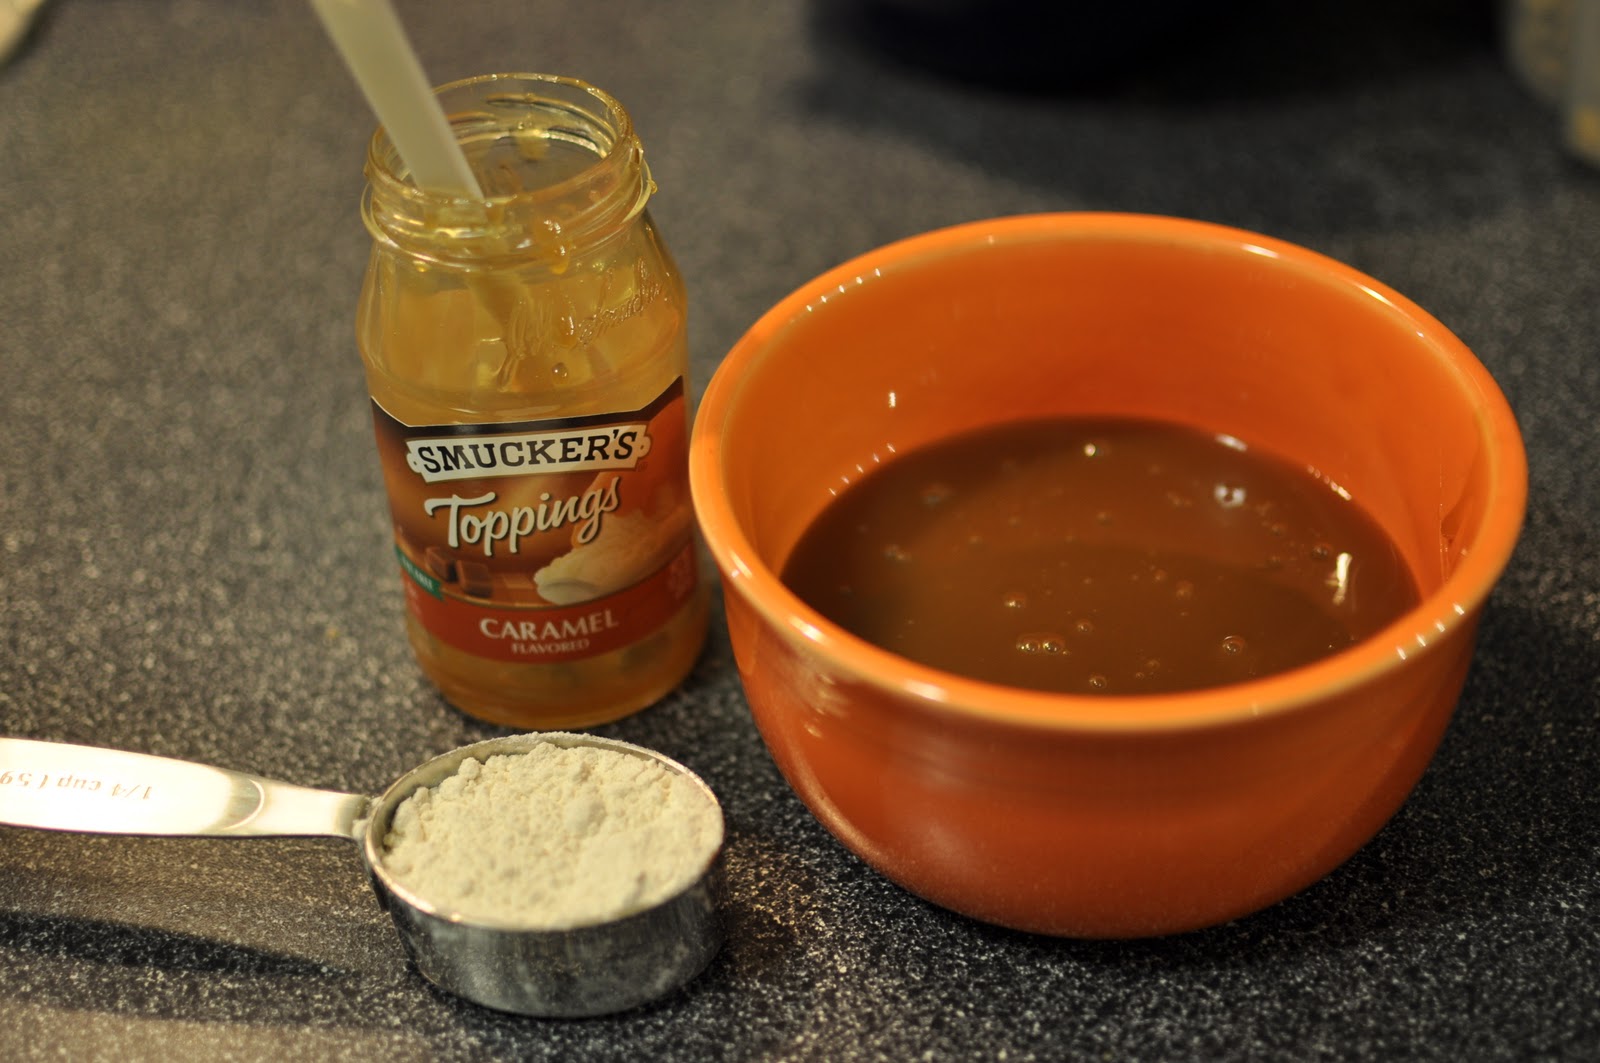
Detail #1.
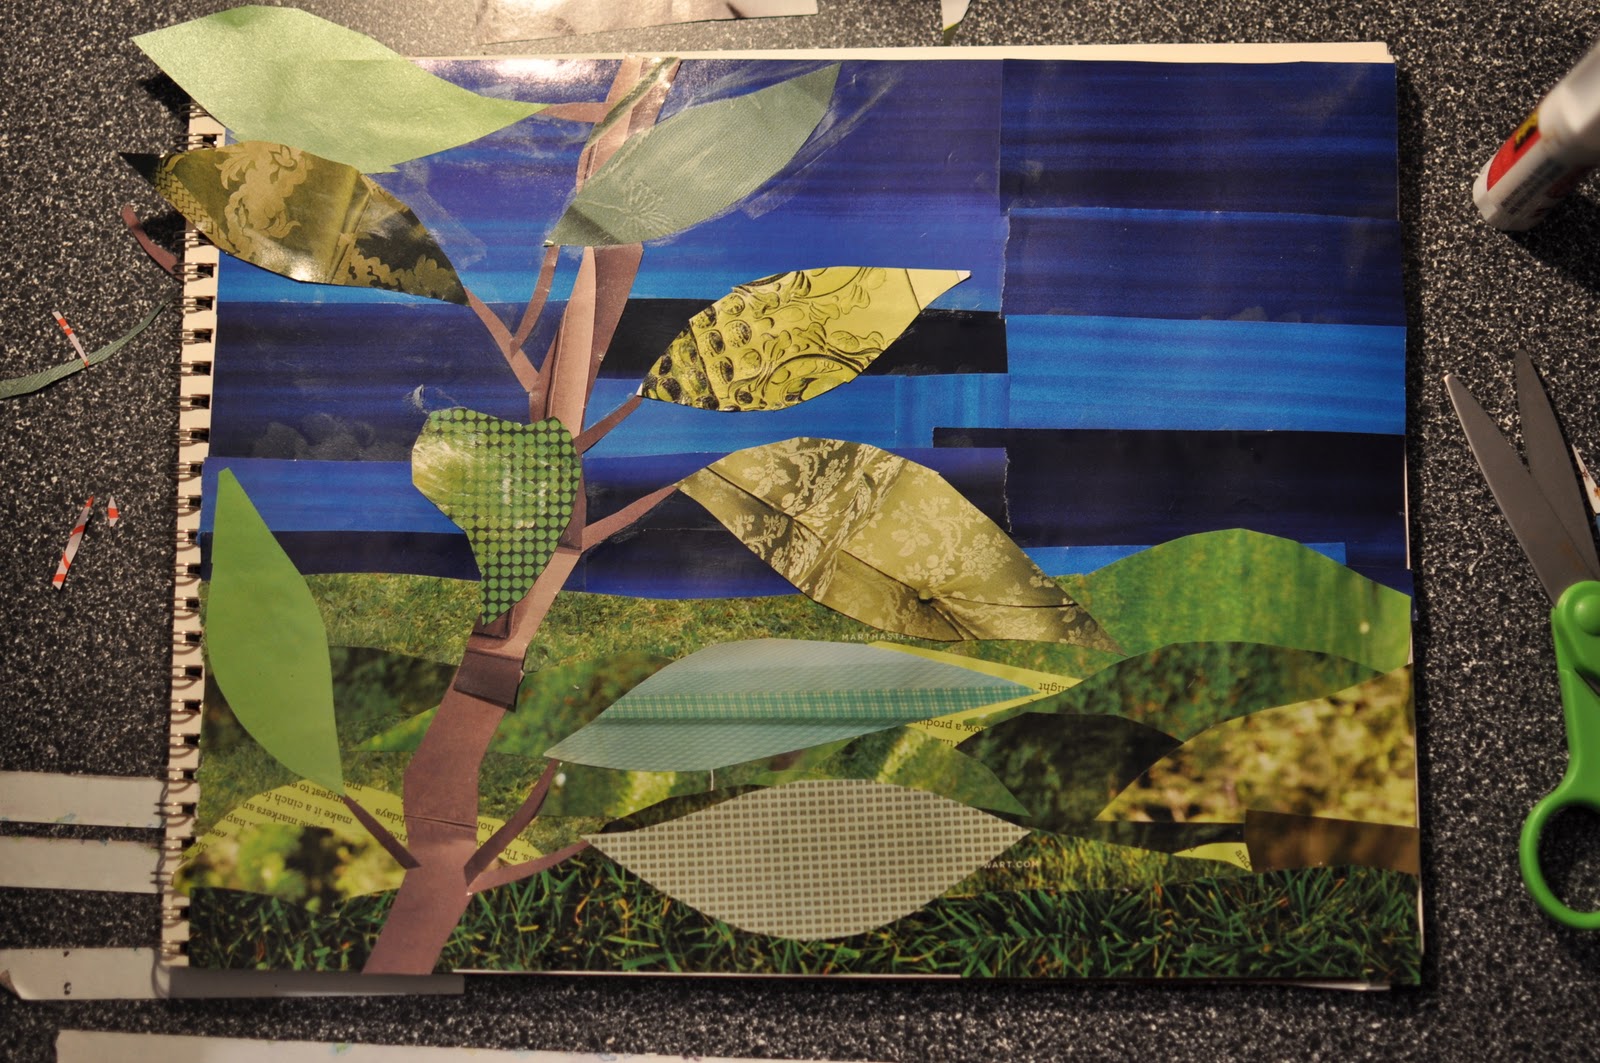
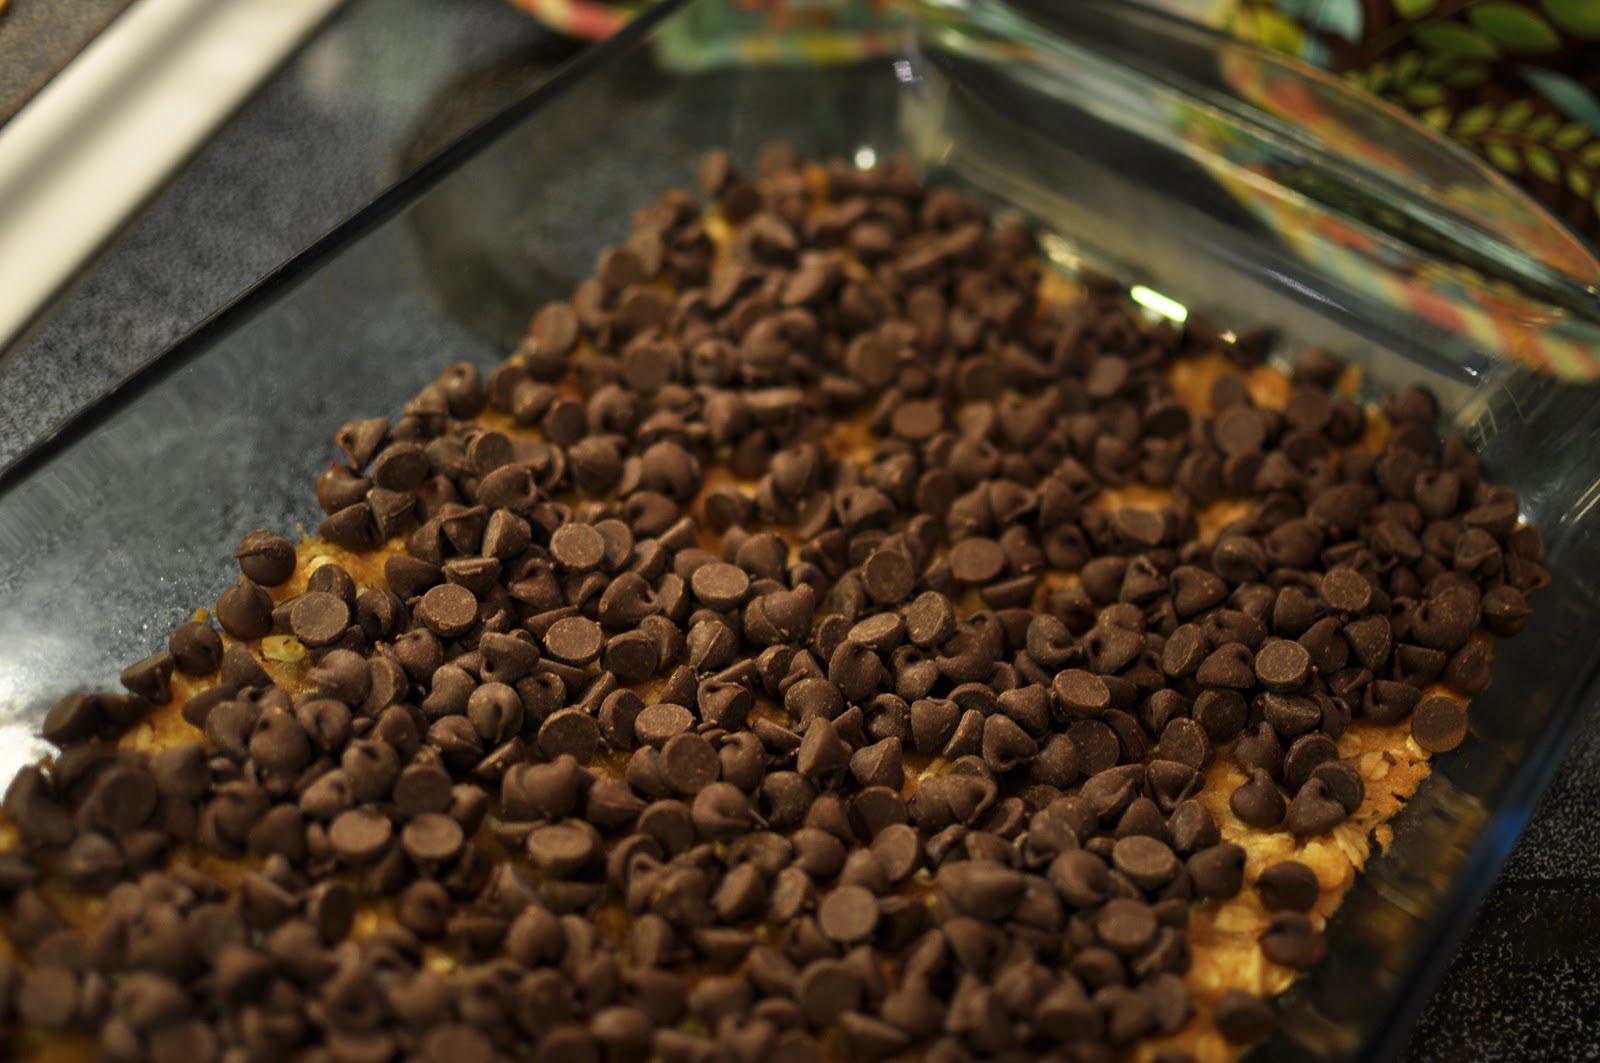
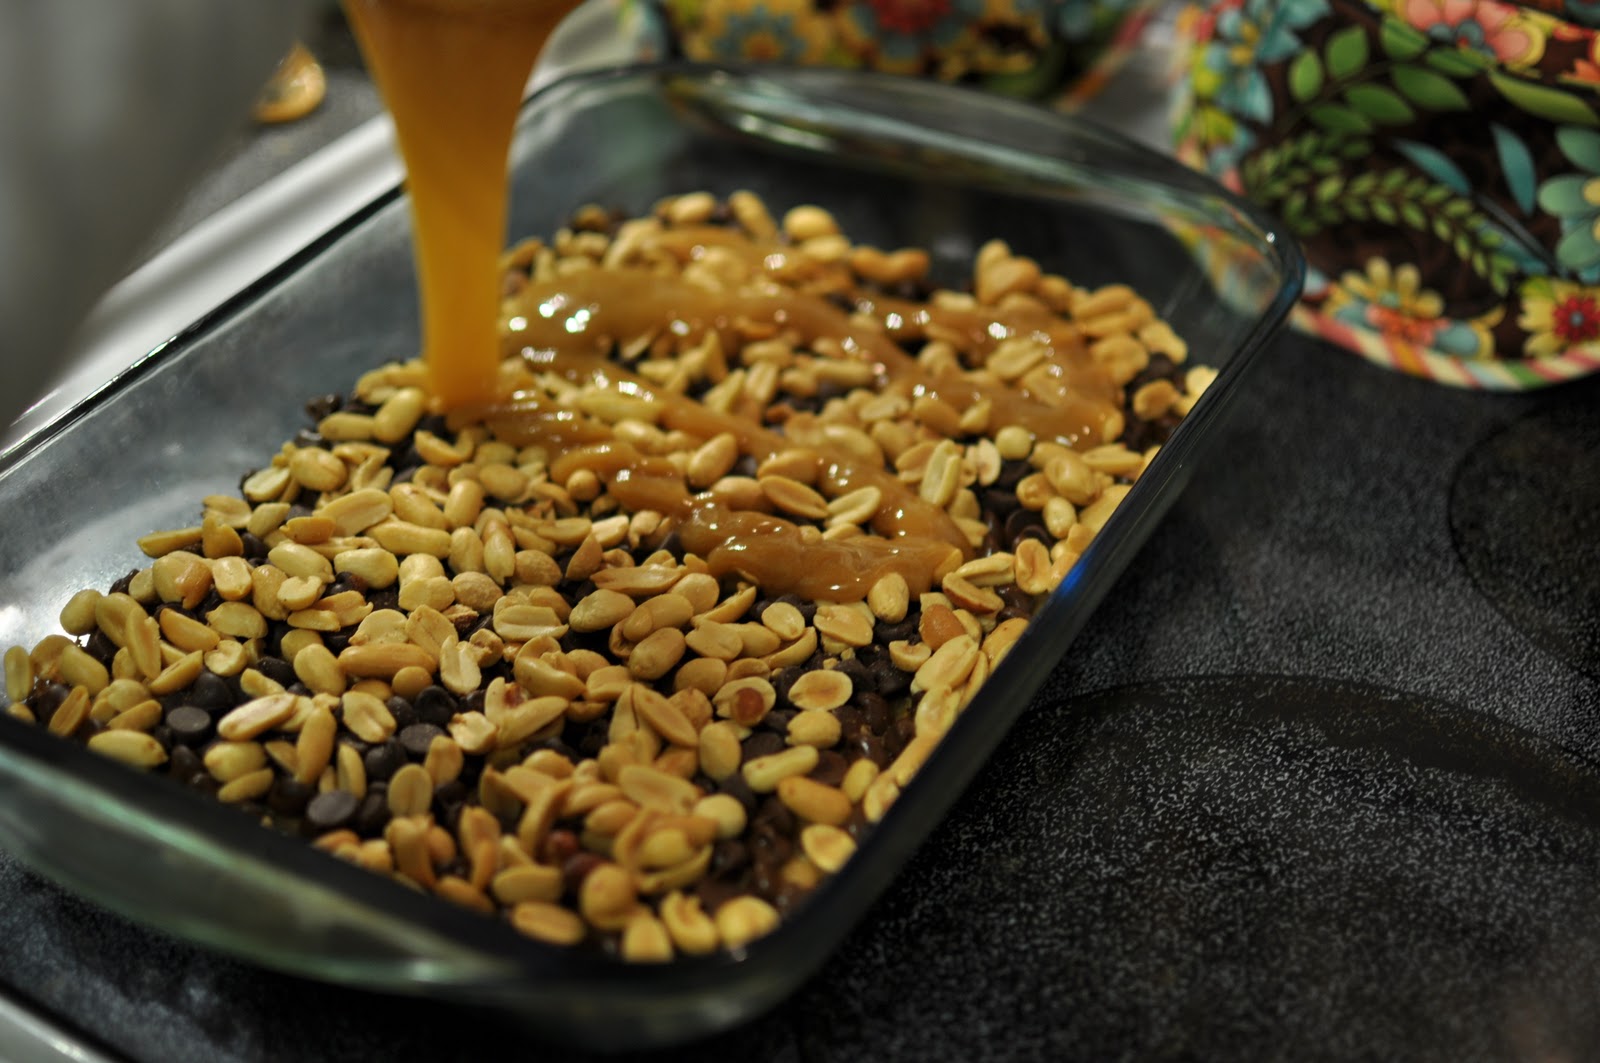
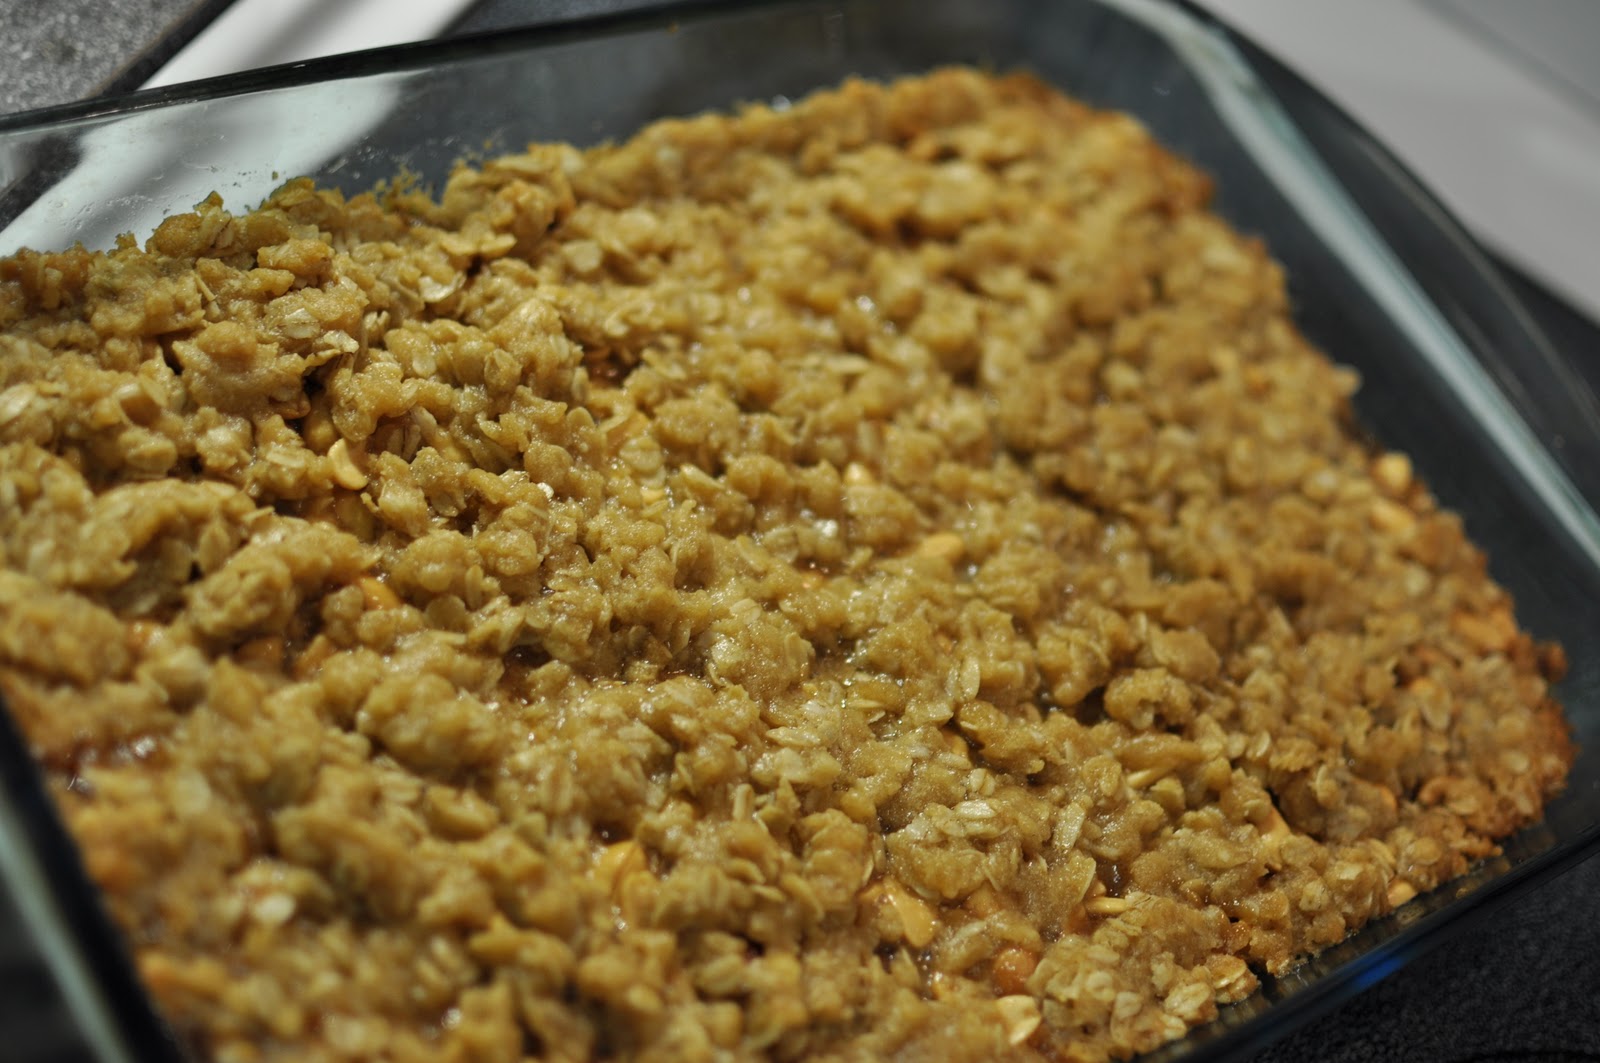
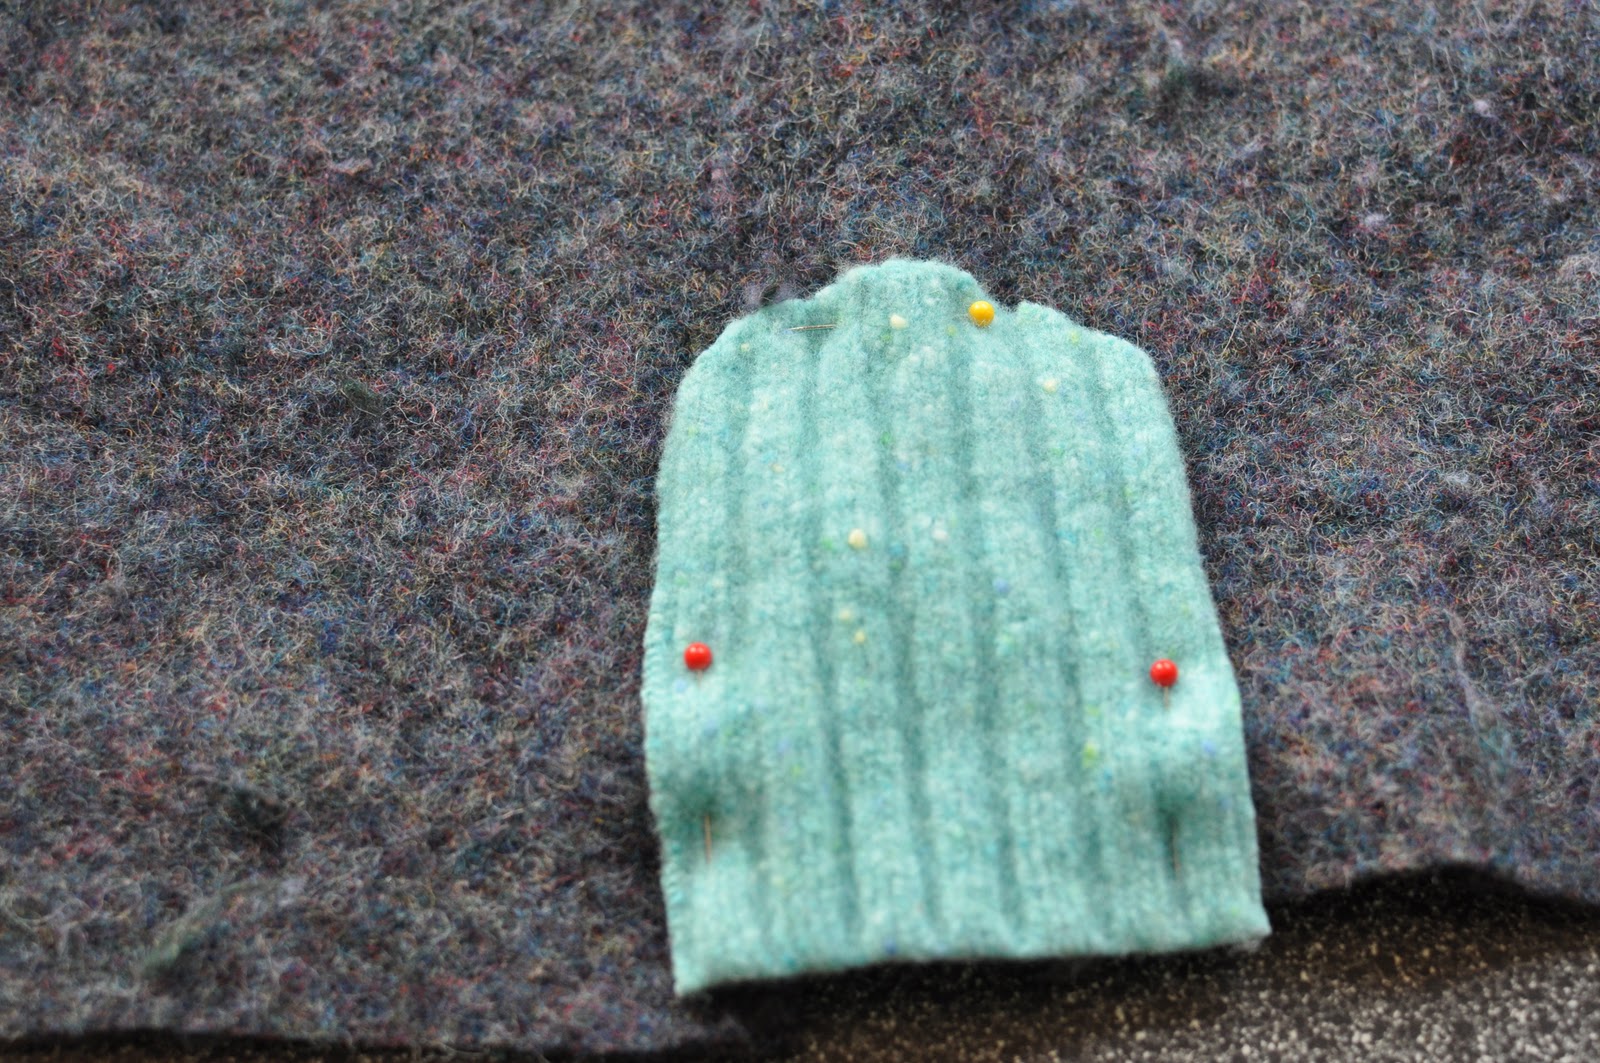
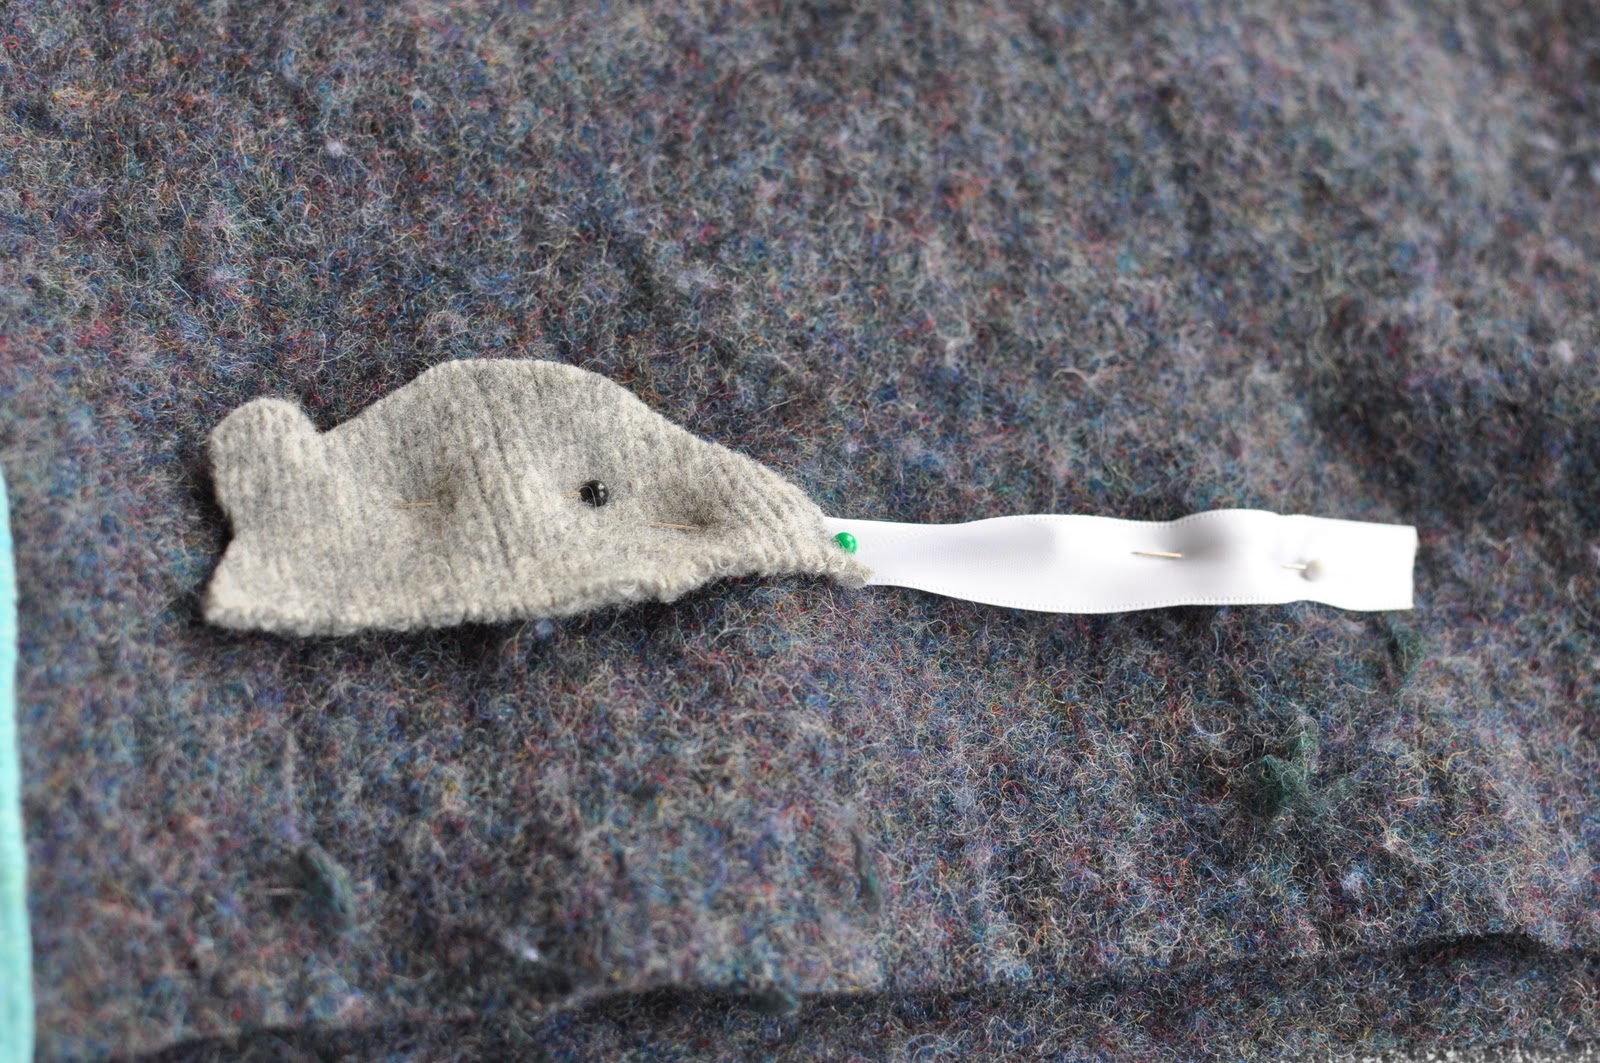
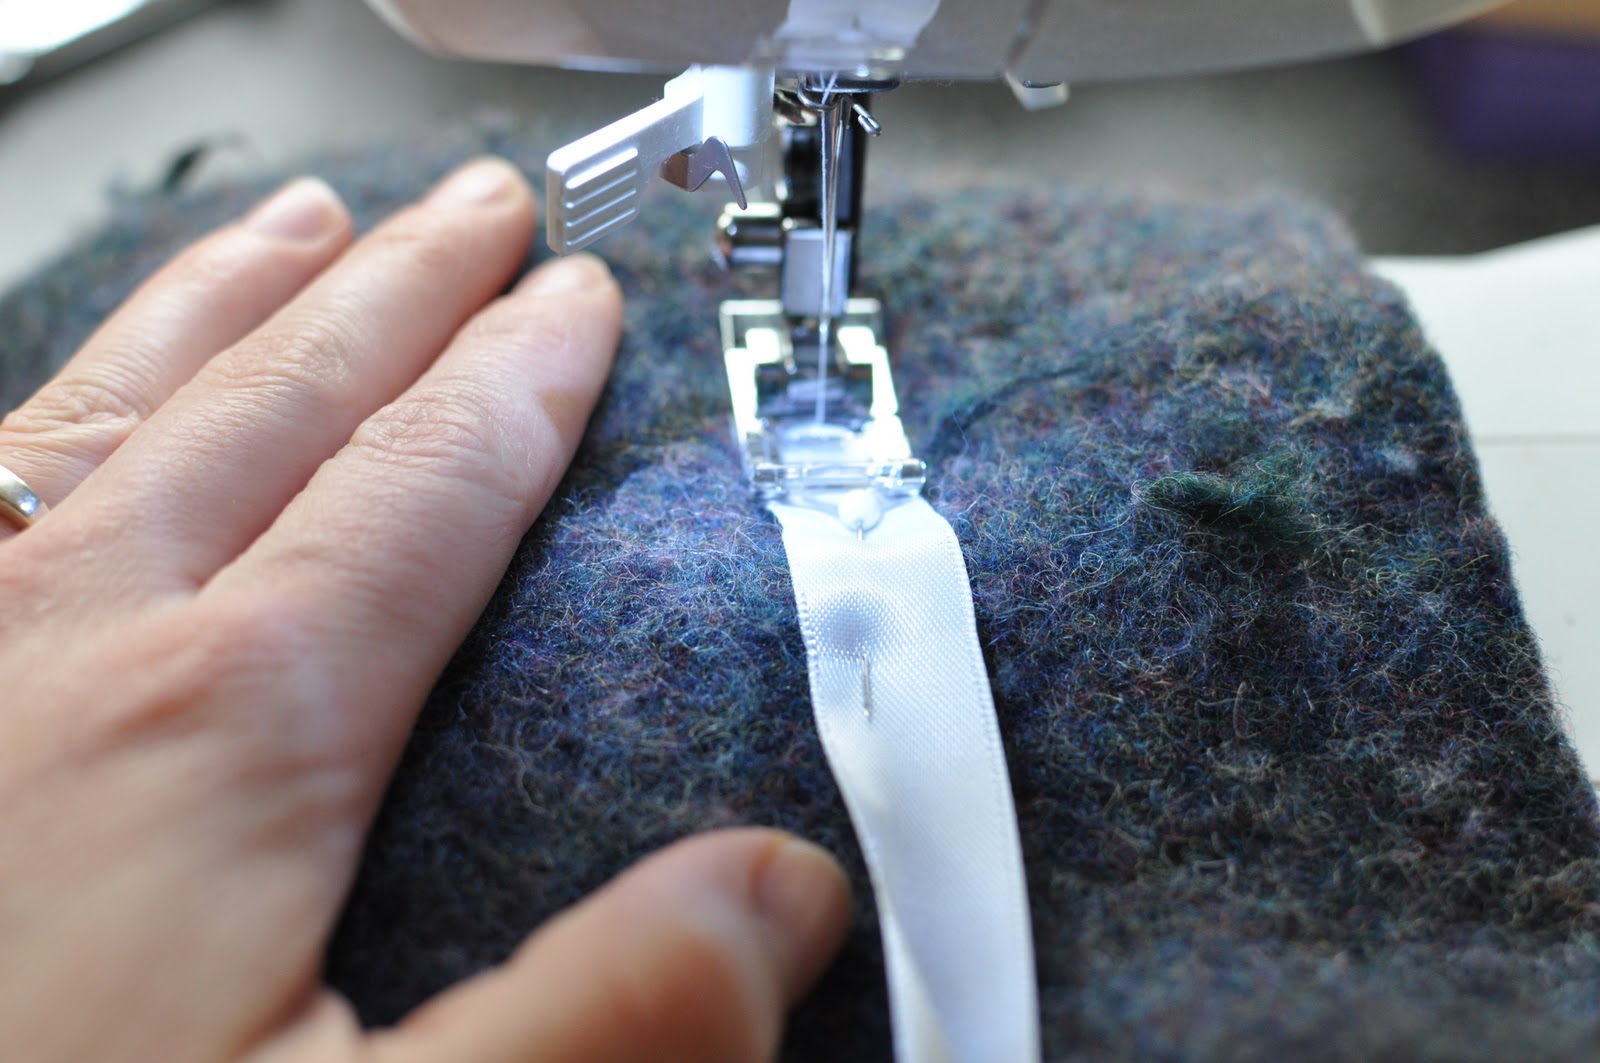
Layer 3.
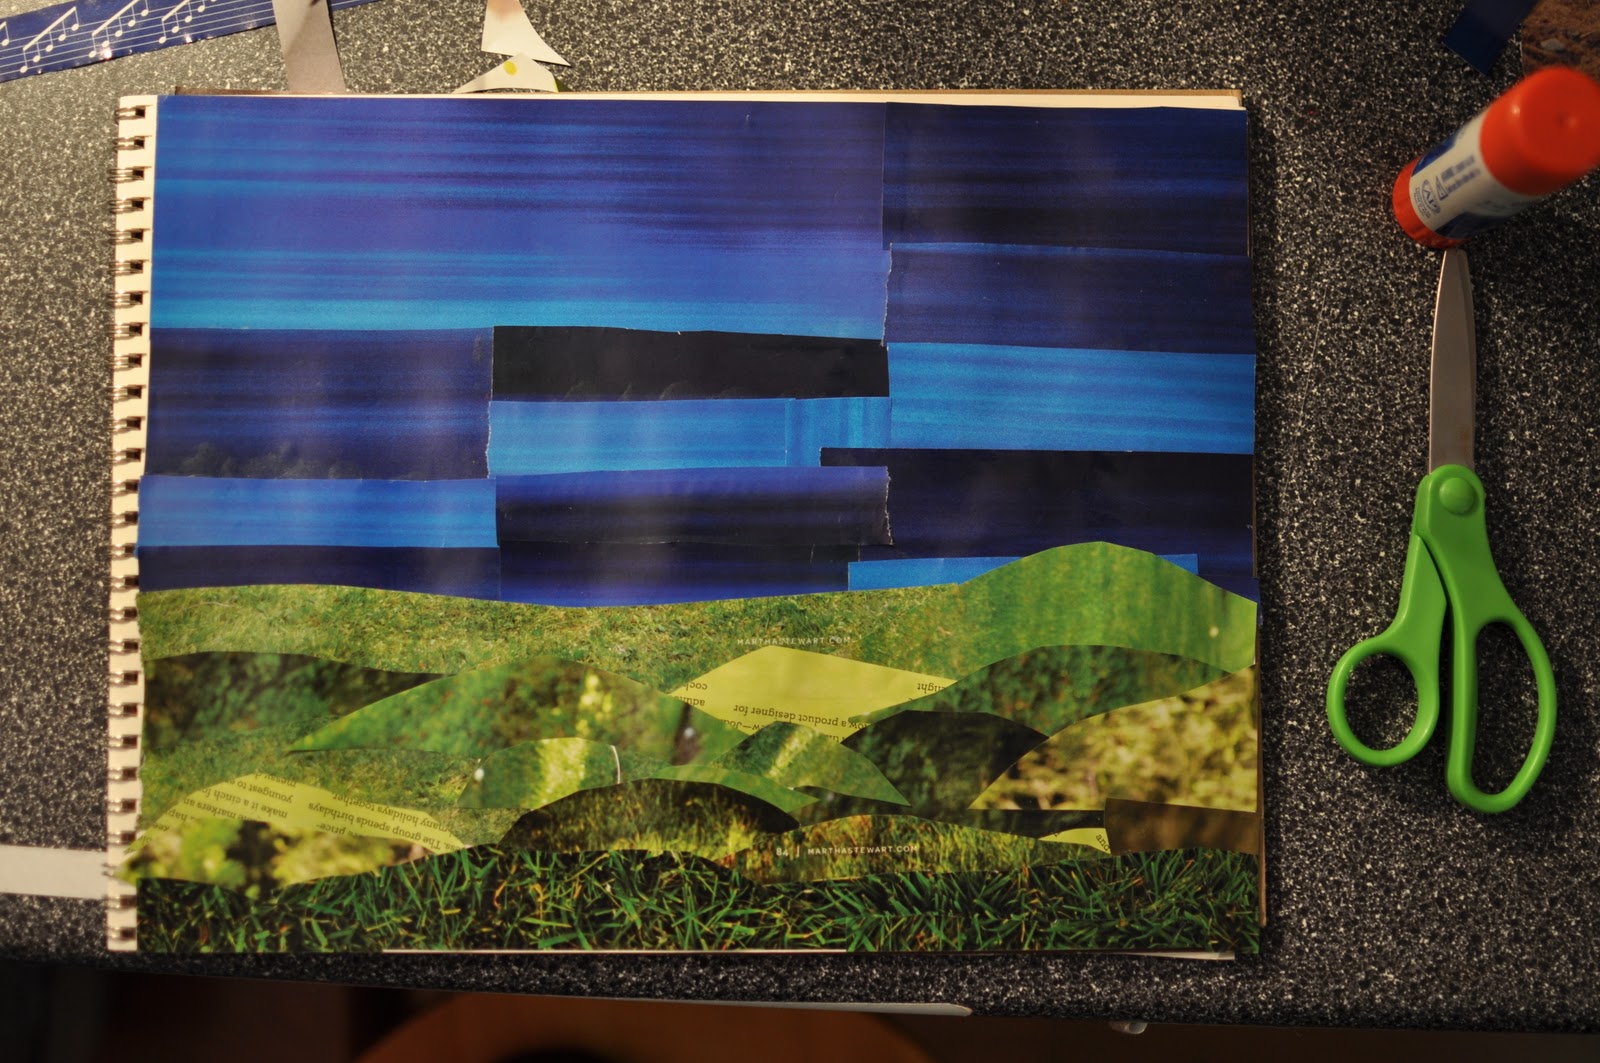
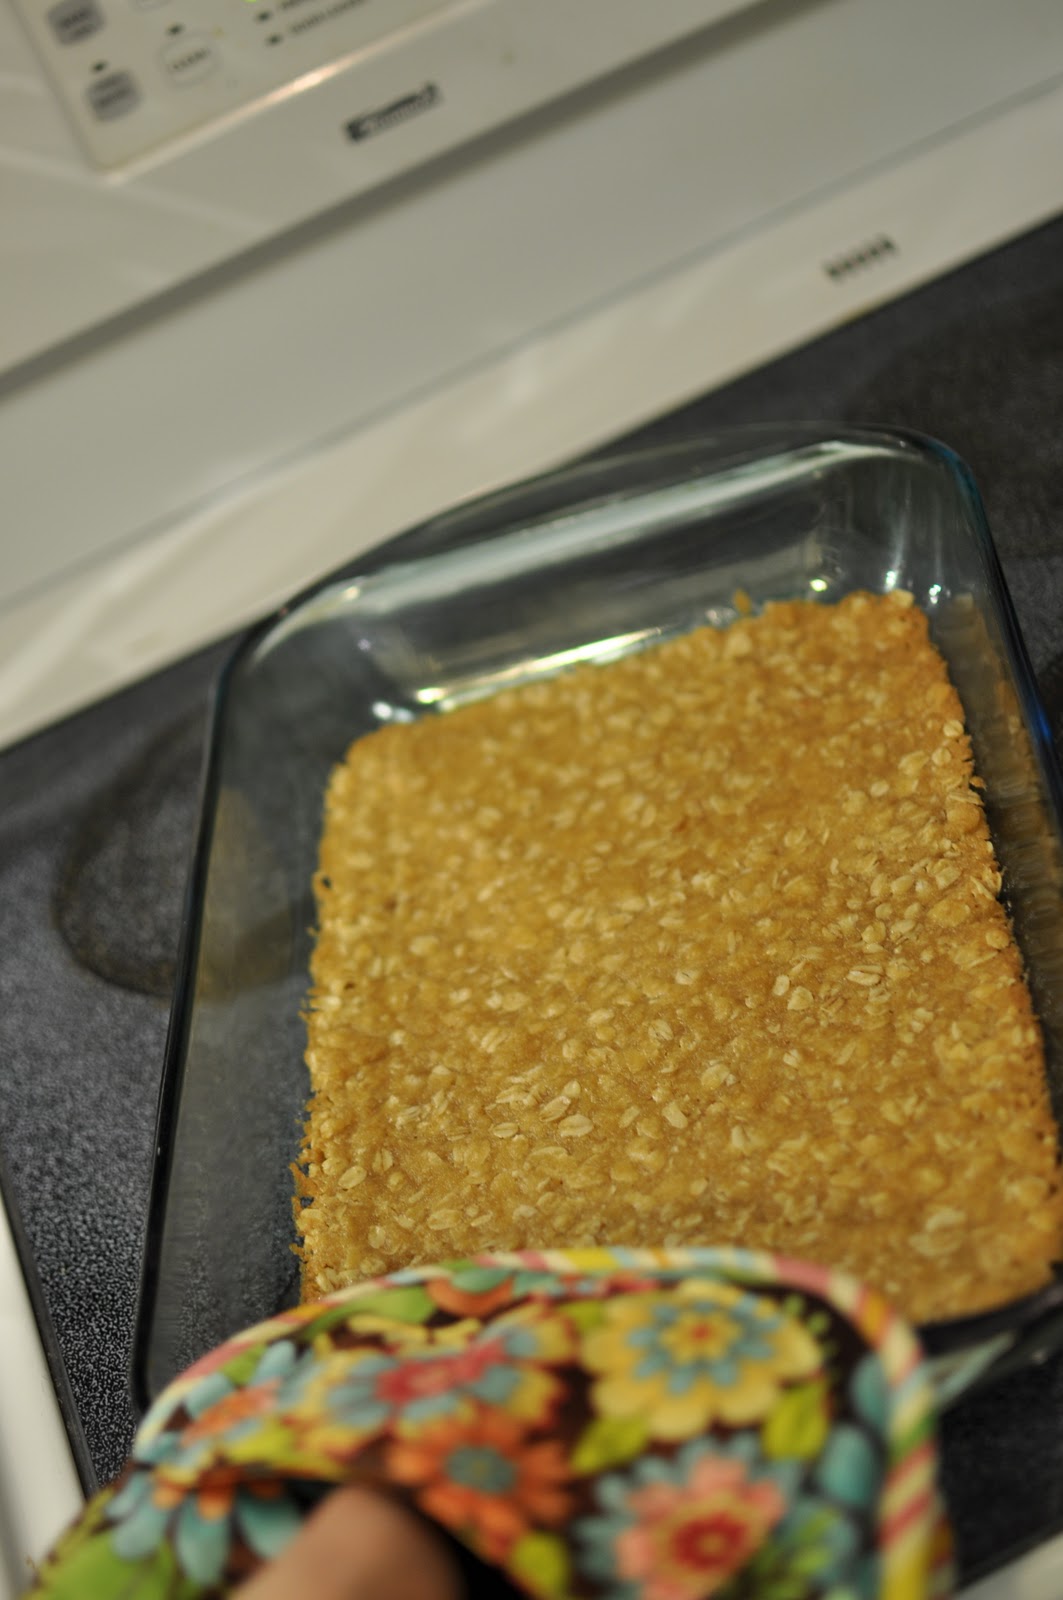
Layer 2.
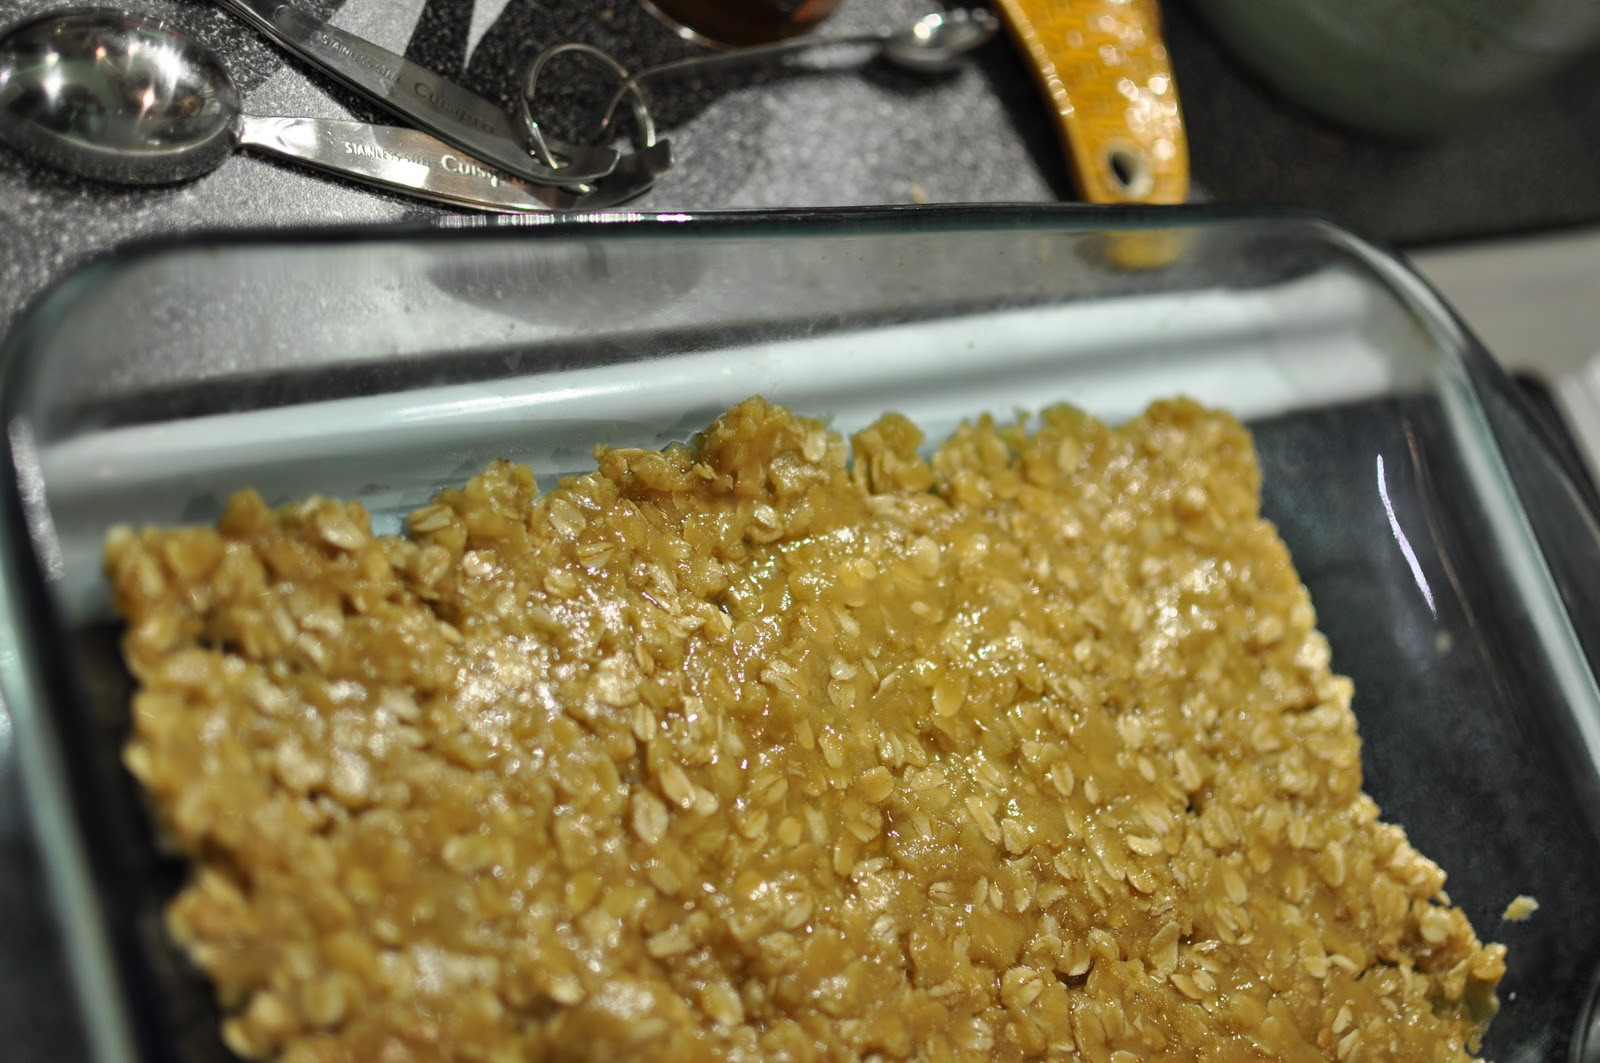
Layer 1.

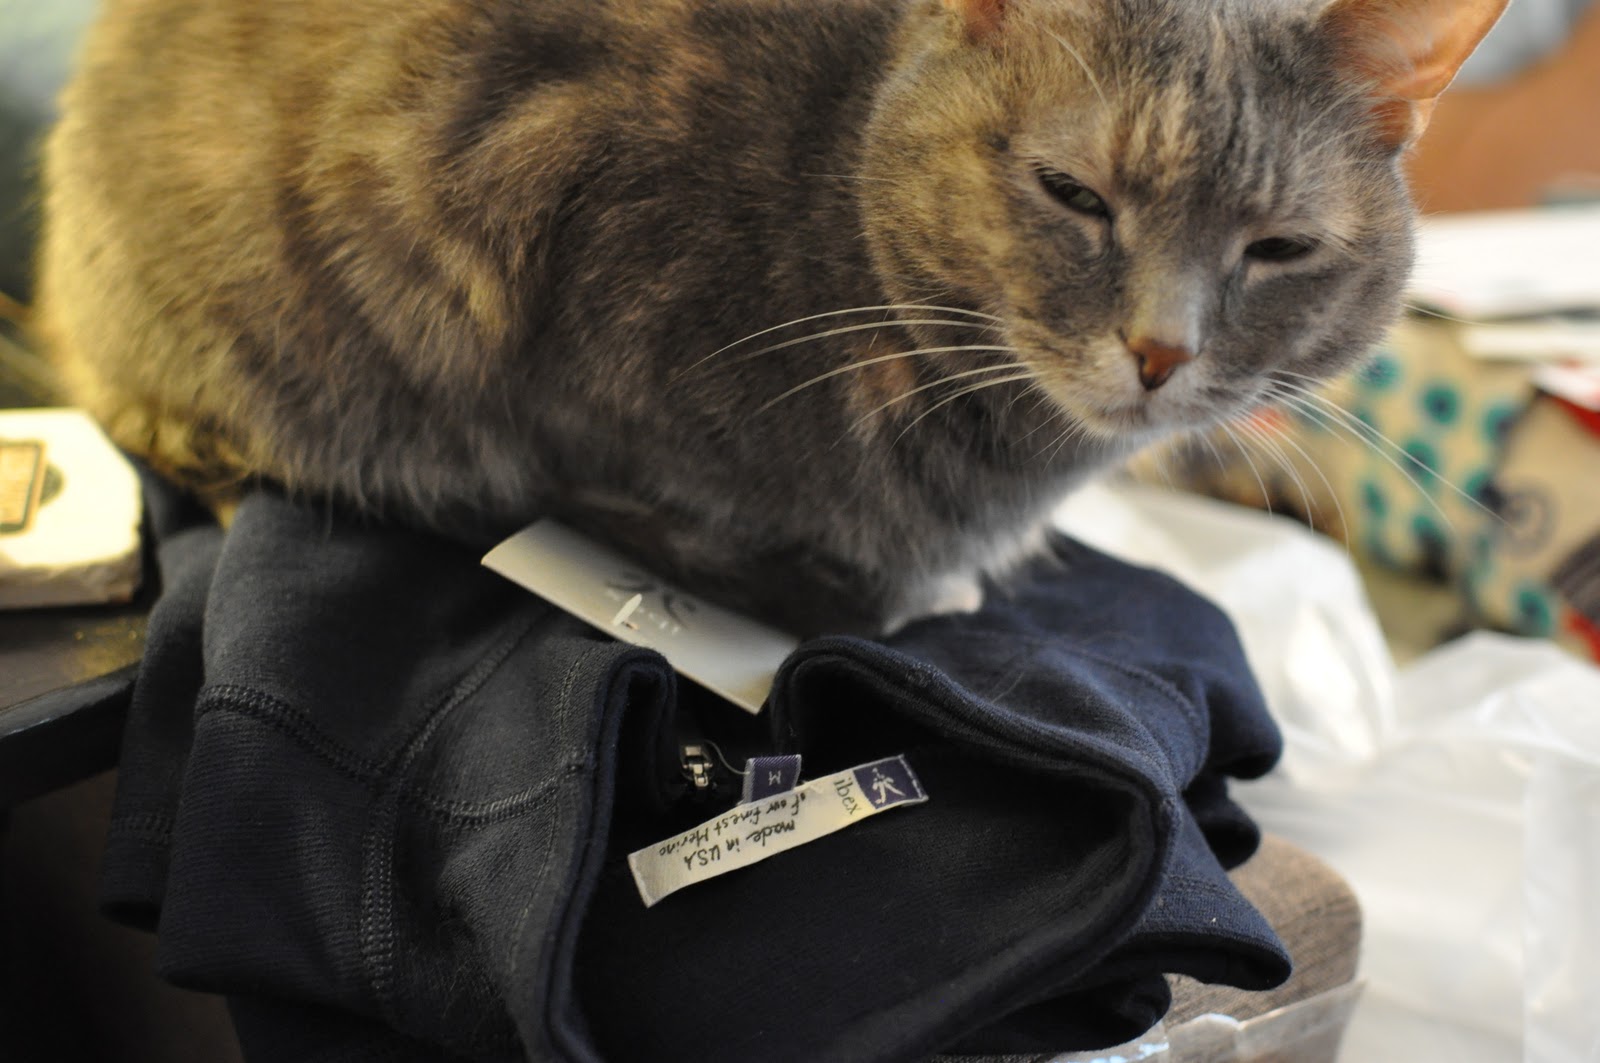
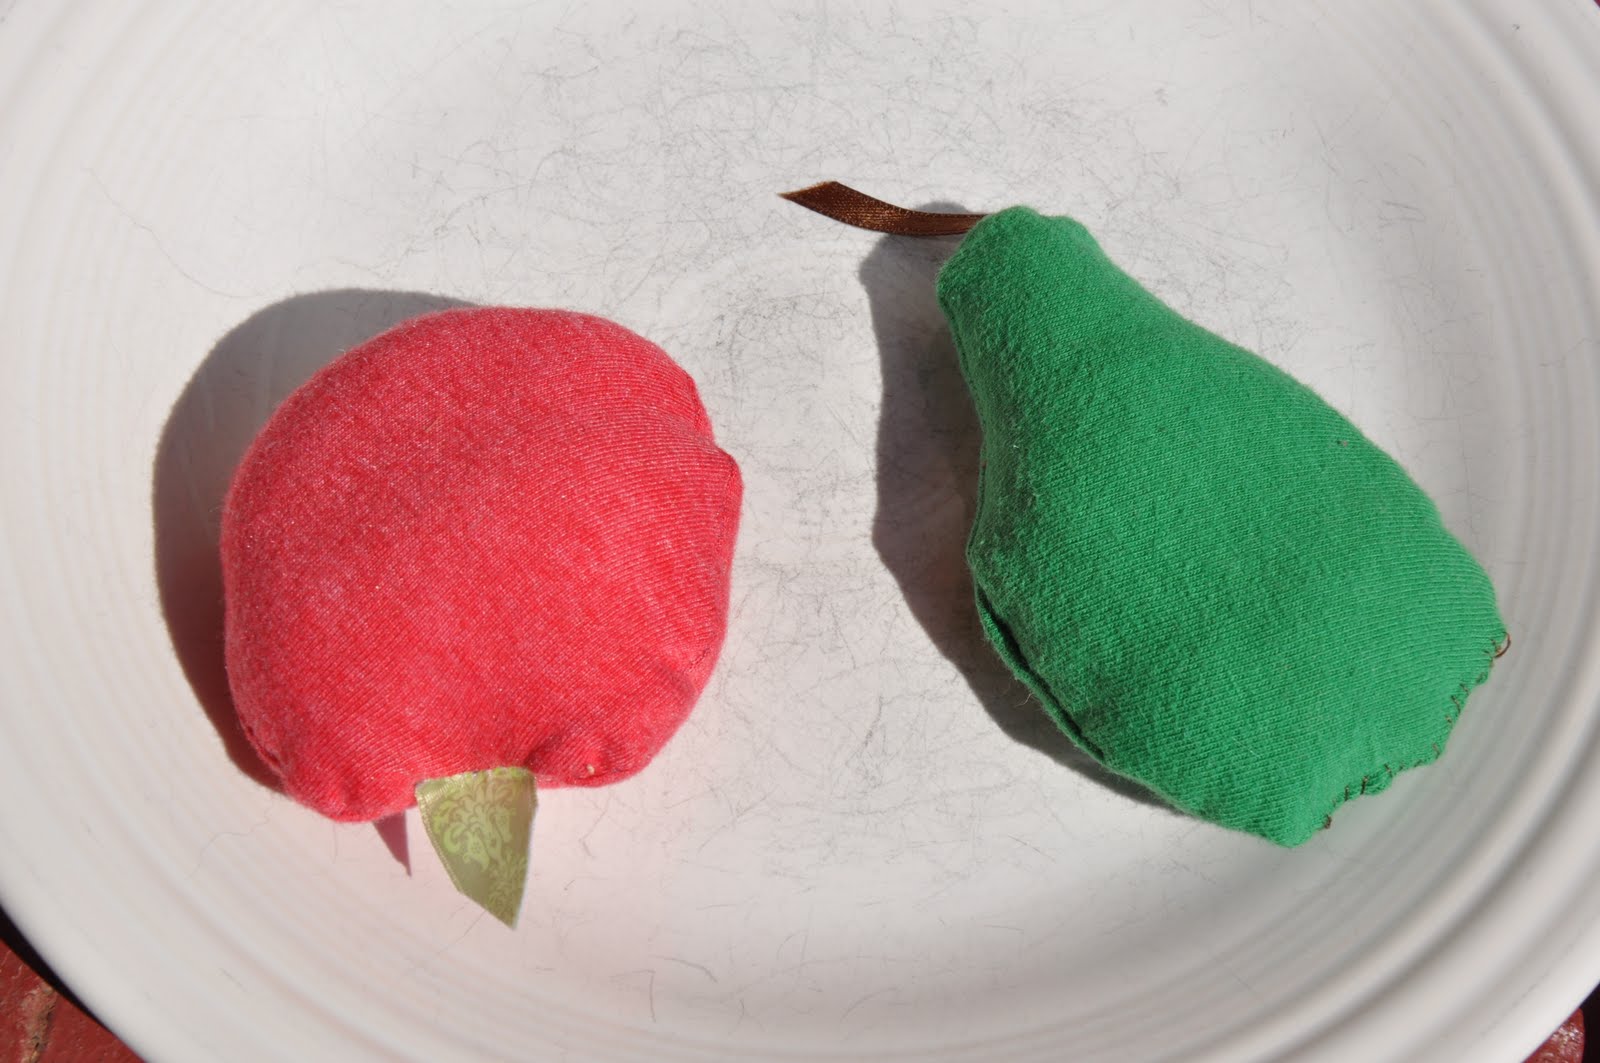
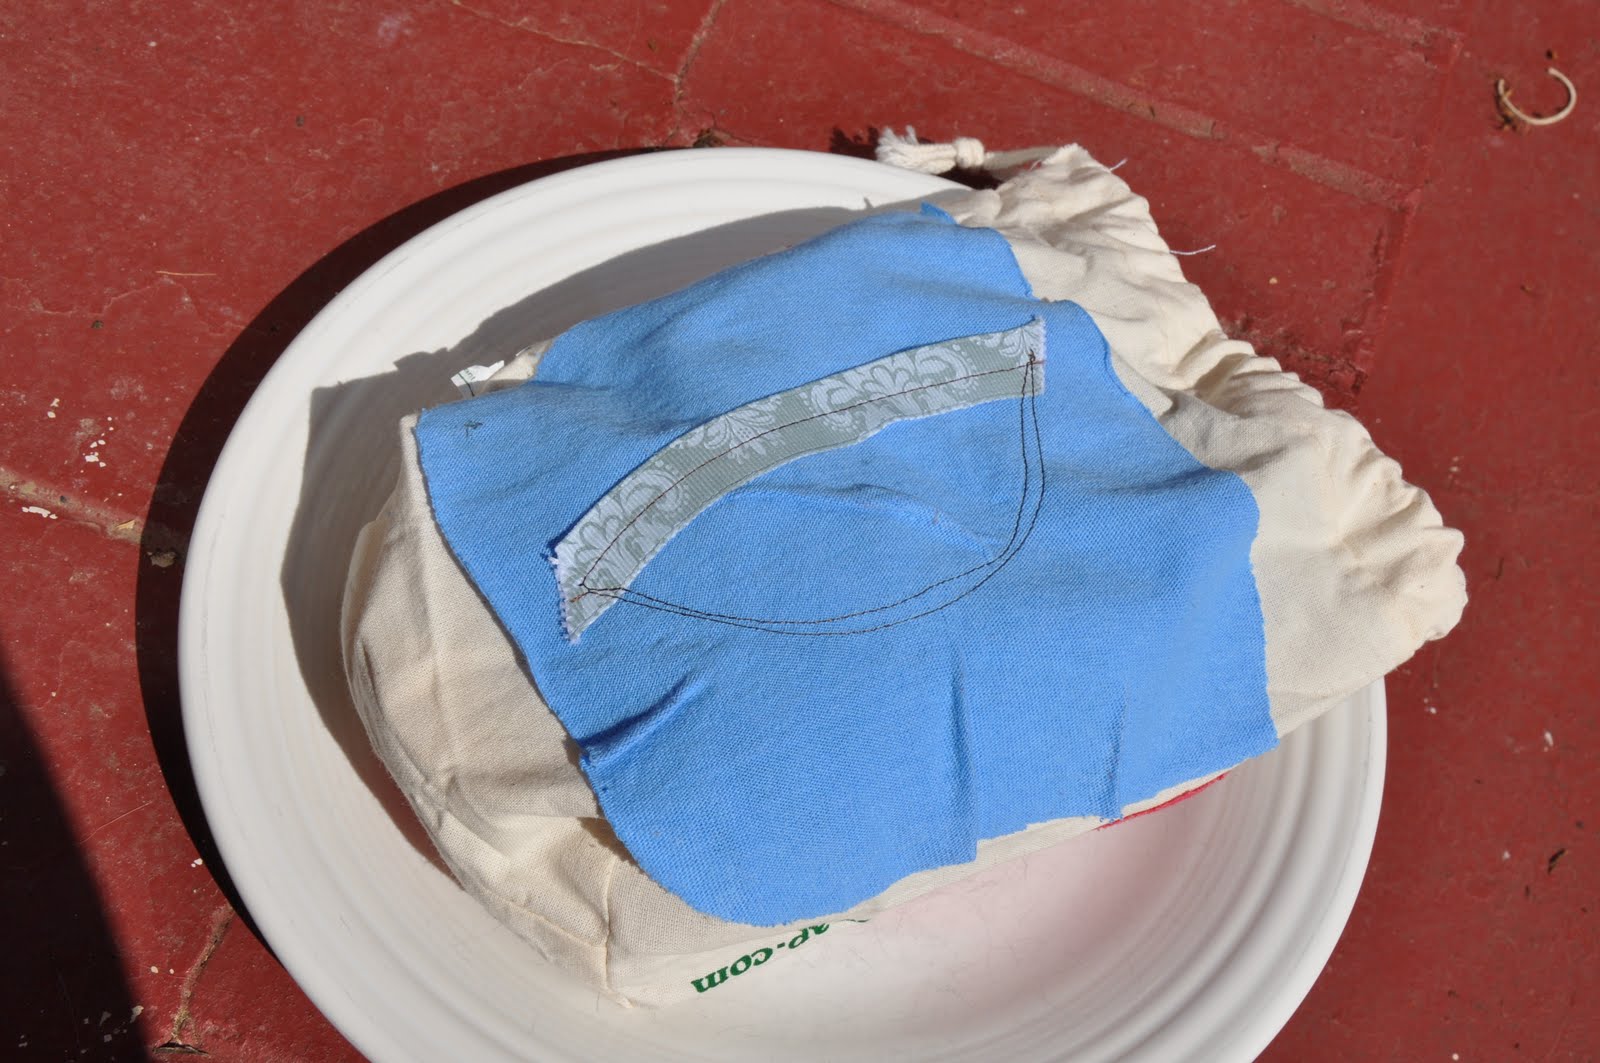
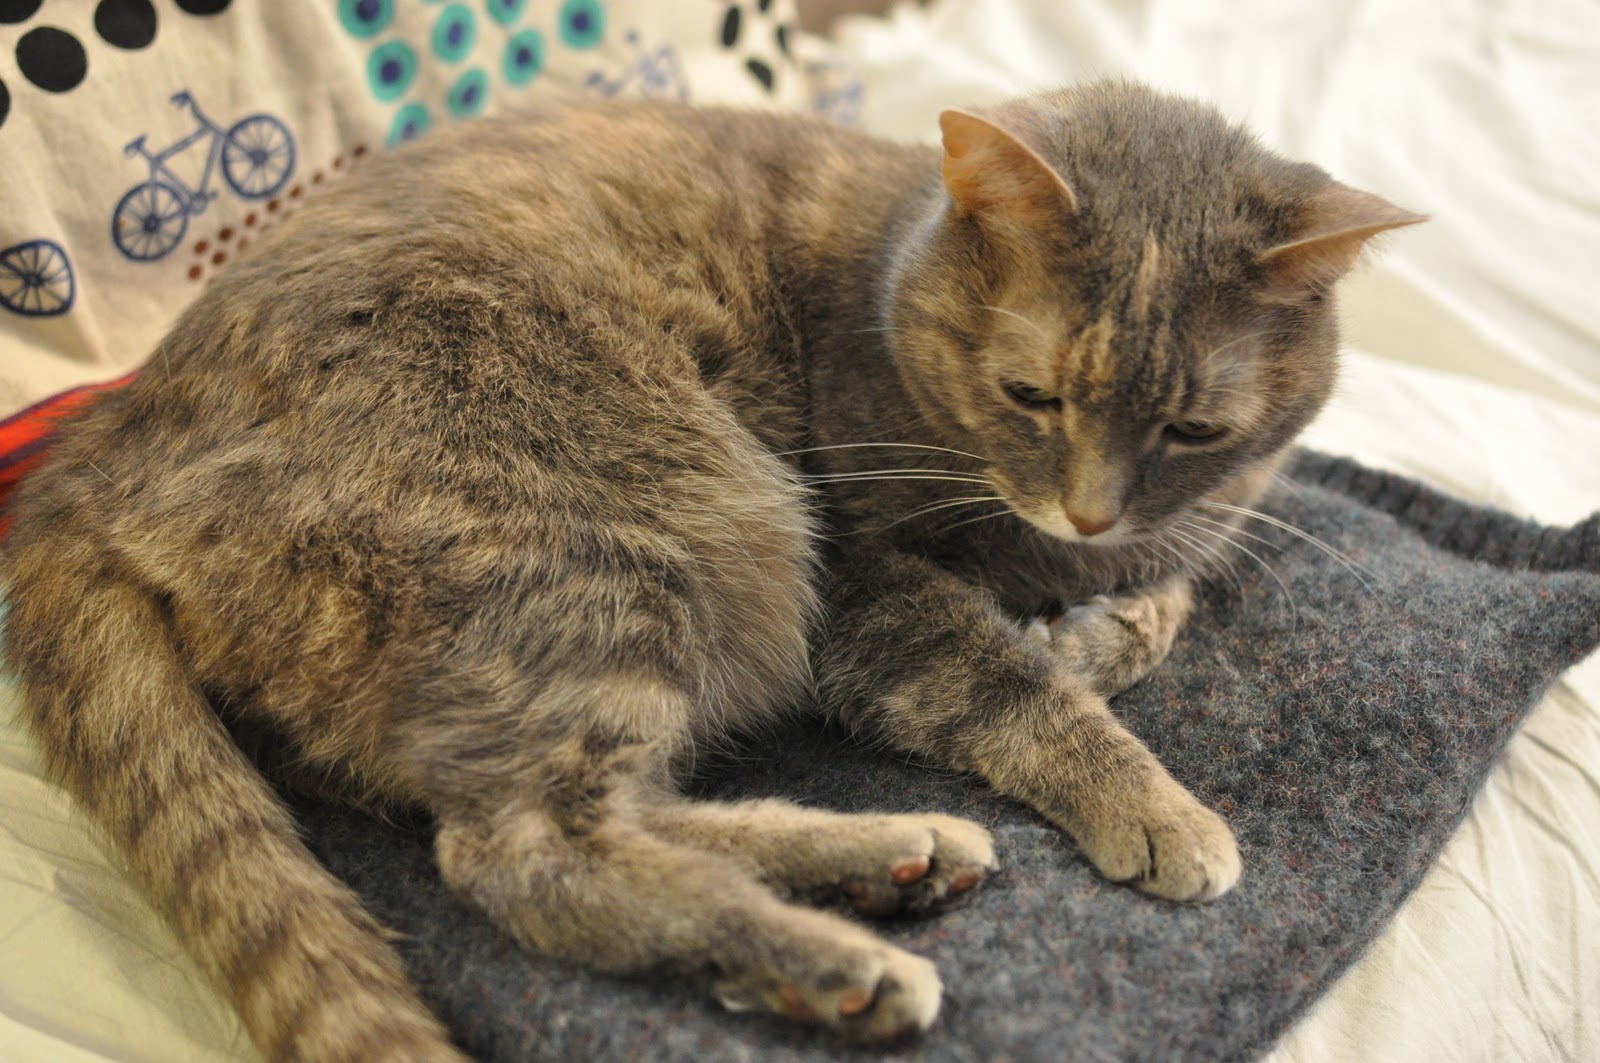
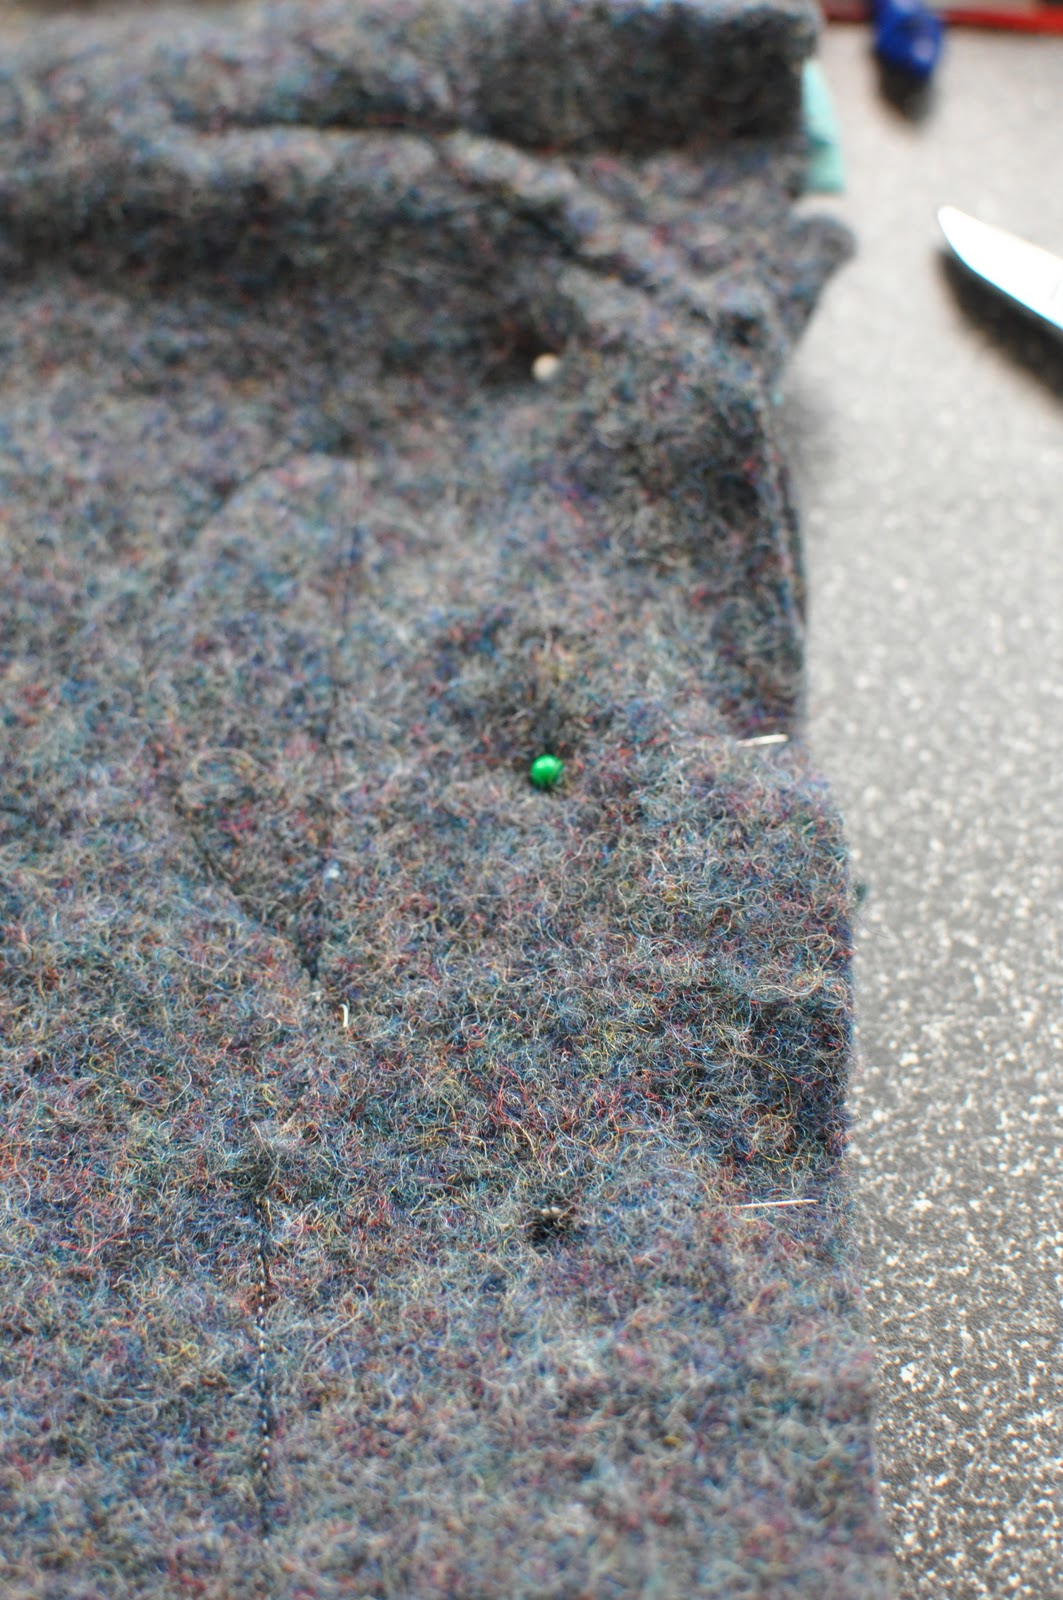
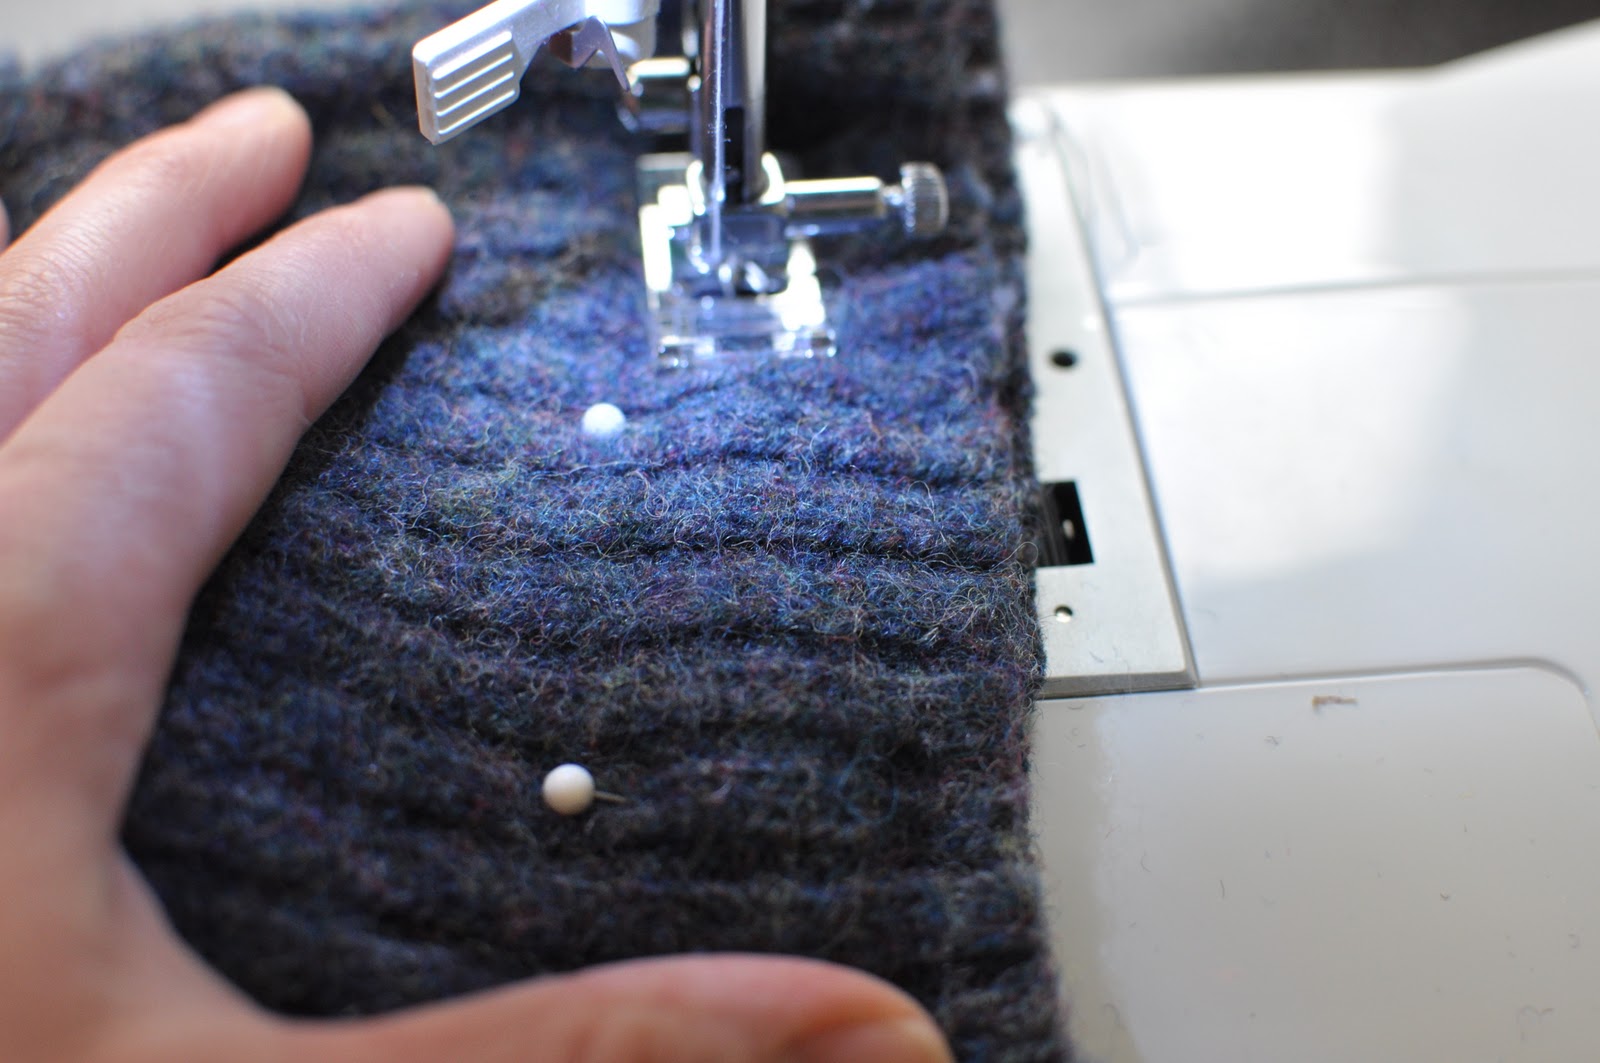
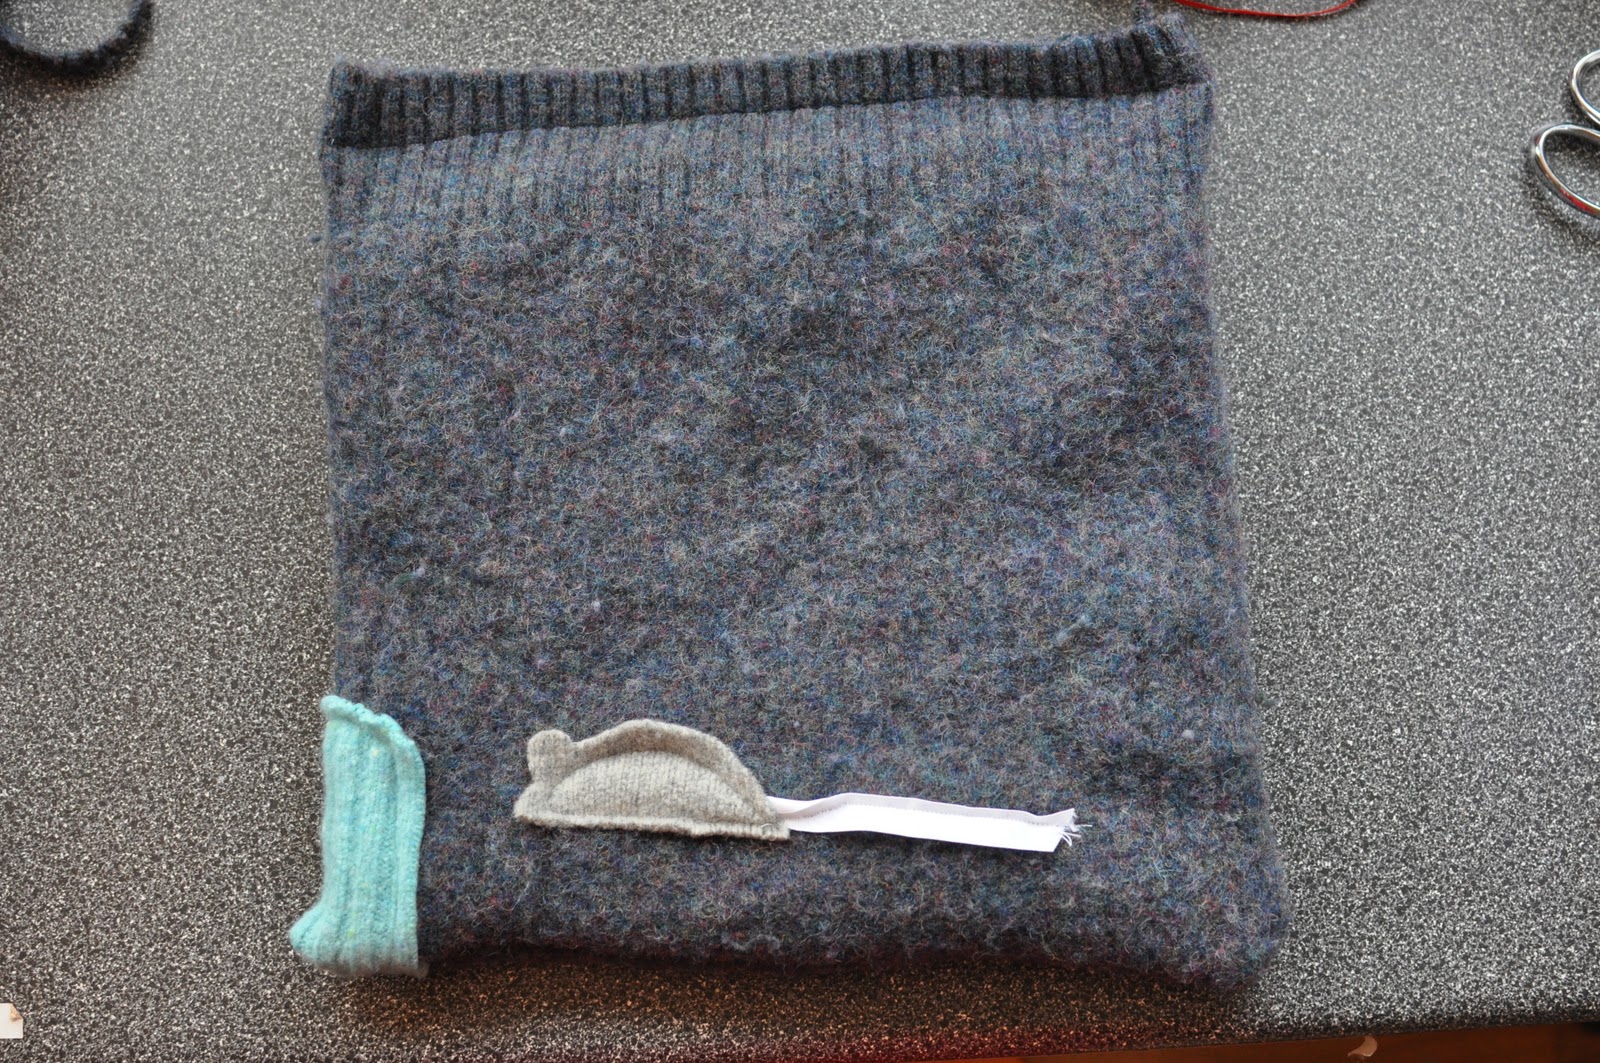
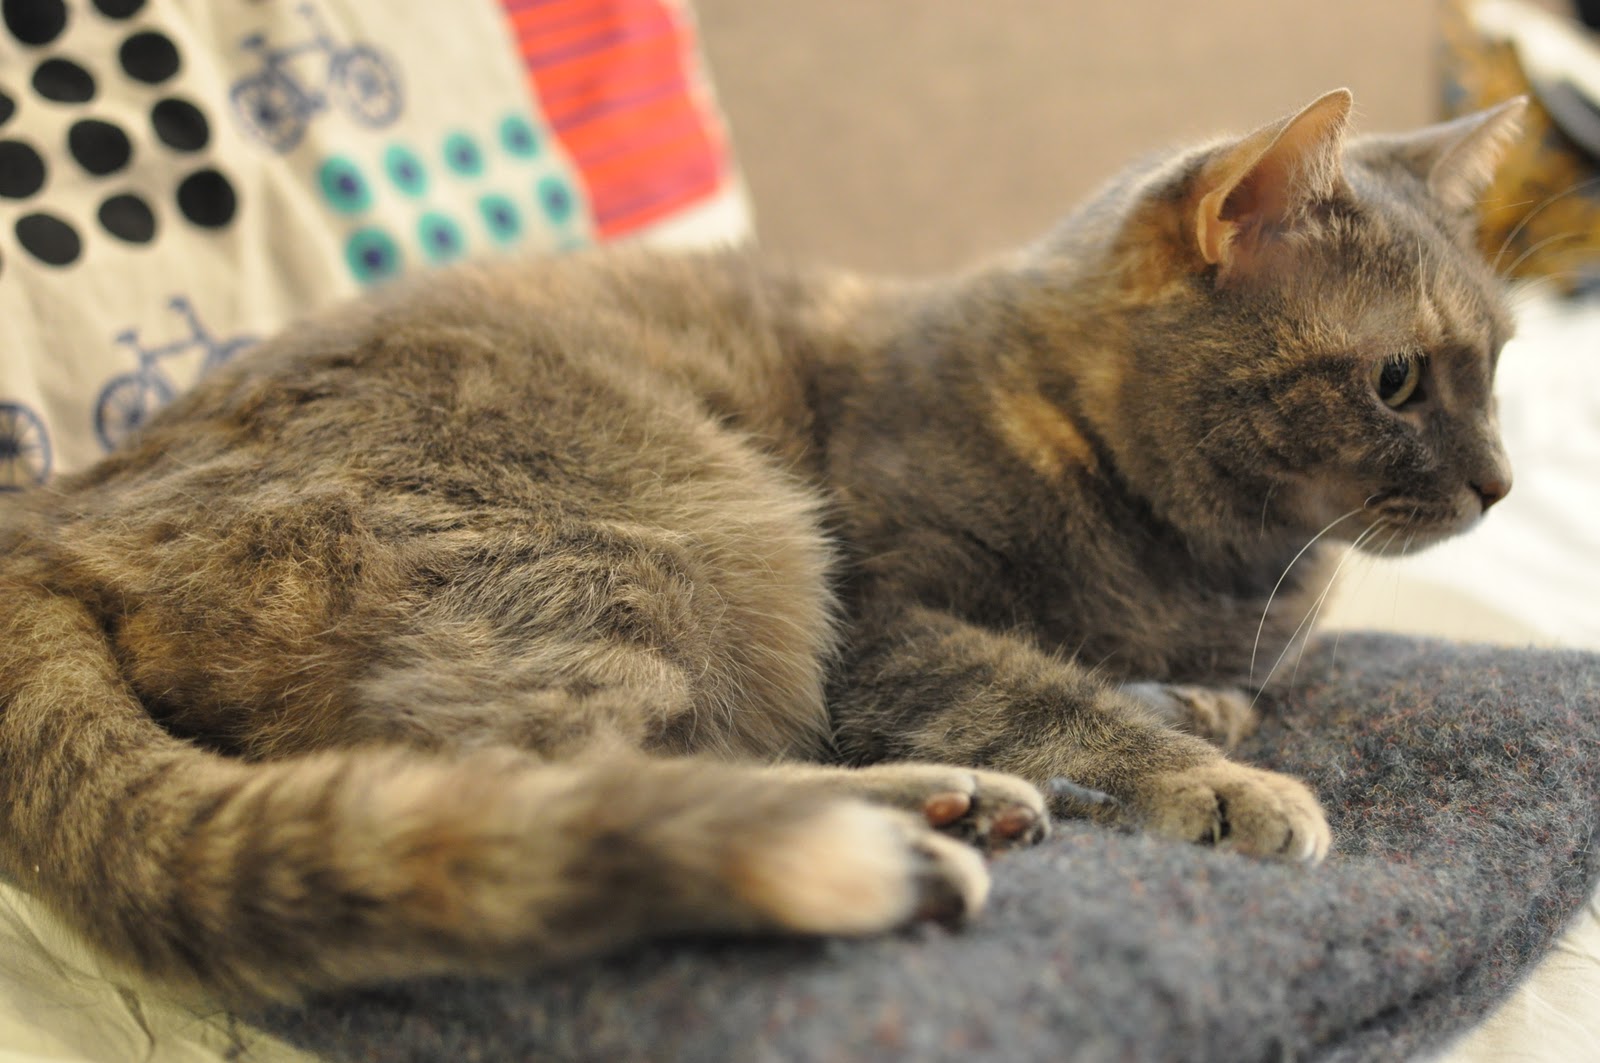
We were tired of our constantly cold kitty sleeping on our (usually) clean wool clothing in an effort to warm up.


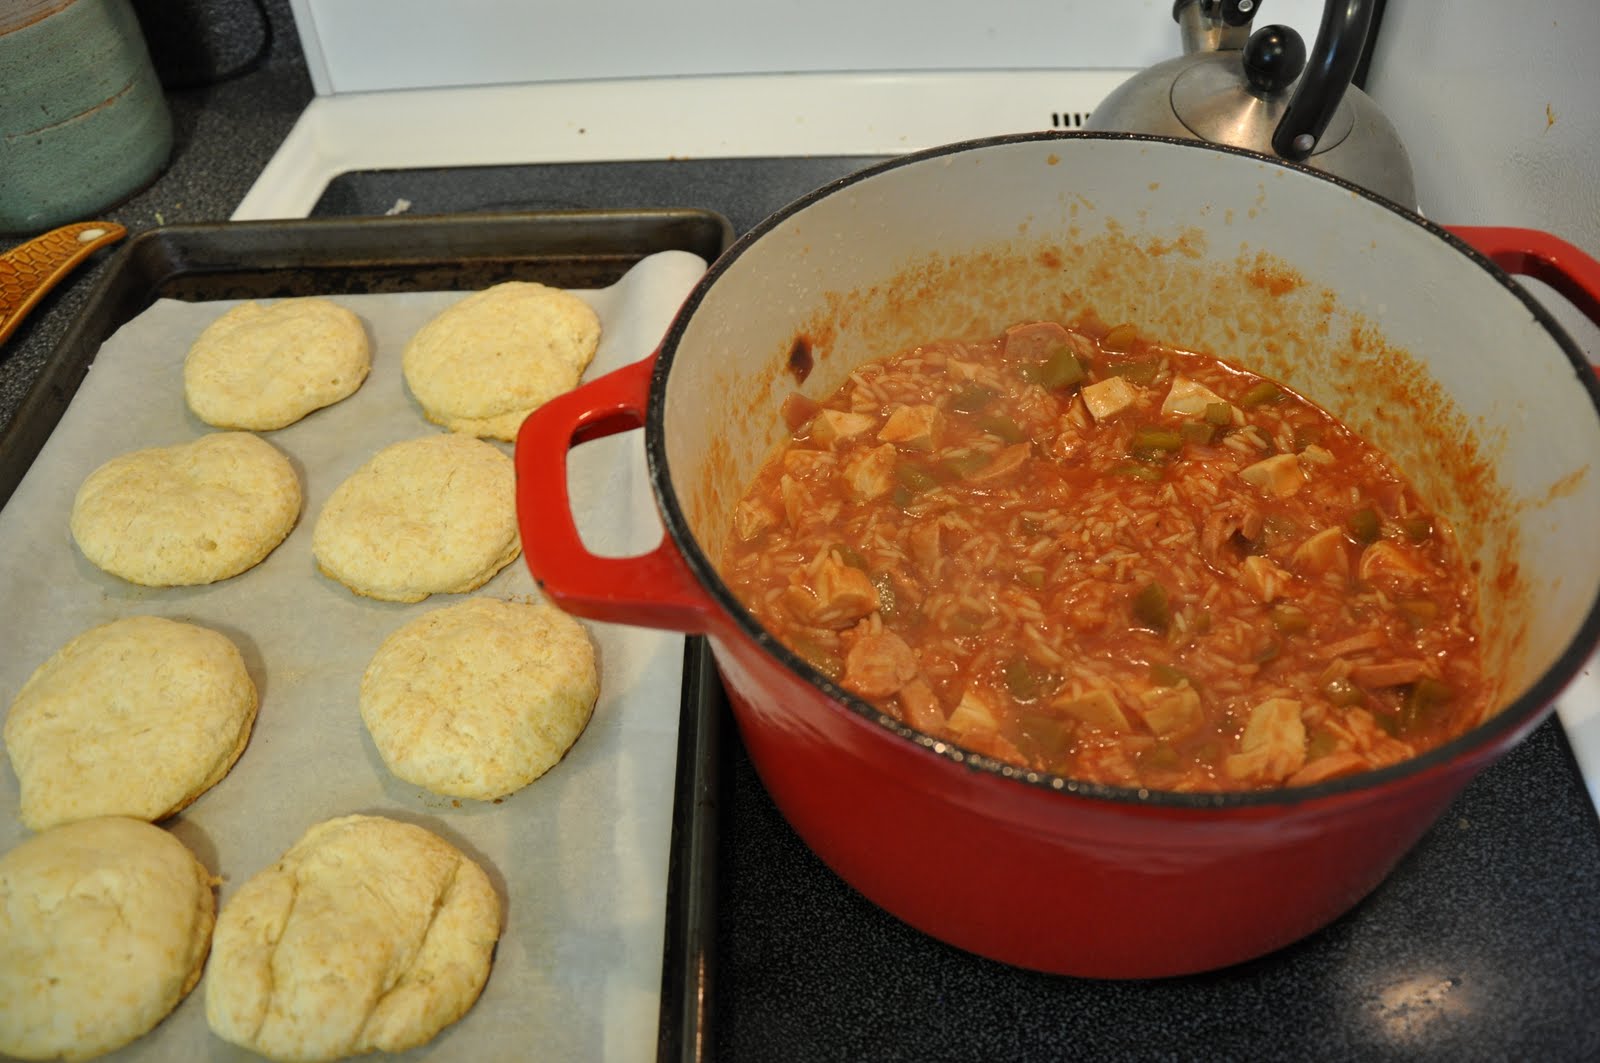
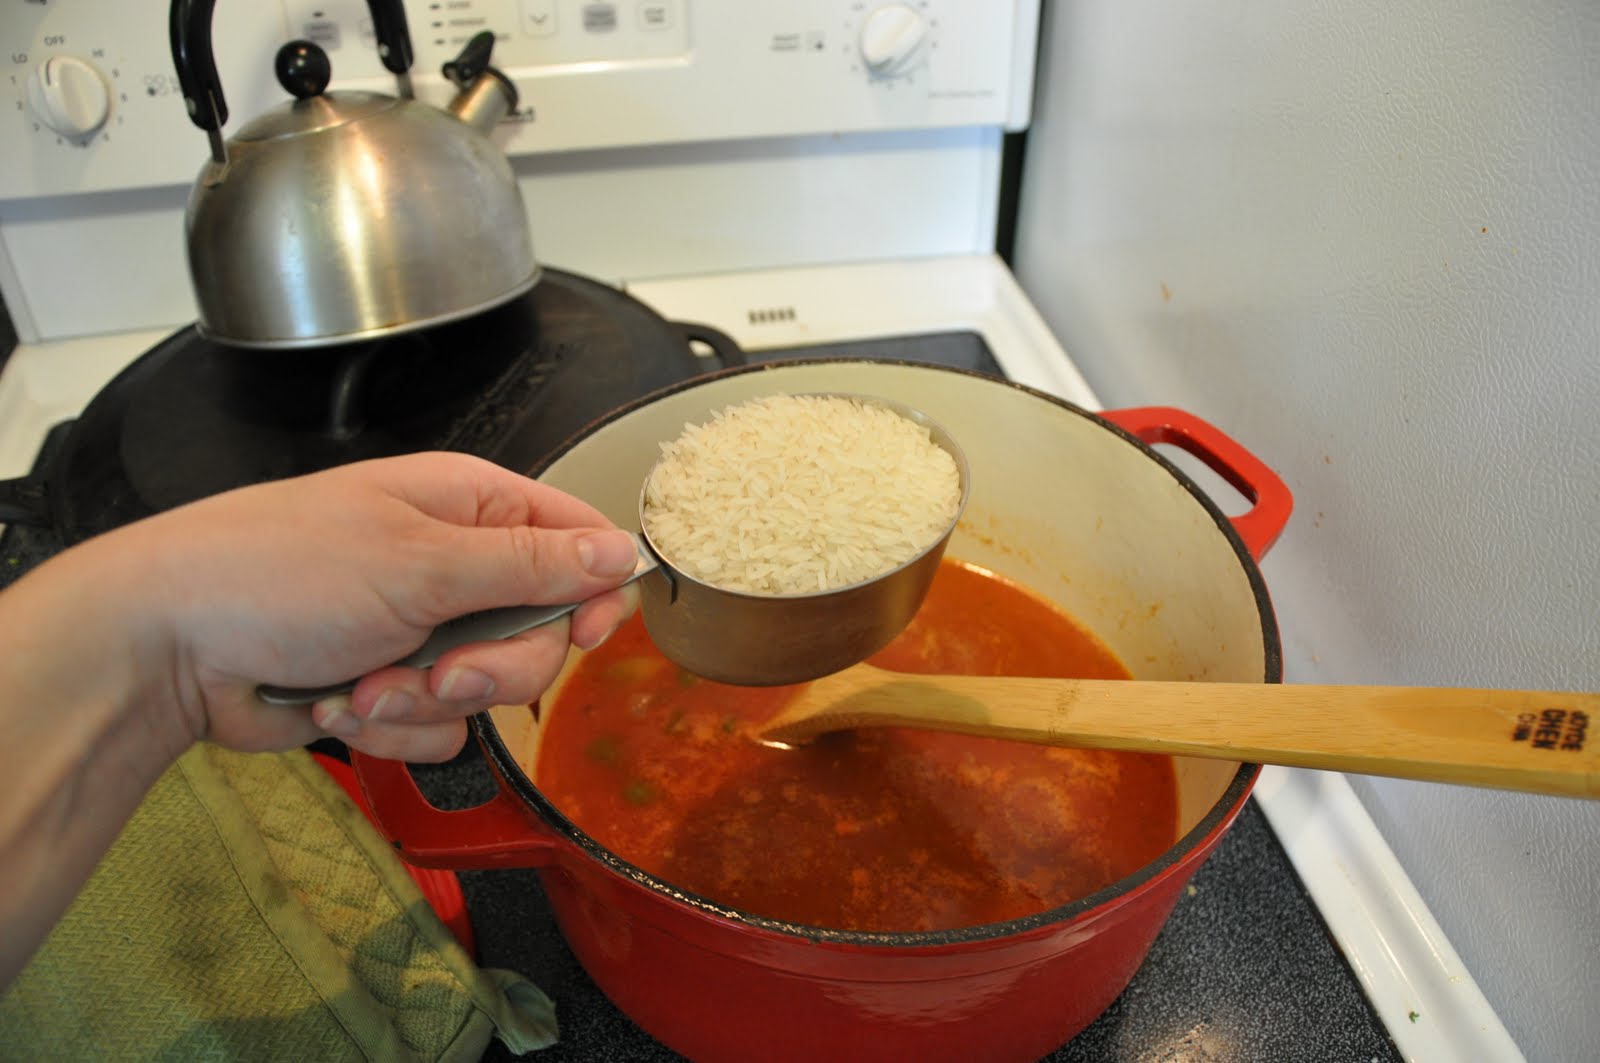
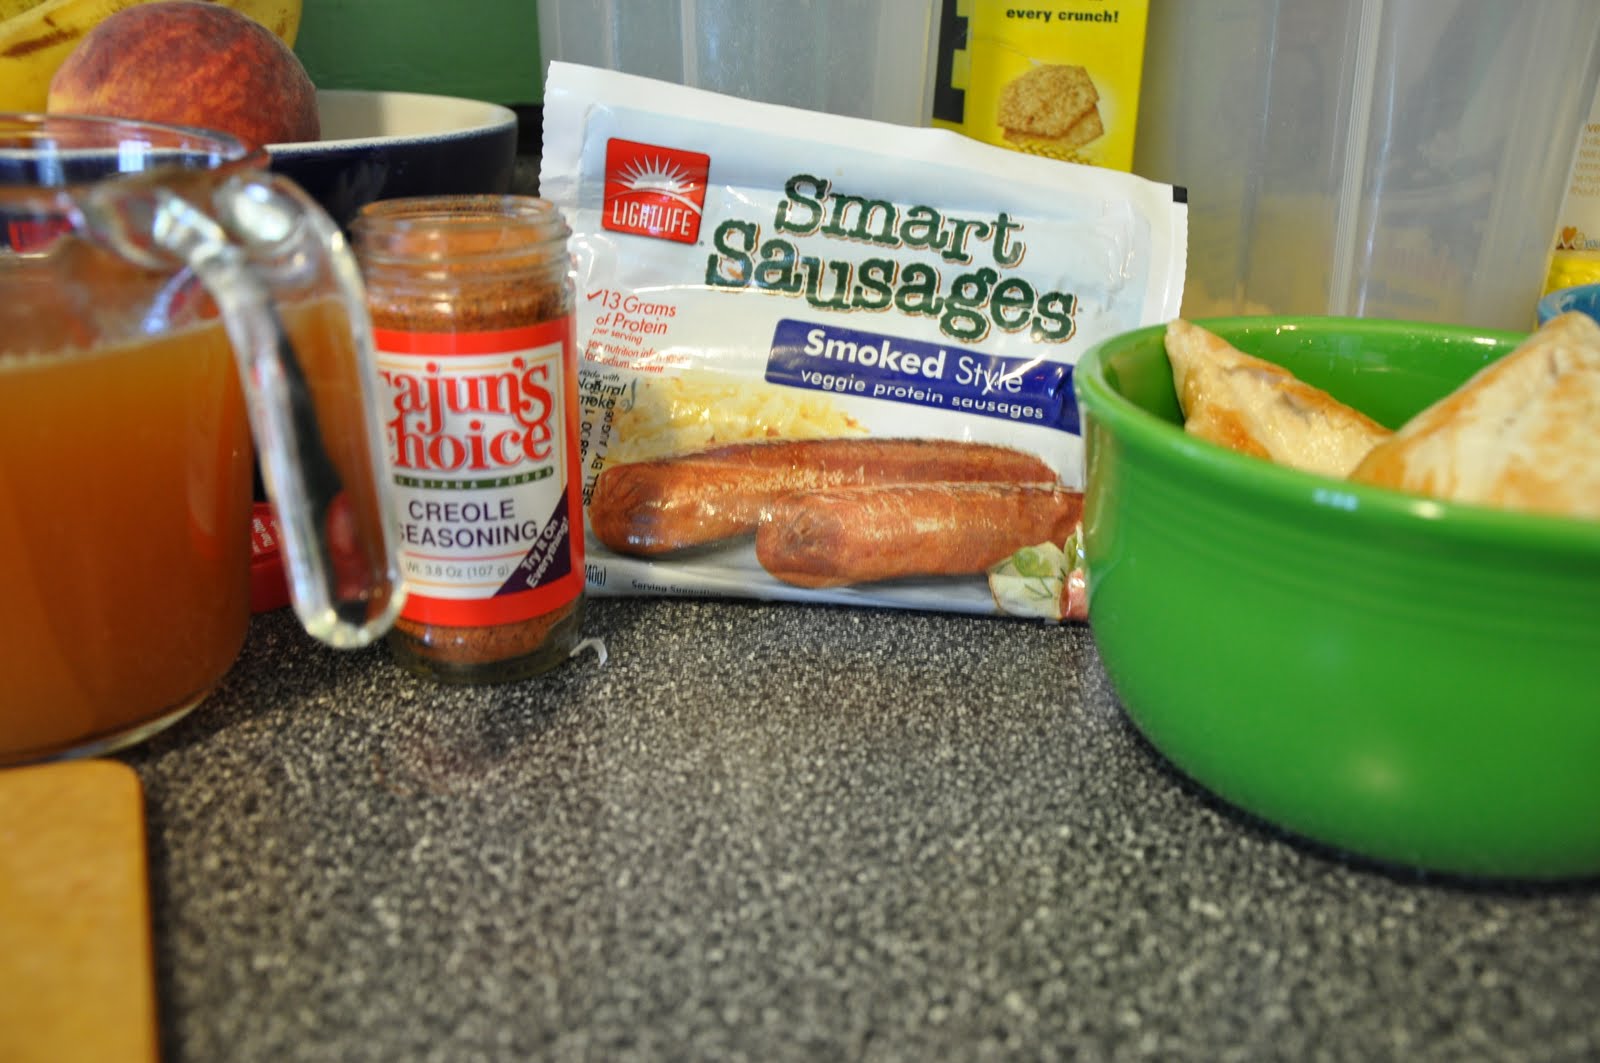
Last night I made a great dinner combining a few of these food wants – jambalaya and biscuits.
Jambalaya
1/4 c. olive oil
1 lb boneless, skinless, chicken breast halves
coarse salt & freshly ground pepper
3 celery stalks, finely chopped
1 medium onion, finely chopped
1 green bell pepper, stemmed, seeded, finely chopped
1 lb andouille sausage (couldn’t do it, so I used soy sausages), cut into 1/2-inch pieces
2 garlic cloves, minced
2 c. stock
1 teaspoon Old Bay or other Cajun seasoning
1 can (14 oz) crushed tomatoes
1 c. long-grain rice
1. Heat oil in Dutch oven over medium-high heat. Season chicken with salt & pepper. Cook until golden brown, about 5 minutes per side. Cut into 3/4-inch pieces, set aside.
2. Add vegetables to pot. Cook, stirring, 5 minutes. Add sausage; cook 3 minutes. Add garlic; cook 1 minute. Stir in stock, seasoning, tomatoes, and 1/2 c. water; bring to a boil. Add rice and chicken. Reduce heat; simmer 5 minutes. Cover; remove from heat. Let stand until rice is tender and liquid is mostly absorbed, 30 to 35 minutes. Season with salt & pepper.
2 c. all-purpose flour, plus more for dusting
2 tsp. baking powder
1/4 tsp. baking soda
1 tsp. coarse salt
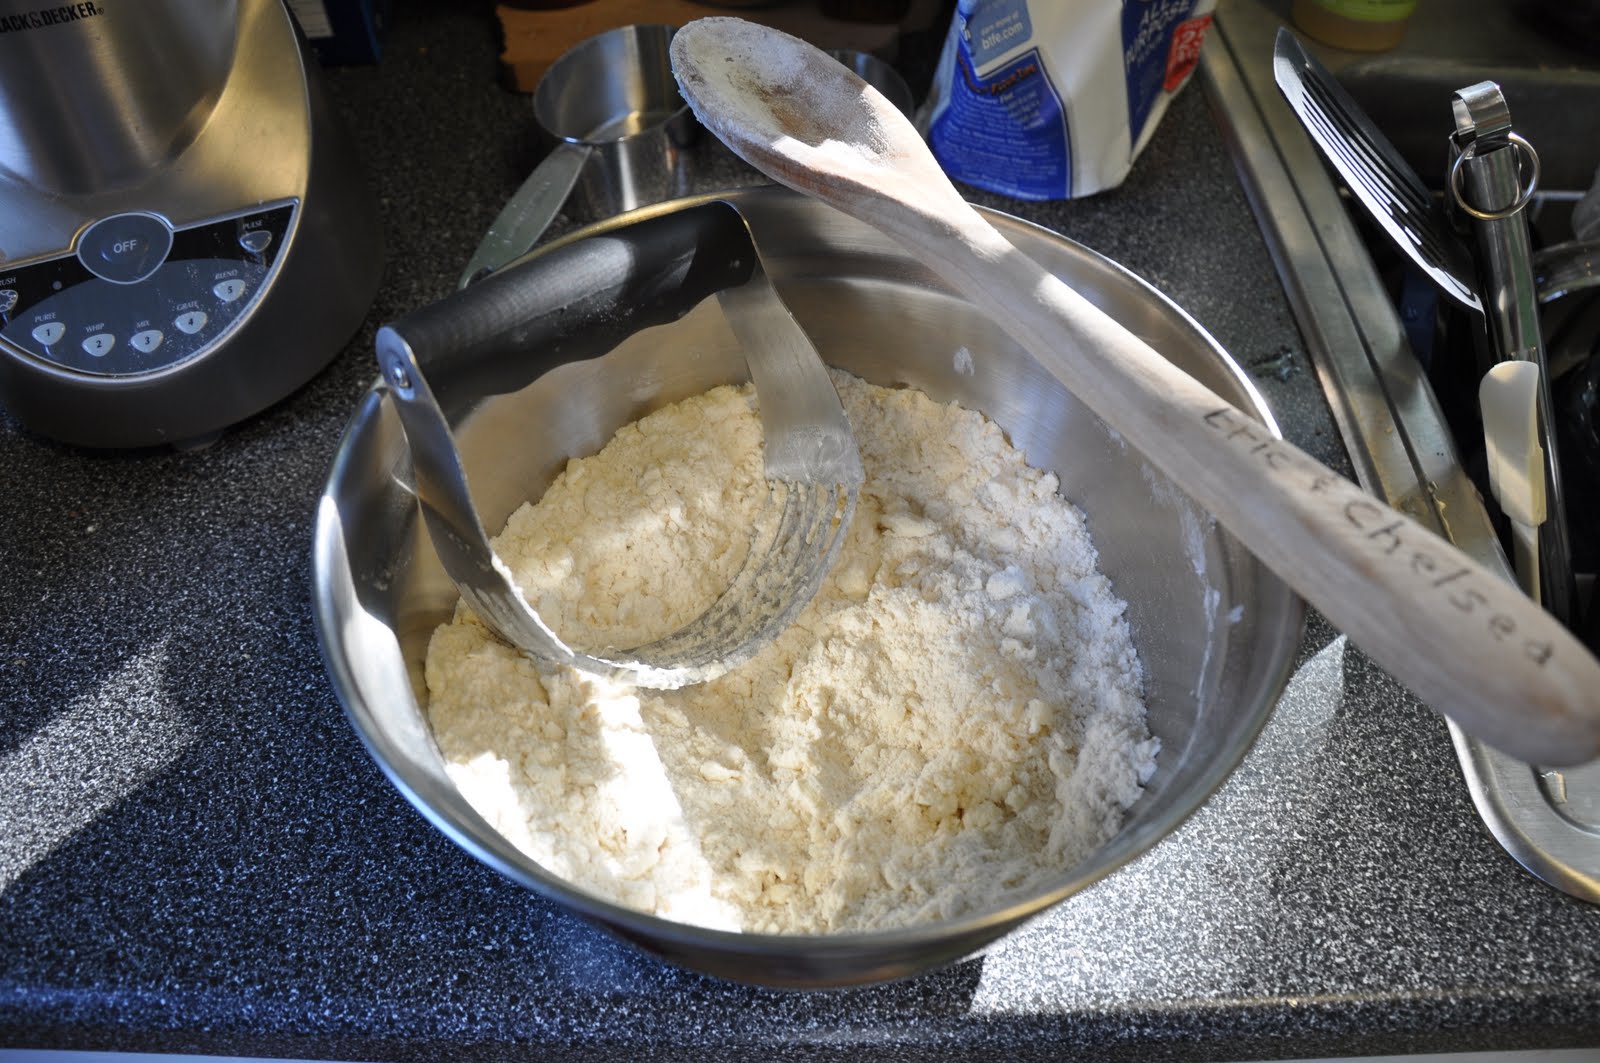
1/2 c. (1 stick) cold unsalted butter, cut into small pieces
1/2 c. low-fat buttermilk, plus more for brushing
1/2 c. heavy cream
1. Preheat oven to 375. Whisk together flour, baking powder, baking soda, and salt in medium bowl. Cut in butter using a pastry blender or fingers until mixture resembles coarse crumbs. Add buttermilk and cream; stir to combine.
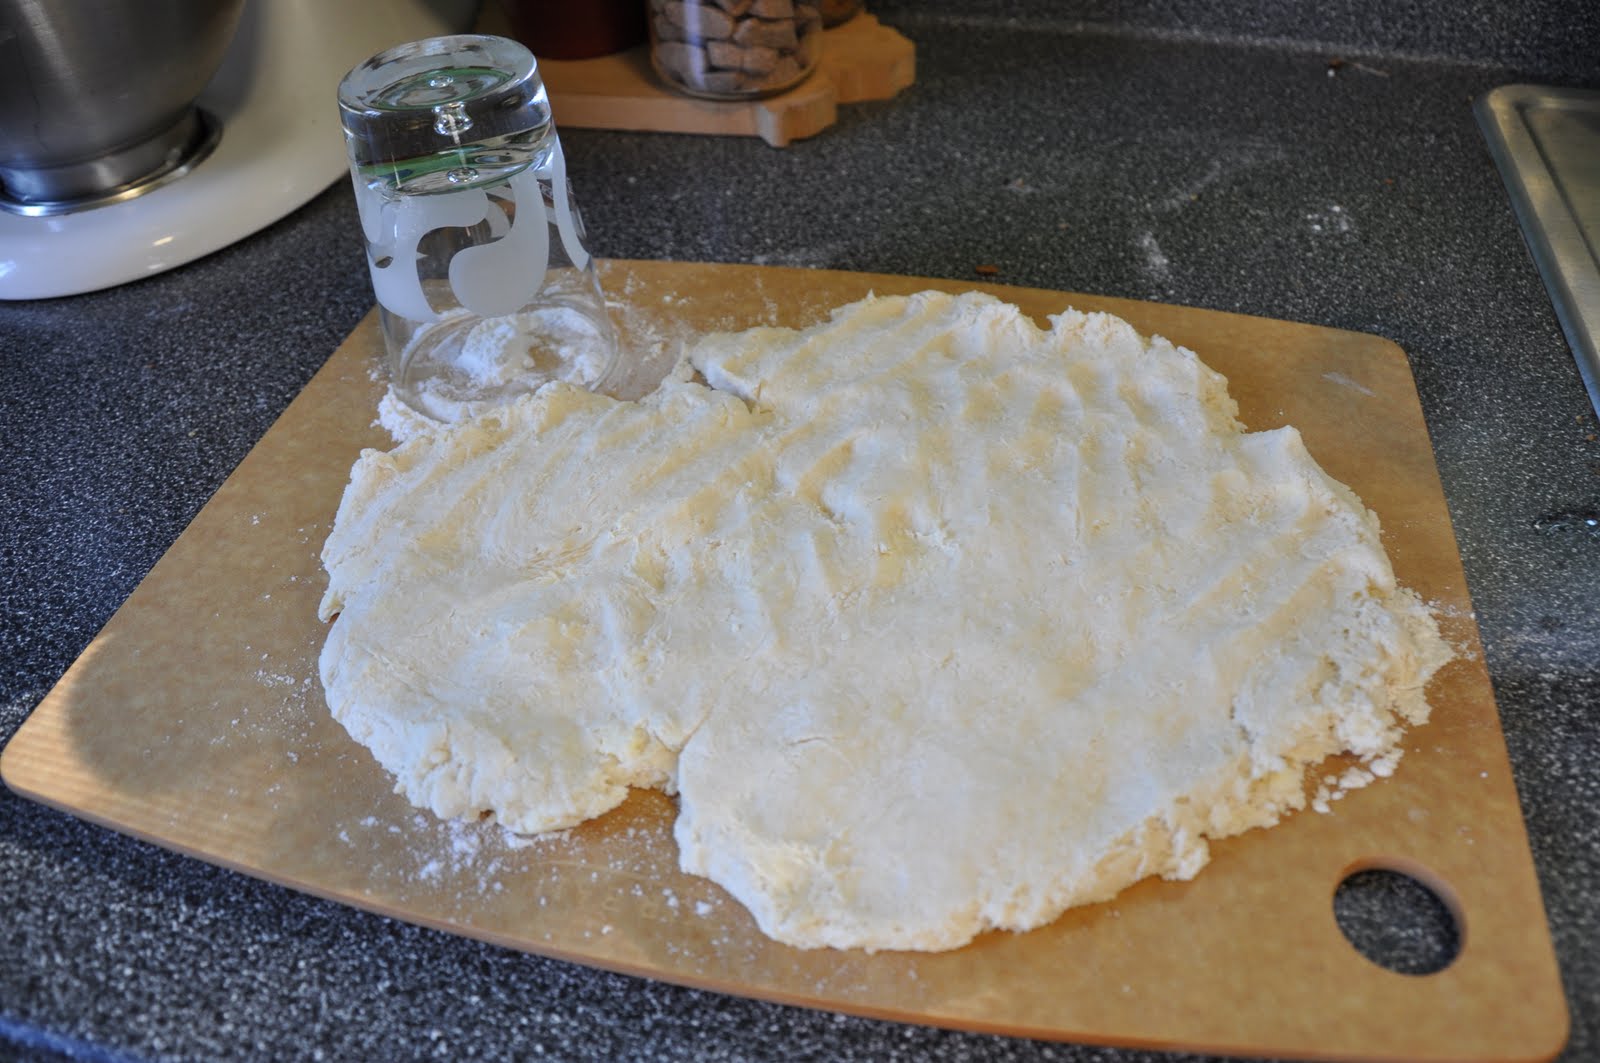
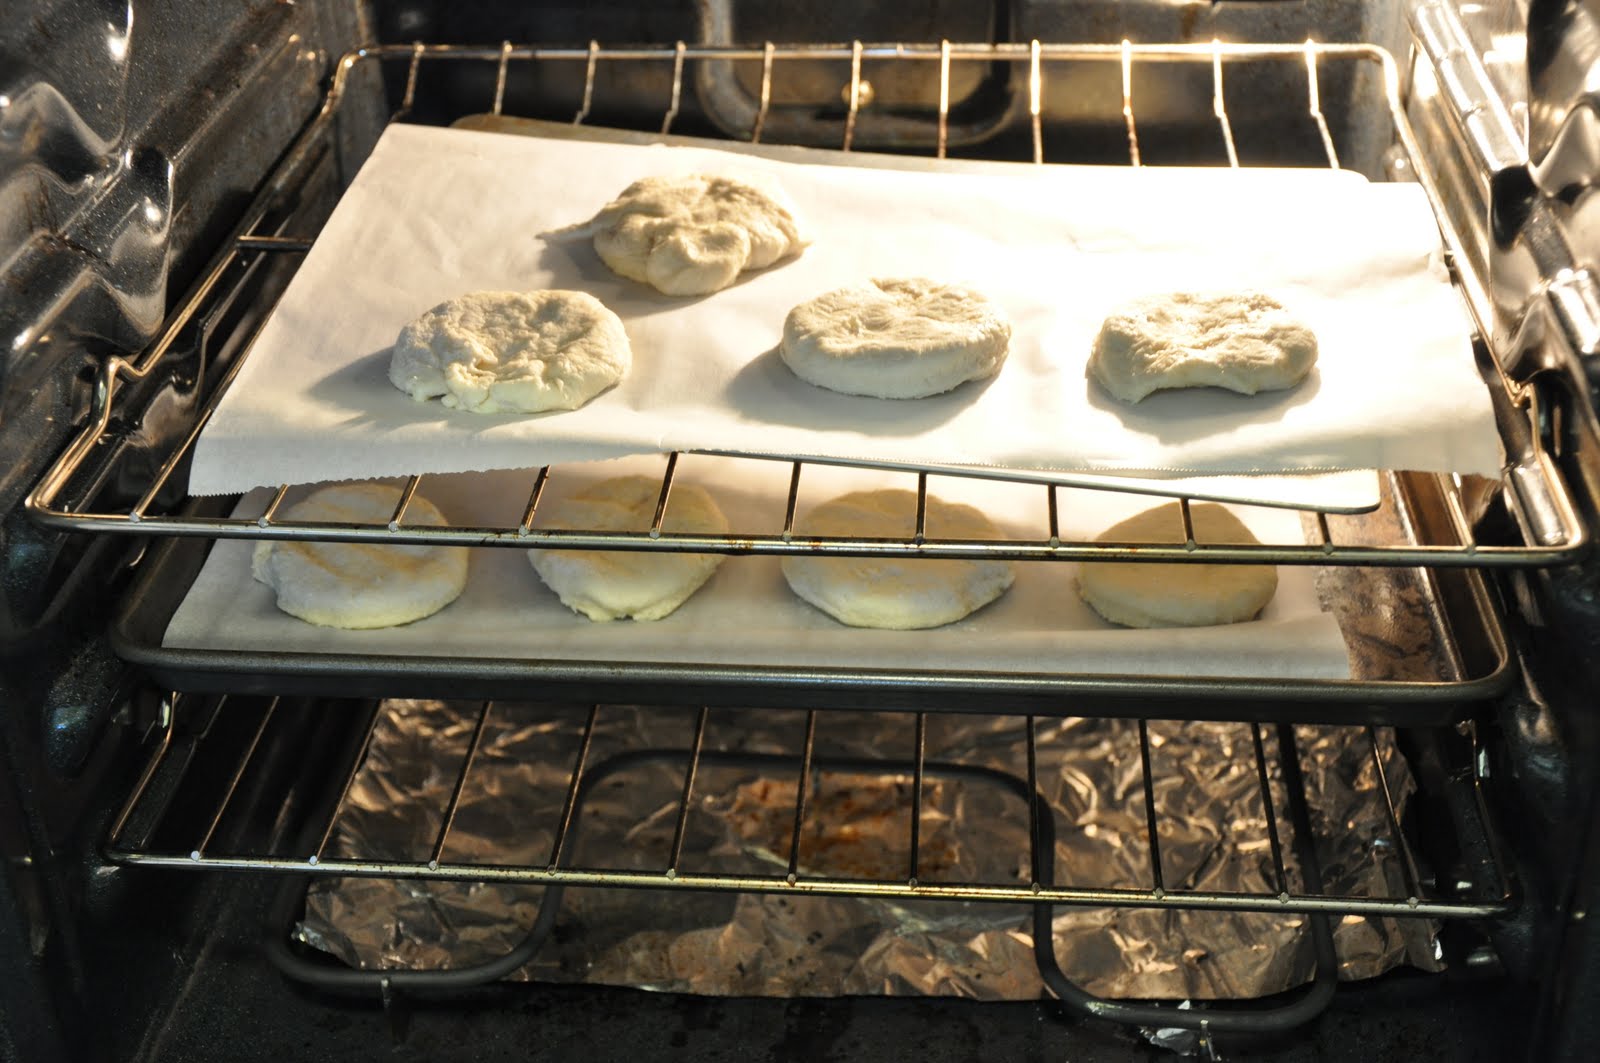
2. Turn out dough onto a lightly floured work surface, and pat to about 1-inch thickness. Using a lightly floured cutter, cut out rounds. Transfer to a baking sheet lined with parchment paper, spacing about 1 inch apart. Gather scraps, reshape, and cut out. Brush tops with buttermilk (optional). Bake until tops are golden (or bottom is golden), 22 to 24 minutes. Transfer to wire rack to cool.