Baby-growing has made me want some interesting foods. For one, spicy foods are now a top priority, not that I did not like them before, but just not at this level. Cereals have been a high contender as well, and this is coming from a girl who always chose toast or oatmeal over cereal. Ice cream has been a biggie as well, which is interesting considering the lactose intolerance before pregnancy. And now in the third trimester, enter, chicken. Granted it has to be free-range, hormone-free, happy before they died chicken, but it is still meat I am cooking nonetheless.
Last night I made a great dinner combining a few of these food wants – jambalaya and biscuits.
Jambalaya
1/4 c. olive oil
1 lb boneless, skinless, chicken breast halves
coarse salt & freshly ground pepper
3 celery stalks, finely chopped
1 medium onion, finely chopped
1 green bell pepper, stemmed, seeded, finely chopped
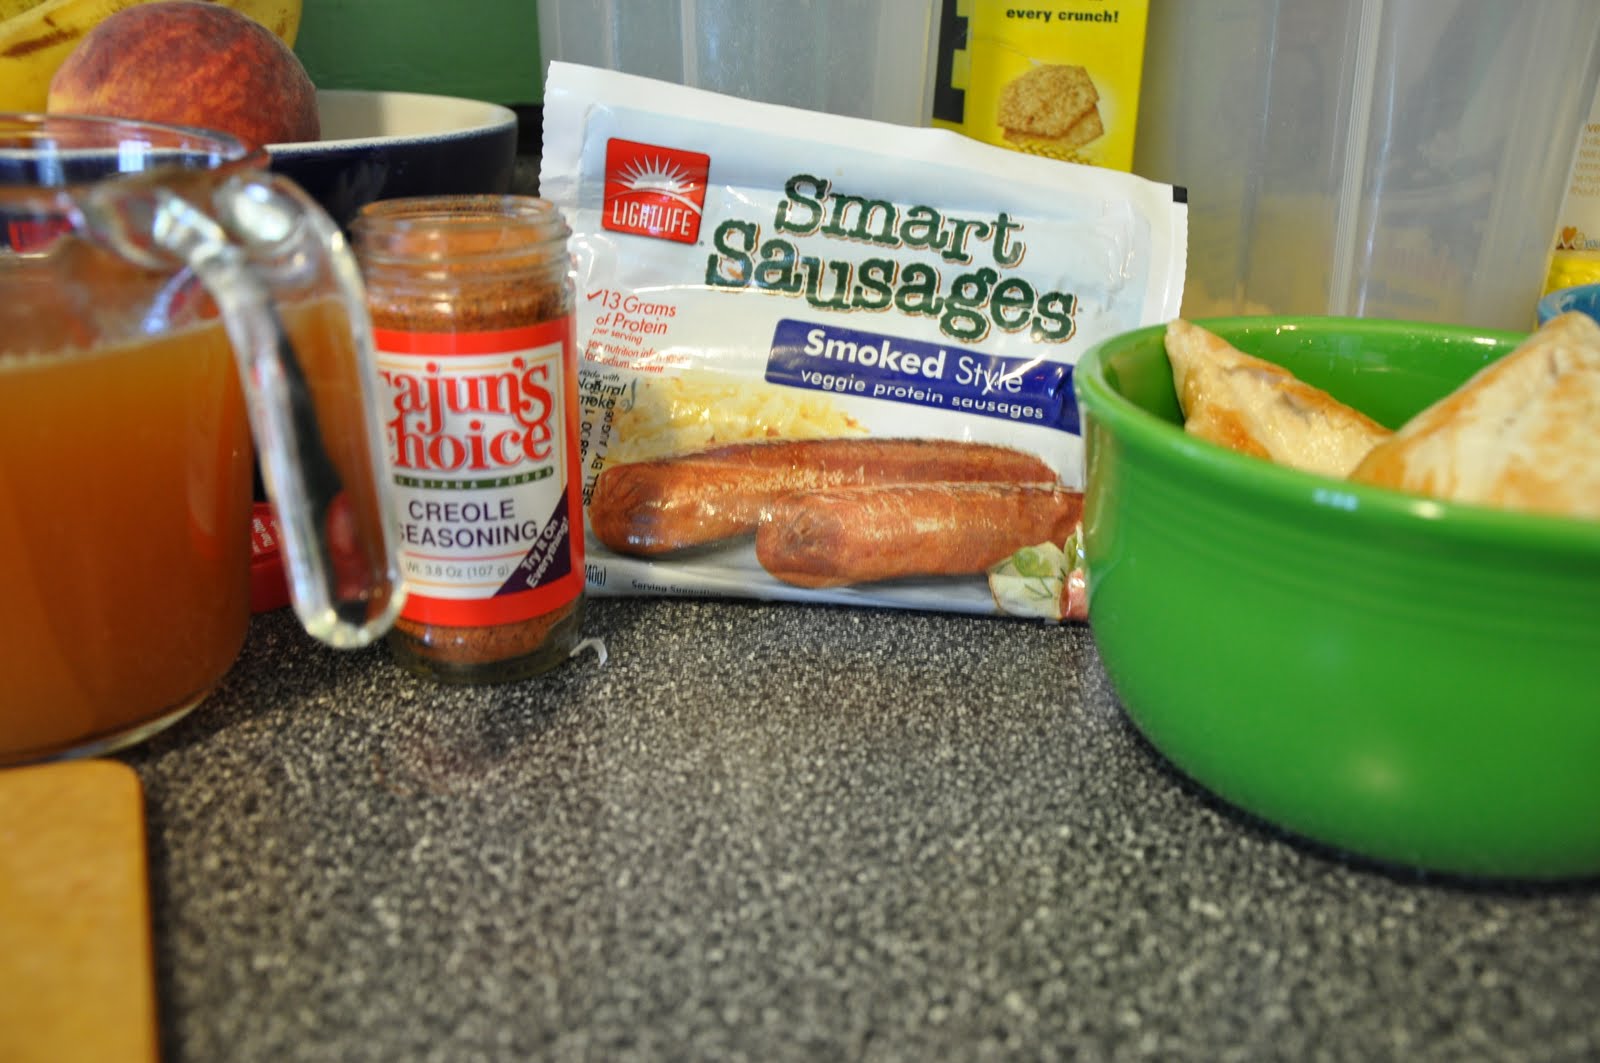
1 lb andouille sausage (couldn’t do it, so I used soy sausages), cut into 1/2-inch pieces
2 garlic cloves, minced
2 c. stock
1 teaspoon Old Bay or other Cajun seasoning
1 can (14 oz) crushed tomatoes
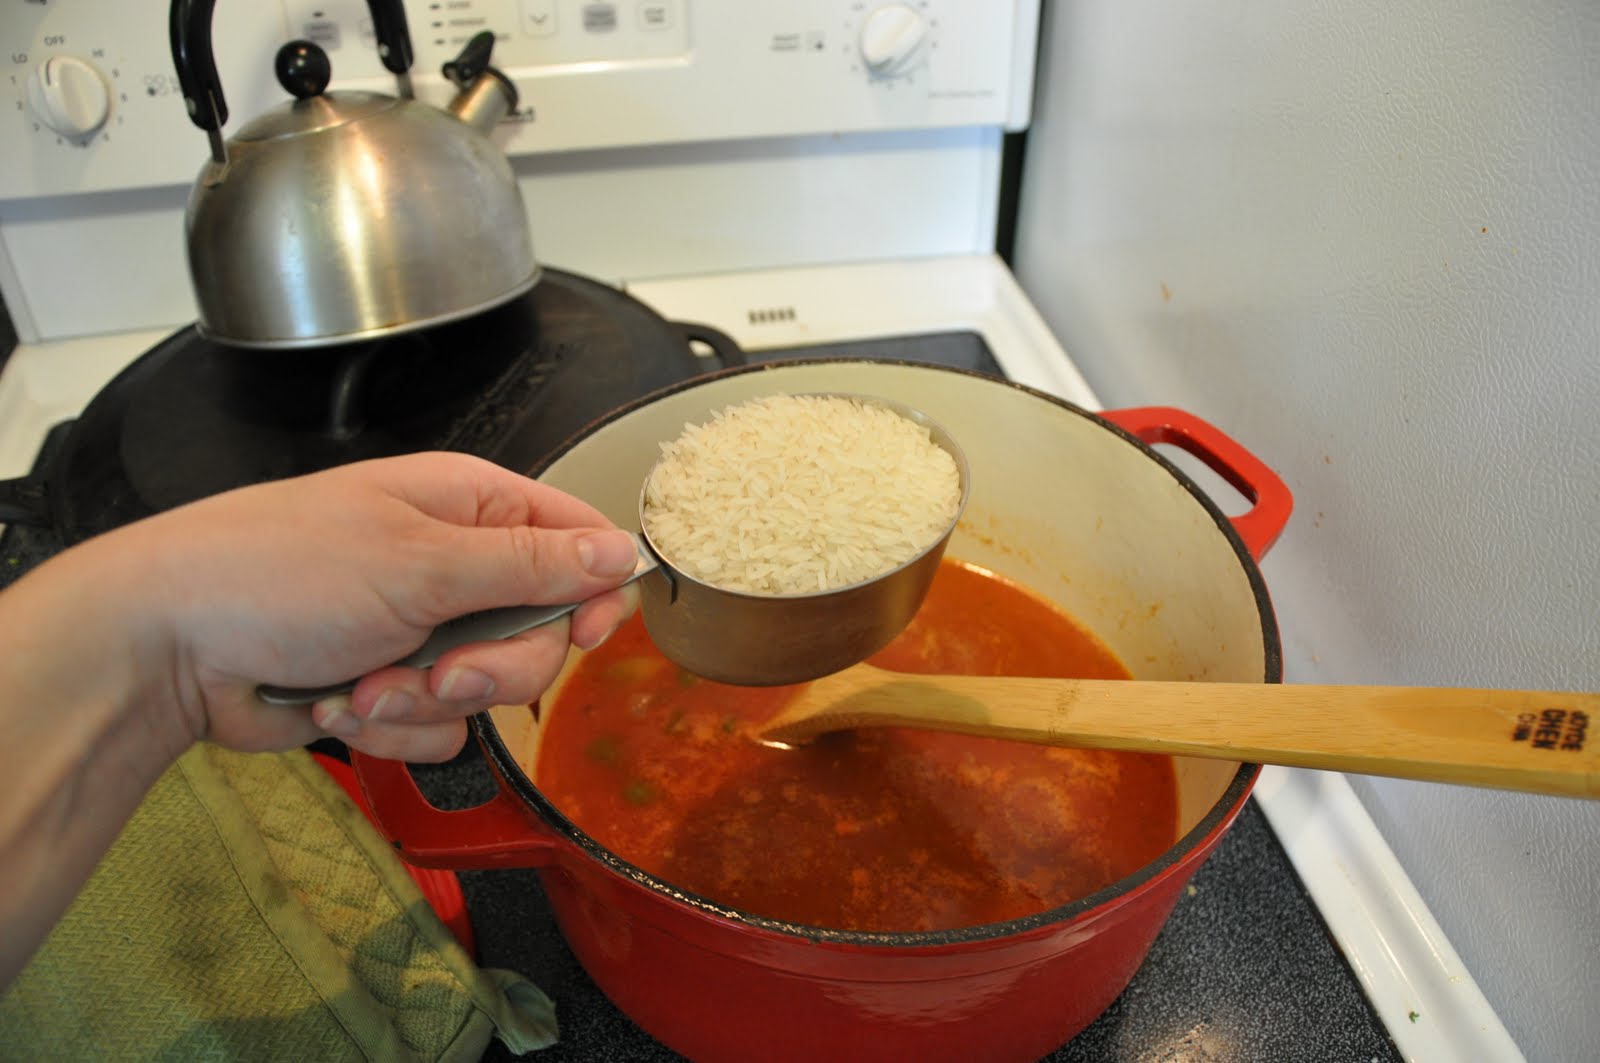
1 c. long-grain rice
1. Heat oil in Dutch oven over medium-high heat. Season chicken with salt & pepper. Cook until golden brown, about 5 minutes per side. Cut into 3/4-inch pieces, set aside.
2. Add vegetables to pot. Cook, stirring, 5 minutes. Add sausage; cook 3 minutes. Add garlic; cook 1 minute. Stir in stock, seasoning, tomatoes, and 1/2 c. water; bring to a boil. Add rice and chicken. Reduce heat; simmer 5 minutes. Cover; remove from heat. Let stand until rice is tender and liquid is mostly absorbed, 30 to 35 minutes. Season with salt & pepper.
I used jasmine rice for this recipe, which took a little longer than the 30 minutes, so I kept a low heat on the pot for about 10 minutes to keep the rice from taking too long to fully cook.
Smart sausages worked excellent in this recipe, I just sliced them and used them as you would regular sausage. Cajun’s Choice is a fairly mild spice, I amped up the amount in my recipe.
Buttermilk Biscuits
2 c. all-purpose flour, plus more for dusting
2 tsp. baking powder
1/4 tsp. baking soda
1 tsp. coarse salt
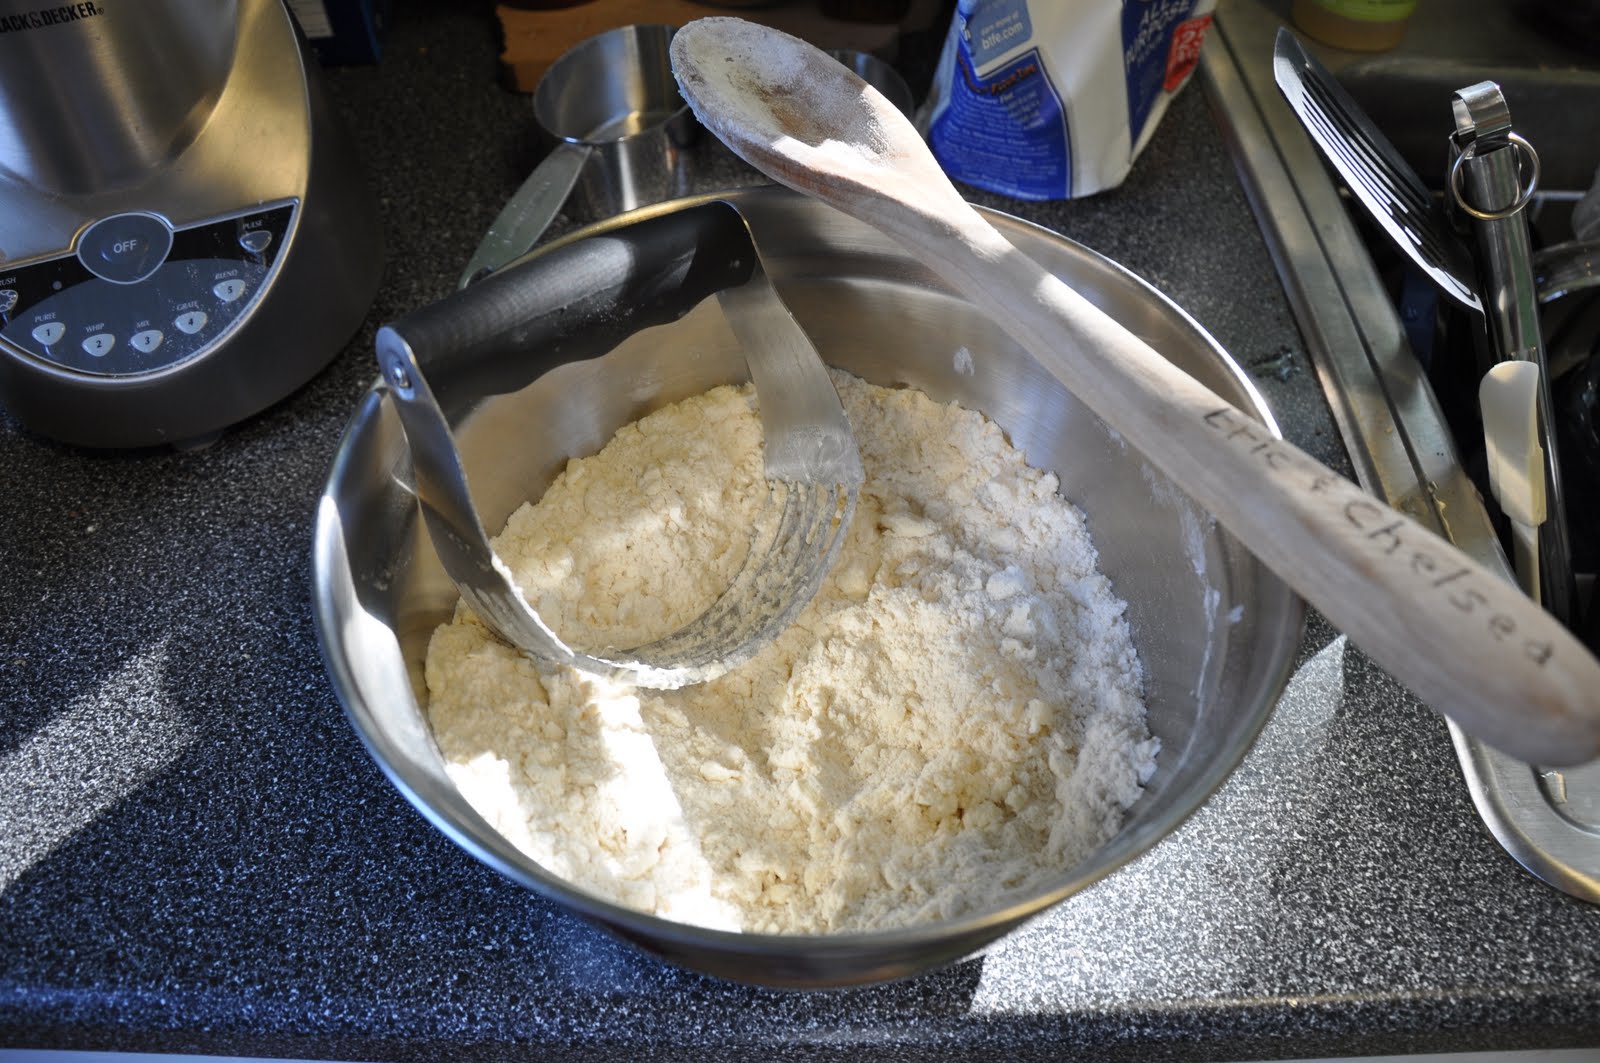
1/2 c. (1 stick) cold unsalted butter, cut into small pieces
1/2 c. low-fat buttermilk, plus more for brushing
1/2 c. heavy cream
1. Preheat oven to 375. Whisk together flour, baking powder, baking soda, and salt in medium bowl. Cut in butter using a pastry blender or fingers until mixture resembles coarse crumbs. Add buttermilk and cream; stir to combine.
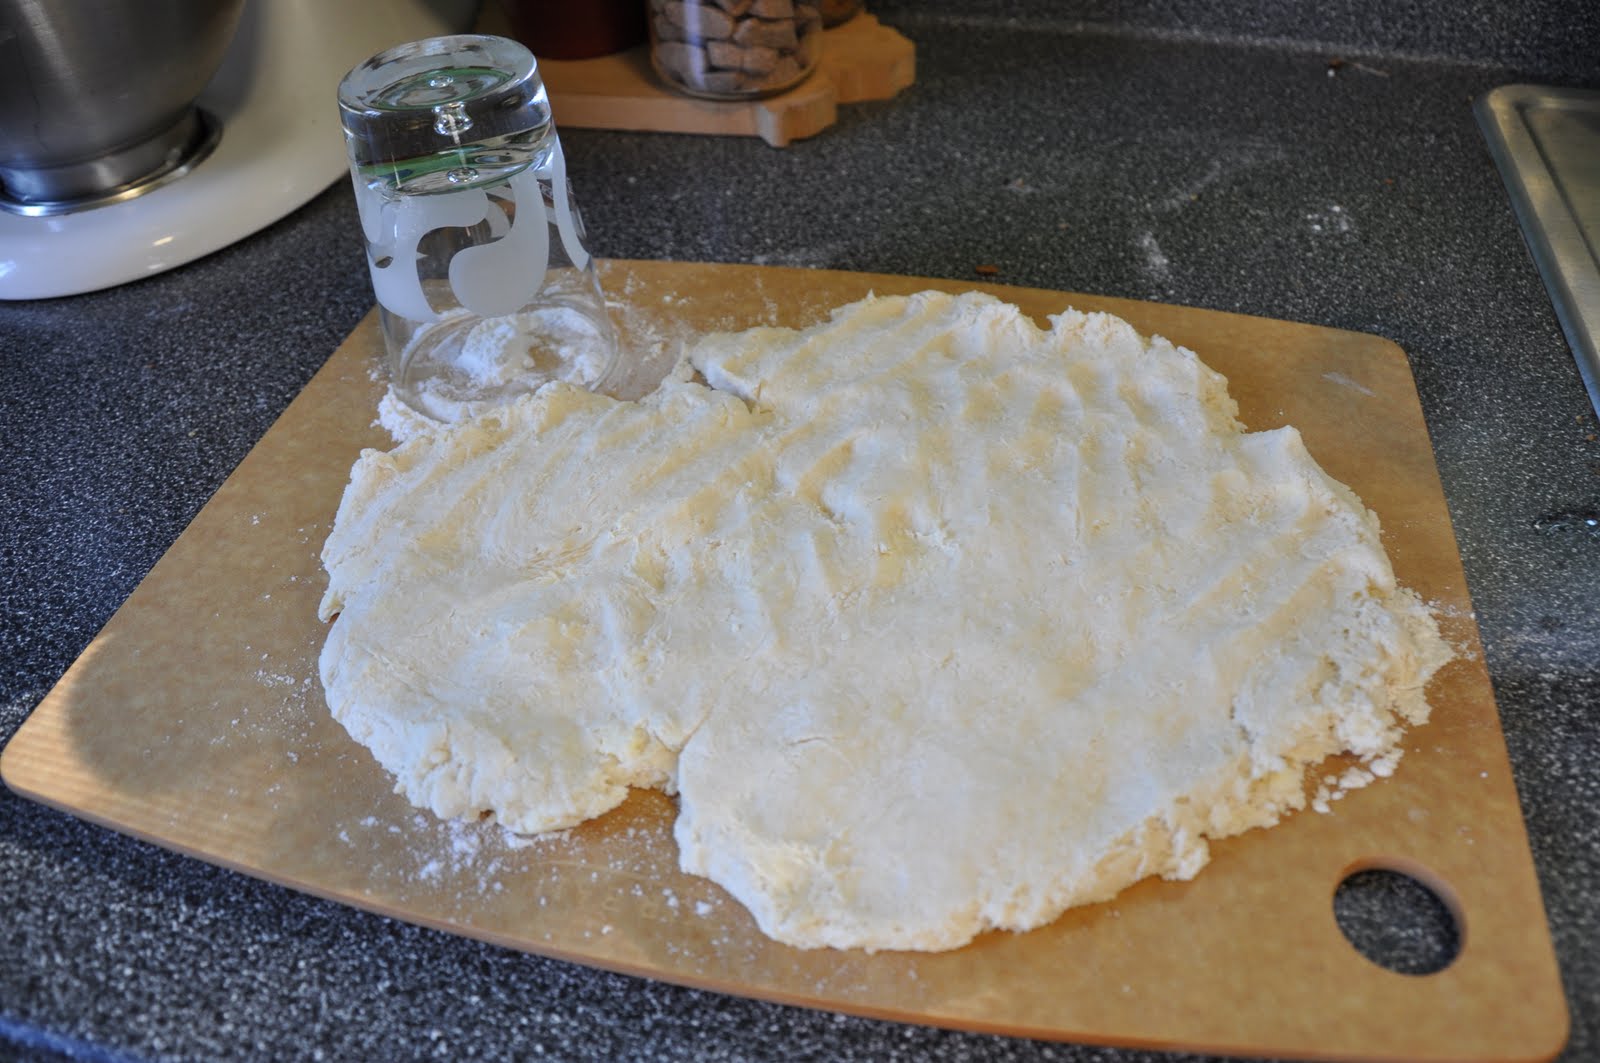
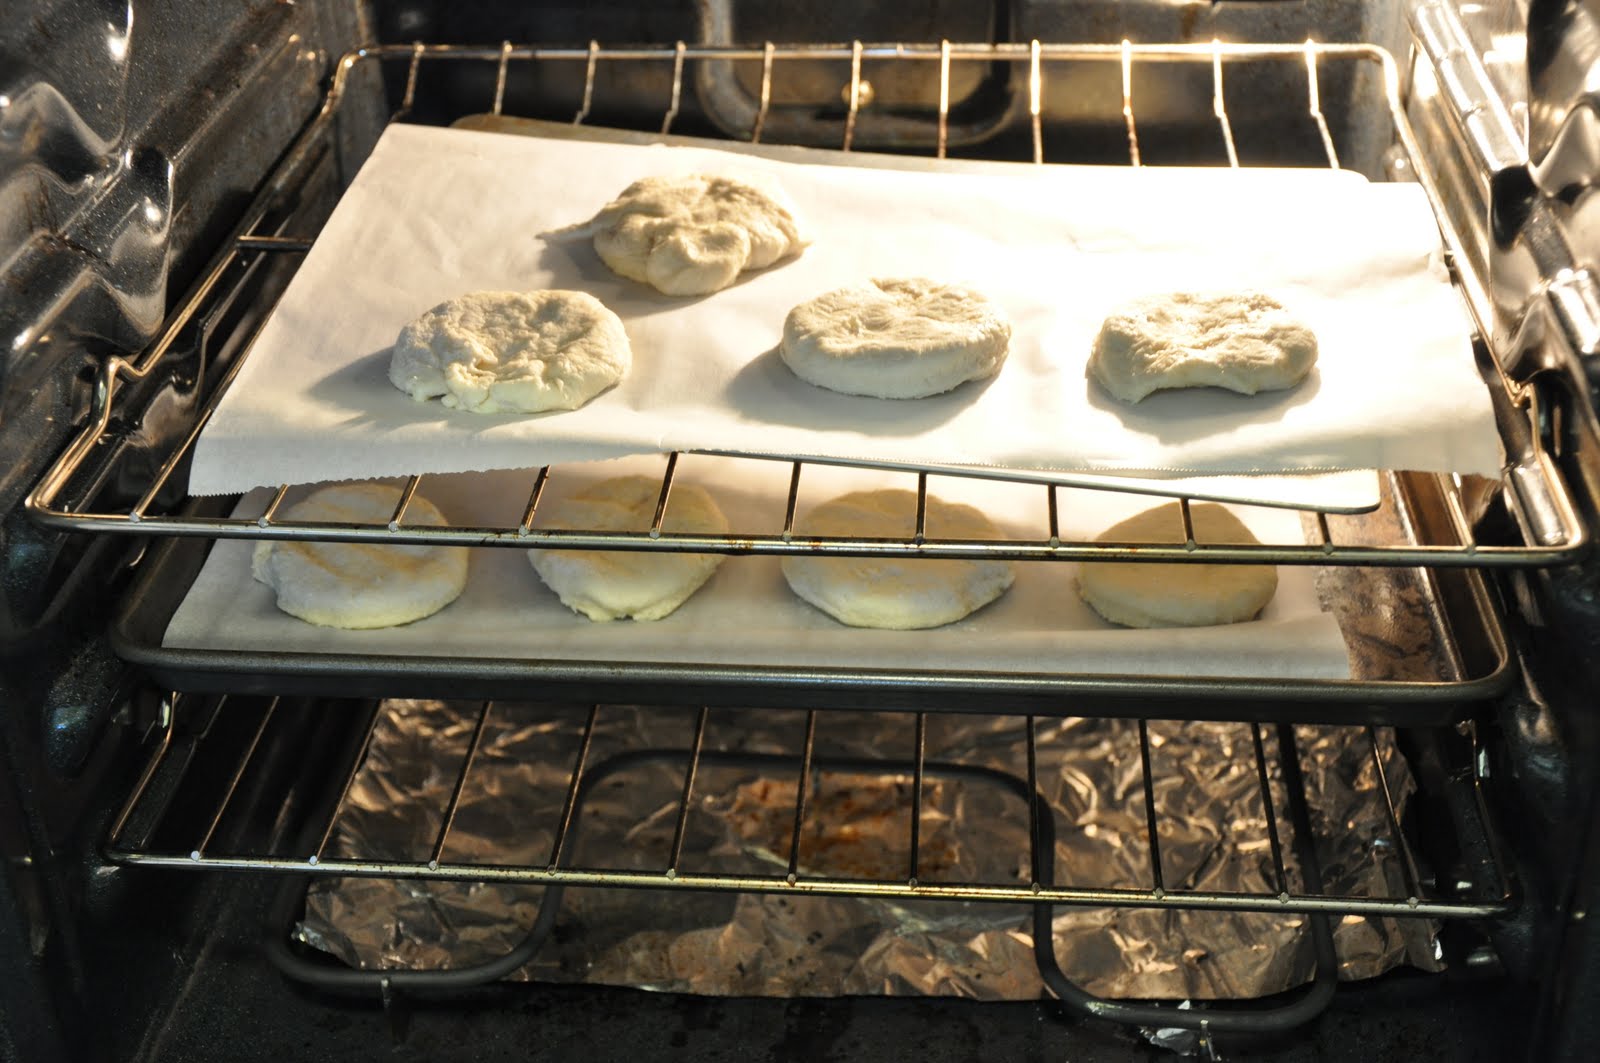
2. Turn out dough onto a lightly floured work surface, and pat to about 1-inch thickness. Using a lightly floured cutter, cut out rounds. Transfer to a baking sheet lined with parchment paper, spacing about 1 inch apart. Gather scraps, reshape, and cut out. Brush tops with buttermilk (optional). Bake until tops are golden (or bottom is golden), 22 to 24 minutes. Transfer to wire rack to cool.
A pastry blender is one of my favorite baking tools. It cuts in butter better than anything else – pie crusts are perfect because of this tool. Butter is much better than margarine when making baking. It is the fat that melts closest to our own body temperatures, hence no greasy feeling in the mouth, and the flavor enhances other flavors. Butter has an overall better texture, leading to denser baked goods. I recommend an unsalted, organic butter. Quality butter makes quality pastries.
Try to reshape only once, as every time you work with the dough, it will become tougher and result in a chewier biscuit. This means you will be left with one odd looking biscuit at the end. I use a small drinking glass dipped in flour to make my biscuits. Just be sure to re-flour it each time to prevent sticking.
Parchment paper is next best baking invention. It prevents the need to grease pans and will catch any melted butter drippings that may occur. It took one or two oven fires for me to catch on to this nifty product. I did not brush the tops of my biscuits with buttermilk, and so had to check the bottoms for the golden color. I made mine a little thinner, and so adjusted the baking time as well.
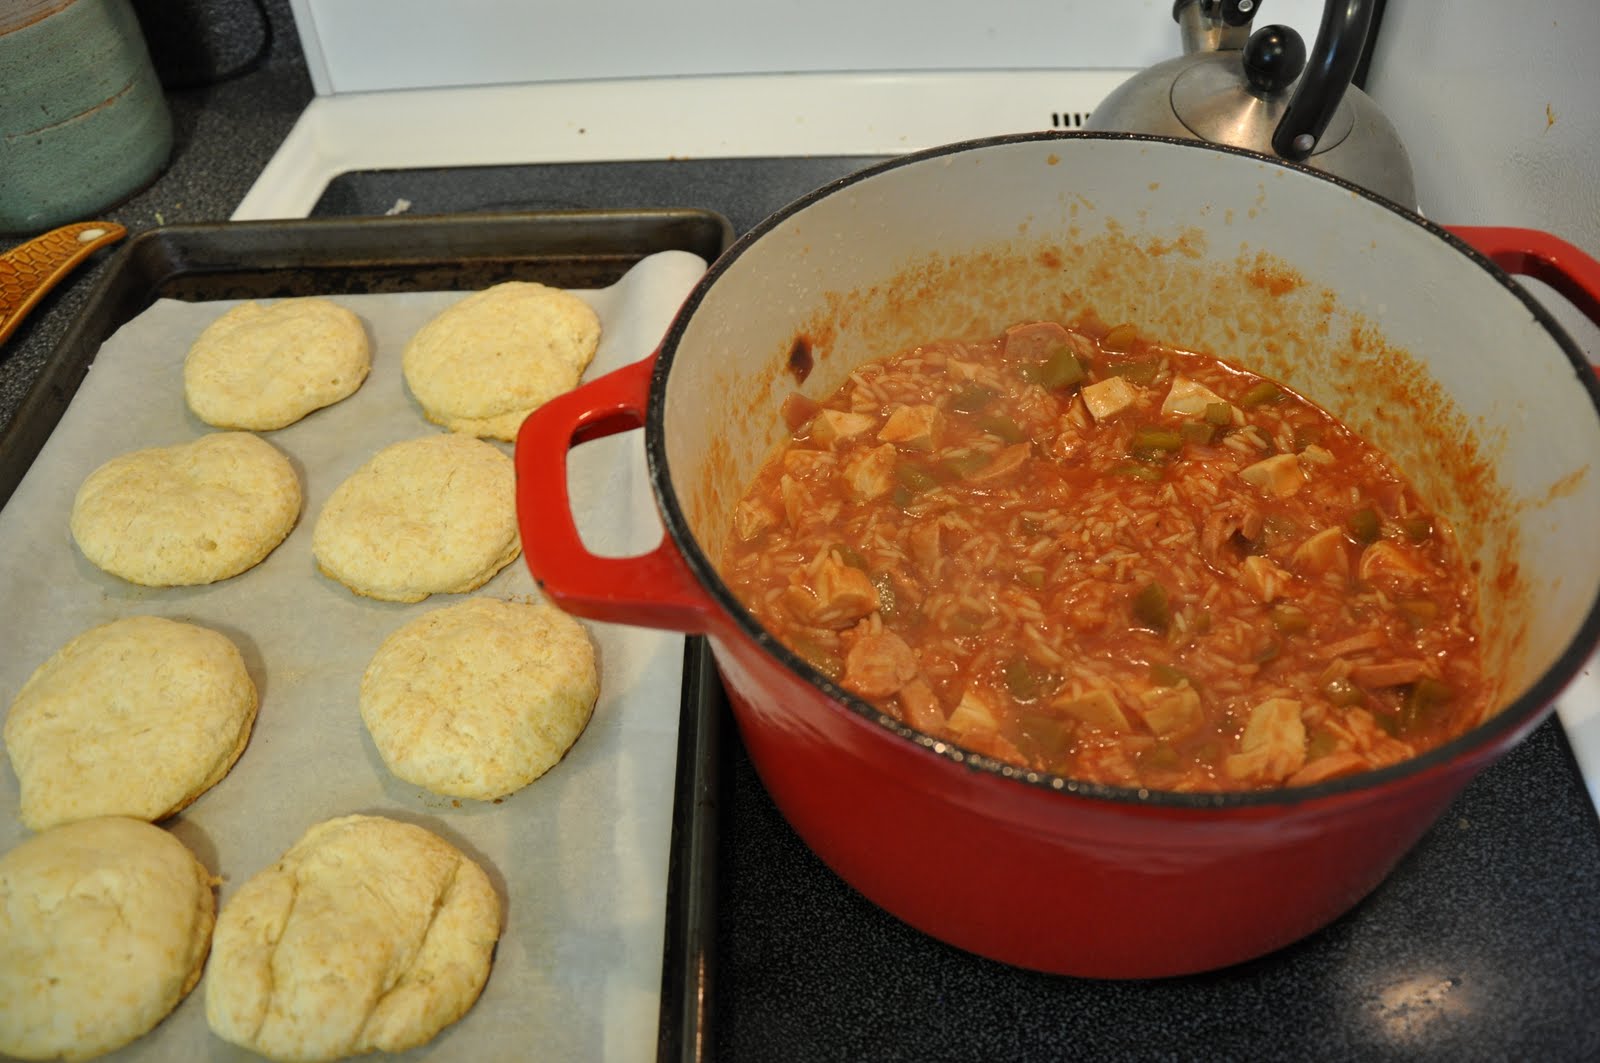
The finished jambalaya & biscuits. I always eat my biscuits served warm with honey.
Fairly easy meal, surprisingly from Martha Stewart Living, Feb. 2007. Sometimes Martha has some ridiculous recipes and I find myself cutting corners. This one was pretty straight-forward. It had the suggestion of bananas foster for dessert, but I will be waiting on that until after baby comes along so I can make it the proper way.