Western Vacation: Red Lodge, Montana and the Beartooth

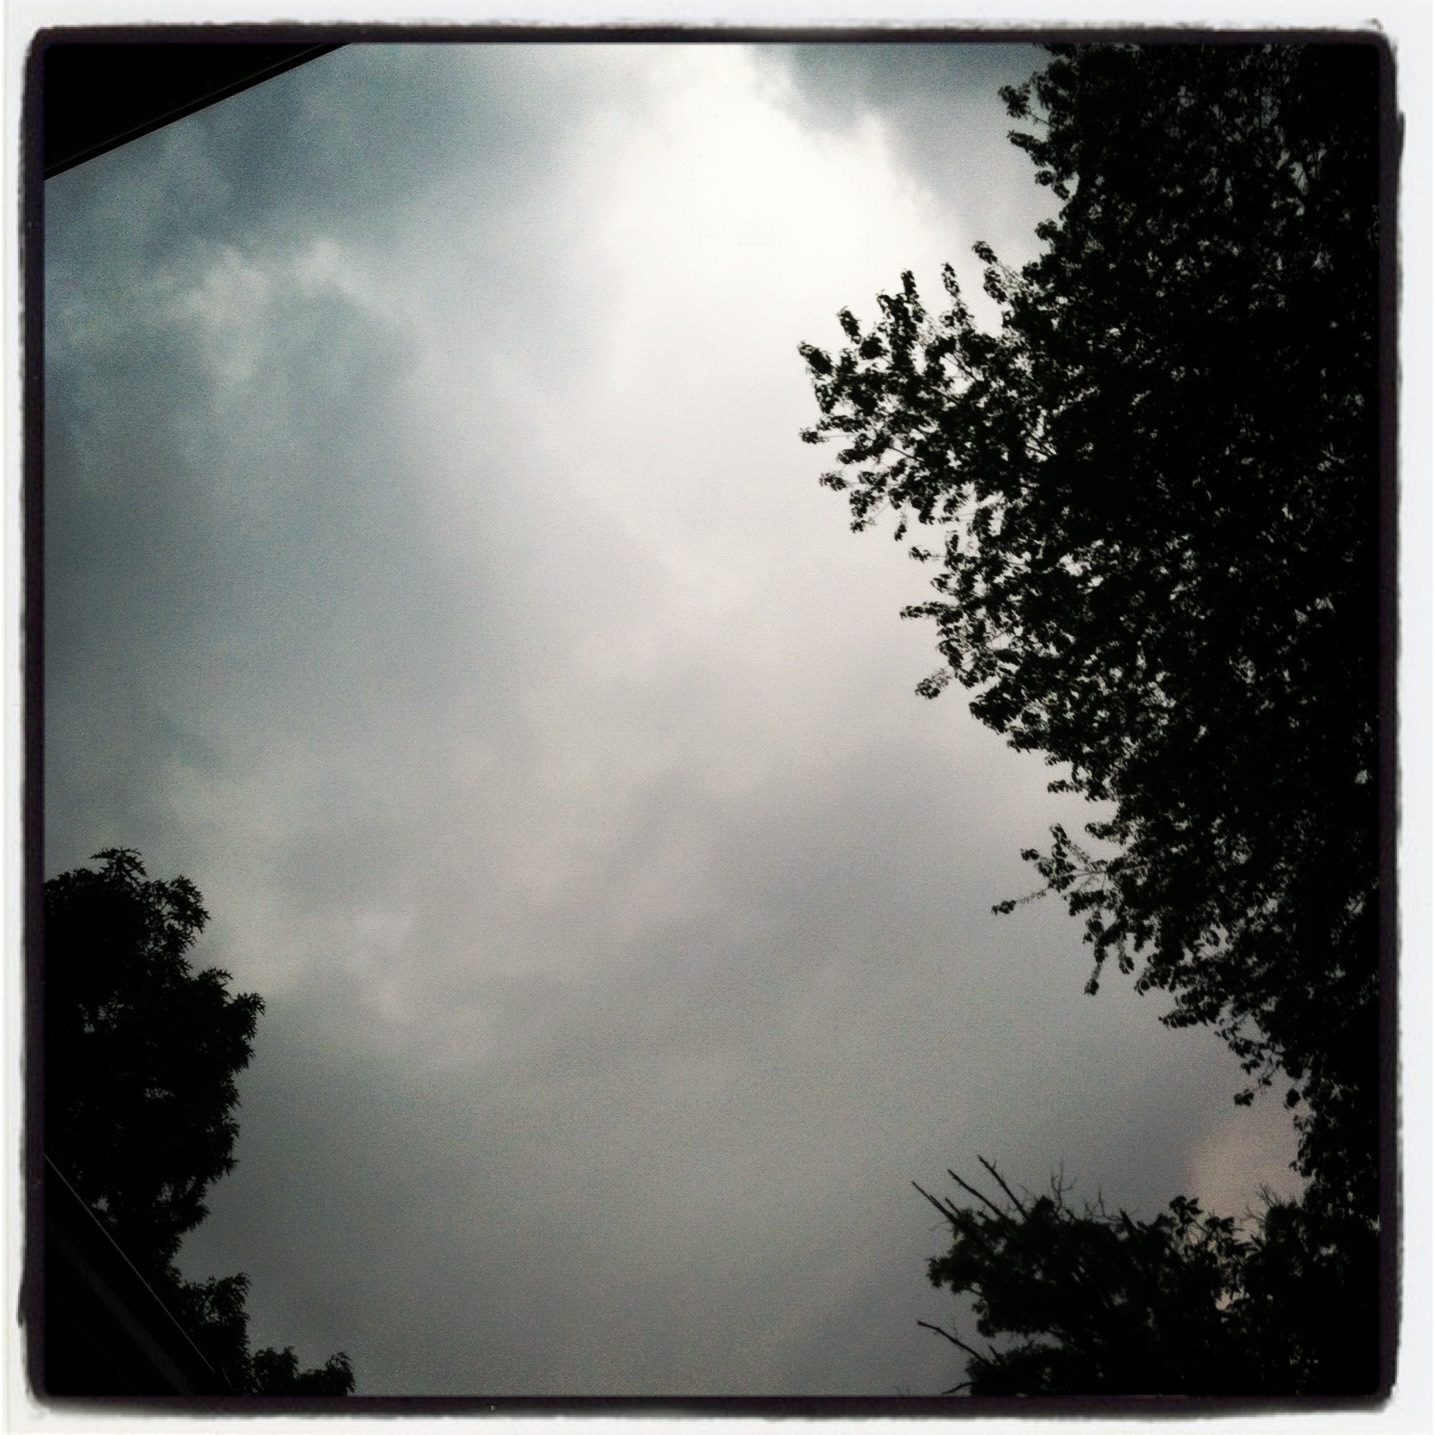
Whew!  I’m back and I bet you didn’t even know I was gone.  We were on a whirlwind tour of the United States these past two weeks.  We saw everything from black bears, bison, and geysers to bacon wrapped corn dogs, butter cows, and Midwest thunderstorms.  The next few entries will fill you in.  
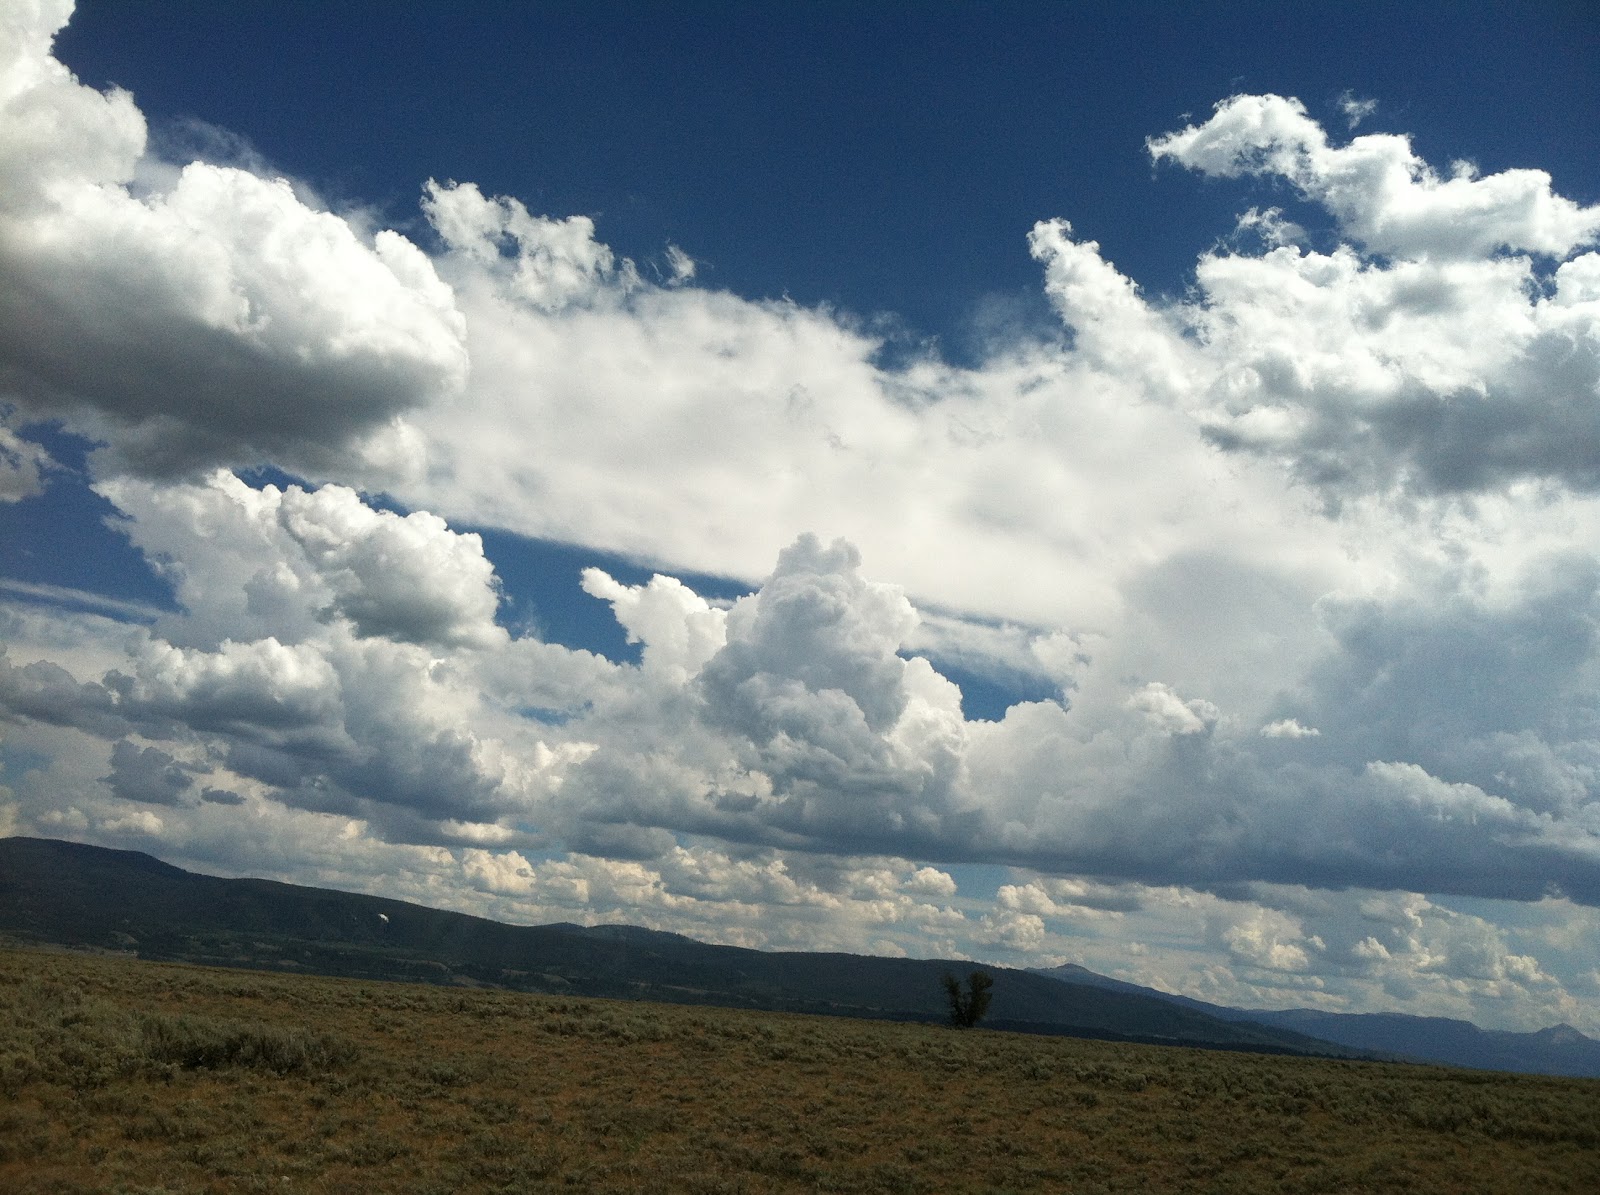
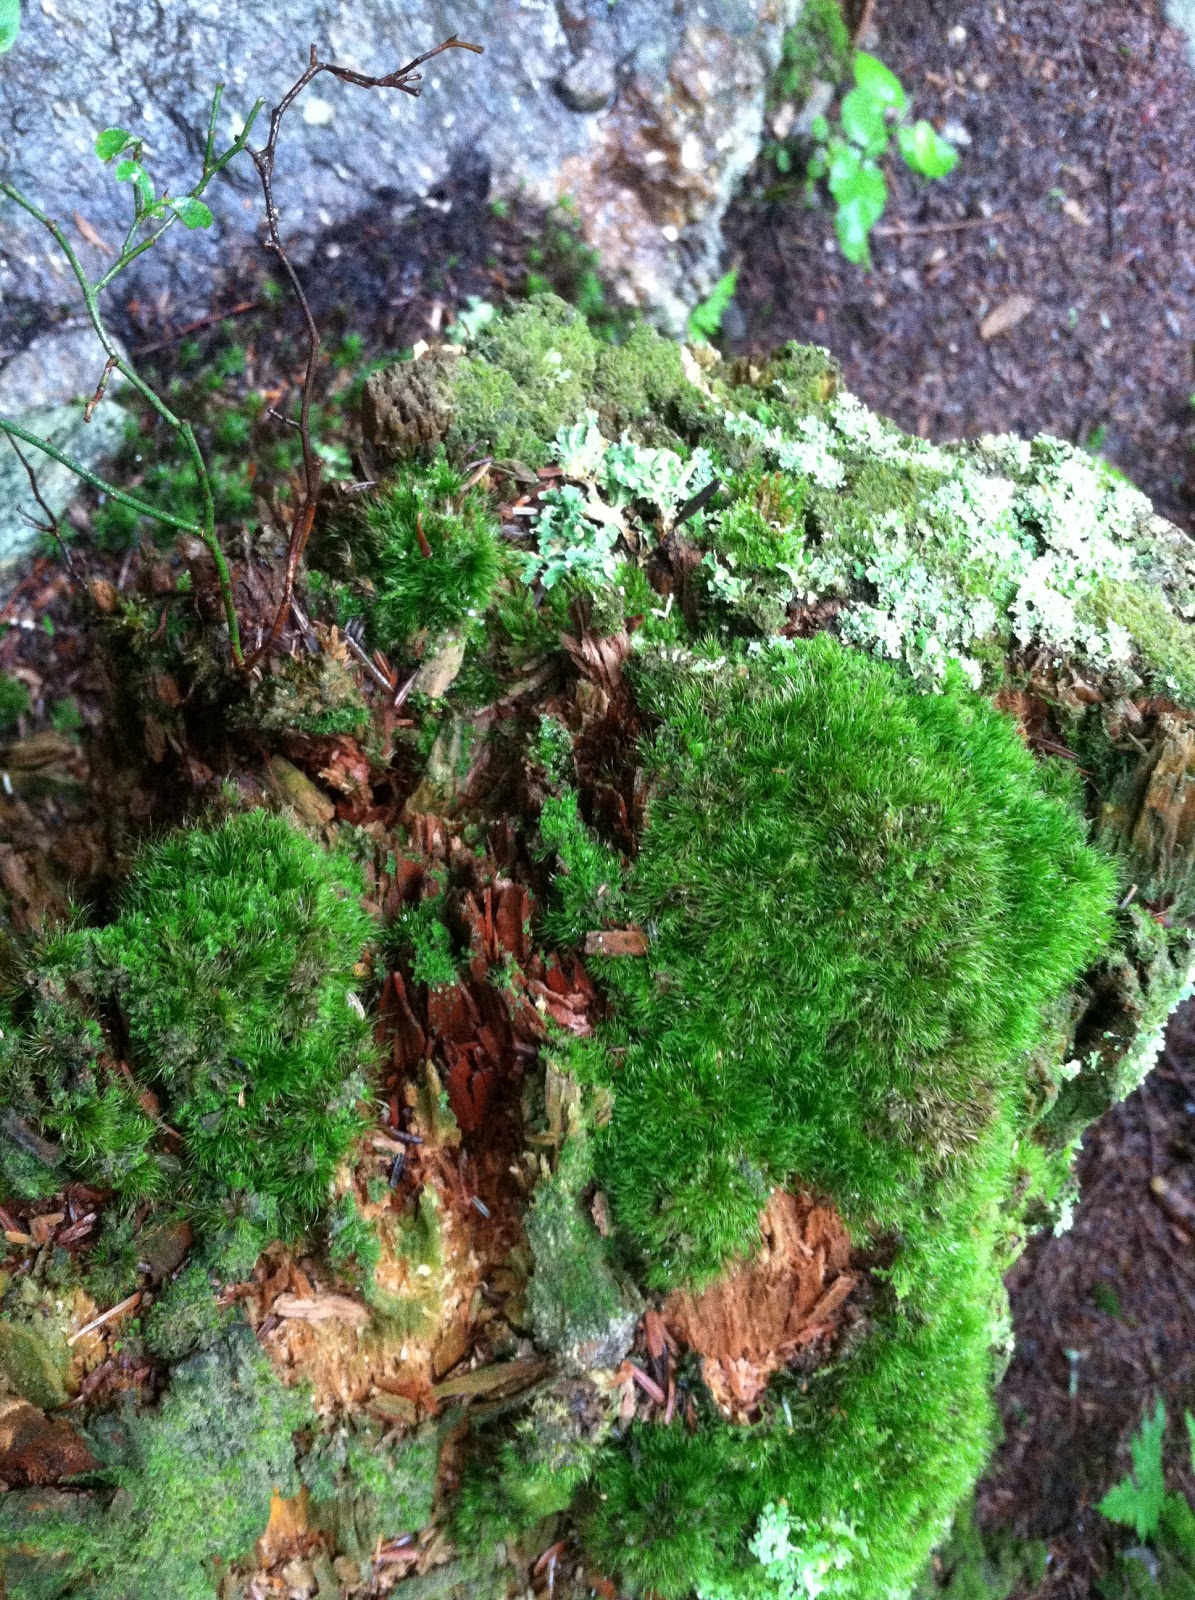
I’ve been dreaming of the mountain air all summer. 
It took a few flights to get us to that mountain air – we were up at 3:30 AM to catch our 6 AM flight and begin our trip.
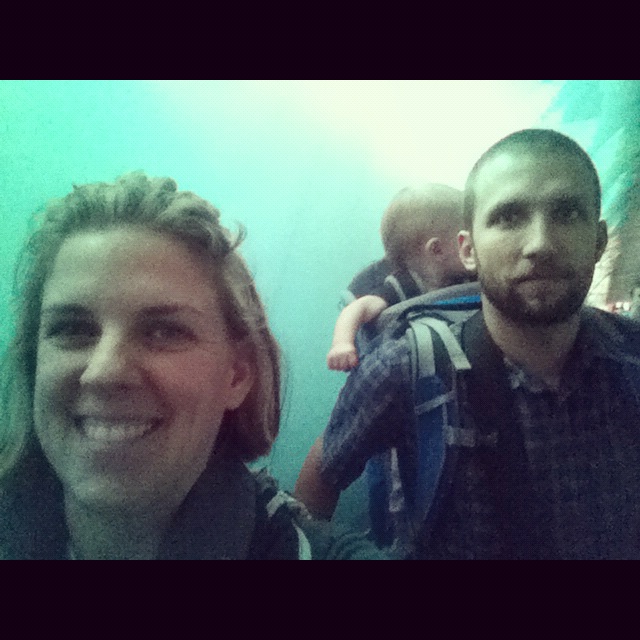
The Detroit airport is always lovely with its Northern Lights tunnel.  Next stop, Minneapolis.  
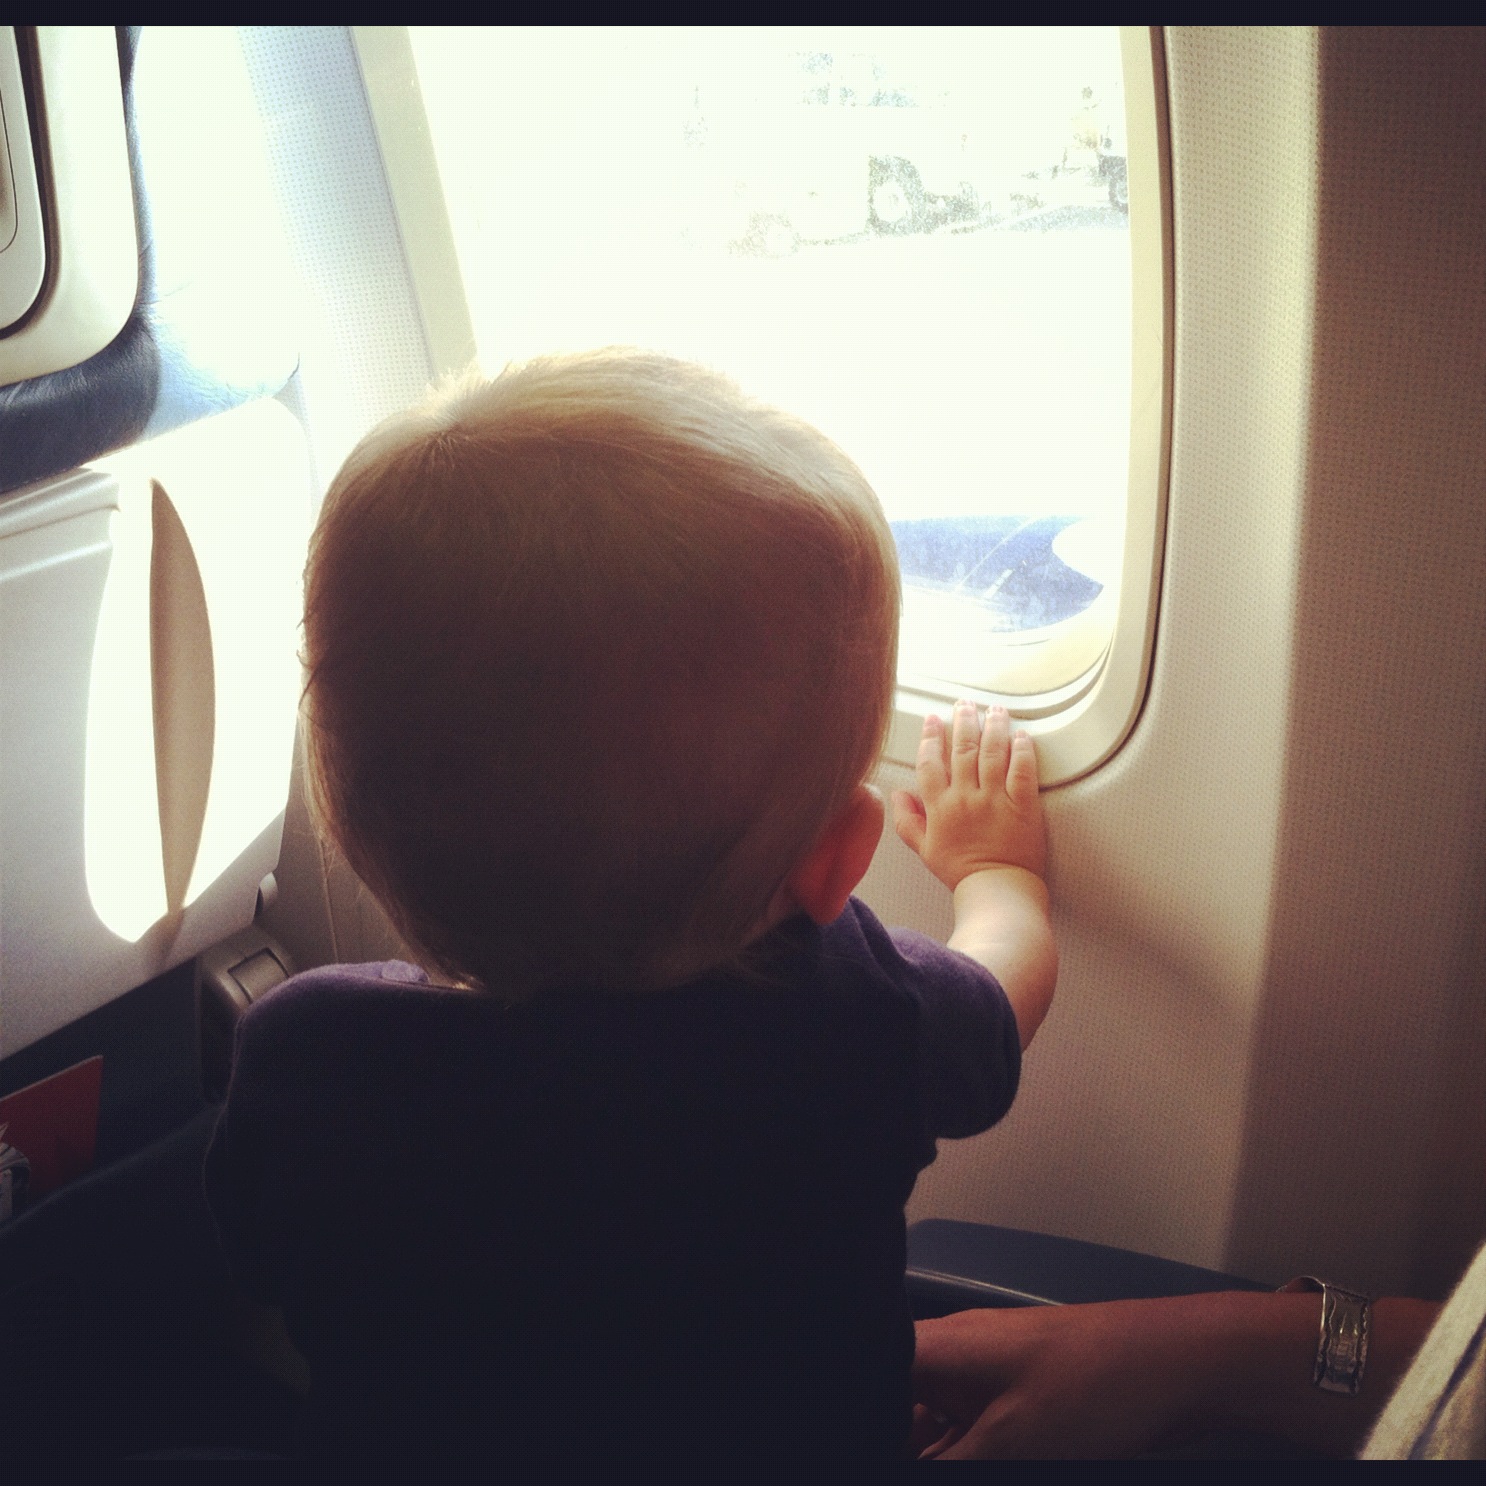
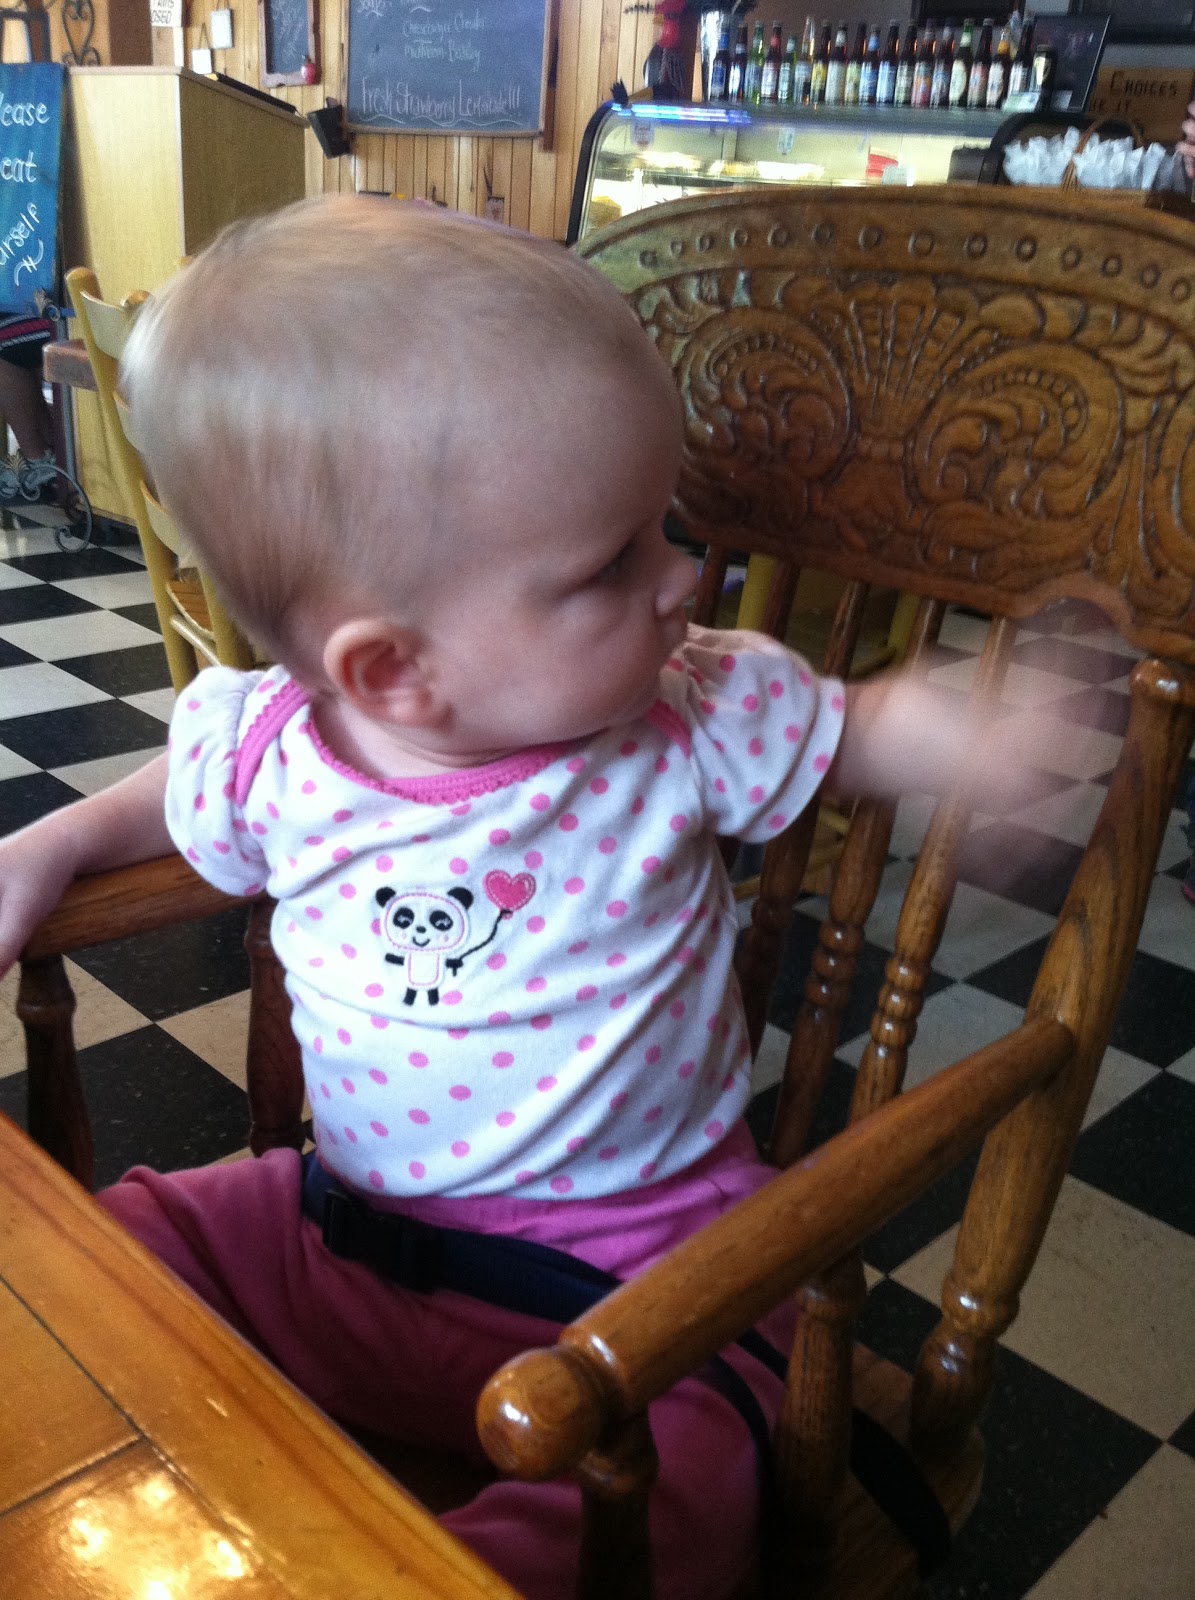
Greta enjoyed looking out airplane windows for the first time. 
We landed in Billings, Montana around noon.  These are the rim rocks, you drive down through them to get from the airport to the rest of the town.  We were in Billings a mere minutes this trip.  Previous trips allowed much more time, as my grandparents were residents at one point.  If you have time, swing through the Yellowstone County Museum, just outside of the airport.  This small museum hosts an impressive array of Western artifacts, a Northern Pacific engine, and a (stuffed) two-headed calf.  
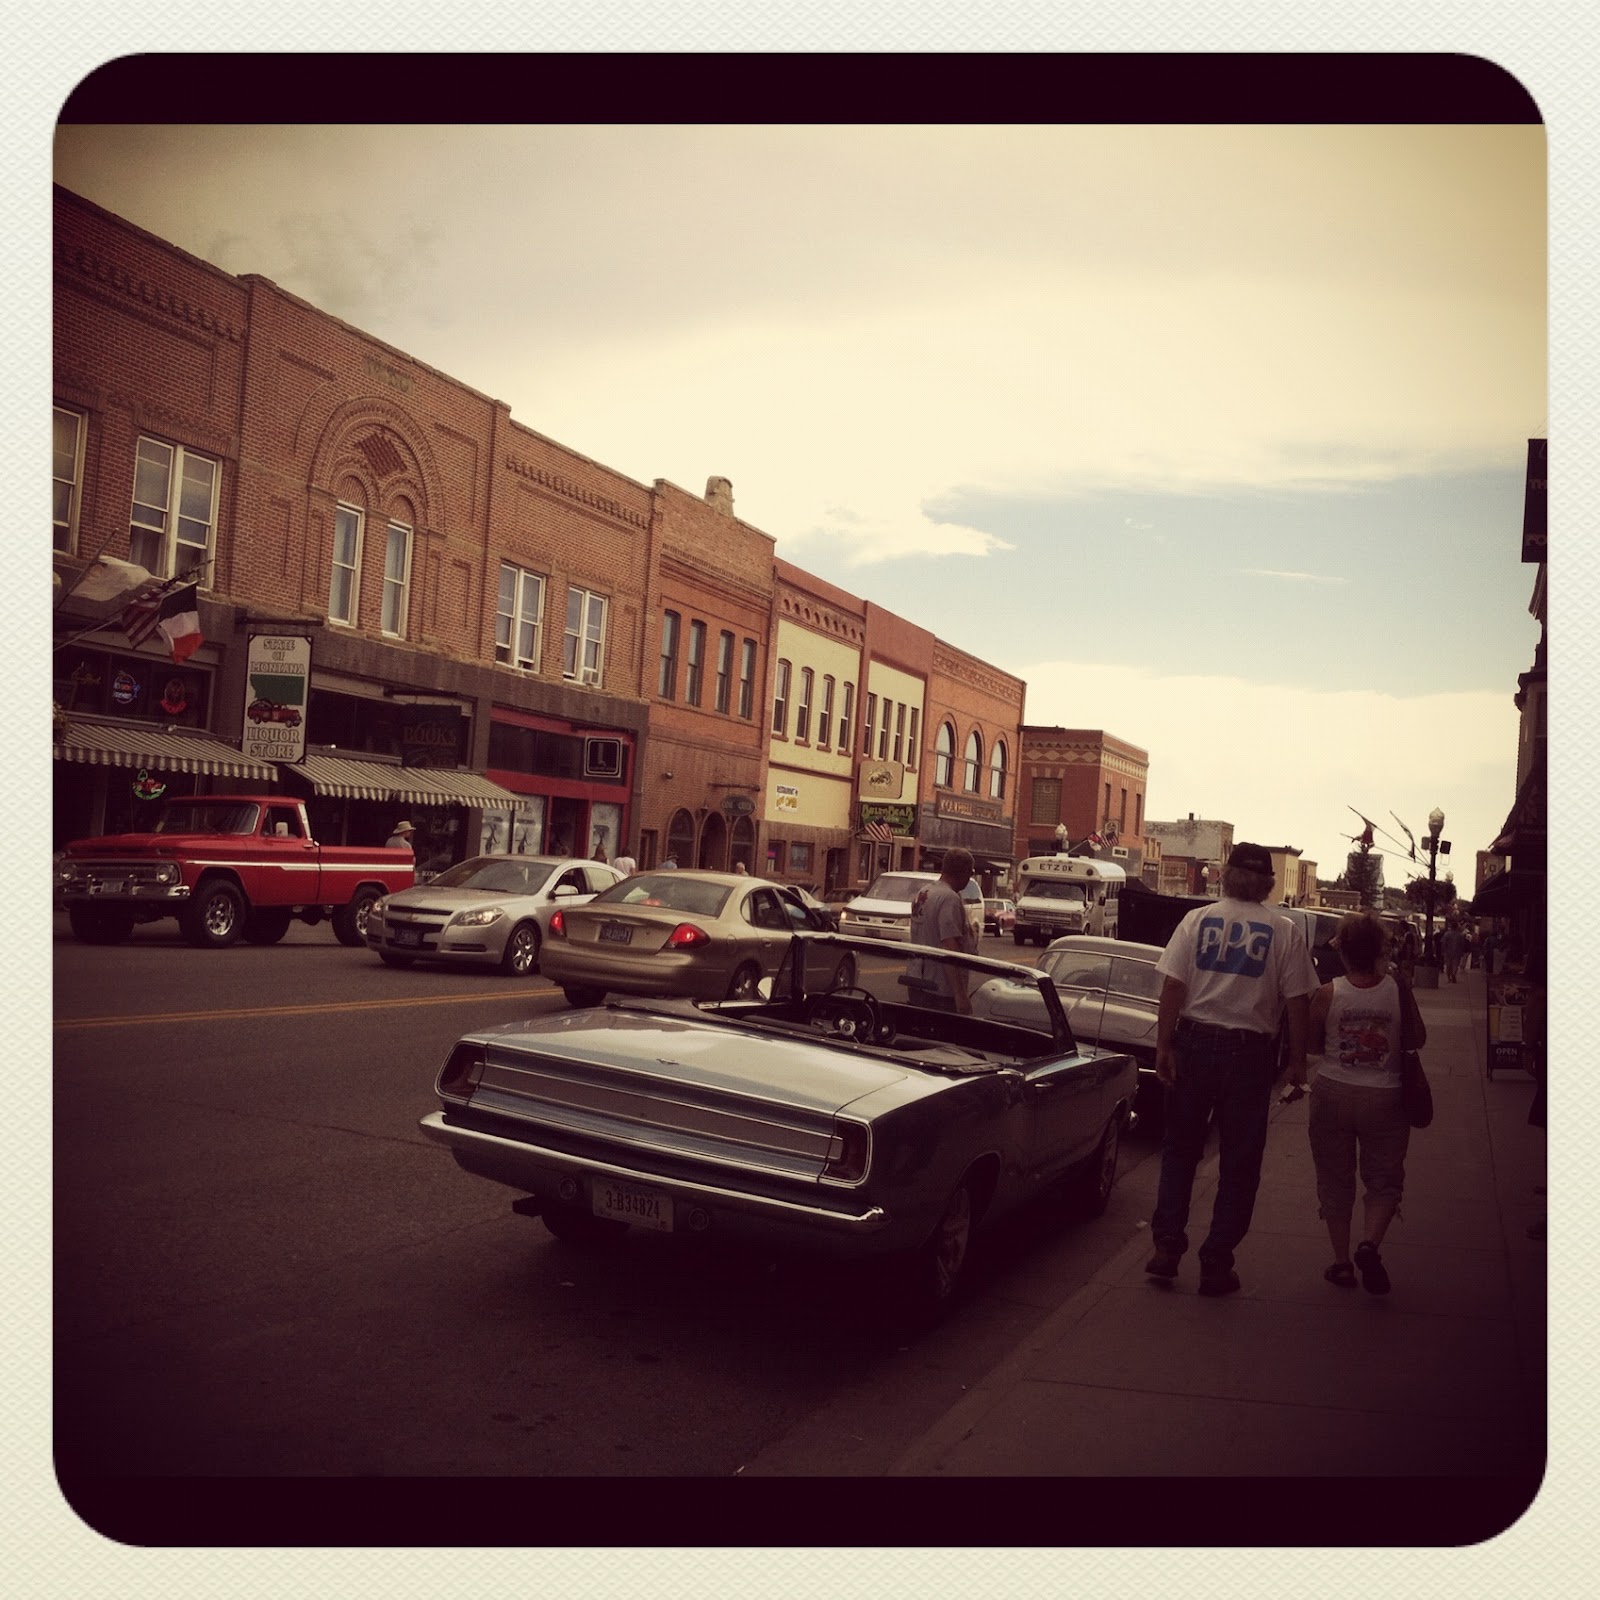
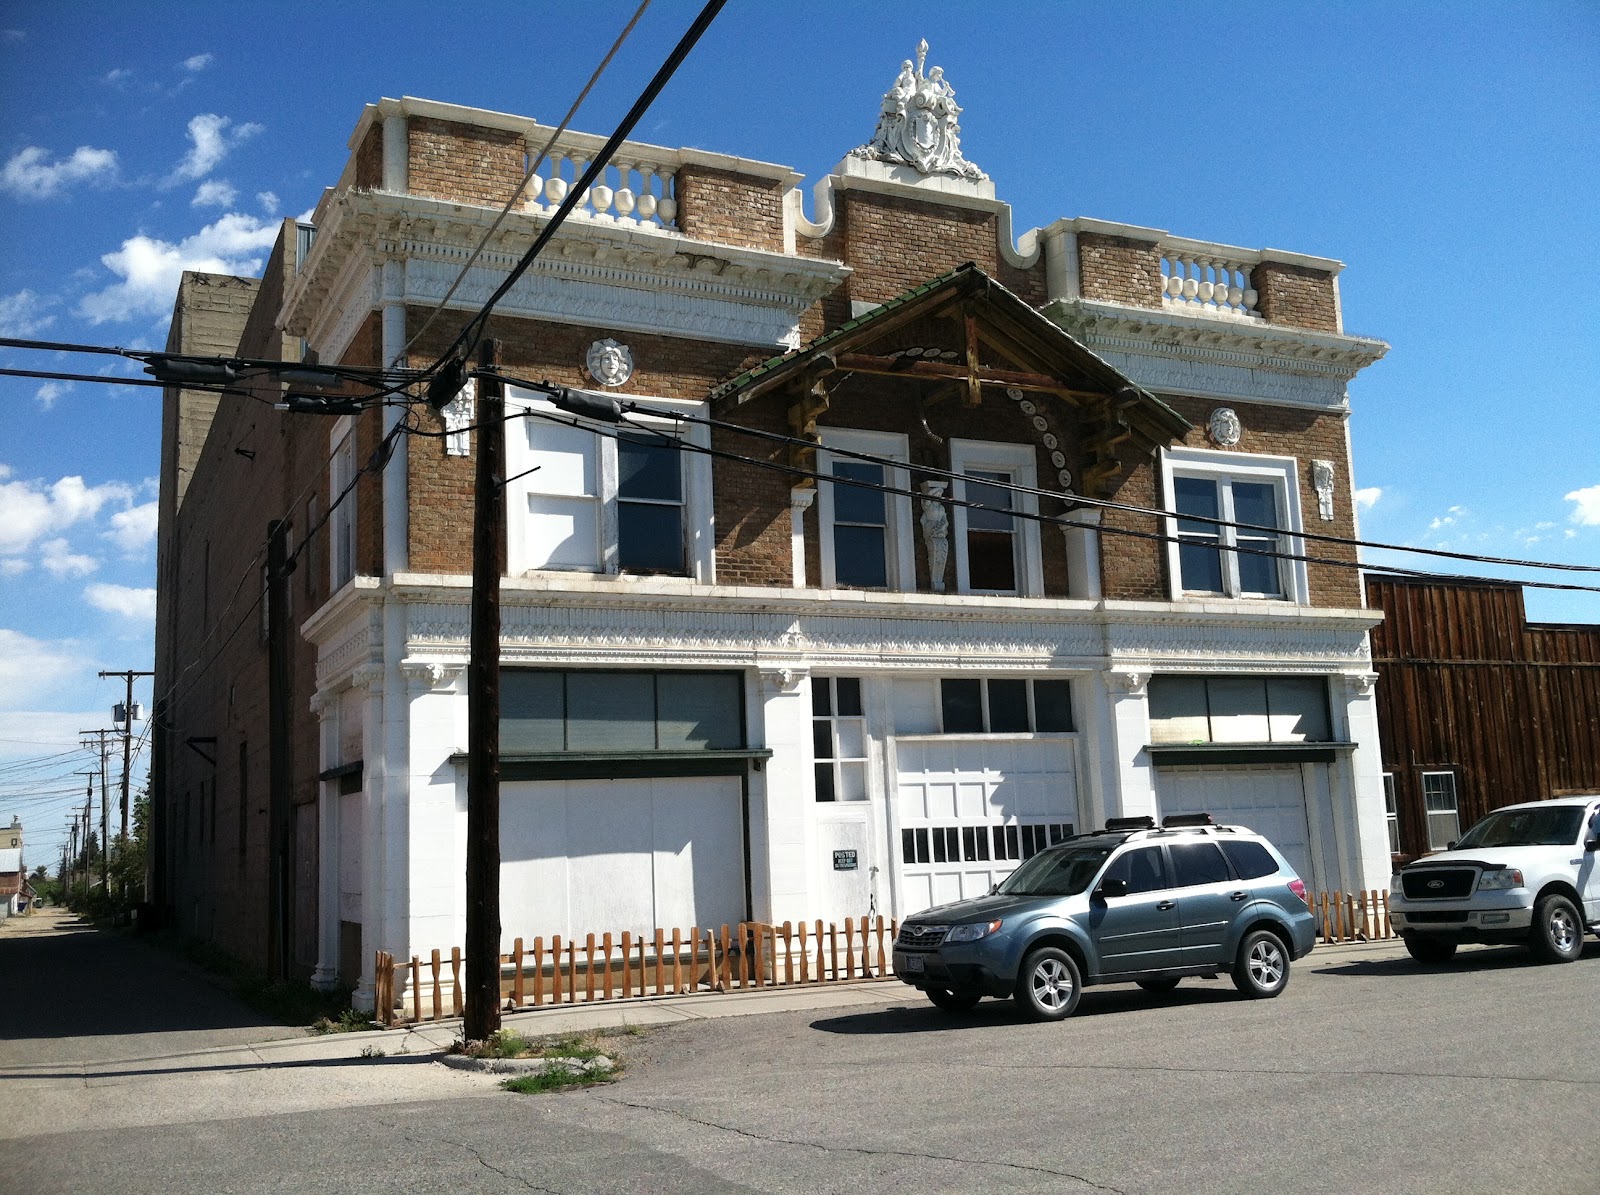
We headed on to Red Lodge, Montana for the night.  Once there, we realized were going to be sharing this former mining, turned ski town with a classic car show.  The main drag of this town is something straight out of a Western classic film.  
We stayed at The Pollard.  This is a beautifully restored hotel with nice rooms, a great dining room, and nice seating around a fire place.  
We spent some quality time in the lobby of The Pollard.  The best part of The Pollard – the complimentary breakfast.  Might I suggest the Grand Marnier French Toast?  I had been perusing their menu weeks in advance of this trip and knew I was going to order that very item.  It did not disappoint.  
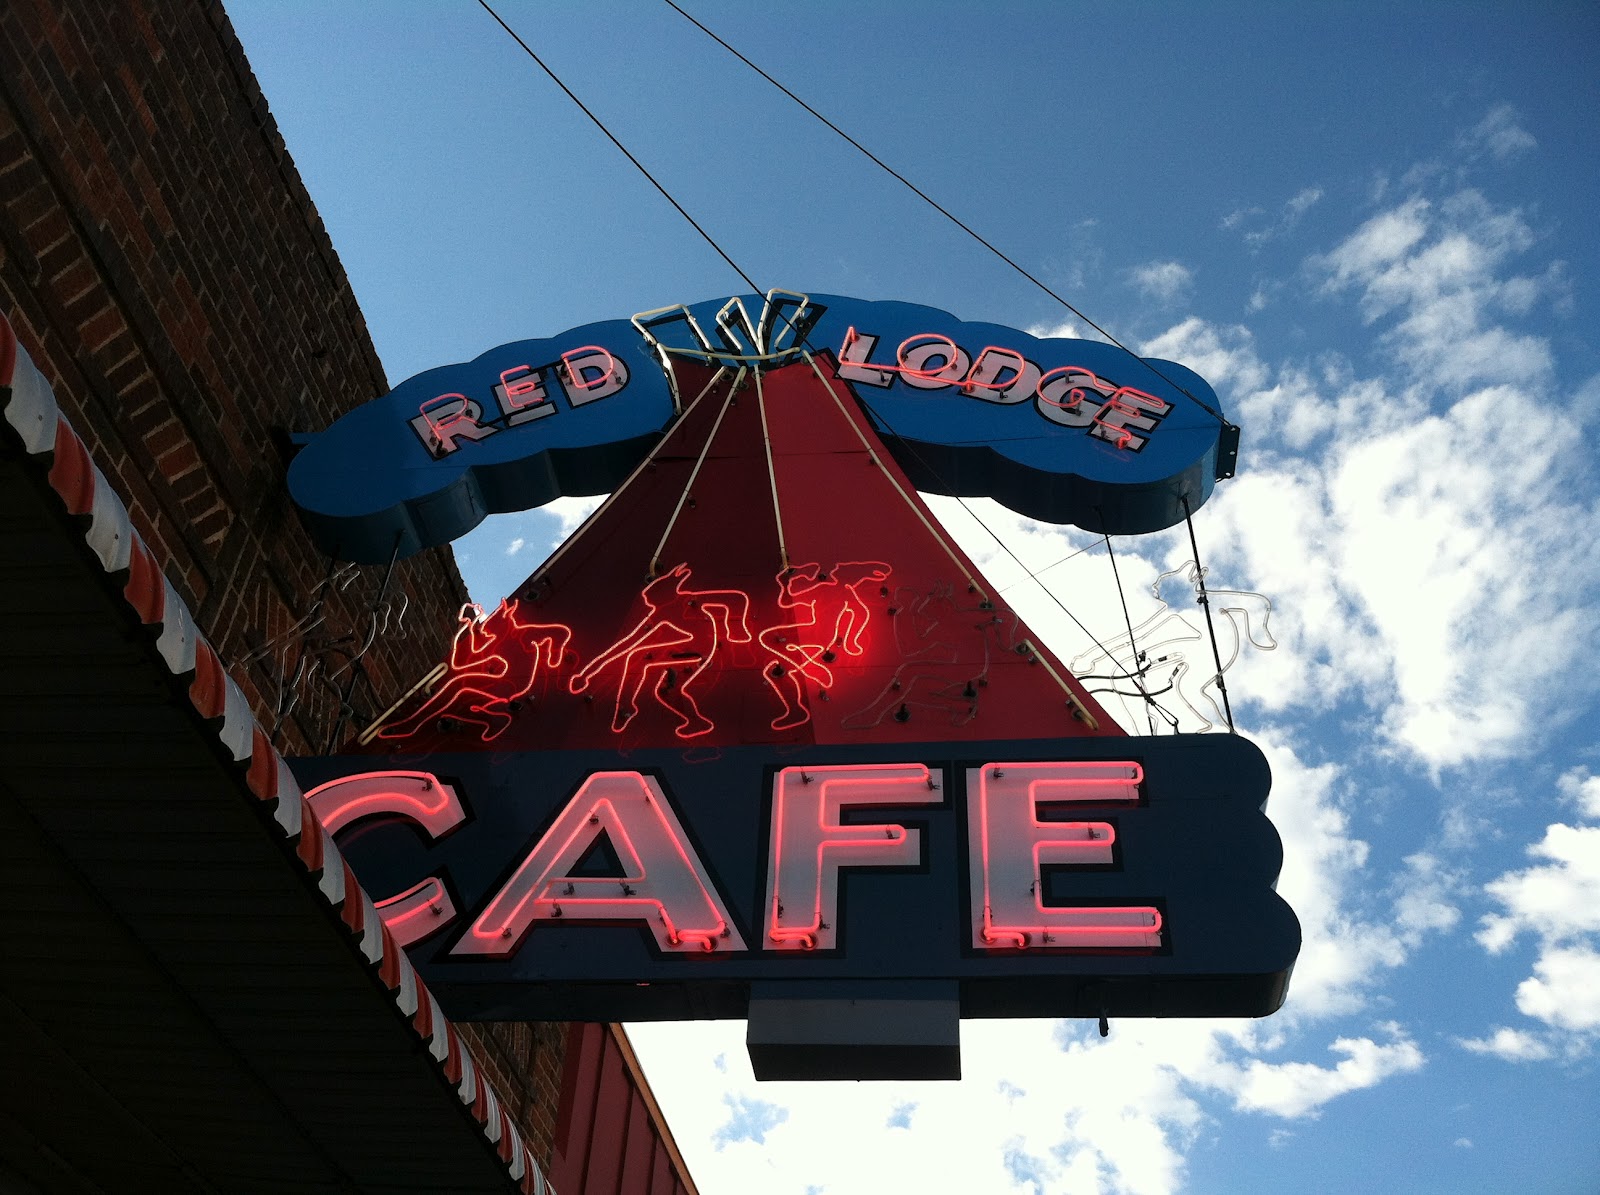
After breakfast, we packed up our things and headed out on a walk through the main drag, N Broadway.  There are lots of quaint shops, restaurants, bars, and art galleries to keep even the most serious shoppers interested.  Red Lodge Ales are brewed here, so if you are a craft beer enthusiast, add them to your beer bucket list.  
By the time we reached Rock Creek, we had already lost one member of the party.  Can you guess who?  Side note about places other than the South: I love being able to comfortably wear jeans and shoes in the summer!
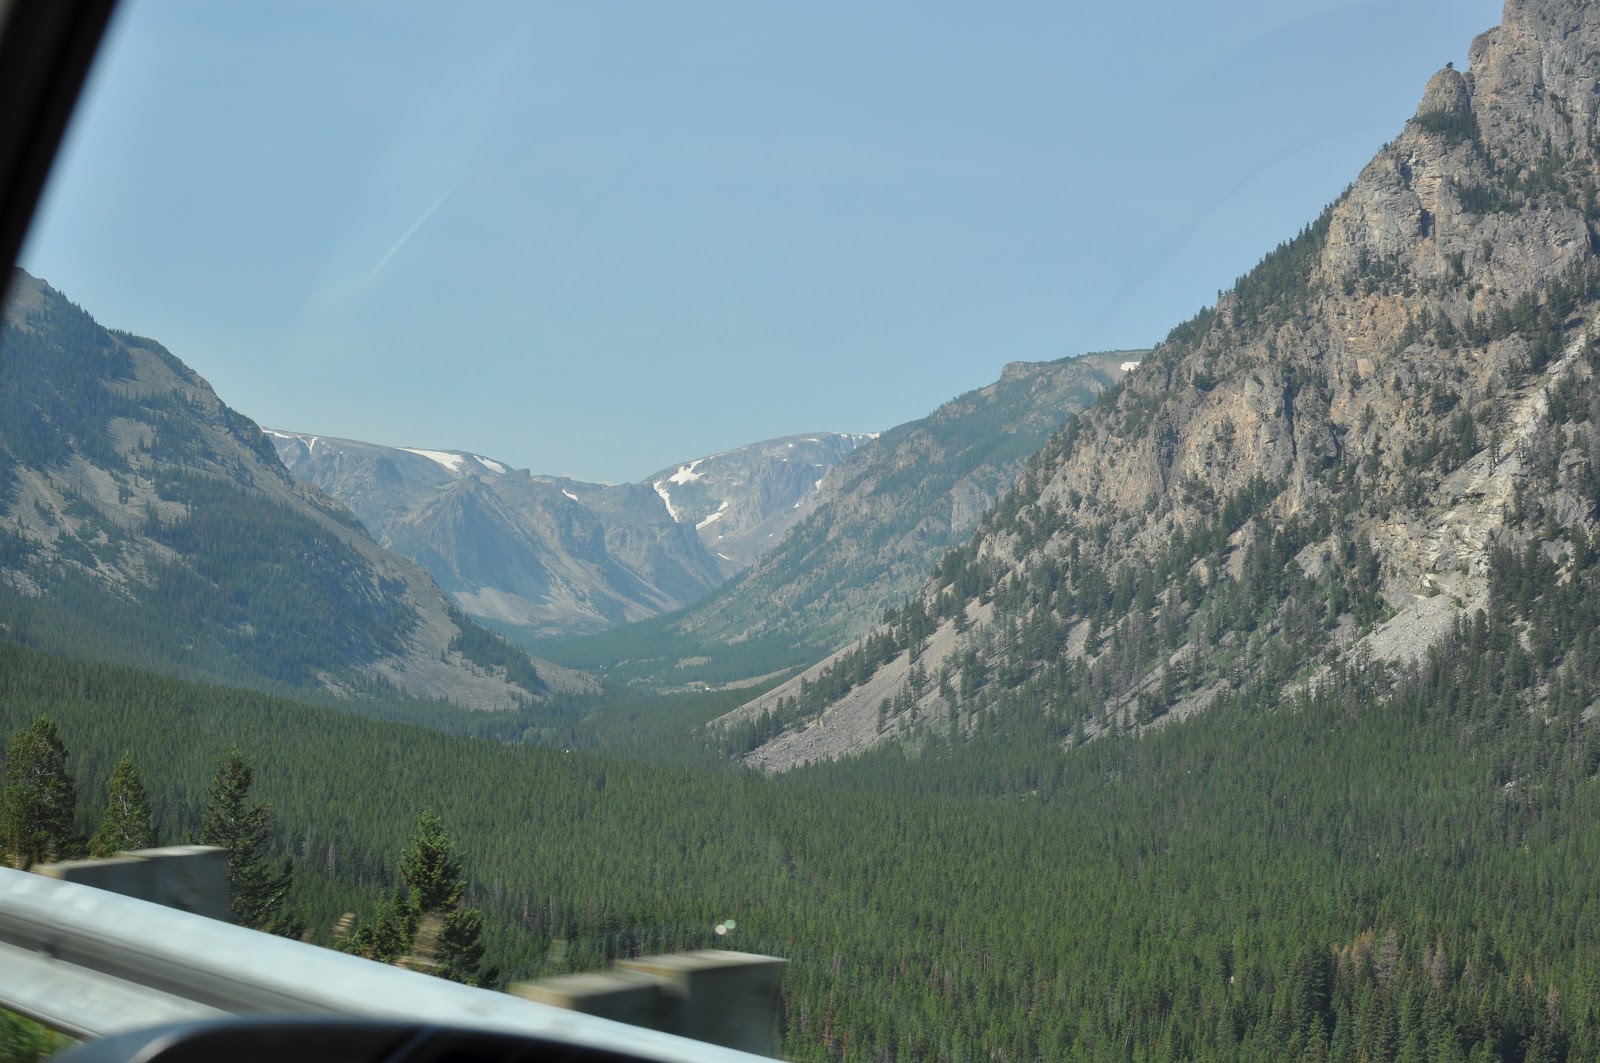
After Rock Creek, we headed back to the pack into the car once again.  This time we had some climbing to do – we were heading over the Beartooth Pass via the Beartooth Highway and into Yellowstone National Park. 
Dina was ready for the ride!  The Beartooth Highway is a 67 mile stretch of Highway 212 that runs from Red Lodge, Montana to the east entrance of Yellowstone.  It is easily in my top 5 scenic drives, and one of the most beautiful mountain drives in the country.  Be sure and check out the Top of the World store near the top.  
Up and 
up we go.  
Obligatory Dina shot. 

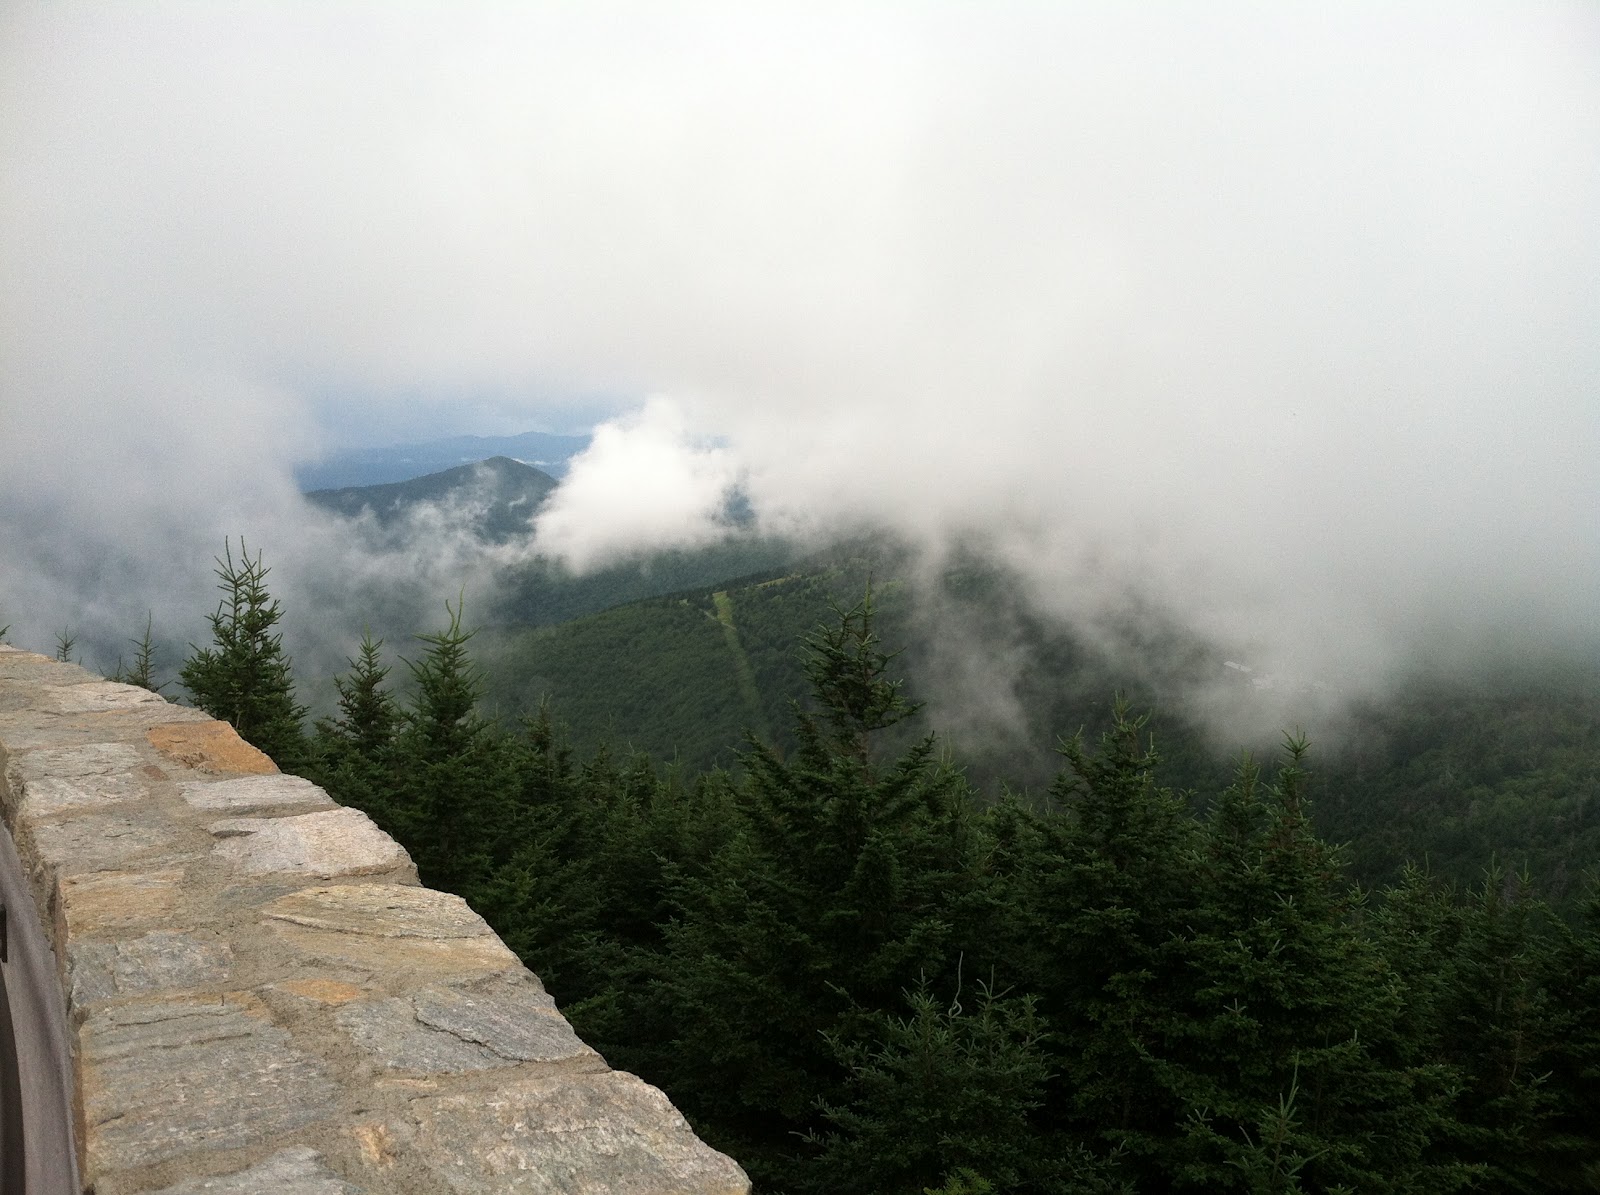
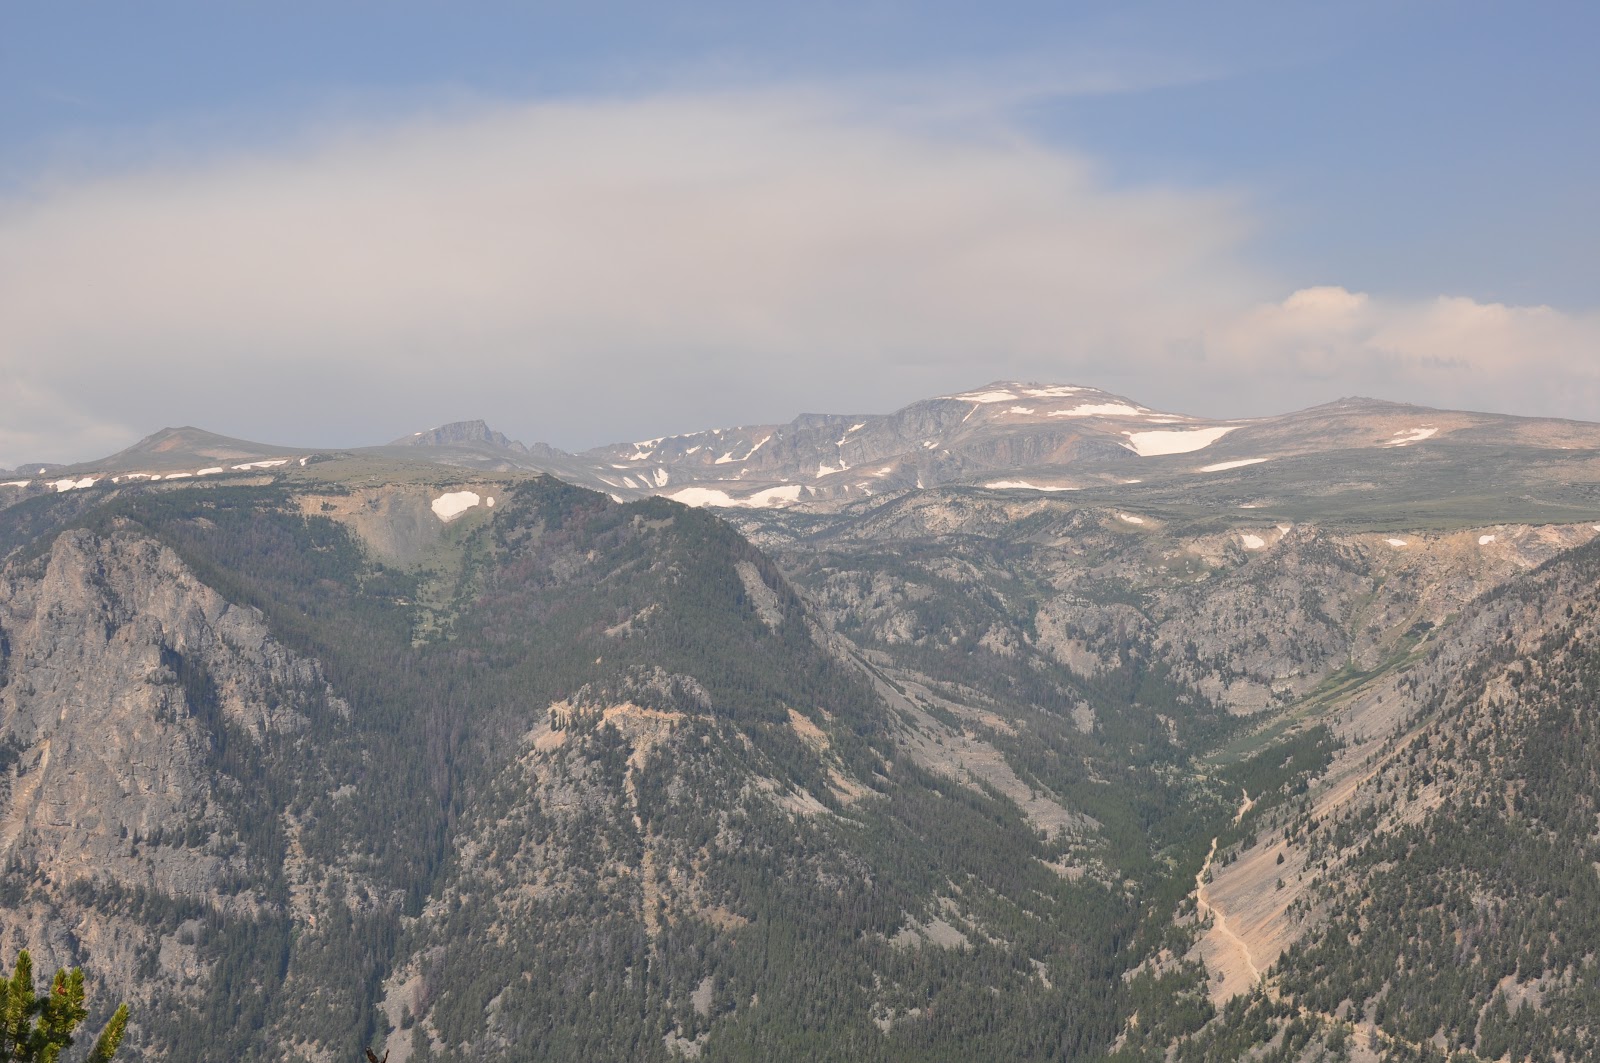
We stopped at the first overlook with parking to catch the views and our breath.  
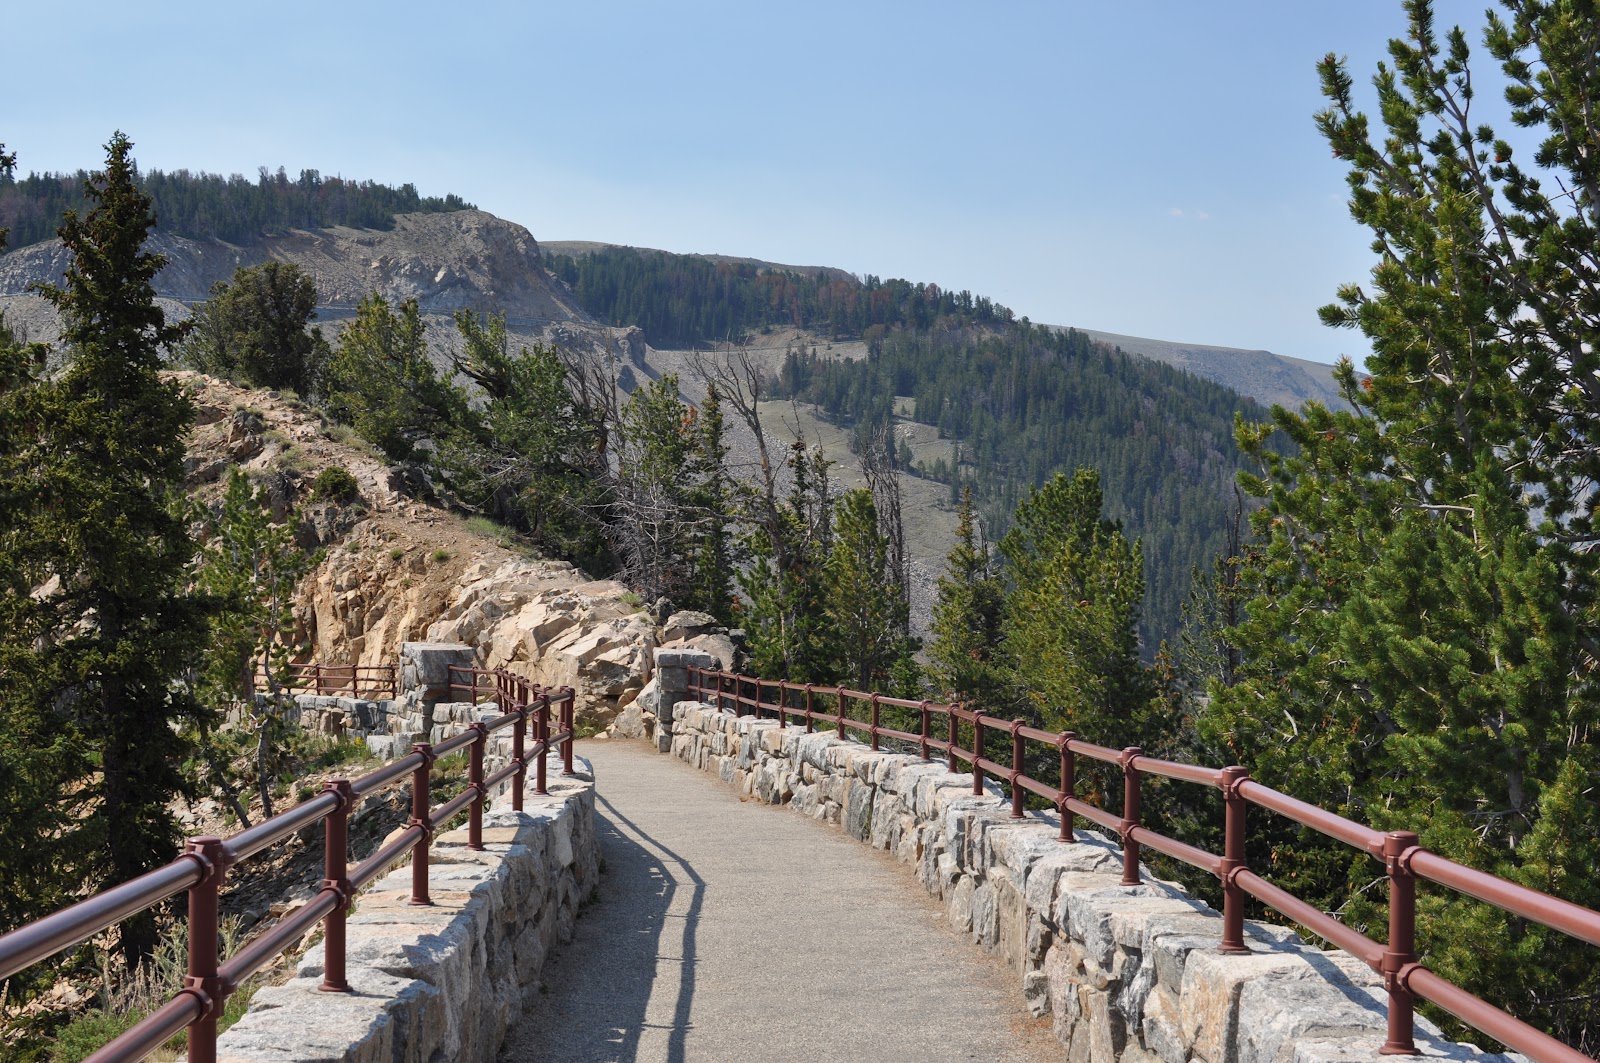
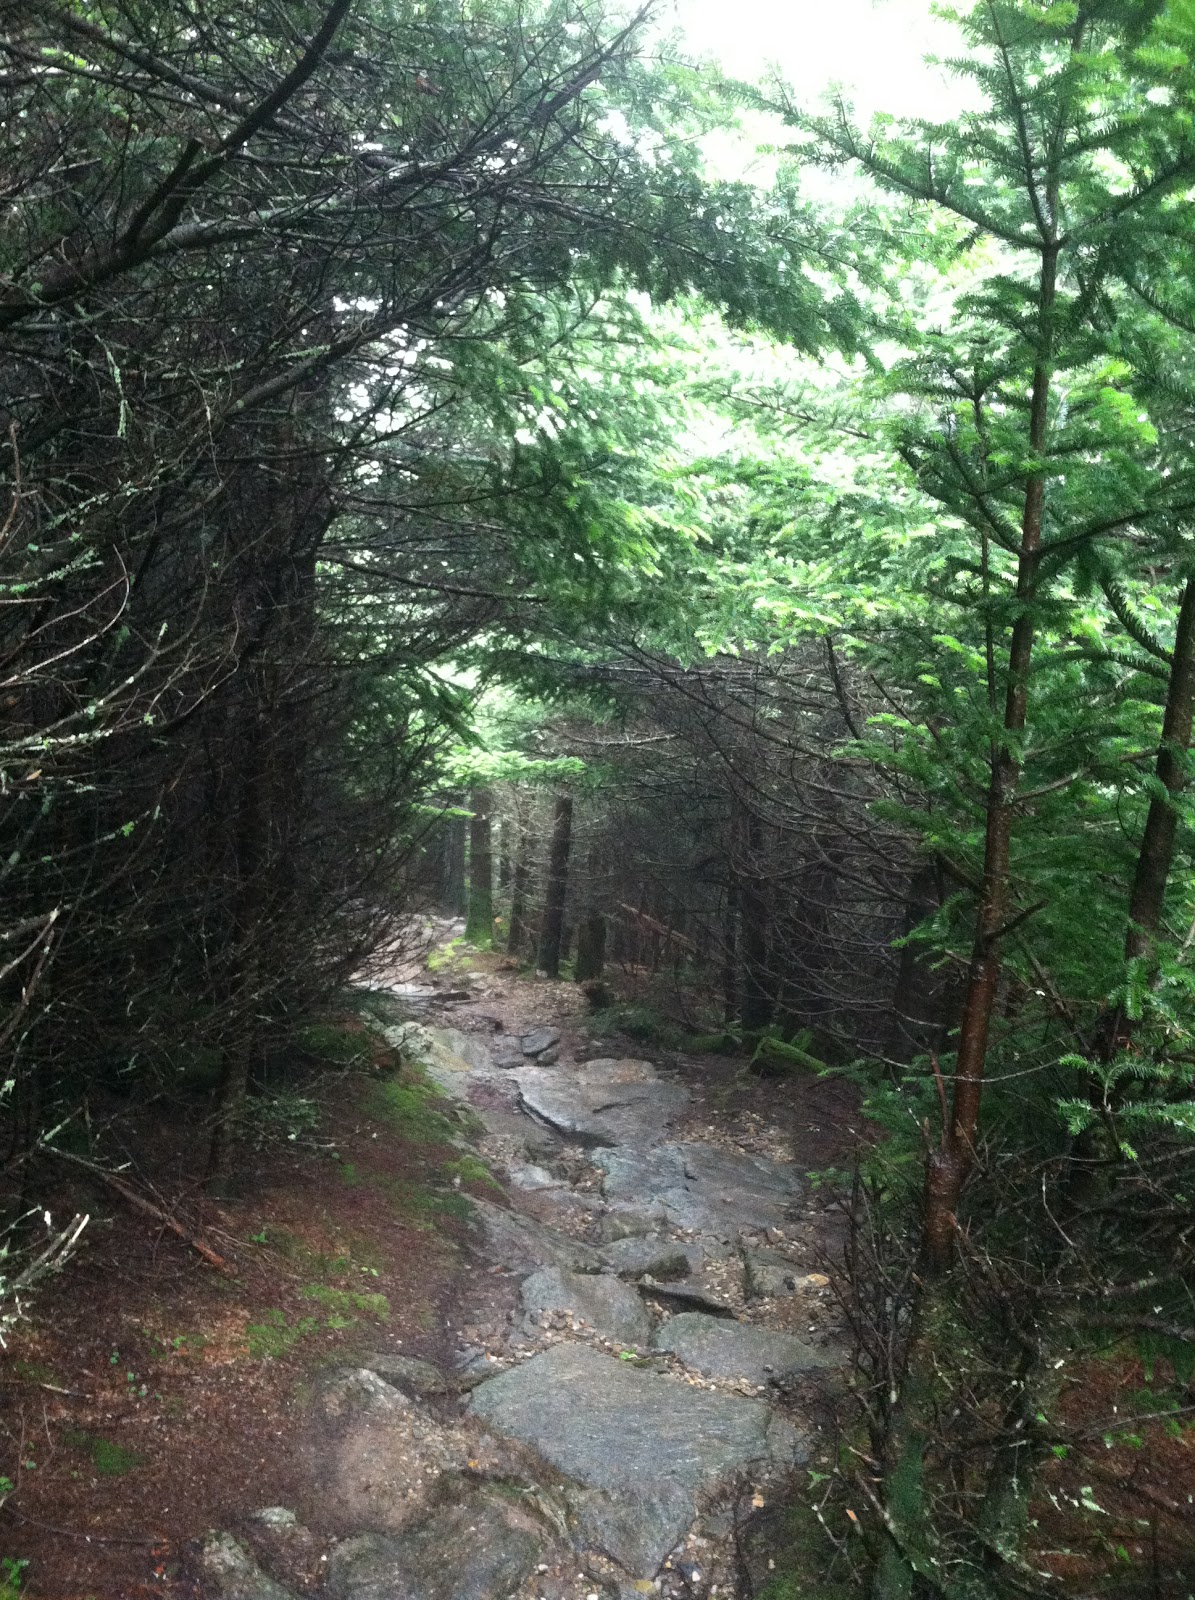
The path to our mountain overlook.
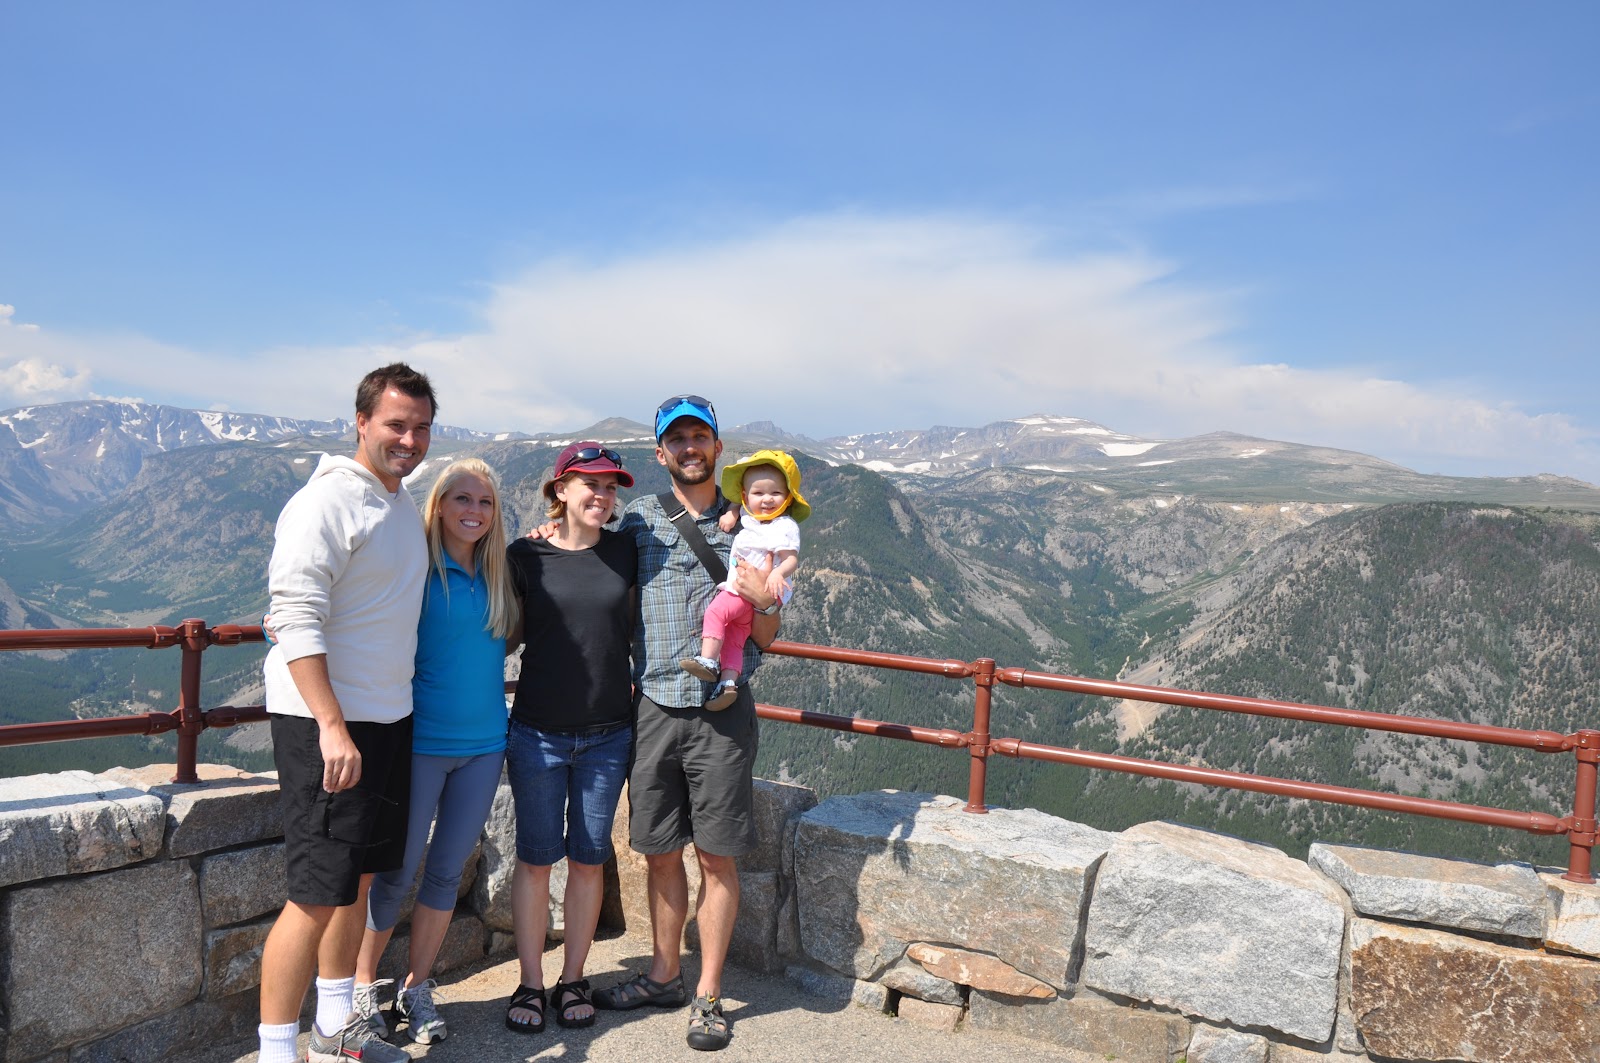
My family plus my sister and her husband. 
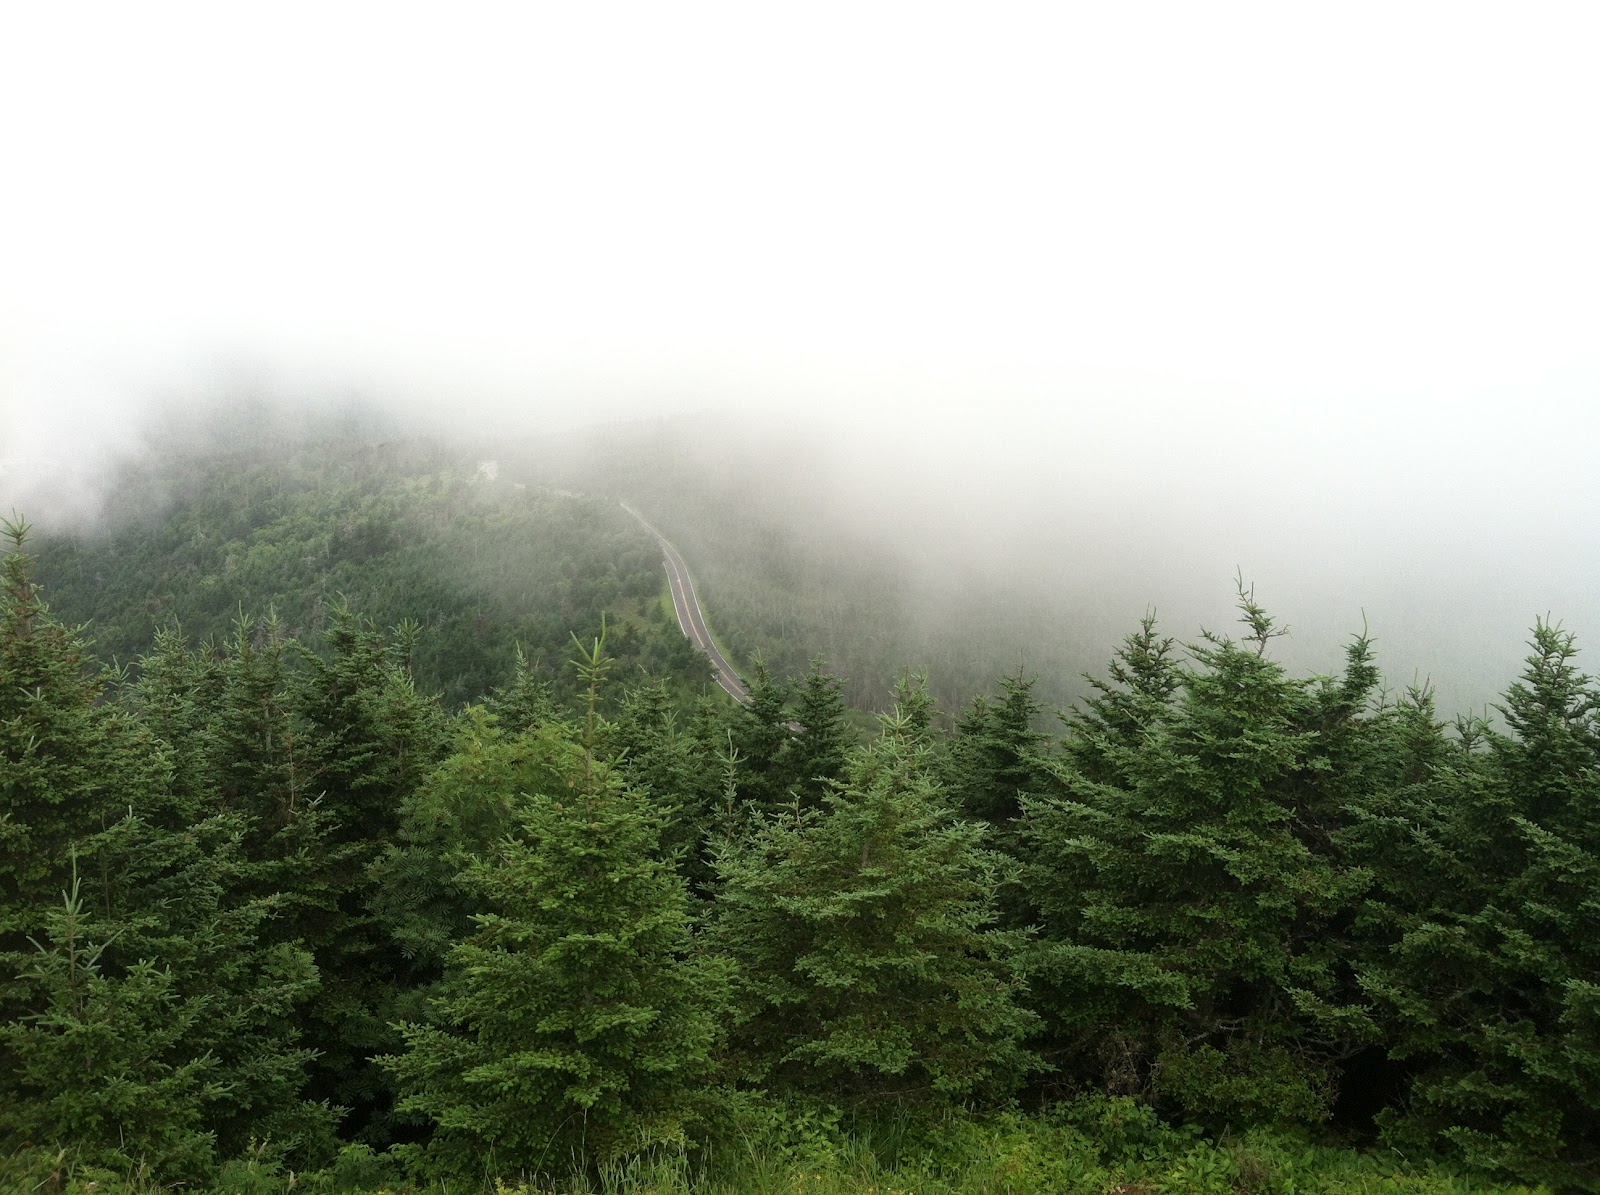
The road below us.
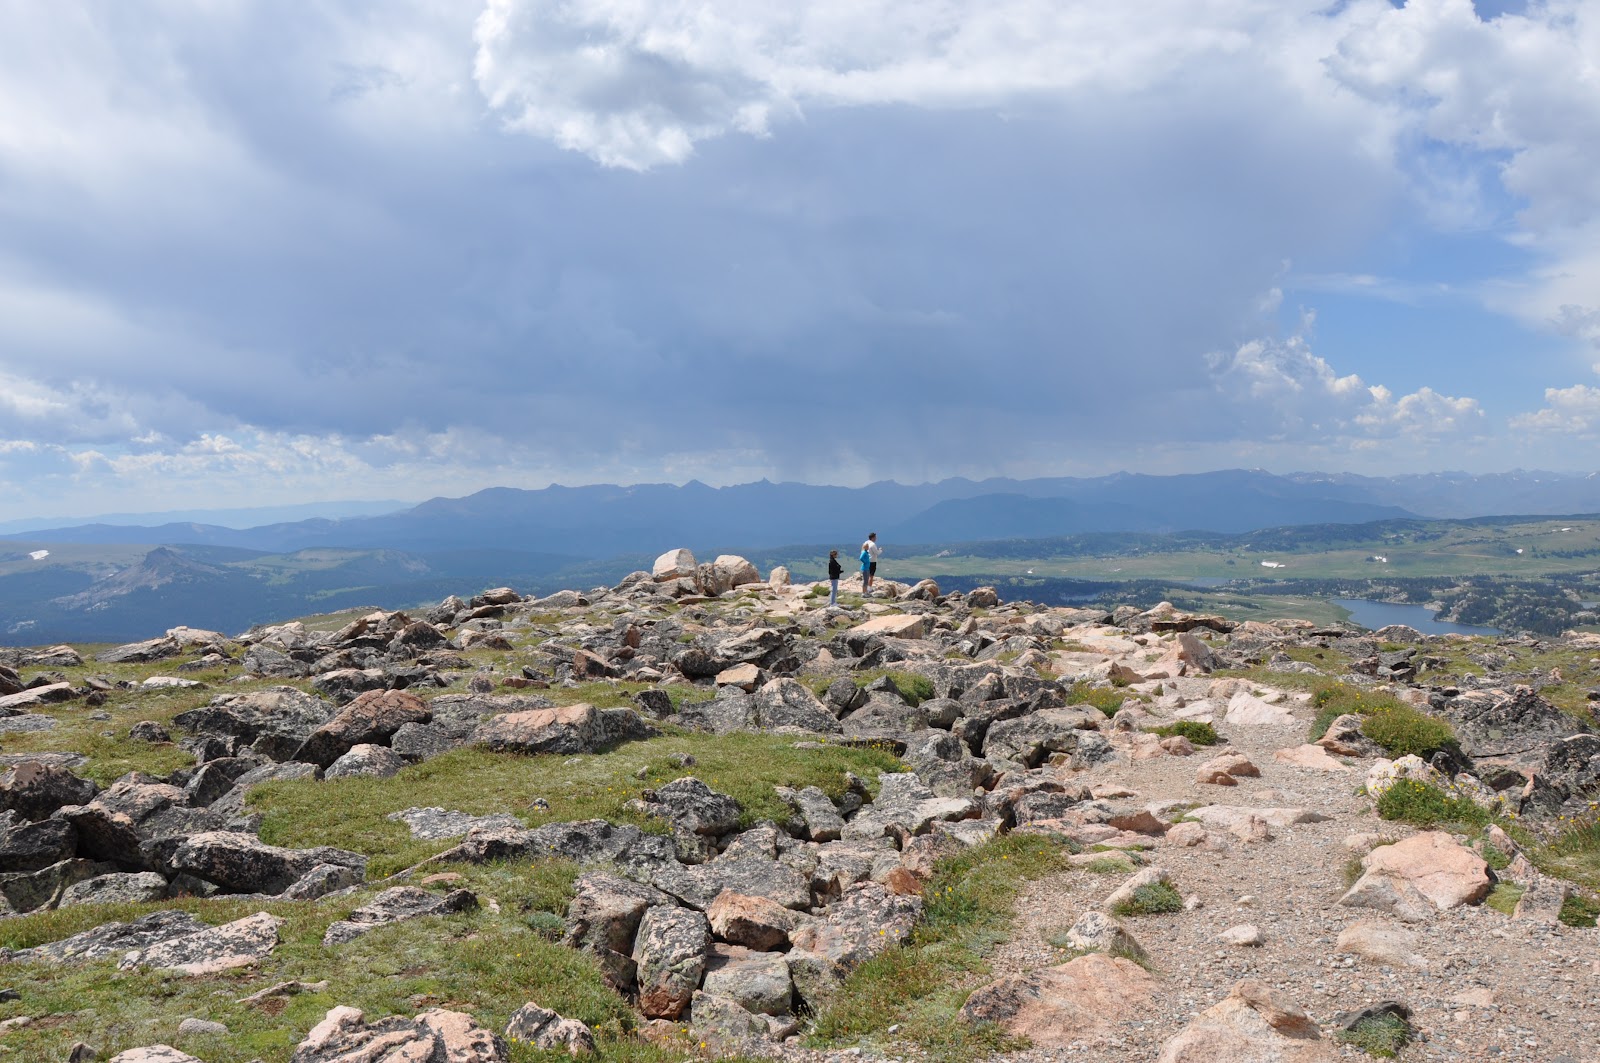
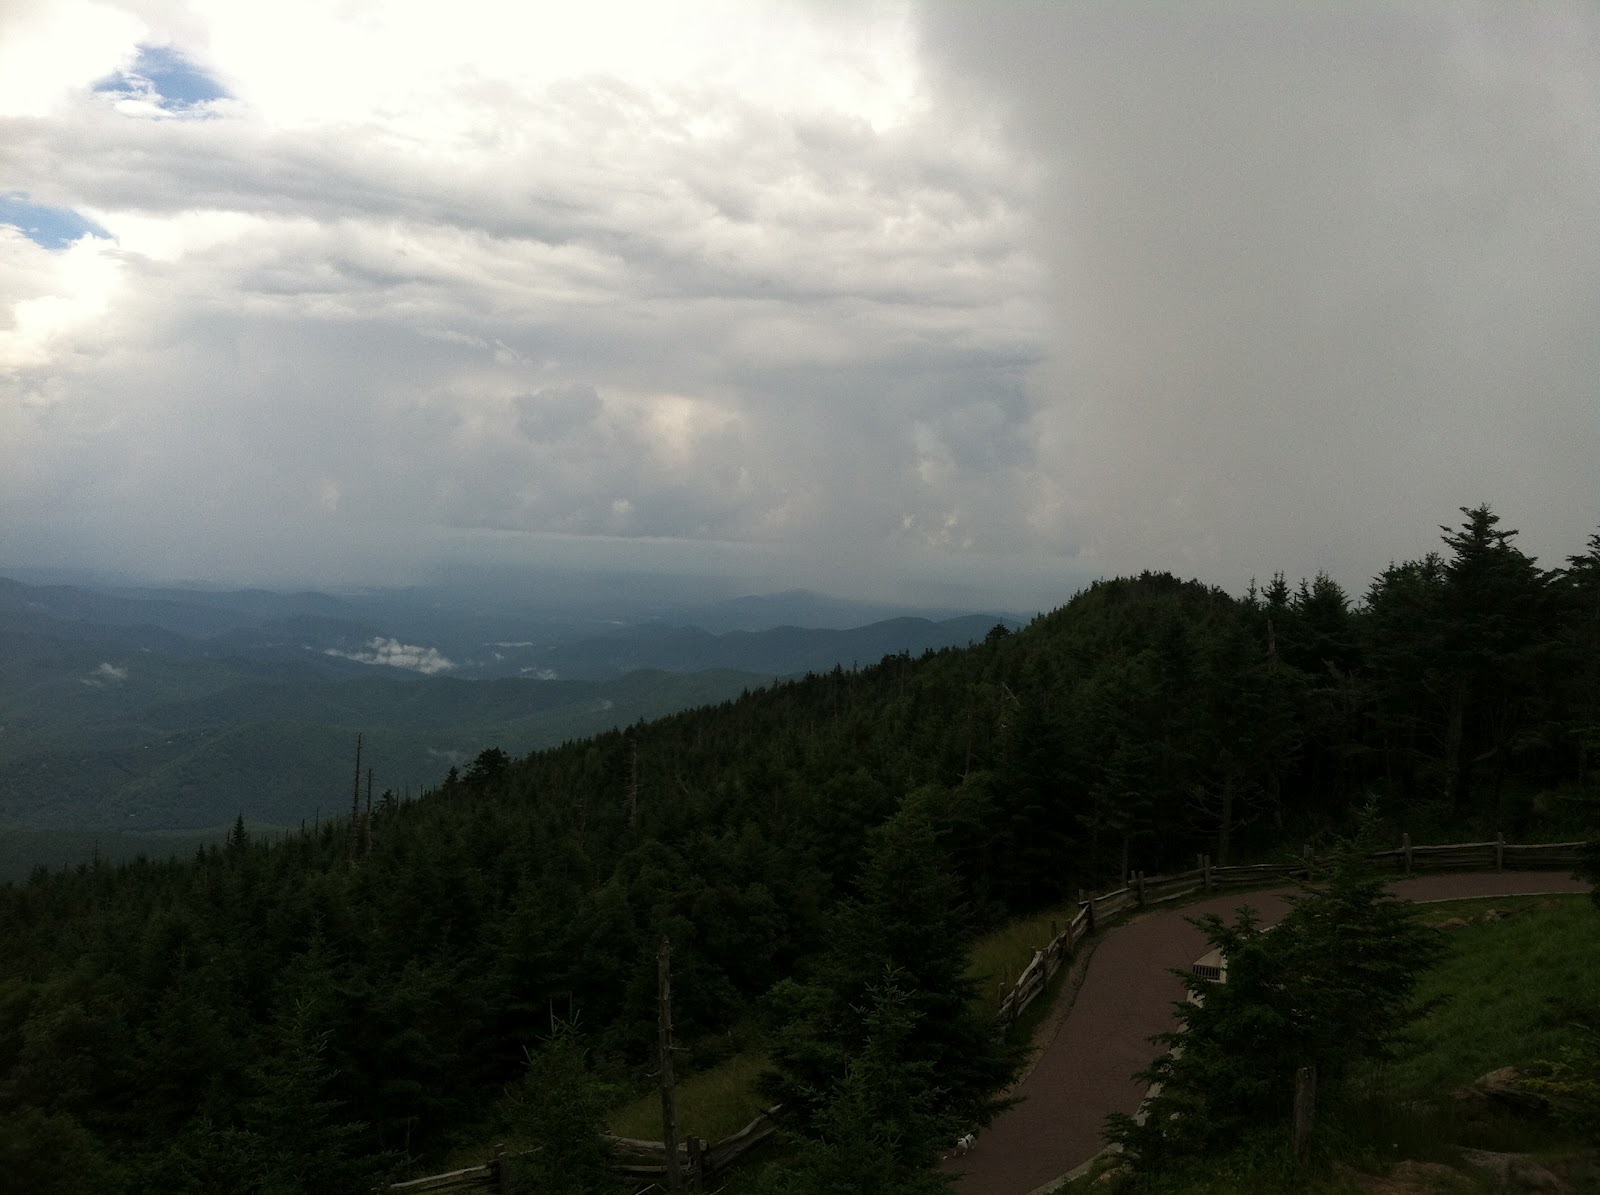
The second stop allowed us to walk out into a rocky alpine field. 
We hurried back to the car as a storm rolled in.  
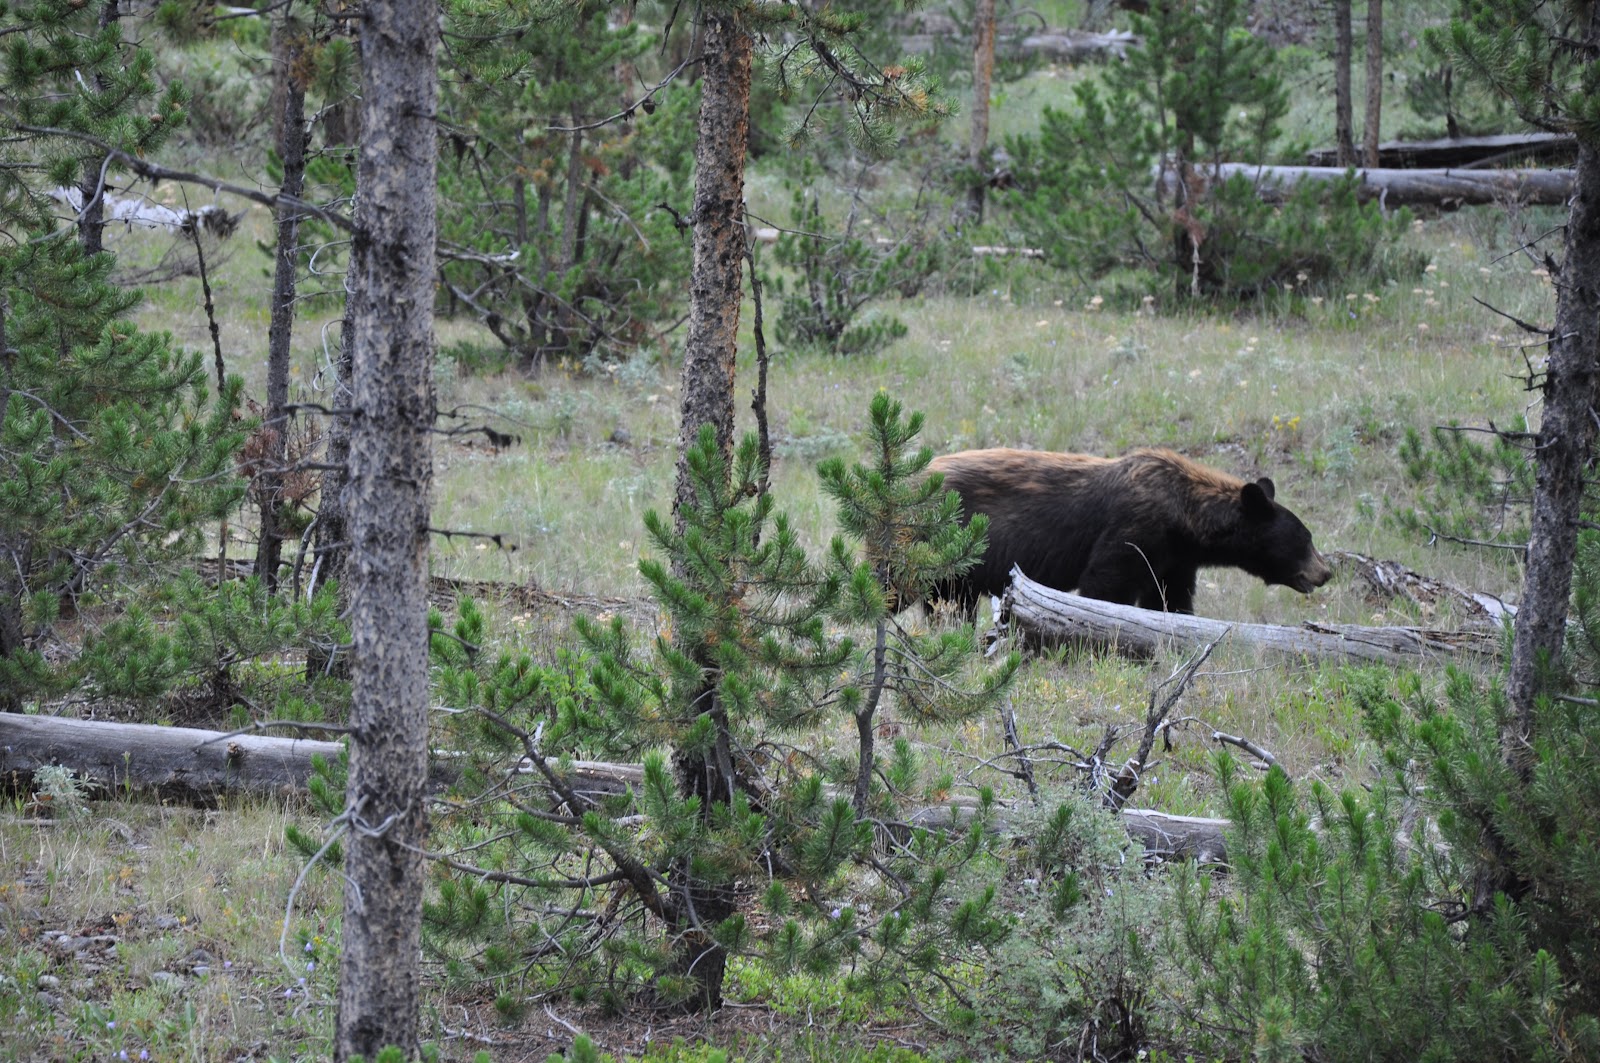
We rolled into Yellowstone in early afternoon and had been driving in the park for no more than ten minutes and we saw our first bear!  This shot was taken from a car window, it is NEVER safe to approach bears.  
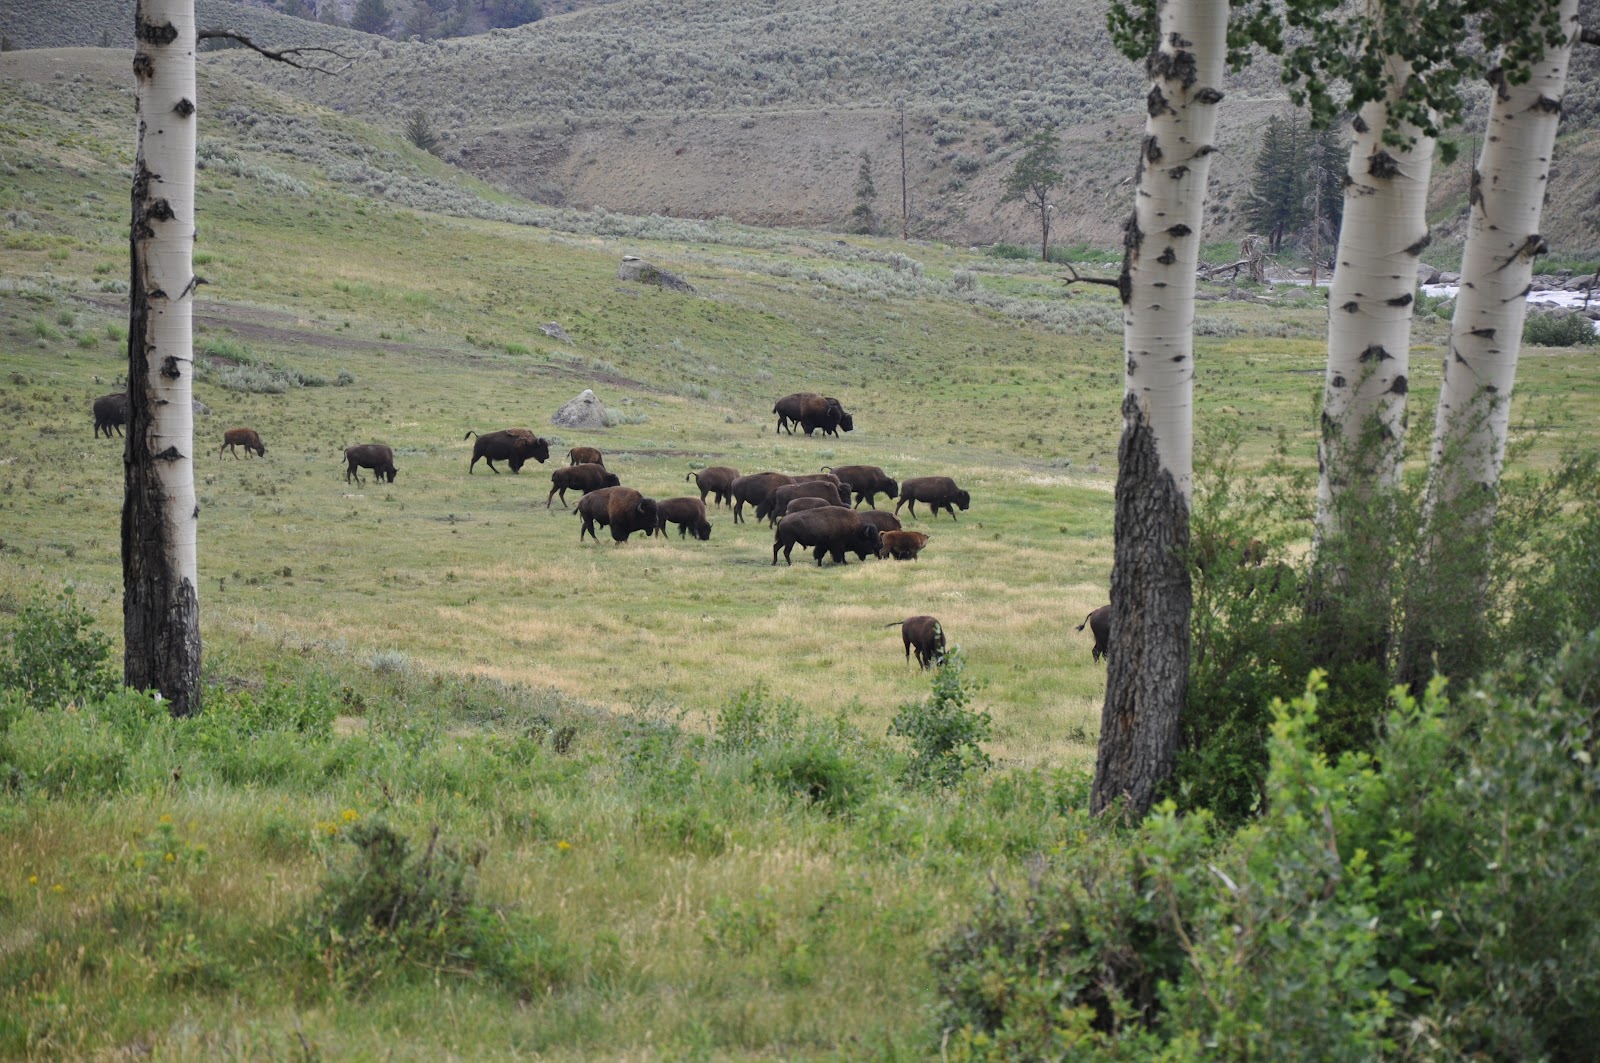
Driving on we came across this herd of bison in Lamar Valley.  
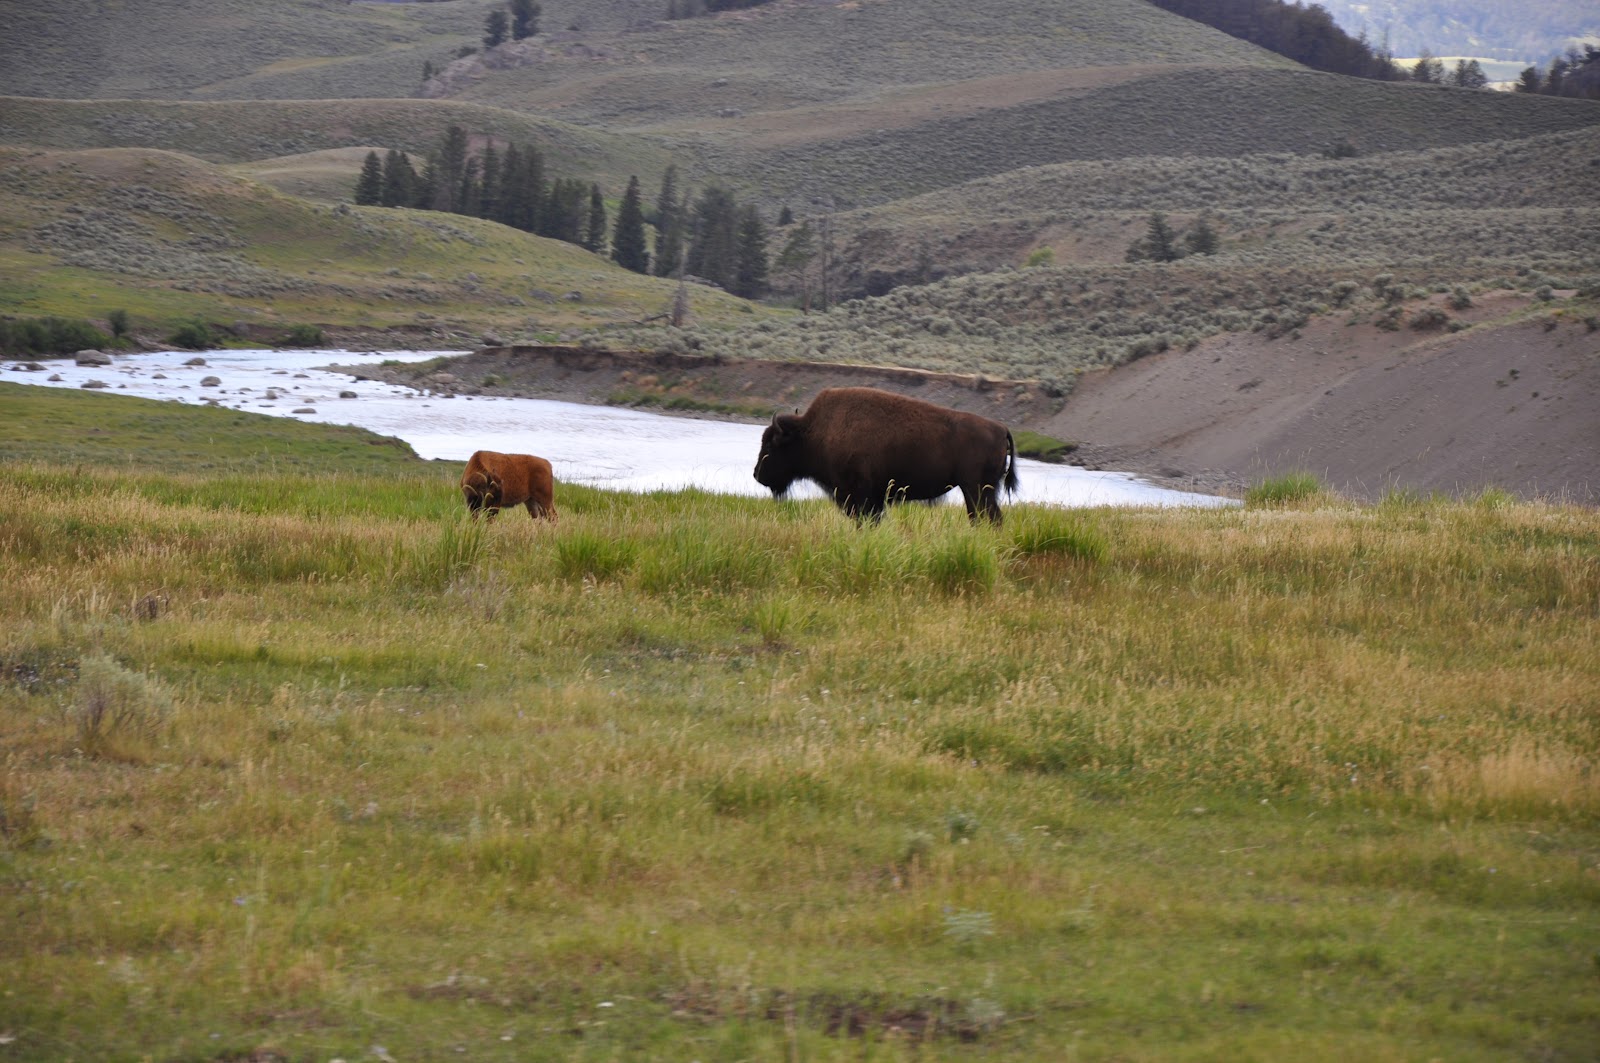
Bison should NEVER be approached, either.  The young bison were fun to watch – they ran, chased and head butted one another.  
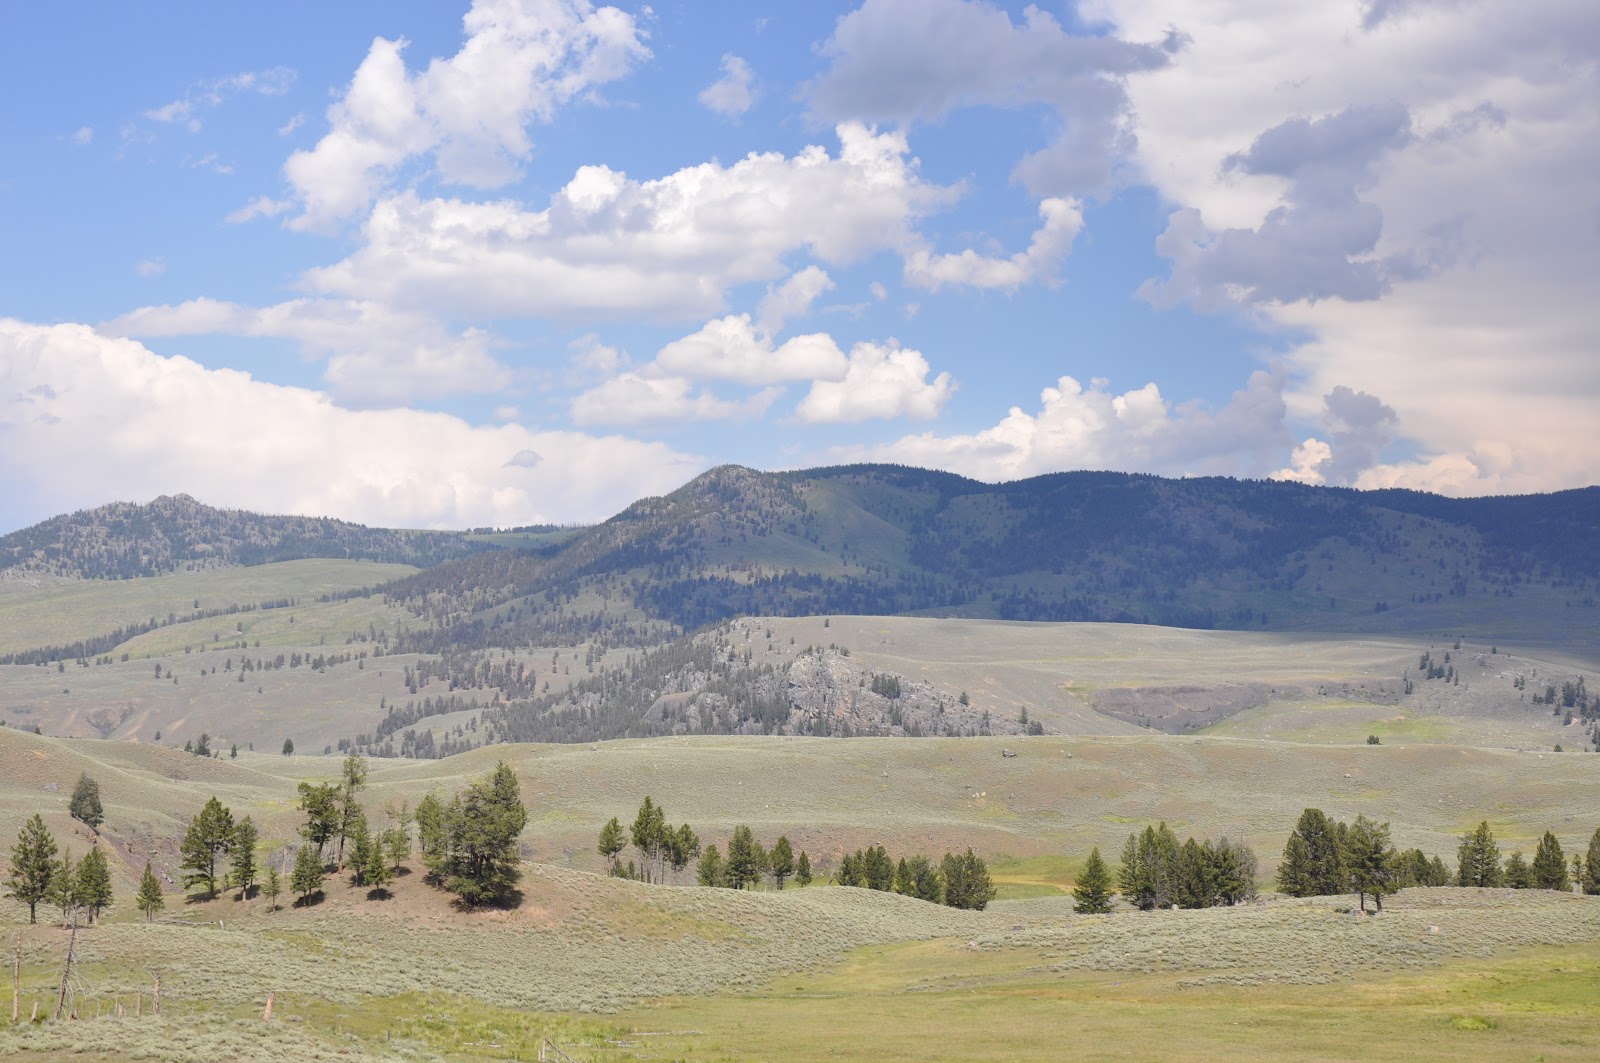
This is the beautiful Lamar Valley.  We continued on to Mammoth.  Look for the next post on Mammoth Hot Springs. 

Dyed Garments

I have this cute pair of hemp/cotton blend shorts that I have not worn in ages due to a stain.  So, I decided to attempt to fix this stain by dying them a shade or two darker.  
Supplies needed: fabric dye, soda ash, two bowls of warm water, plastic bag, salt, gloves, garment to dye. I used the Rit liquid dye in blue.  Soda ash can be found at most craft stores. 
I always tie dye outdoors for two reasons: to prevent really bad spilling which equals stains, and as ventilation if you are using powder dye and from the soda ash.  

In the first bowl of warm water, mix the soda ash, according to the label.  I use 1 cup per gallon of water.  Soda ash is another term for sodium carbonate and it helps the dye bond to the fabric.  This compound is also used as water softeners, in pools, in glass production, and in cleaners.  
Dip the garment into the soda ash and swirl them around.  Be sure the garment is completely soaked.  
Wring out excess liquid. 
Add 1 cup of salt per 1 gallon of warm water and mix thoroughly.  
Add the dye. I prefer liquid dye.  The more you add, the darker the color results will be.  I used 1/3 of a bottle.  
Completely submerge garment into dye bath.  Using a gloved hand, make sure all parts of garment are submerged.  Leave in dye bath as long as necessary.  My shorts were left to soak for 1 hour.  
Transfer to a plastic bag and tie shut.  This is the resting period and is important for allowing the dye to set.  I always choose a warm, sunny spot to place my bag to allow for optimal resting.  Most directions say 4 to 24  hours for the resting stage.  Again, the longer you wait, the darker the color. I went with the shorter time period of 4 hours. 
After the resting stage, transfer to the washing machine.  Wash and dry according to garment directions.  
Remember that washcloth I bleached too far earlier?  Here it is with a fresh color of blue!
Happy dying!  My students find this morbidly funny when I tell them this during the tie dye unit.  

Bleach Dyed Towels

What to do with old towels with the bleached out areas?
Instead of tie dying, try bleach dying.  I normally am not a huge fan of the nasty chemical of bleach, so I do not do this technique very often.  However, when done correctly, it has really neat results. 
Supplies needed: bleach, old towel, twine, plastic bags, plastic tarp, scissors, and gloves. 
A bowl of water is also helpful.  Soaking the towels you are going to bleach dye helps create a more interesting design. 
For this design, I rolled the towel and then tied it in four locations with the twine.  Place the towel on the plastic work area and then pour the bleach, concentrating on the areas tied with twine. 
 
Bag the towel, tie it closed, and let it rest in the sun.
Not even five minutes later, it looks like this. 
To create the spiral design, lay towel flat and pinch in the middle.


Twist into a spiral. 


 To create the spiral design, lay towel flat, pinch in the middle, and twist until you have a spiral. 
Tie with twine in at least two locations.  I did not soak this towel before bleaching, so the design did not come out as strong as it could have. 
A few minutes later and the bleach is working its magic. 
Another spiral design, hold towel in middle, like shown on left.  Tie in various locations, as shown on right.
Once you have bleached your towels, and they have rested for ten minutes or more, it’s time to wash them.  Wearing gloves, unwrap towels and throw away bags and twine.  I strongly recommend you do this directly in front of the washing machine. 
I washed mine on warm with an extra rinse cycle.
The first towel turned out looking like camouflage. 
My old bath towels are now re purposed and ready for the pool or beach!  The spiral design turned out well, but would have been a stronger design had I wet the towel first.  The small washcloth you will see in the next post.  Happy dying!  If you try this project, let me know how it works out for you.

Peachy Honey Whipped FroYo Popsicles

Say what? 
Holy cow.  
This popsicle is one that you will want to eat after the kids are in bed. 
No sharing. 
You will need: 1 peach, honey, plain yogurt, and thawed Cool Whip. 
Dice the peach.  
In a small bowl or glass measuring cup, the peach, yogurt (about 3/4 cup for these 4), and about 1/4 cup Cool Whip.  
Fill the popsicle molds almost to the top (I know, I know this recipe is uber scientific).  If you have extra filling, get a spoon.

Drizzle honey on the top of the yogurt (you could also create stripes of honey and yogurt if you wanted a fancier look).  
Place tops on popsicle mold. 
Freeze about 4 hours or until solid. 
Hmm what flavors to try next? 
Mmm, maybe not together though.

Pocket Pillow

Greta has always loved the face pillow I made a while back, she especially loves pulling the felted beard and mustache out of the pocket on the back side.  So one Friday afternoon, I was feeling a little restless while my entire house napped.  
So I headed back to my sewing room and whipped out this baby.  I am telling you, my need create is an addiction.  
Side one features pockets for hiding various items.  The pockets are made from tee shirt scraps and dress shirt scraps.  
Side two features an abstract pattern of tee shirt scraps.  Greta enjoys pulling at these, but does not enjoy the fact that they are sewn in place.  

Okra Gumbo

Okra is a beautiful plant that thrives in hot, dry weather.  It has prickly leaves and beautiful long yellow flowers, that when pollinated, close and grow into tasty okra.
I planted my okra in the front yard, near the steps to the sidewalk.  It gets plenty of hot sun in this area, and is thriving.  Okra is ready to harvest when it is 1-1/2 to 2 inches in length.
The two okra on the top were not harvested soon enough and are too tough to eat.  I will be drying them for their seeds for next summer’s okra crop.
When diced okra looks like a star with a white interior.  The white interior are the seeds.
Okra has a gluey sap, that when cooked. can turn almost paste-like.  This is what makes gumbo work so well – the glue from the okra.  Okra was imported from Africa and Louisiana cooks quickly saw the thickener as potential for their gumbo.  The definition of gumbo can vary greatly, usually it defined as: a thick stew or soup containing spices, seafood or meat, a thickener, and rice.
So I decided to make my own version of okra gumbo, hence Mommy’s Medley Okra Gumbo.
Mommy’s Medley Okra Gumbo
1. Saute 4- 5 diced okra and 1/2 a yellow onion in a couple tablespoons olive oil for 5 minutes over medium heat.
2.  Add 3 cloves of garlic, pressed.  Saute for another 2 to 3 minutes.
3.  Add 1 can stewed tomatoes with chiles and 1 can butter beans, rinsed and drained.
4.  Add fresh diced garlic and oregano, season to taste.  Add freshly ground pepper, season to taste.
Instead of the traditional rice with gumbo, I made cornbread.  This meal is reminiscent of childhood summer meals where we based meals around what was ready for harvest in the garden.  Often my dad would make cornbread to go along with our mostly vegetable meals.  This was a tasty and satisfying meal, and I am sure you have noticed – no meat.  🙂
Quaker Oats Cornbread
 
Ingredients
1 cup cornmeal
1 cup flour
1/4 cup sugar
4 teaspoons baking powder
1/2 teaspoon salt
1 cup milk
1 egg
1/4 cup shortening; melted
1. Combine dry ingredients in a bowl.
2.  Combine milk, egg, and shortening in a bowl.  Combine with dry ingredients.  Beat about 1 minute, until fairly smooth.
3.  Bake in greased, 8-inch square pan at 425 degrees for 20 to 25 minutes.  Top should be golden and toothpick inserted into the middle should come out clean.


Quiet Book

Colorful pages of Greta’s quiet book. 
This entry is a sneak preview of the upcoming August Etsy shop listing.  I will be putting some of my summer projects up for sale, and while this book will not be for sale, there will be other similar ones.  This is Greta’s quiet book, made for car trips, airplane trips, quiet times just before bed, or any other calm down time.  Its soft fabric pages are meant to entertain and educate.  The pages have characters, buttons, Velcro, snaps and ribbons for hours (probably more like minutes) of tactile play.  
So far she and the kitten really enjoy the quiet book. 
Quiet book cover with the letter G. 

Page 1: owl is made from a felted wool sweater, the branch is ribbon, and the leaves, eyes, feet, beak and wings are tee shirt fabric.
Page 2: ribbons secured with tee shirt fabric.  
Page 3: A felted disc is attached to the inside of a pocket from an old men’s dress shirt. 
Page 4: two triangular shapes are attached with Velcro tabs. 
Page 5: a large button and a button hole, which is made from a felted sweater. 
Page 6: two snaps cut from an outgrown set of pajamas.  I loved these pajamas a little too much – now they can live on in this book.  
The back of the book with a flower from beloved pajamas.  

Rainy Day Play: Finger Painting

I have been wanting to finger paint with Greta for quite some time.  Actually, since the first moment I knew Greta was in existence, I have day dreamed about making art with her.  Forget names, I wanted to know what kind of art my future child would be interested in.  
So I had this great idea to set up a piece of paper, mask off an area, letter, or design with painter’s tape, and then let her go nuts with the finger paint.  Then one day, surfing the website that makes me lose time and sanity I see it: lo and behold there was my idea on Pinterest!  What the hey, there are no new ideas under this sun, as my dad always told me.  So we went ahead with my idea.  

I set Greta up with a nice heavy piece of 18 x 24 inch watercolor paper taped to the ground.  Under the paper I taped a couple sheets of newspaper, though those proved to be a big distraction – she loves to shred, tear, and fold newspaper.  
After a slight hesitation, she tore into the finger paint.  
After she filled up one area, we shifted to a new corner of the paper, added more dots of paint, and she painted.  
 
She had so much fun she wore herself out.  She was fussy and ready for a bath by the end.  After the bath and getting her cleaned up, I discovered…
that someone else likes to paint.  Notice the addition of the little mouse toy in the top left corner?
Greta even got a hold of a paint tube.  It added some neat texture to the painting.  
The white G, after removing the masking tape.  

A little footprint.
This would be neat to try with older kids and have them mask their own designs with the tape.  Or, let the kids draw very lightly with a pencil (this takes practice) and then you tape over their pencil drawing.  After the kids are done painting, remove the tape, allow the paint to dry fully, and erase the pencil marks.  Happy painting!  

Mt. Mitchell to Little Switzerland Adventure

 Nice sunny day drive to Mt. Mitchell.

Our family tries our hardest to be tourists in our own state.  We have made a point to explore as many areas as possible.  Last weekend we set off for Mt. Mitchell to do some hiking and sight seeing.  It had been a couple years since our last visit and we we were due to get back and to get Greta out into the mountains.

Mt. Mitchell is the highest peak in the Appalachian Mountains and the highest peak on the east coast at 6, 684 feet.  It is just a 3.5 hour drive from Greensboro.

Once in the Mt. Mitchell area there are other nice areas to visit, such as:

The funky town of Asheville is another hour to the west.  It is home home of the Biltmore Estate, Highland Brewing Company – maker of my favorite beer, and my favorite restaurant of all time – The Laughing Seed Cafe

(Previous trip for a friends’ wedding – Looking Glass Waterfall, near Brevard, NC. )
Pisgah National Forest pretty much surrounds you with its beauty.  This waterfall was just off the road on one of our visits.   

(Previous trip Eric took on the Blue Ridge Parkway via bicycle)

You can easily hop on the Blue Ridge Parkway for a gorgeous drive with quaint stops along the way.  You are sure to see cyclists, bikers, and plenty of classic cars.

Views from Mt. Mitchell area.

On this past Saturday, we followed the route used by the Assault on Mt. Mitchell bike ride from Marion, NC to the top of Mt. Mitchell.  I can see how grueling of a race this would be, as it starts in Georgia and ends at the highest peak, in North Carolina, oh puke.  The climbs are huge and at the end of a long day’s ride.

Tunnels are a part of the Mt. Mitchell and Blue Ridge Parkway experience.  

Once we got to Mt. Mitchell it was overcast and rainy.  It was nice to have some relief from the hot temperatures in Greensboro.  This was also the first time we had been in the mountains when the rhododendrons were blooming – we usually visit in the fall or early spring and miss these beautiful pink blooms.

View from the viewing deck at the top of Mt. Mitchell. 
The clouds almost obscured the road below.

Views from the top of Mt. Mitchell were a less than clear on Saturday.  It was still beautiful and eerie to be surrounded by clouds.  We headed off on a hike shortly after doing the obligatory visit to the summit.

Mt. Mitchell trails were a little muddy.
The flora of North Carolina forests consists of a great deal of moss and ferns.  
North Carolina forests can be almost jungle-like.
We had to cut our hike short due to thunder and impending rain.  When we got back to the parking lot it looked like this:

We had a quick picnic and then headed back to the car. 
We were determined to enjoy cool mountain air, rain or no rain, we headed east on the Blue Ridge Parkway towards a favorite town of ours: Little Switzerland.  I do not remember the story of how we discovered this little gem, but it is a great place to visit.  We keep saying one of these days we will stay an entire weekend, and not just the day trip.  

Even the curbs are curvy in Little Switzerland.

Trucks cool brakes next right. 

Little Switzerland is a twisty town just off of the Blue Ridge Parkway.  It consists of hotels, motels, diners, coffee shops, art galleries, a post office, and other vacation necessities all nestled along the curves and turns of this cute town.  To get to Little Switzerland you have to take the twists and turns of mountain roads.  
Greta ready for lunch at the Little Switzerland Cafe.

We stopped for a late lunch/early dinner at the Little Switzerland Cafe.  This little roadside diner is a true diner with typical diner decor, friendly staff, and a great local menu.  They have a smoked salmon and smoked trout BLT that is to die for.  Their dessert menu is fantastic and they have a list of beers that includes some good local picks.  
If you are a North Carolinian and you have yet to get to this region of the state, get there as soon as you can.  If you live elsewhere, consider North Carolina for your next vacation.  I promise you will not regret it.  To see the coastal part of North Carolina, see my previous post here