A good pie is a flaky crust filled with delectable filling and a side of ice cream. Once on masters the crust, and figures out correct volume for your particular pie pans, you are free to experiment and create new combinations of pies.
But I truly believe, a good pie is all about the crust. I have done quite a few posts about pies – but still get frequent requests for my crust recipe.
I have used the same crust recipe for a number of years now, one that my dad shared with me. I always use it, because it creates perfection. Why the vodka, you ask? My dad discovered the vodka crust method from J. Kenji López-Alt’s article in Cook’s Illustrated. The idea is, you are able to add more liquid to the dough, without making it tough by adding too much water. Most of the vodka bakes out and there is no after-taste. In a pinch I have used gin in place of vodka, and used bourbon once to make a fantastic bourbon apple pie.
I am by no means pie scientist, I just do what I know works best – check out J. Kenji López-Alt’s Serious Eats article on pie myths for even more information on pies. I will have to test out the rubber spatula method on my next pie!
Dad’s Pie Crust – makes a double crust for a pie
Ingredients:
2 cups all-purpose flour
1 teaspoon salt
2/3 cup cold butter
3 tablespoons ice-cold water
3 tablespoons cold vodka
1. Preheat oven for particular pie recipe temperature. In a medium mixing bowl, use a pastry blender to cut in cold butter until pieces are coarse crumb size.
2. Sprinkle 1 tablespoon ice-cold liquid at a time, alternating water & vodka; gently toss with fork. Push moistened dough to side of bowl. Repeat using rest of liquid. Dough will be dry, do NOT give into temptation to make dough moister by adding more liquid, however, if it is unworkable, dry and crumbly, you may add 1-2 more tablespoons of vodka. Too much water will make your dough tough. Divide dough in half; form into a ball.
3. On a lightly floured surface, use your hands to flatten ball of dough. Roll dough from center to edges into a circle 12 inches in diameter. Do not overwork the dough and do not allow dough to warm up. Refrigerate while preparing filling, or if your baking time is delayed. If the dough is too warm, it will stick and tear.
4. Carefully transfer dough to pie pan, by wrapping around a rolling-pin, not allowing it to stretch.
5. Transfer filling into pie pan. Repeat steps 3 and 4 for second ball of dough. Gently drape second circle of dough over the filling. Use your fingers to seal the edges of the dough.
6. Optional: brush dough with milk and sprinkle with cinnamon and sugar. Cover edges in foil or with crust shield. Place piece of foil on bottom rack of oven, or pie drippings pan. Place pie in preheated oven, on middle shelf. Bake, according to filling directions.
7. Let cool on wire rack.

Crust is all about the right ingredients – like cold butter and cold vodka. I am always a big fan of organic butter.

Crust is also all about the right tools: pastry cutter, marble rolling-pin, silicone baking mat, and crust shields. My first few pies were without these tools and it wasn’t impossible, but a little more frustrating to work without them.


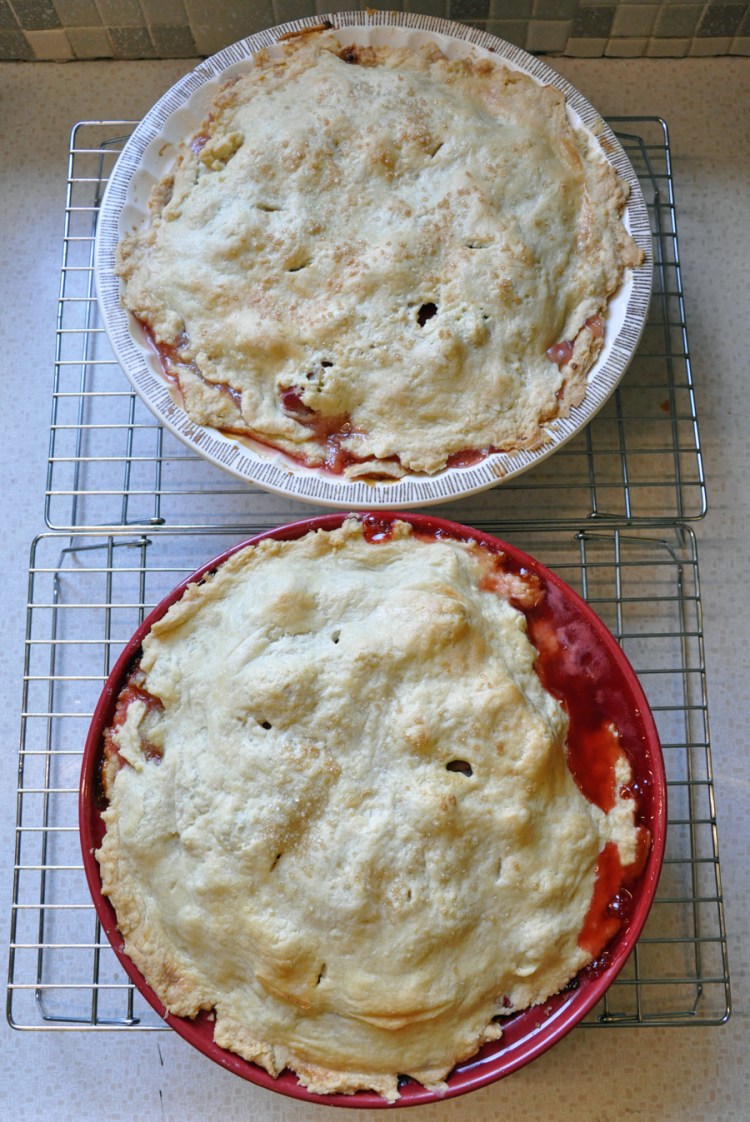
Sometimes I stack the fillings high, sometimes I keep my pies classic, and sometimes I mix and match the fillings. Following the correct volume, thickeners, and sugar amounts is important – once you have mastered the basics, any pie is possible. These two pies are strawberry-rhubarb and raspberry-rhubarb.


My newest and most favorite pie tool is the silicone mat. I measured my pie pans and now never have the issue of a crust being too small and falling apart when I try to roll it larger. I still have the occasional small piece of crust is lop-sided and then a patch is needed. I never said my pies all looked like perfection – but taste is another story!
See more about my must-have pie tools below.
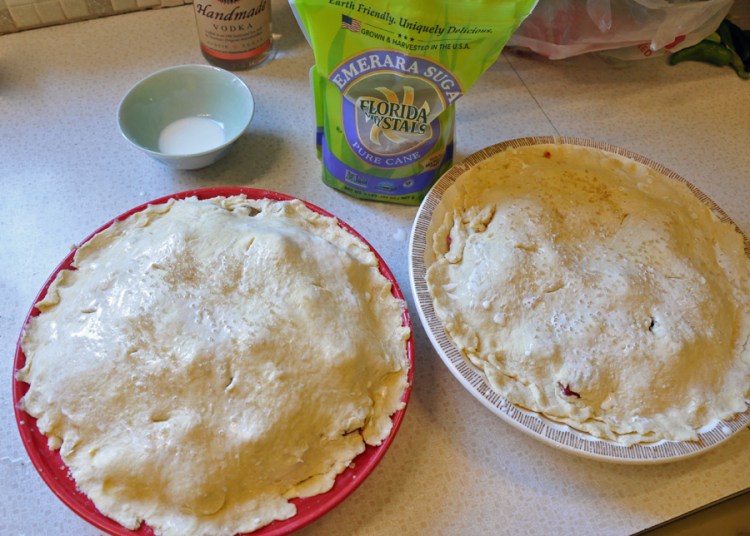
Depending on the pie, there can be a proper finish. For my double-crust fruit pies, this entails a brushing of milk and sprinkling of Demerara sugar. Sometimes cinnamon is also called for.
My favorite pie tools are the following items:

A marble rolling-pin helps keep the dough colder while you are working with it. I refrigerate mine before rolling out the crust. I do not wash it with soap, just hot water.

A silicone pie mat prevents sticking, helps with correct measurements, and makes cleaning up the countertops easier.

A pastry blender works better for cutting in cold butter than a fork, but now I am intrigued with the idea of using a rubber spatula, and will be trying that next.

. I am still working on a perfect, from scratch gluten-free pie crust. I will let you know when I make the break-through.

You may have noticed earlier in this post, that my pie shields are a tad on the small size. I may have to invest in these adjustable ones in the near future.

A pie drip catcher means you are no longer wasting rolls of foil, trying to keep your oven free of the bubbling over pie fillings.
I don’t believe in all the crazy sugar-fad items, but I sure do like the taste of coconut sugar. I will be trying this combination out on the top of my next pie!


Great info!! Bookmarking!!!
Thanks! Glad to be of help!