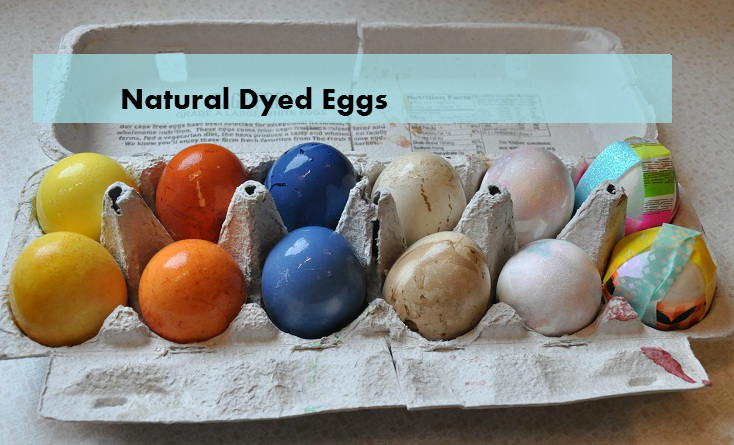
 This year, for Easter, we decided to try something a little different for the egg decorating. I ventured into natural dyes – something I had tried with success for Greta’s car cake for her 3rd birthday. To entertain the kids, even more, I had them paint some of the eggs and add washi tape – the last 4 eggs on the right side of this image are those eggs.
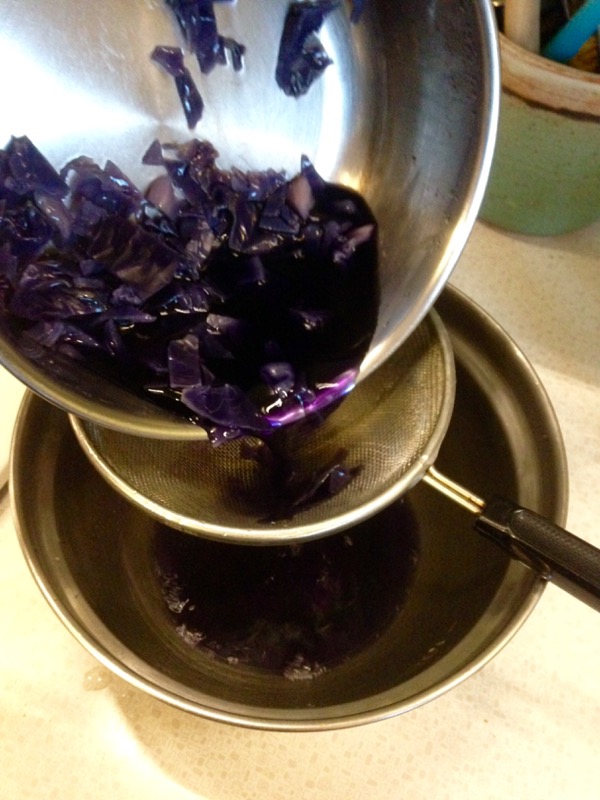 I started by boiling my ingredients in water for 30 minutes. I used tips from The Kitchn’s post on naturally dyed eggs as a starting point. Then, I strained all my dye through a sieve. Above is the results of boiled purple cabbage.
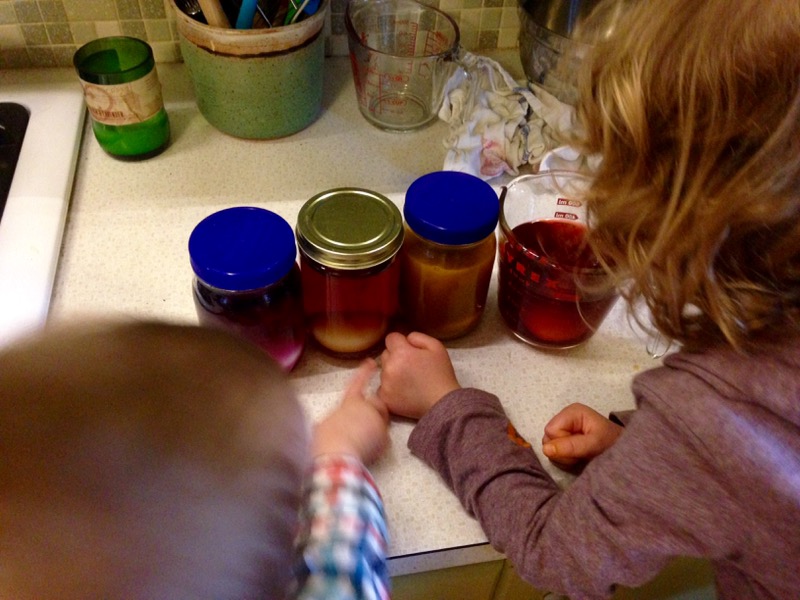
 Next, I collected my dye in jars with 1-2 tablespoons vinegar. Jars with lids seemed like the best option for storing them in the fridge, while the dye set. We simply placed 1-2 hard-boiled eggs inside each jar to soak, I did one set overnight and one set for 8 hours.
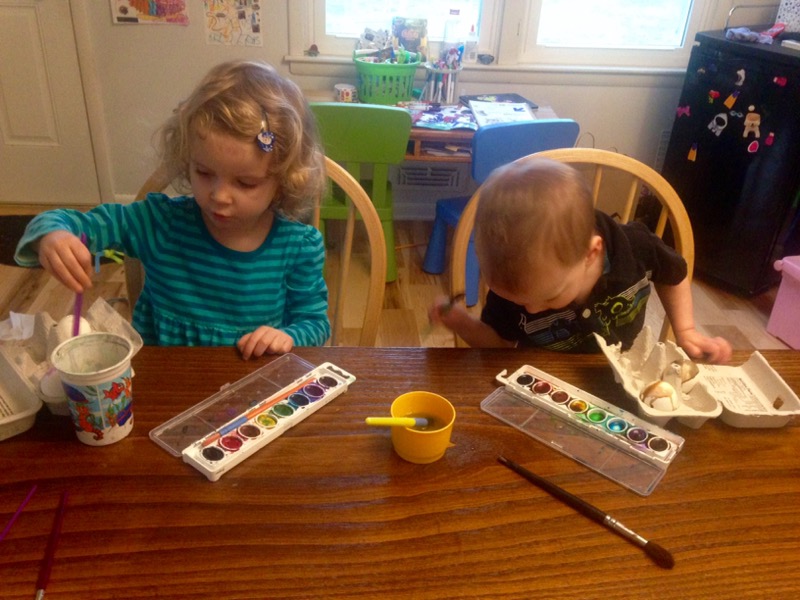 During all of this, the kids helped me by being eager watchers. They also worked on watercolor painting their own eggs.
 Like I said, it was a huge hit with the kids. They got to be observers of the changes of color over time. We took them out every hour during the day to check the progress.
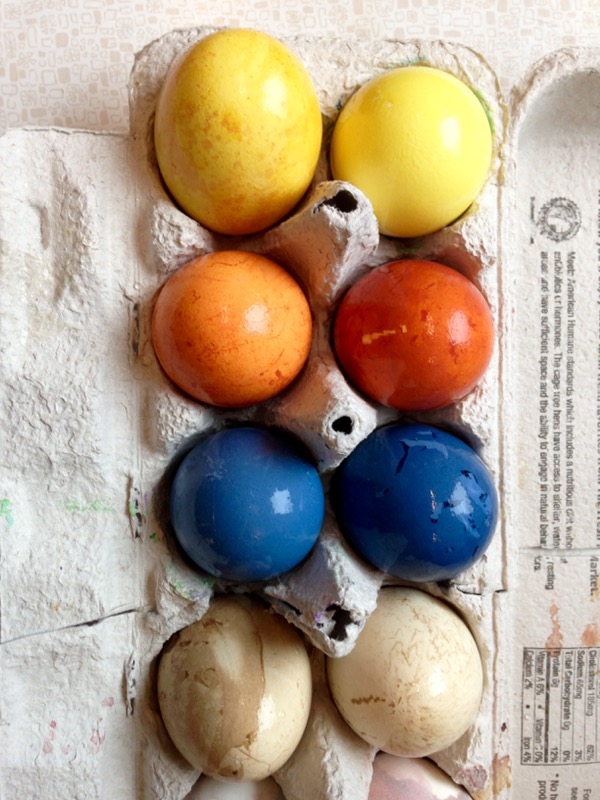 The natural dye from top to bottom is: turmeric (yellow), yellow onion (orange), purple cabbage (blue), and red zinger tea (brownish-gray).
I am looking forward to trying more natural dyes with other materials – paper, fabric, wool…
