DIY Origami Paper Garland

A friend of mine gave me a package of lovely origami paper this summer and it’s taken me this long to do something with it.  We finally managed to get Christmas out of the boxes and up around the house this week.  Now that we are in a new house, I have to reconfigure all my decor for the holidays.  It’s nice to have a little more room to spread out the cheer.  The cheer moved into the dining room this year in the form of glass ornaments and a simple DIY paper garland made from origami paper.  

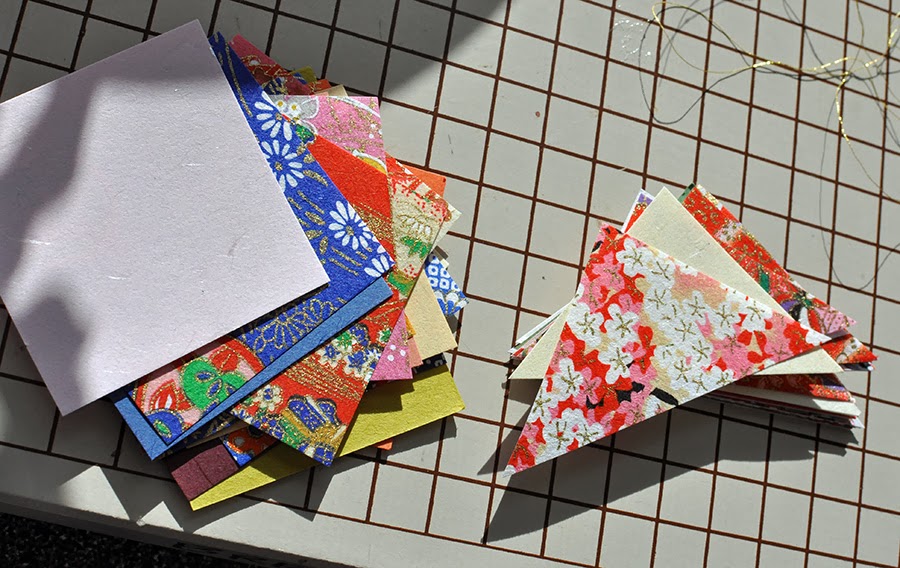
 I started with the square origami paper and then cut them in half, using my paper cutter.  One could also fold them if you wanted your garland to be two-sided.  I stacked them up according to the in order in which I wanted them to appear on the garland.

Then, I ran them through the sewing machine using a simple straight stitch through the middle of the triangle.  I used festive gold thread to complement the gold theme throughout the origami paper.  Be sure to leave a little space between each piece of paper to allow for movement and hanging abilities of the garland.

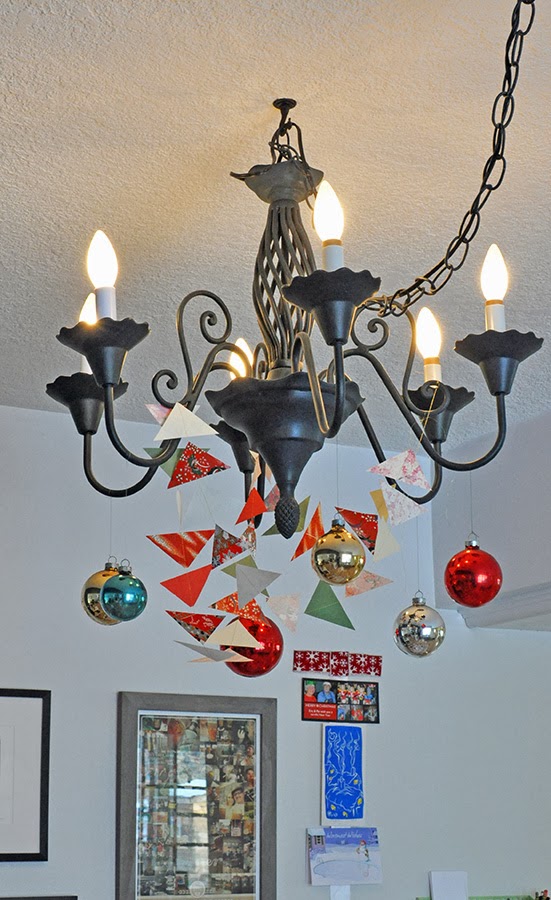
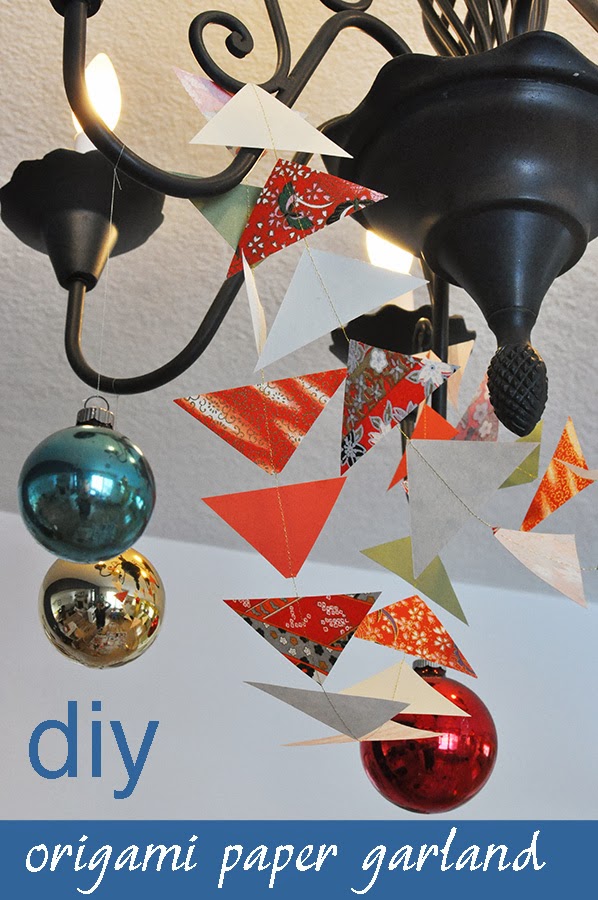
The finished design looks festive, though I am thinking that this garland plus the ornaments may be a bit much.  Like I said, I am still figuring out how things work in this new place – perhaps the garland will find a new home today.  Sometime in the next few months that chandelier will get a makeover.  I have bright plans for it.

Advertisement

Published by Chelsea

Art teacher by day. Mother of 2 - day and night. Thrifter, crafter, artist, baker, chef, and DIYer in free time.

Leave a Reply

Fill in your details below or click an icon to log in:

WordPress.com Logo

You are commenting using your WordPress.com account. Log Out /  Change )

Facebook photo

You are commenting using your Facebook account. Log Out /  Change )

Connecting to %s

%d bloggers like this: