Thanksgiving Pies

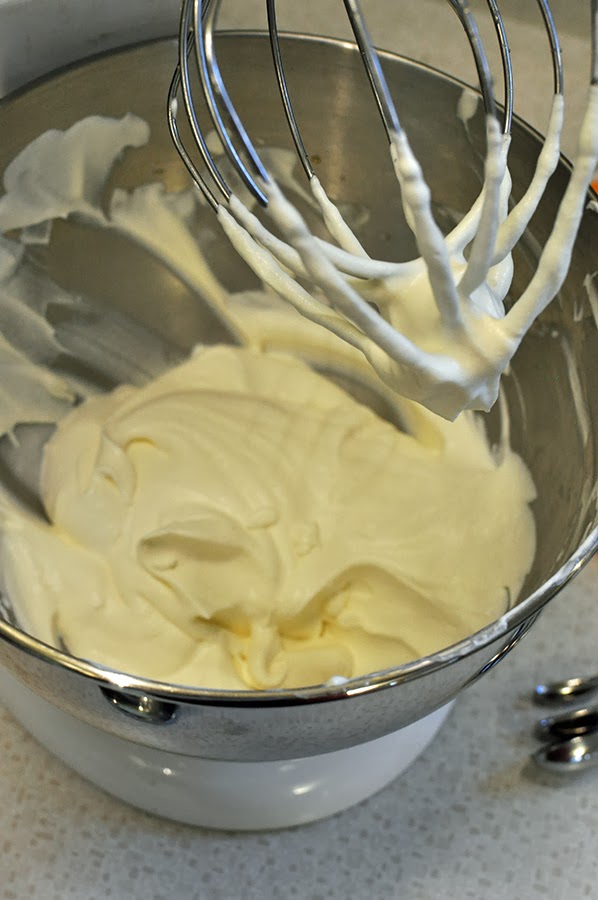
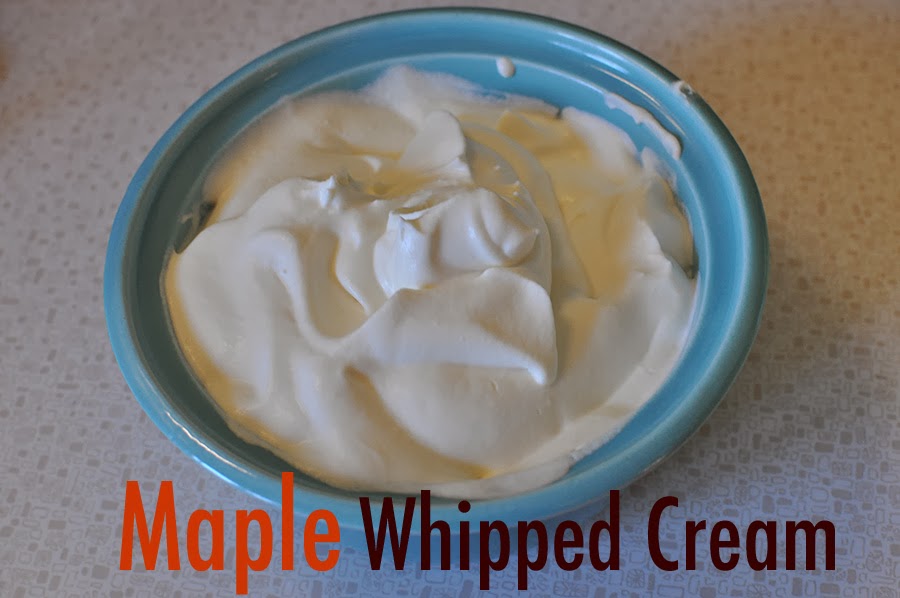
My Thanksgiving contributions to my in-laws celebration this year were in the form of two gluten-free pies.  If you’d rather have a gluten crust, read a previous post on the perfect pie crust.  Both the pumpkin pie and the pecan pie were made using the Williams-Sonoma gluten-free pie crust mix.  The maple vanilla real whipped cream added some extra oomph to these pies without extra work.  Recipes are at the bottom of this post.

This pros of this crust mix: easy to use, easy to follow directions, takes the guessing out of gluten-free substitutions.  The cons: stickier than normal pie dough and browns much more quickly, even with the use of foil or a pie crust shield during baking.  However, this crust is delicious and the fact that no one can even taste the difference between this and a real crust far outweighs the cons.  

Like I said, the real whipped cream is a breeze.  Simply whip the cream until stiff peaks are formed.  Then add sweeteners and/or flavors.  

Just be careful not to over whip the cream or you will achieve the final result of butter.  

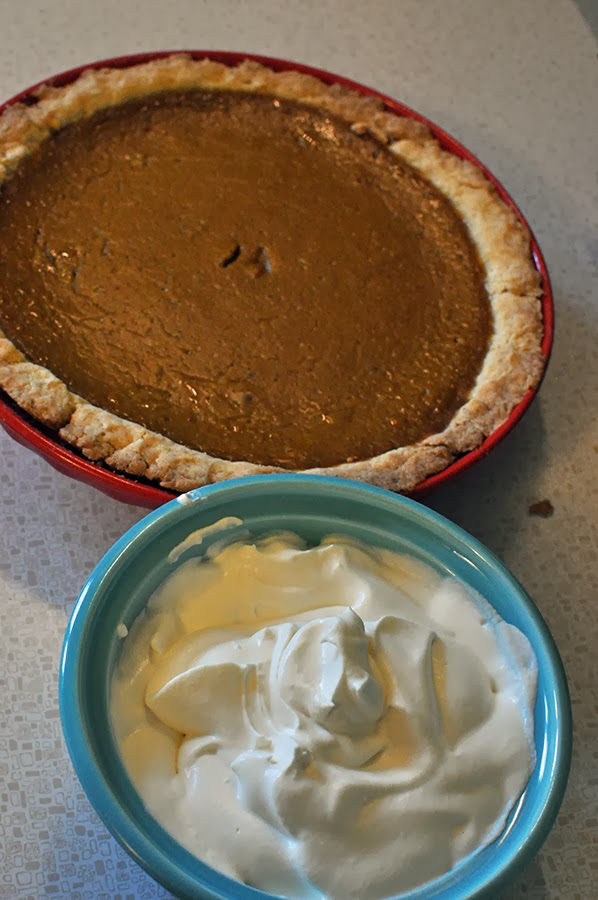
Both of my pies were baked and cooling the day before Thanksgiving.  They looked so good it was a miracle they both made it to Thanksgiving untouched.

I made a pecan pie next.  I have no issues making this pie for others who appreciate it.  However, I am not a fan of it – far too much sugar in it for me.  It is always a good looking dessert with its pecan textures and lovely browned top.

With the extra crust dough I made a turkey for the top of the pecan pie.  I baked it in a separate baking sheet and simply added it on top of the pie when both were done baking and cooled.

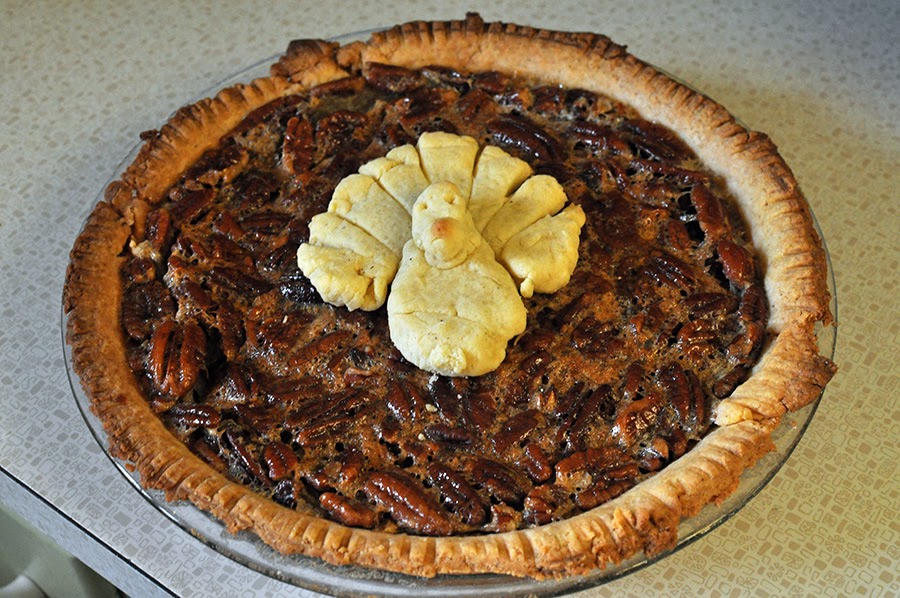
The turkey’s legs did not survive the transfer from baking sheet to pie.  It certainly shows how much this gluten-free crust browns in the oven.  This pie even had a crust shield on for the entire duration of baking.

My contributions to my mom’s Thanksgiving came in the form of assisting in the making of lefse.  This Norwegian flat potato bread is a time-intensive delicacy that we make twice a year – Thanksgiving and at Christmas.  Read here for the full scoop on lefse.

Amidst all the bustle of Thanksgiving prep, we have made time to get Greta outdoors and on a few sled rides.  She is adjusting well to the colder climate of Iowa and sometimes even cries when it is time to come in!  
Pumpkin Pie – makes 1 pie (from Better Homes and Gardens Cookbook)
1. Prepare and roll out pastry for single crust pie.  Line a 9-inch pie plate with pastry.  Trim and crimp edges as desired.  
2.  For filling, in a medium bowl combine: 1 15-ounce can of pumpkin, 1/2 cup sugar, 1 teaspoon ground cinnamon, 1/2 teaspoon ground ginger, and 1/4 teaspoon ground nutmeg.  Add 2 eggs, beat lightly with a fork just until combined.  Gradually add 3/4 cup half-and-half; stir until combined.  
3.  Place prepared pie pan on oven rack.  To prevent over browning, cover edges in foil.  Carefully pour filling into prepared pie pan.  
4.  Bake in a 375 degree oven for 25 minutes.  Remove foil (leave on for gluten-free crust).  Bake another 25 minutes more or until a knife inserted near the center comes out clean.  Cool on a wire rack.  Cover and refrigerate within two hours.  
Maple Vanilla Whipped Cream 
1. Pour 8 ounces of cream into mixing stand bowl.  With egg beater attachment, beat until stiff peaks form.  Watch carefully and do not over beat, or butter will form.  
2.  Add 2 tablespoons sugar, 1 tablespoon real maple syrup, and 1 teaspoon vanilla to cream.  Beat for 30 more seconds.  Pour into serving bowl and use immediately, or cover and refrigerate until ready to use.  
Pecan Pie – makes 1 pie (from Betters Homes and Gardens Cookbook)

1. Prepare and roll out pastry for single crust pie.  Line a 9-inch pie plate with pastry.  Trim and crimp edges as desired.

2.  For filling combine: 3 slightly beaten eggs1 cup corn syrup2/3 cups sugar1/3 cup melted butter or margarine, and 1 teaspoon vanilla.  Mix well, stir in 1-1/2 cup pecan halves.

3.  Place prepared pie pan on oven rack.  To prevent over browning, cover edges in foil.  Carefully pour filling into prepared pie pan.

4.  Bake in a 350 degree oven for 25 minutes.  Remove foil (leave on for gluten-free crust).  Bake another 20 to 25 minutes more or until a knife inserted near the center comes out clean.  Cool on a wire rack.  Cover and refrigerate within two hours.

Published by Chelsea

Art teacher by day. Mother of 2 - day and night. Thrifter, crafter, artist, baker, chef, and DIYer in free time.

Leave a comment