The week before school begins, the art teachers have the joy of coming together and making art. We are treated to a workshop that allows for our own creative endeavors, a new lesson plan idea, and a chance to remember what it feels like to be a student learning about art.

This year we went to the historic Dudley High School. This is a beautiful building located with spacious rooms and lovely courtyards. The art room was big and bright and had direct access to the outdoors – something I have always wanted.
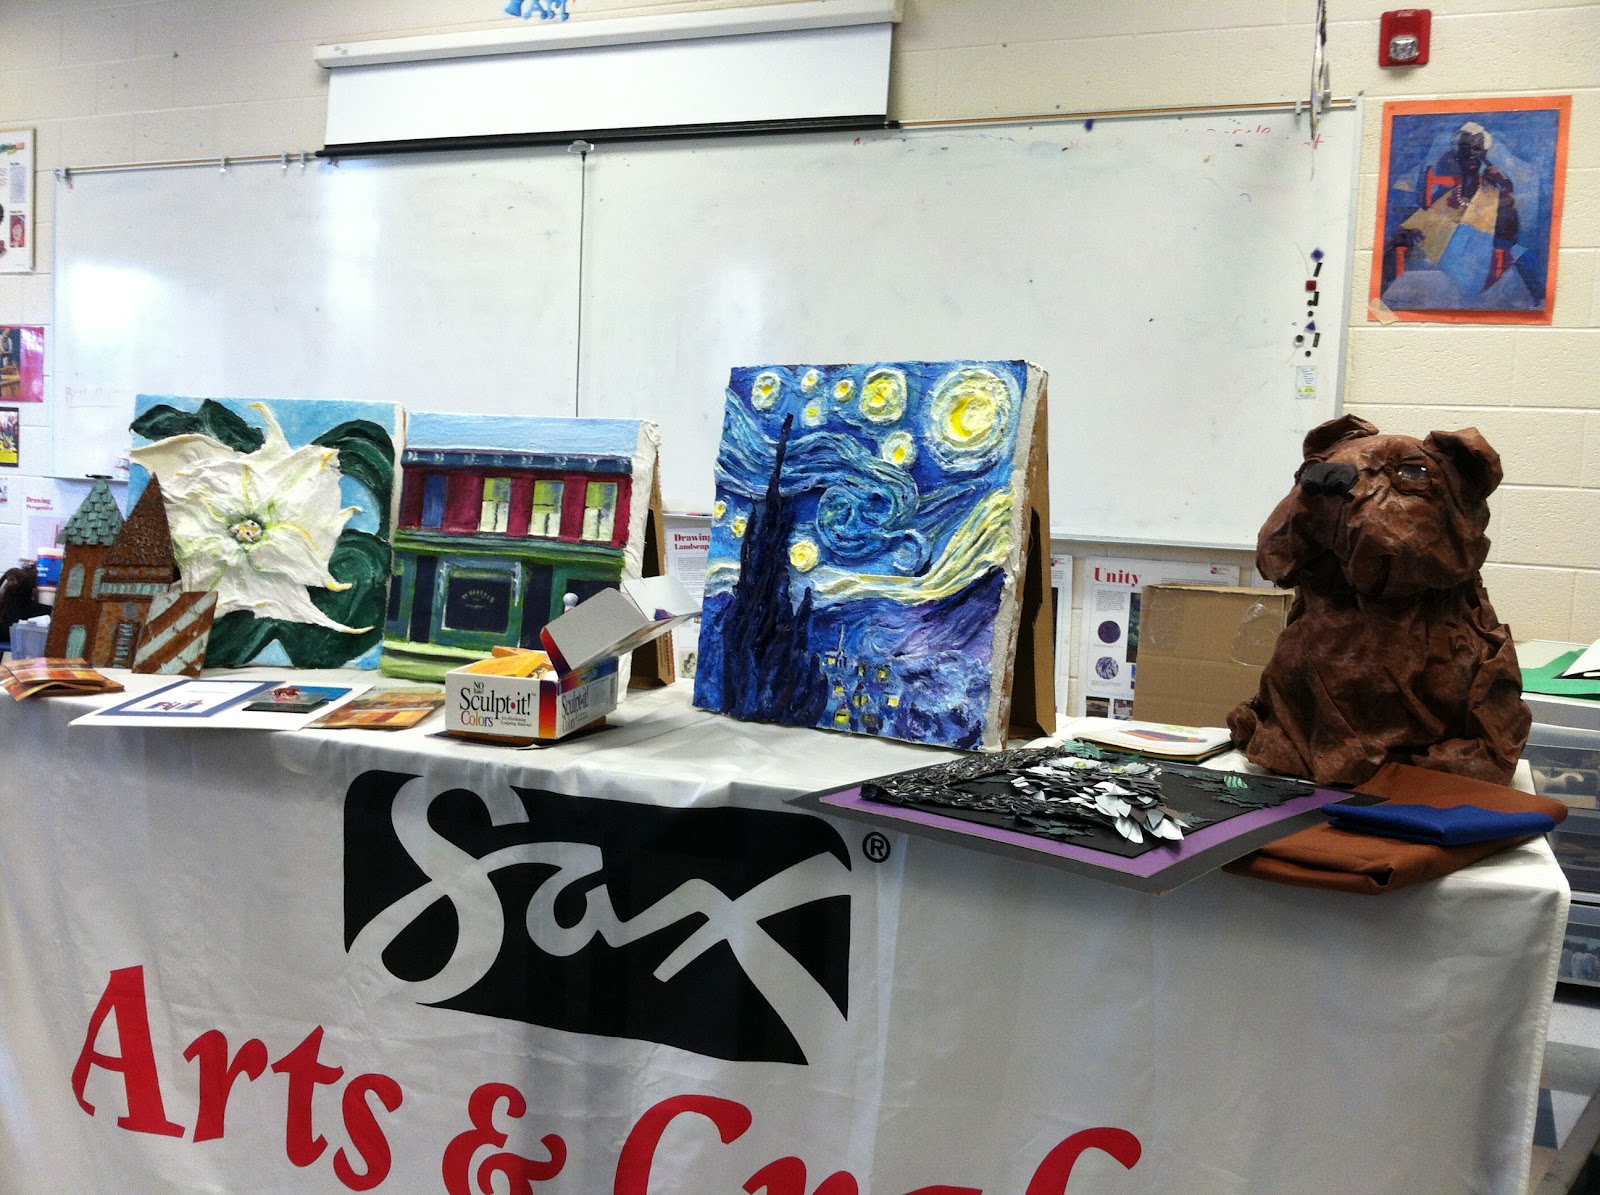
The full set up detailing ideas for future lesson plans.
Pizza box plaster sculptures. Front.
Back.
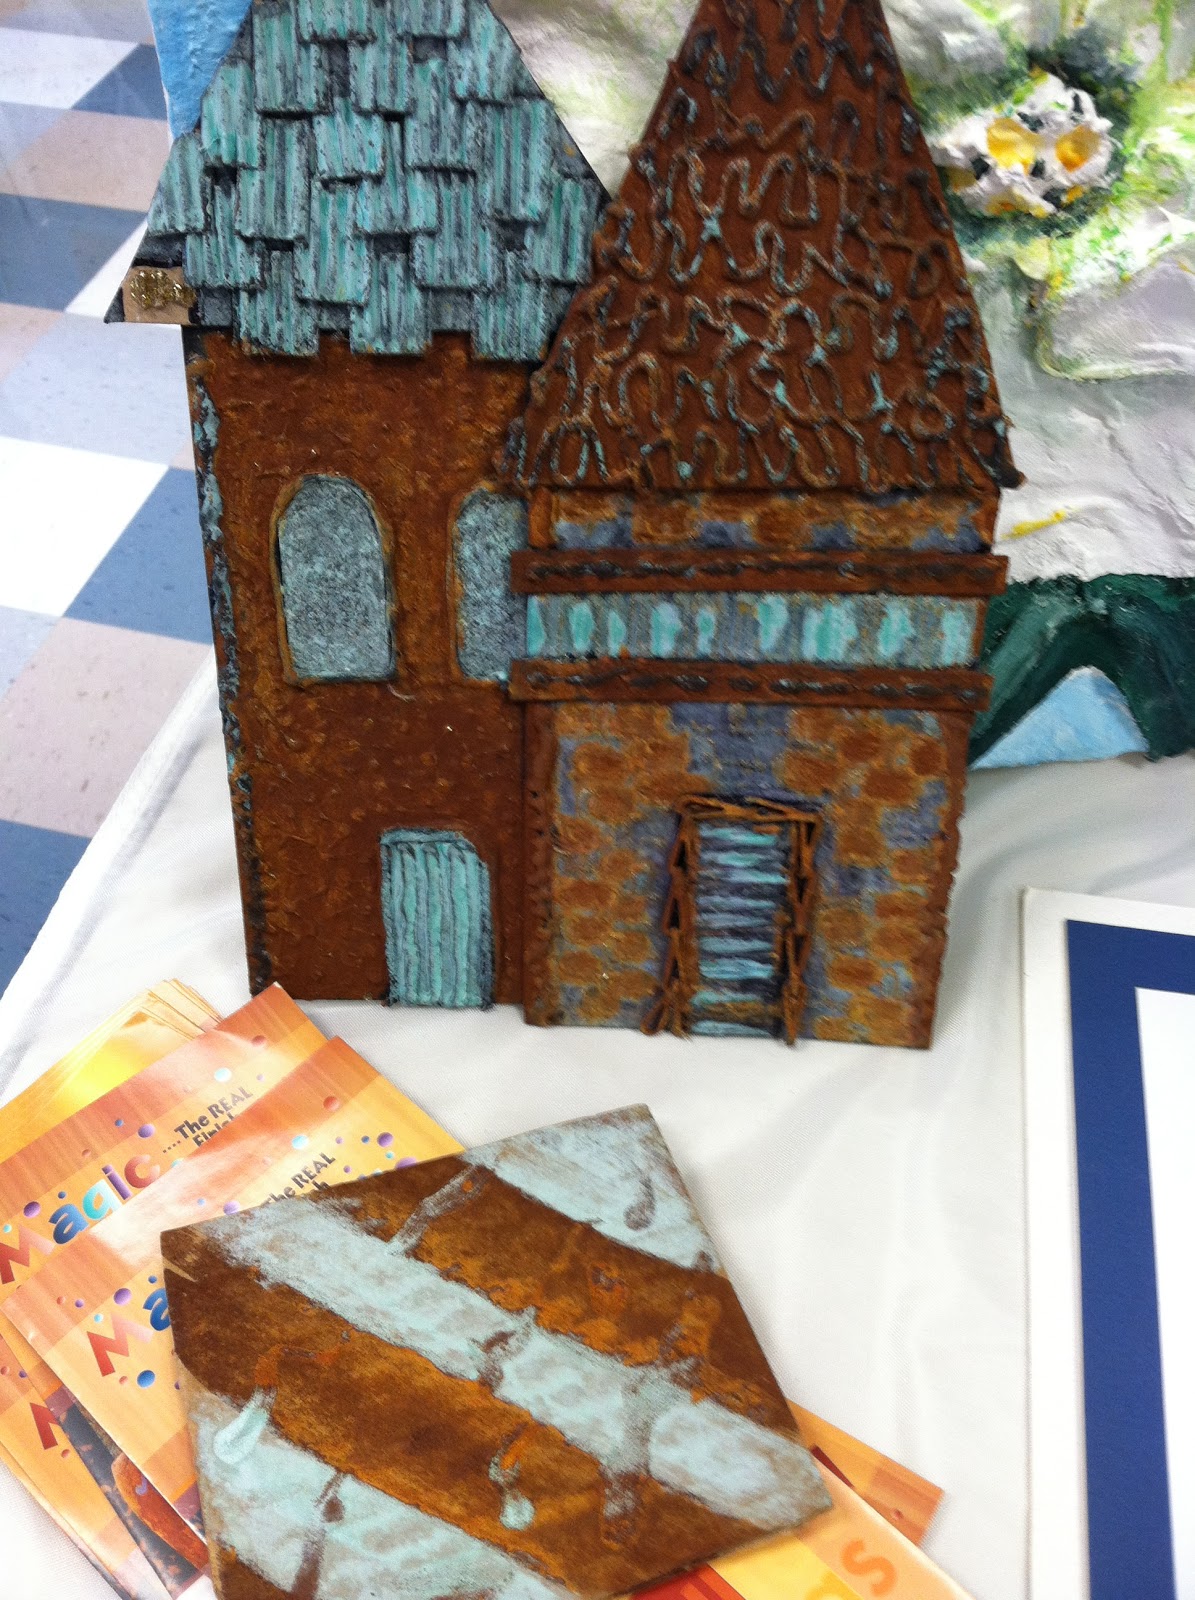
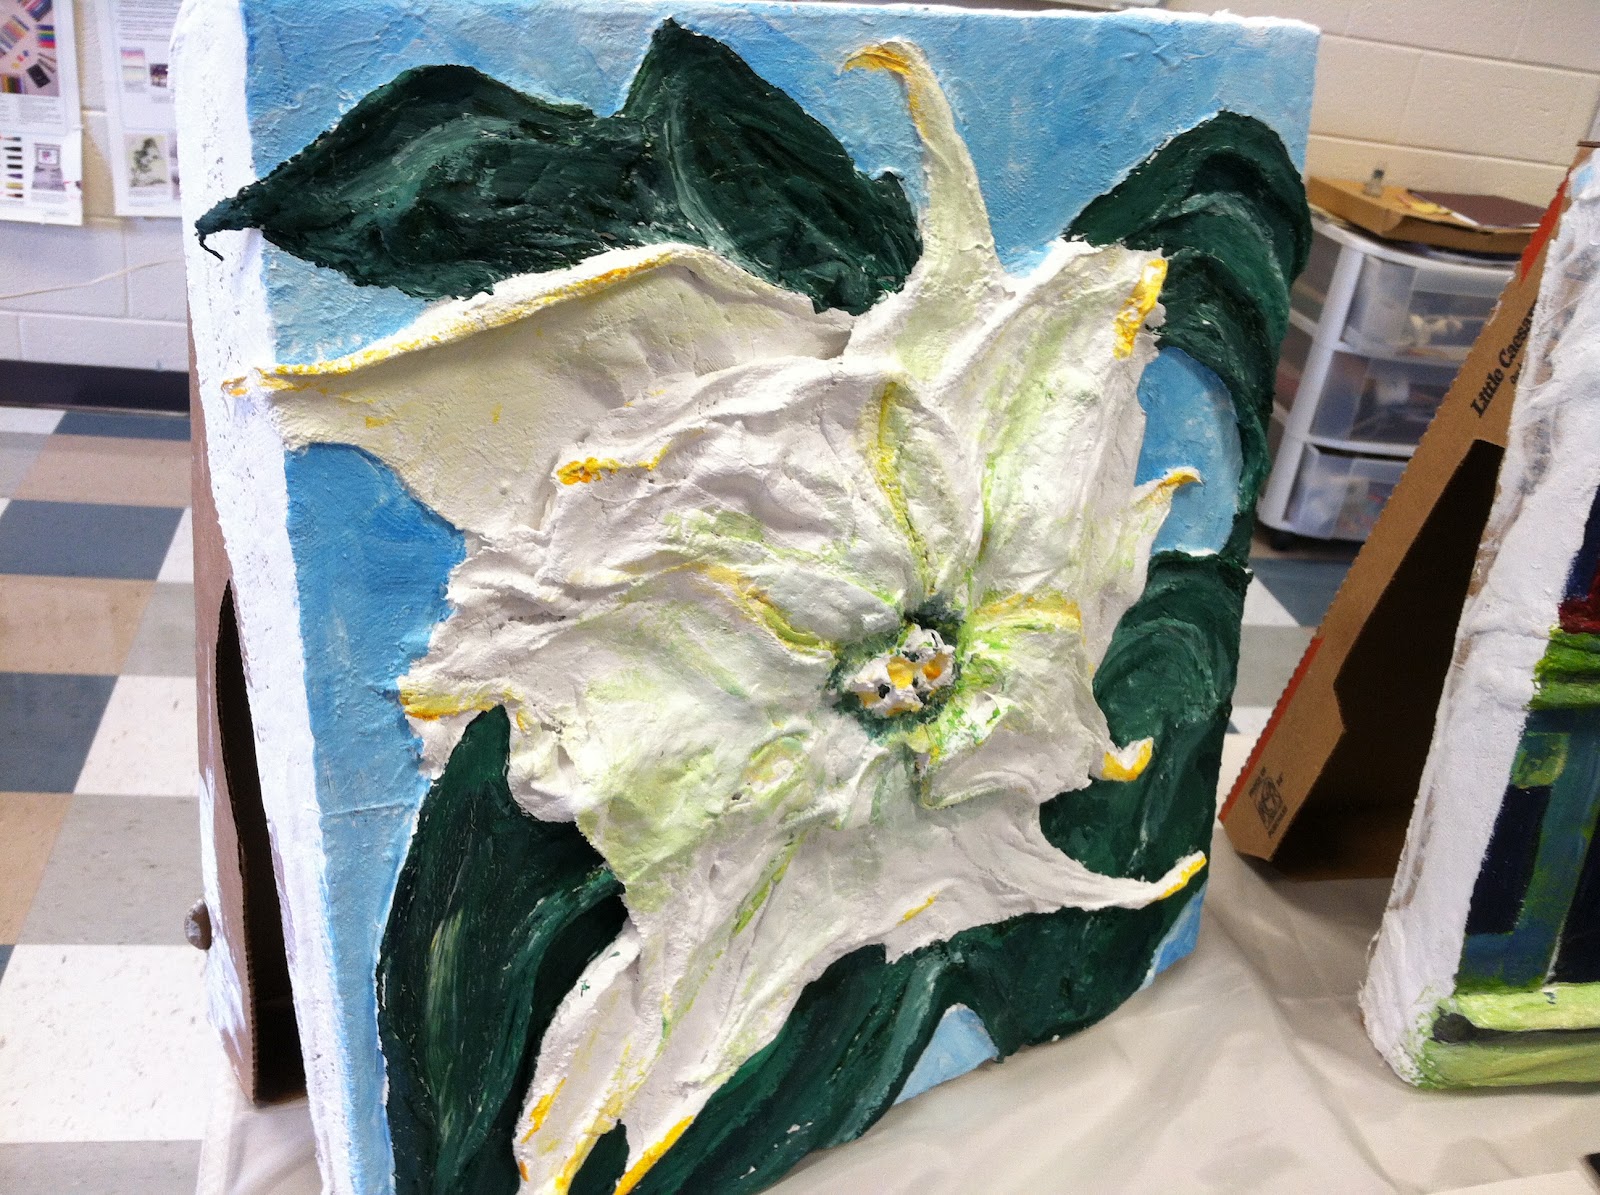
This was an example of the finished product were going to be creating. The suggestion was to make a house.
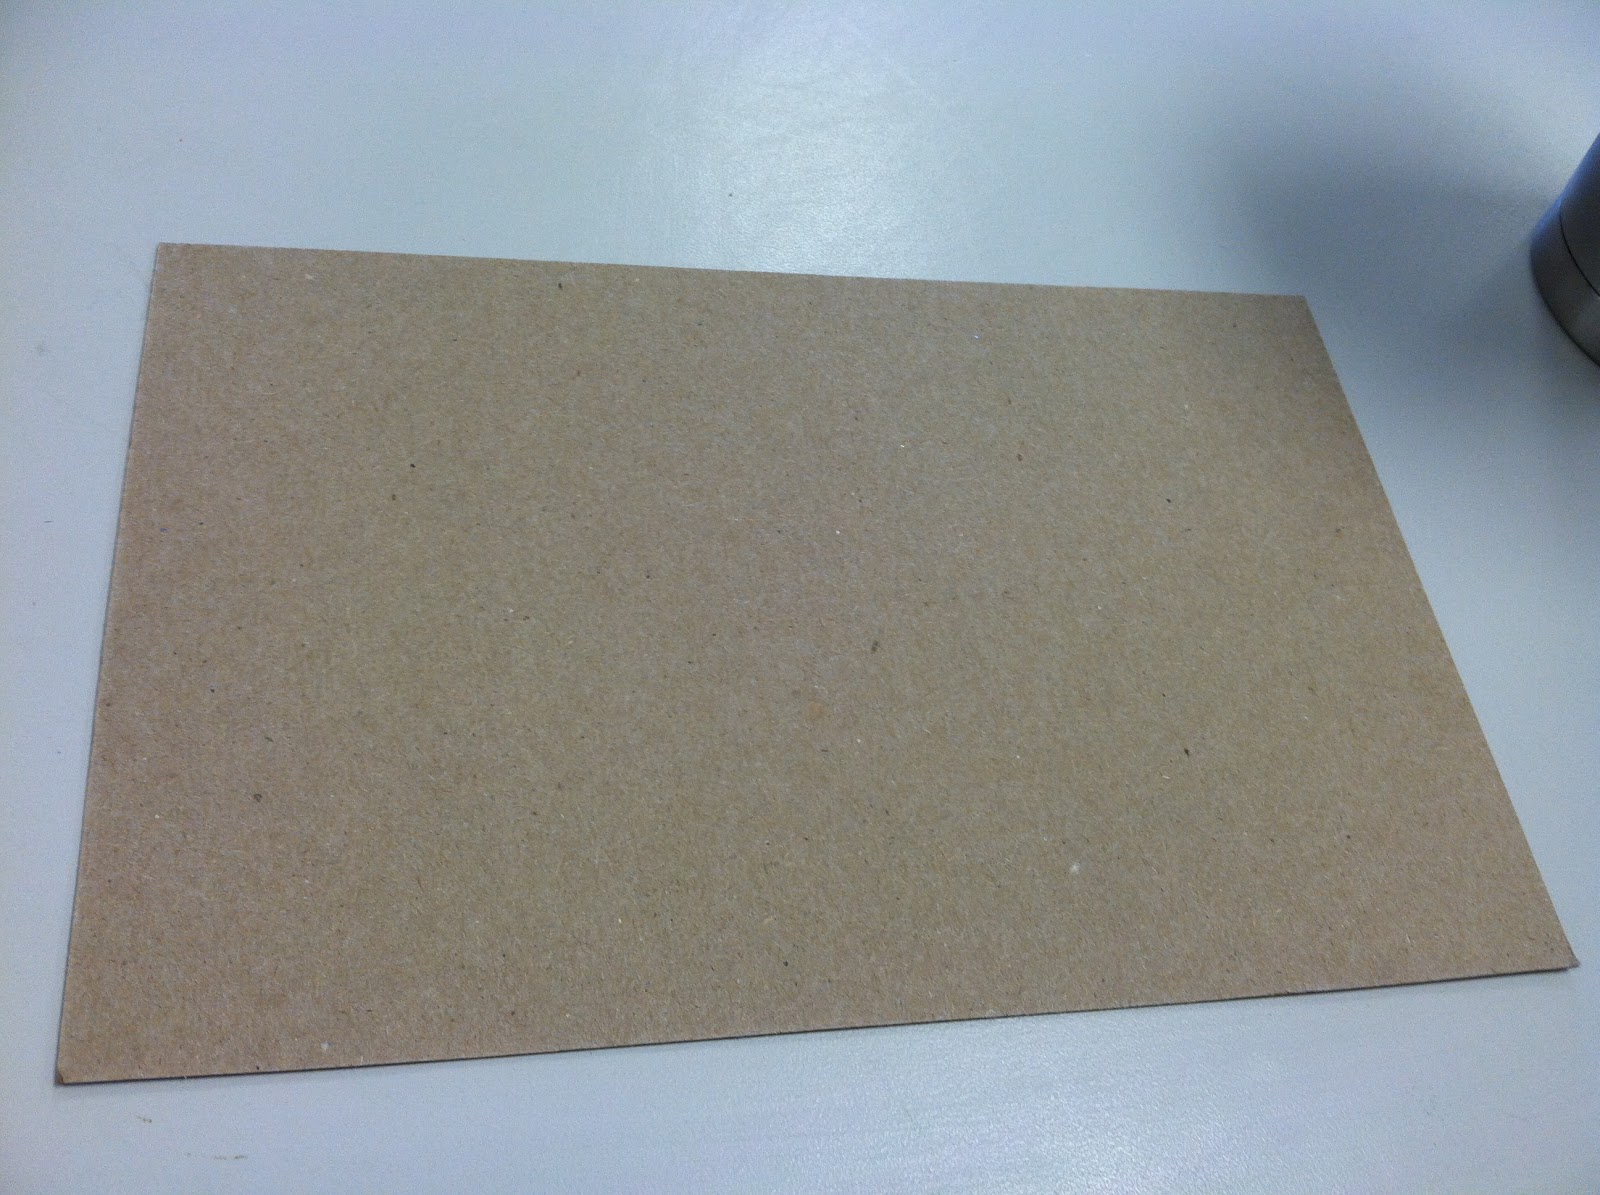
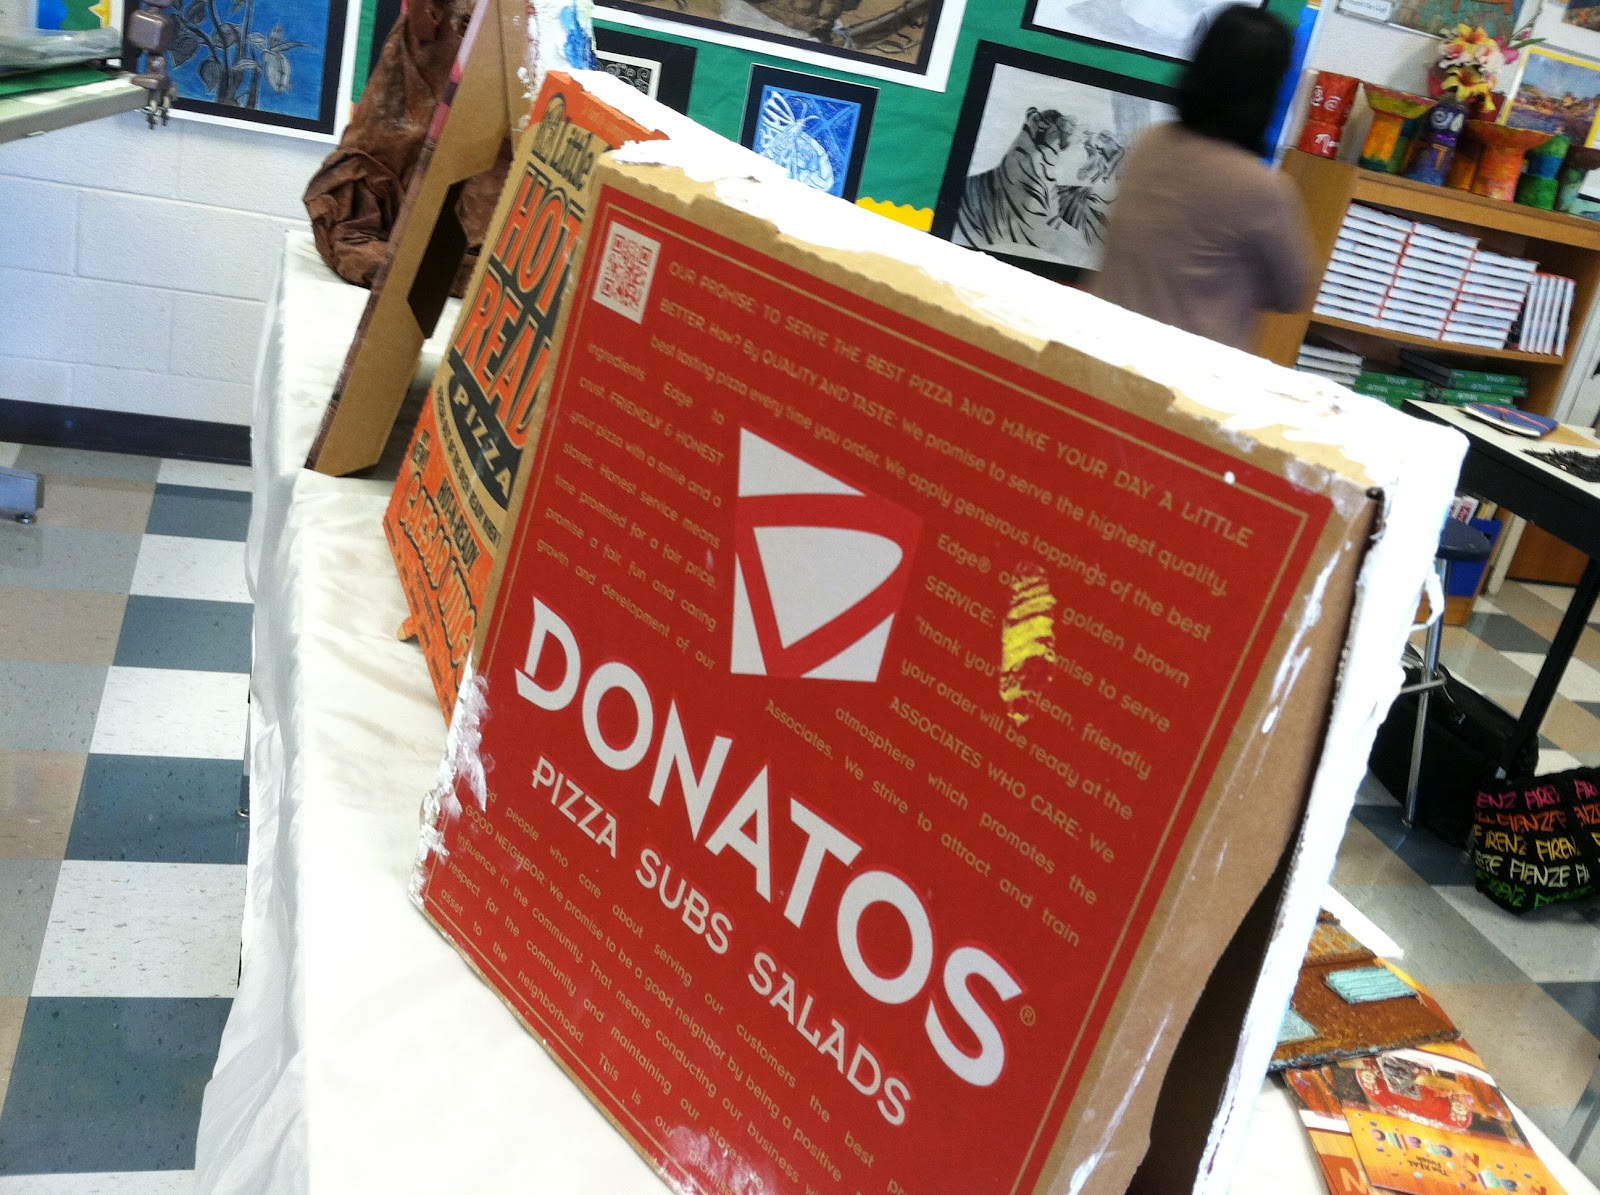
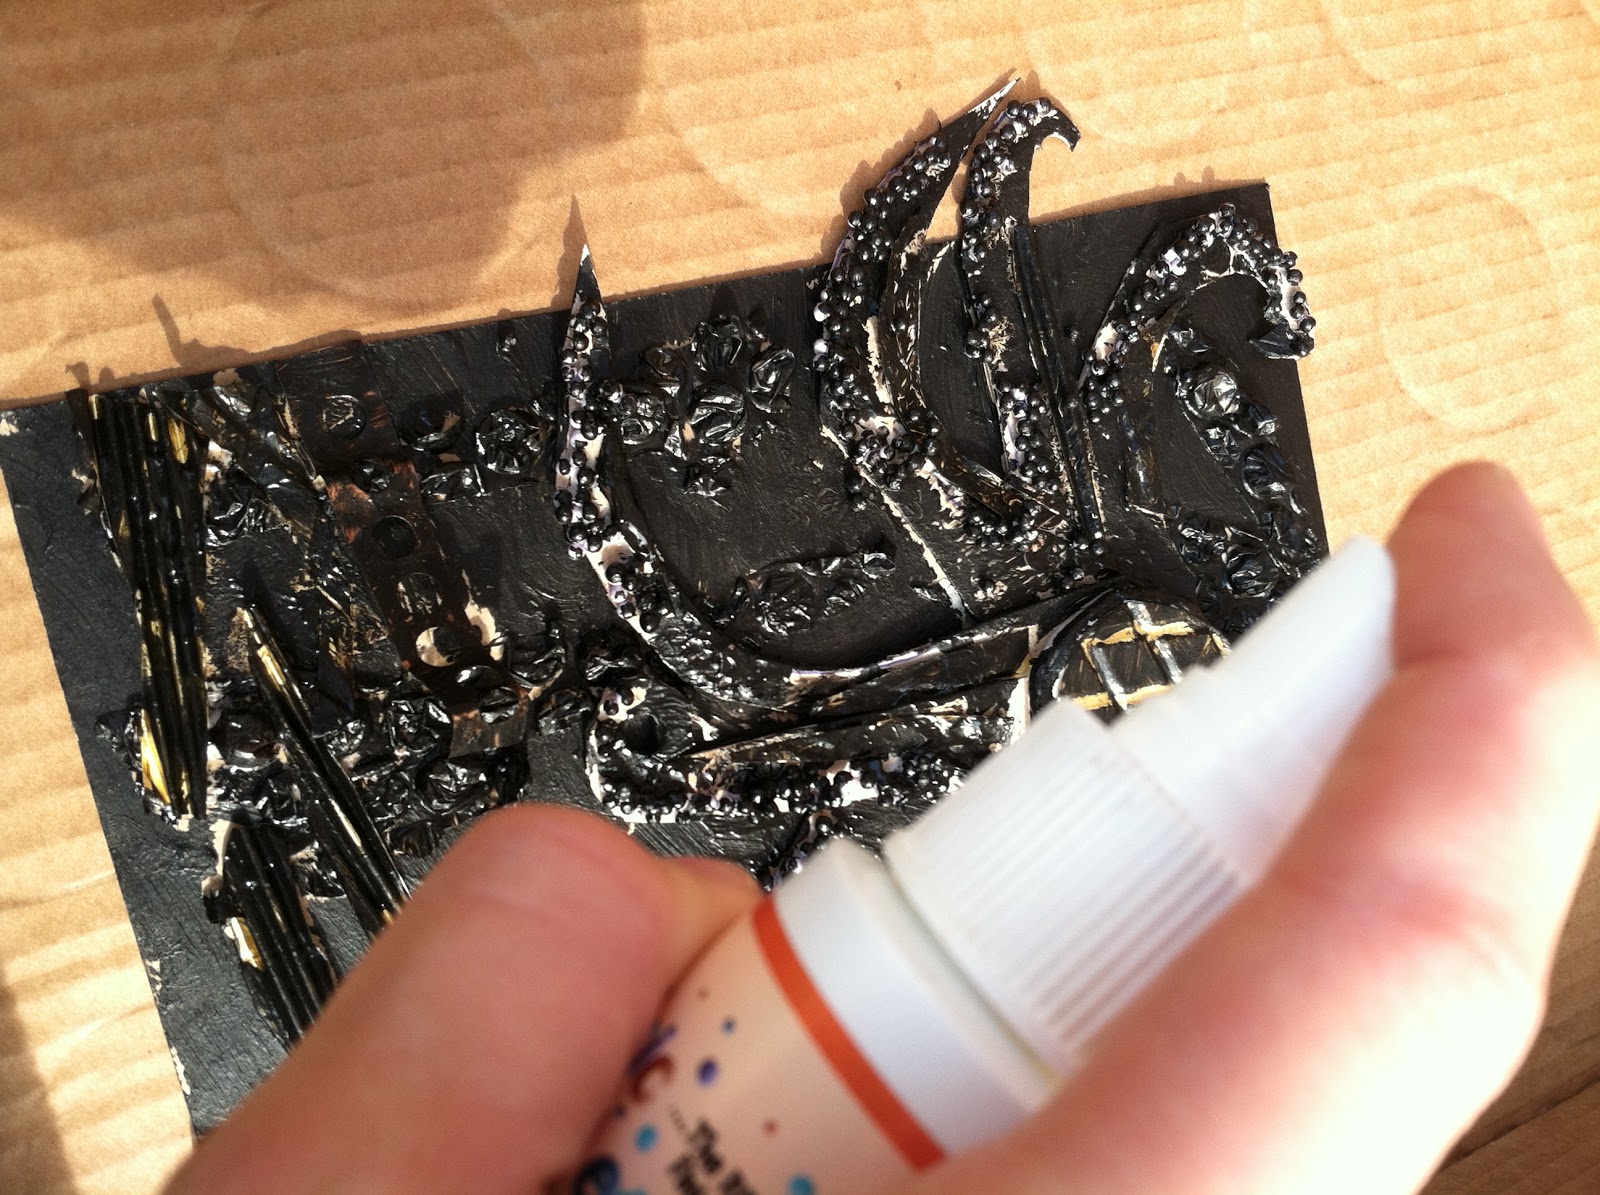
We started with a rectangular piece of cardboard.
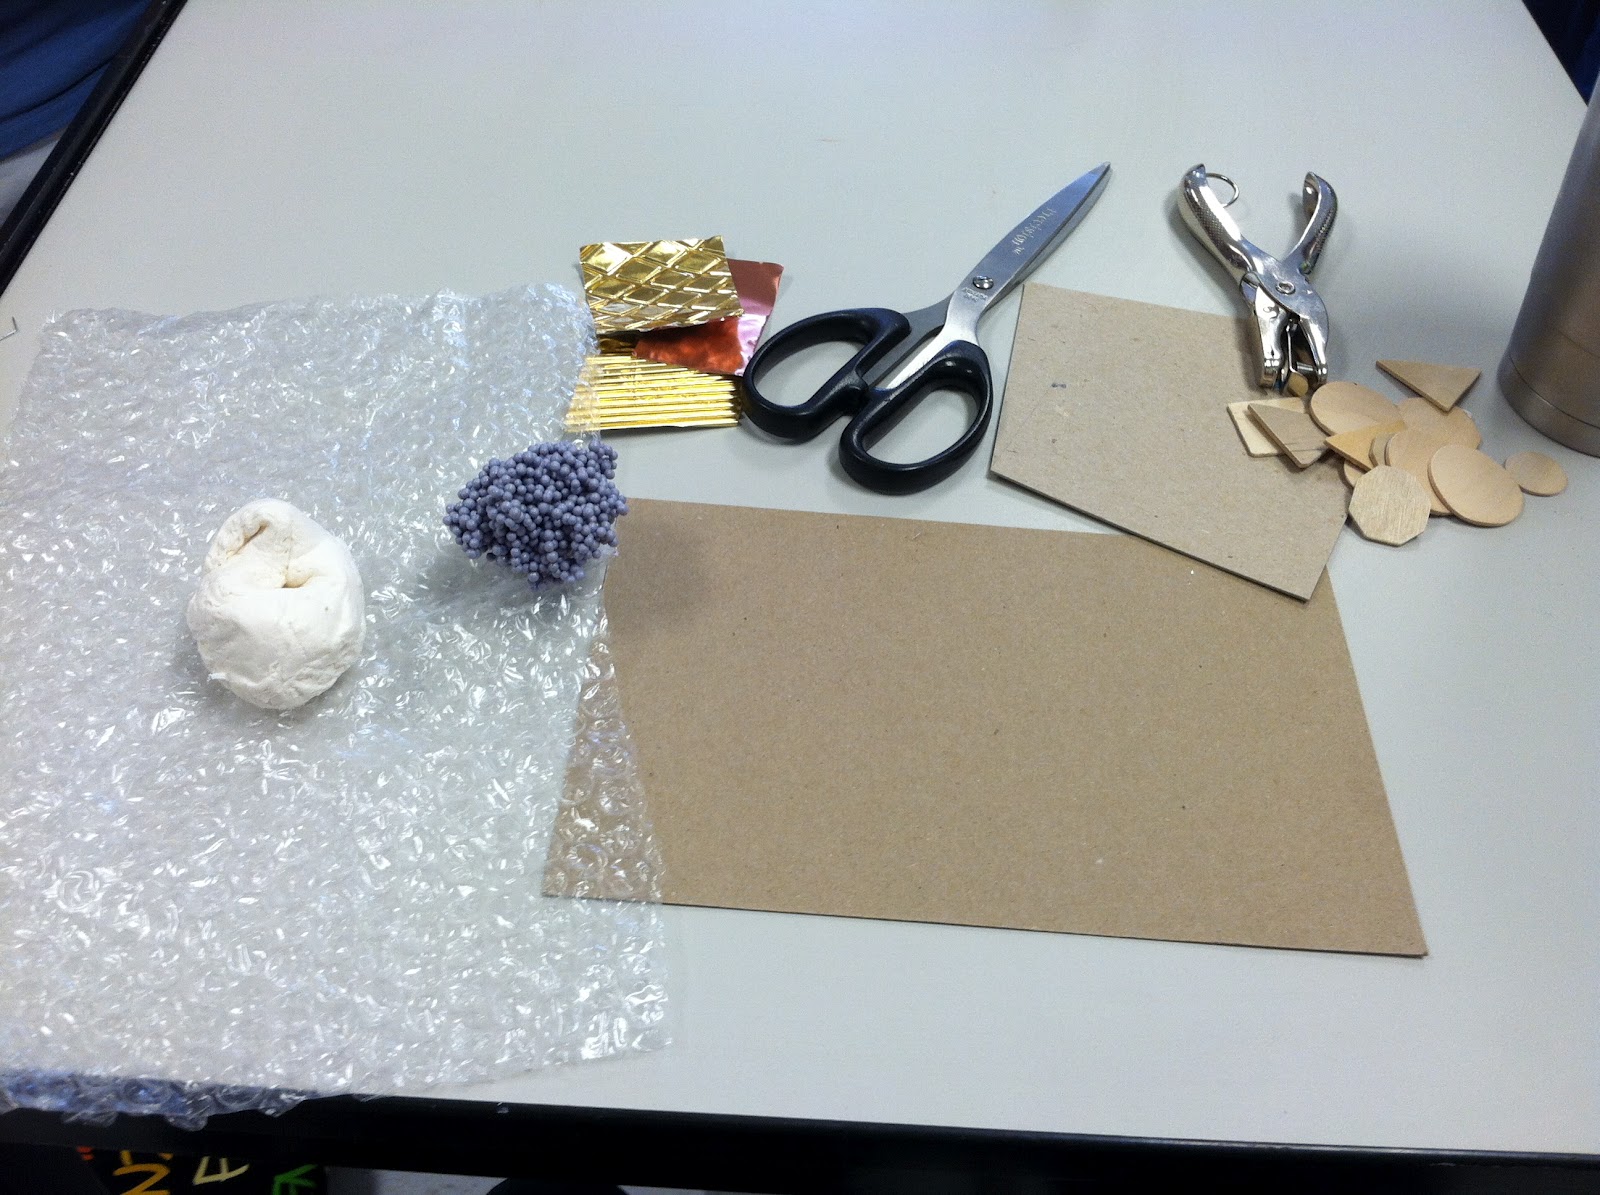
We were given access to a wide variety of materials. I chose to use scissors, glue, a hole puncher, air dry foam clay, dots foam clay (the blue-ish gray lump), bubble wrap, scrap cardboard, foil scraps, and a crimper.
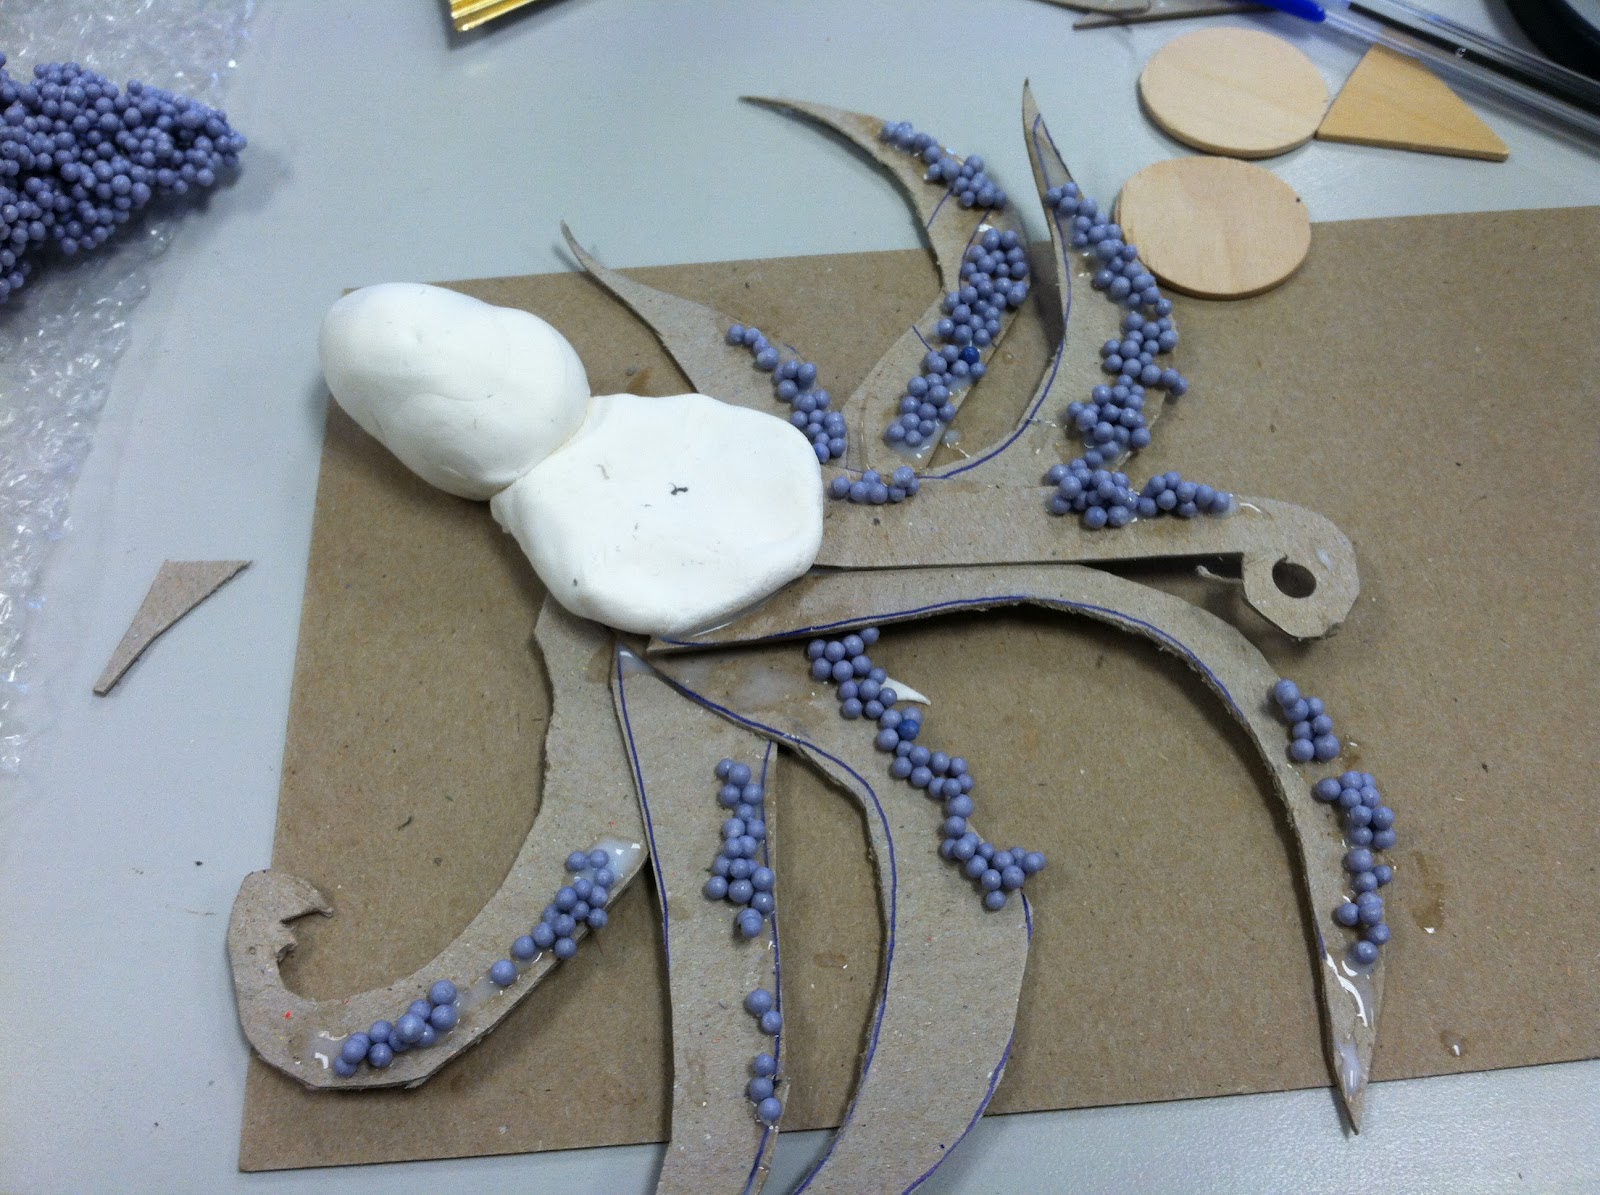
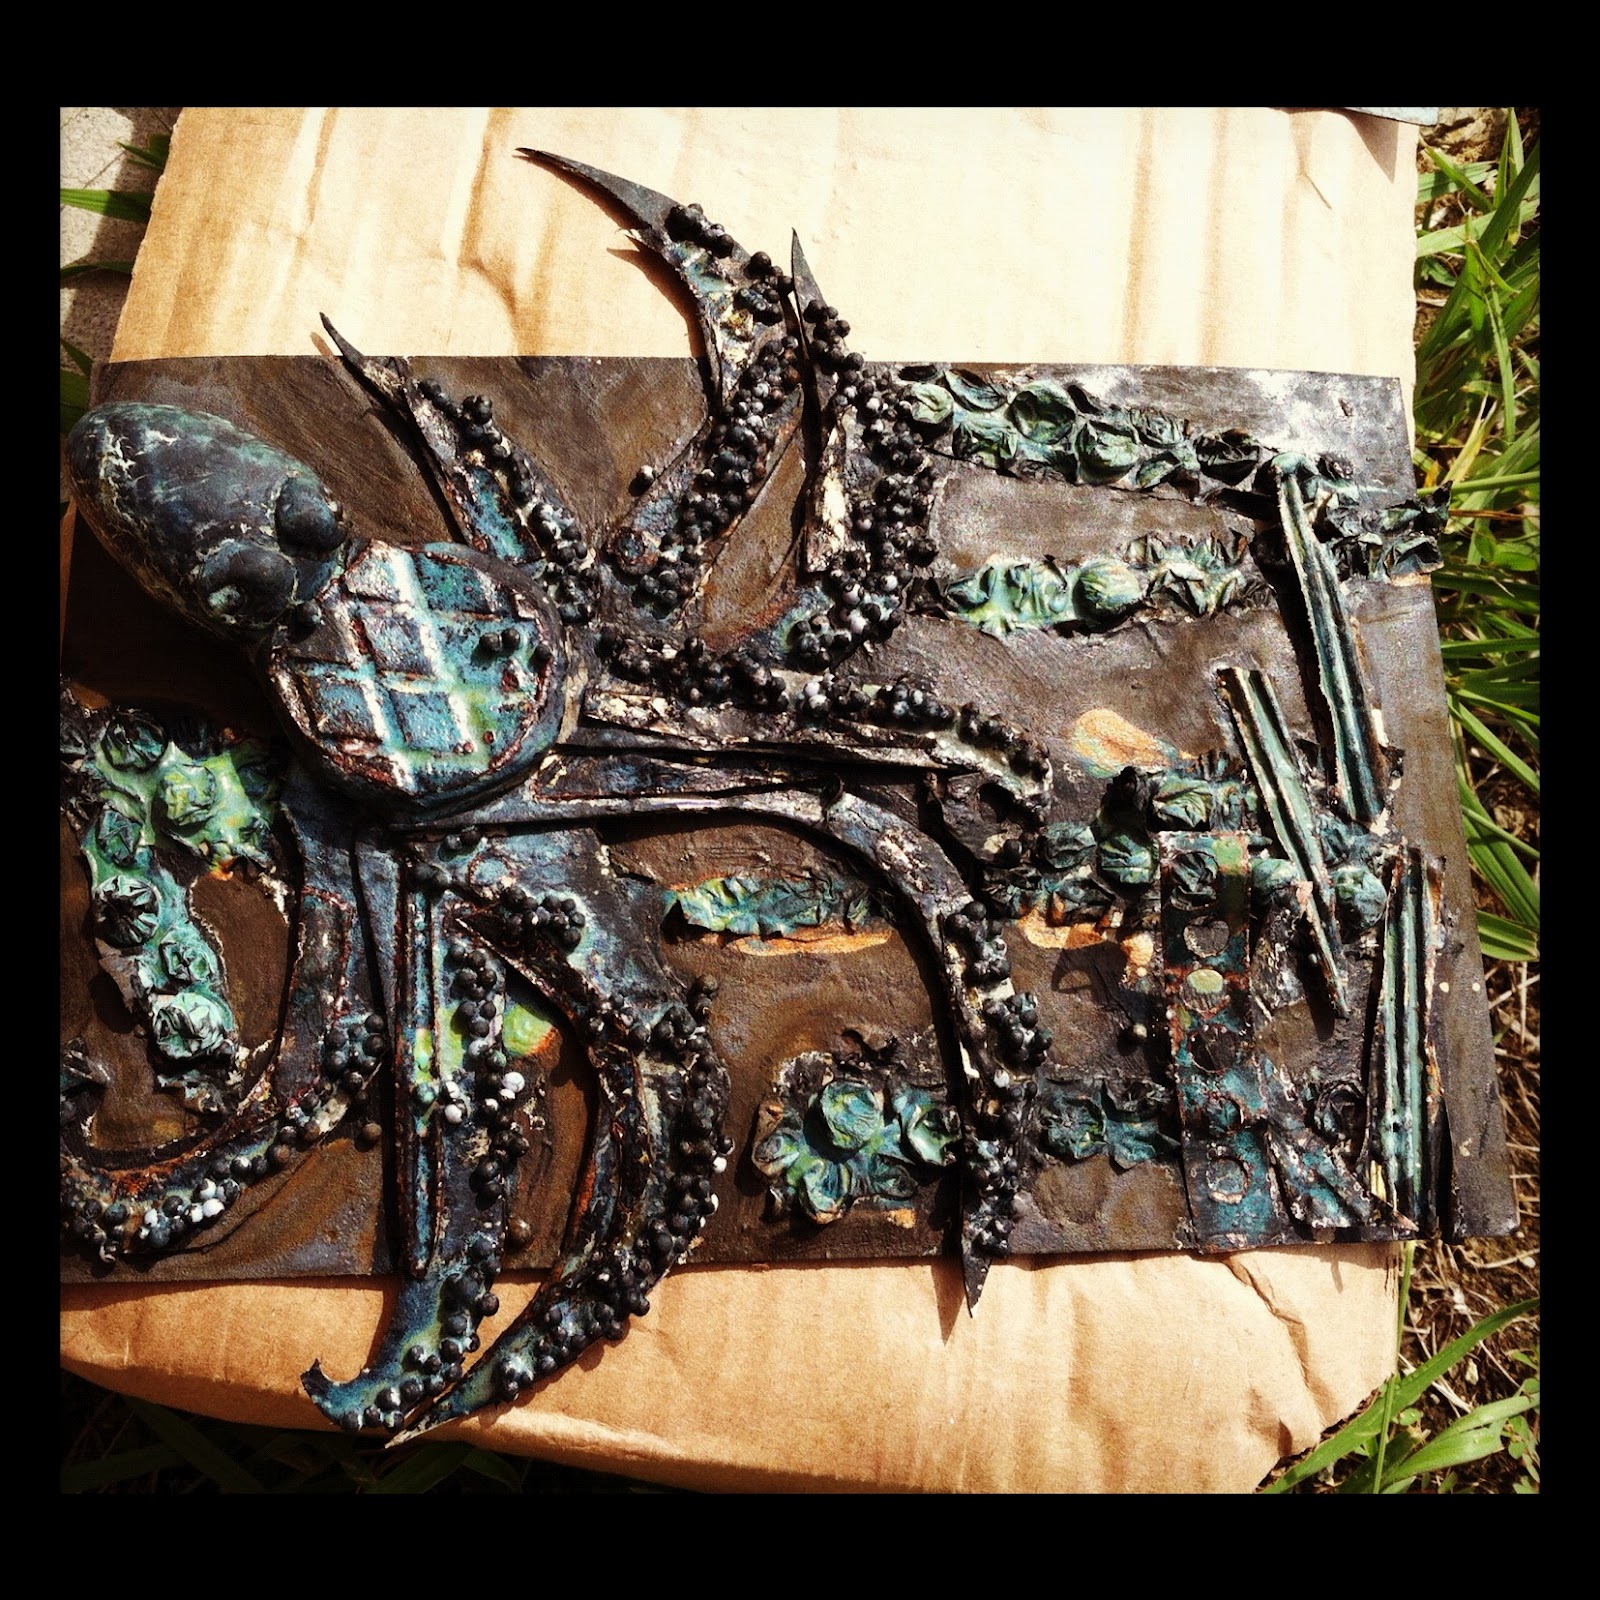
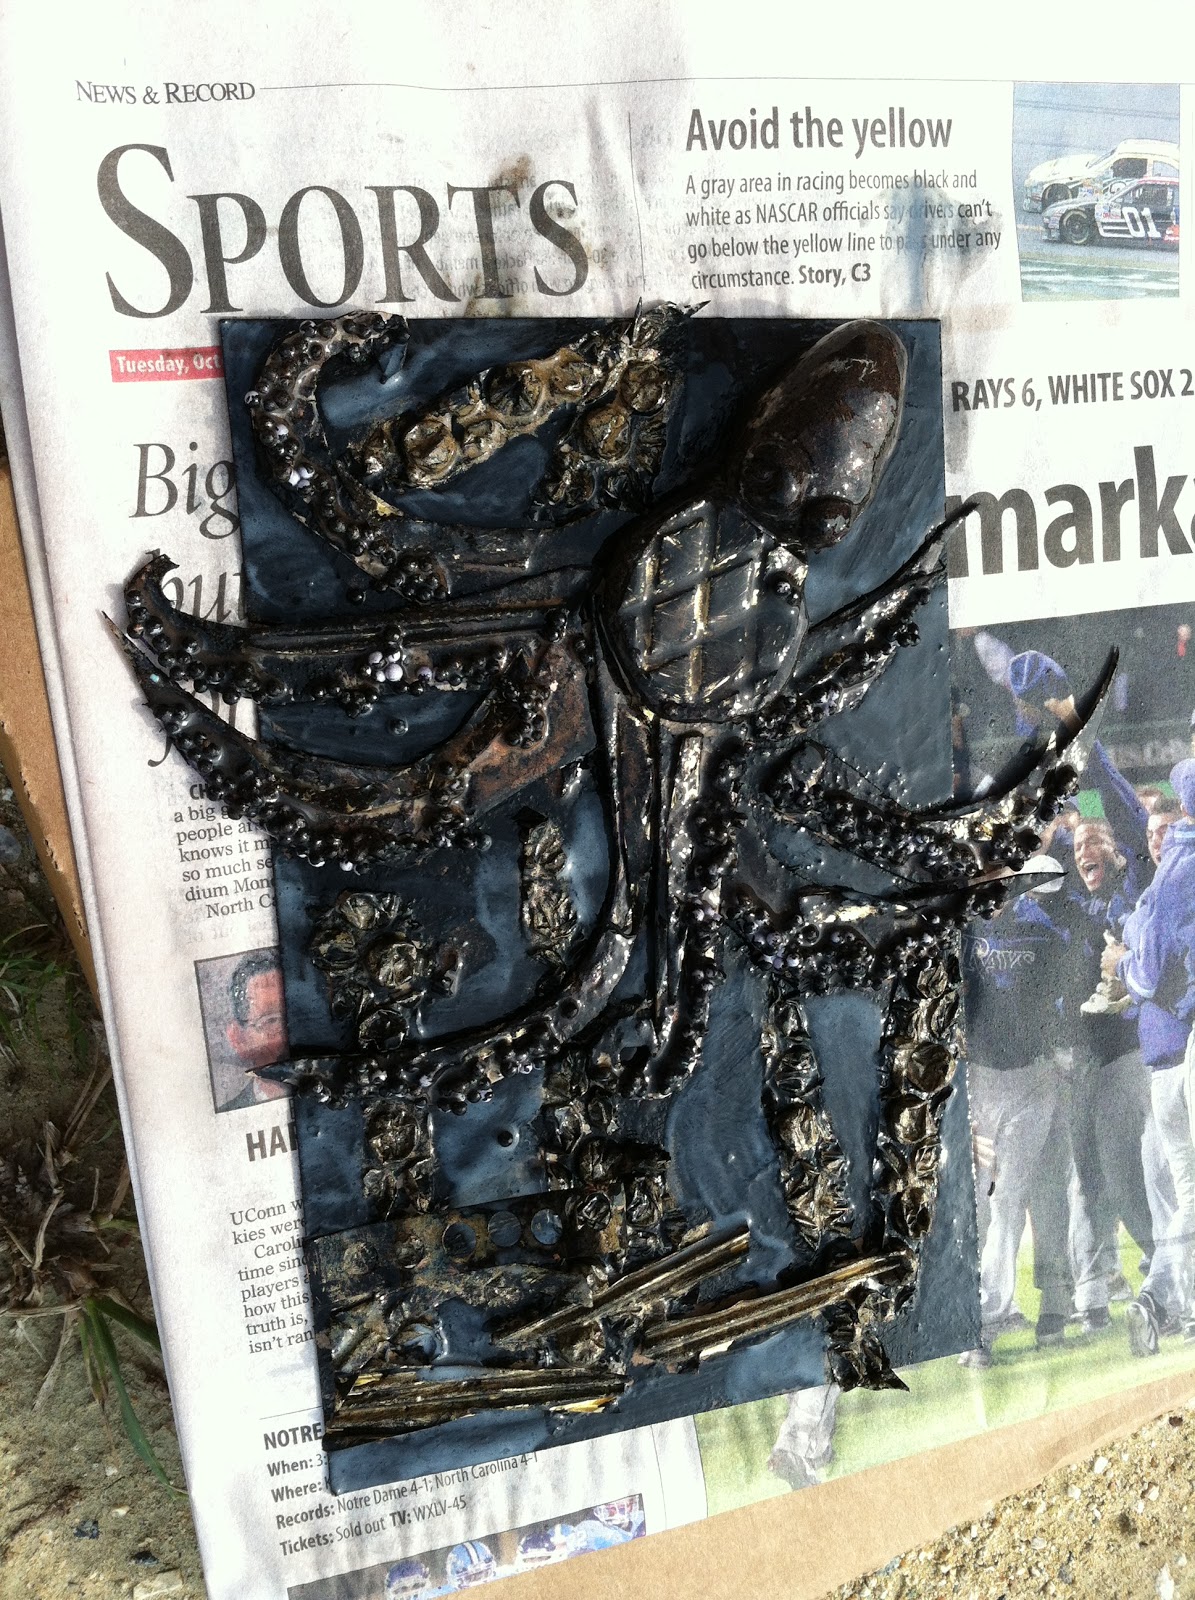
I set to work immediately and began creating an octopus. The foam dots clay was perfect for making the texture of the octopus suction cups on its tentacles. I used the air-dry foam clay to sculpt the head of the octopus and used cardboard scraps to cut the tentacles.

The bubble wrap and metal scraps were nice accents in the background and on the octopus itself.

It would be best to let the glue to dry before this next step, but since we were pressed for time, we went ahead and painted the entire piece with a layer of black acrylic paint. After the acrylic paint dried, we painted with Mayco Magic Metallic paints. These fabulous paints have actual metal ground up in the paint. It’s a cheaper way to give a metallic look to items. The 8 oz. bottles run from $10 to $15 each.

Samples of the Mayco Magic Metallic paints we used.

Art teachers gone wild.

The octopus after painting with metallic paints.
Then we sprayed the entire work with Mayco Magic Metallics patina. The two patinas created a green patina on the copper and bronze areas and a rust patina on the steel areas.

Ten to fifteen minutes later my piece was starting to morph.
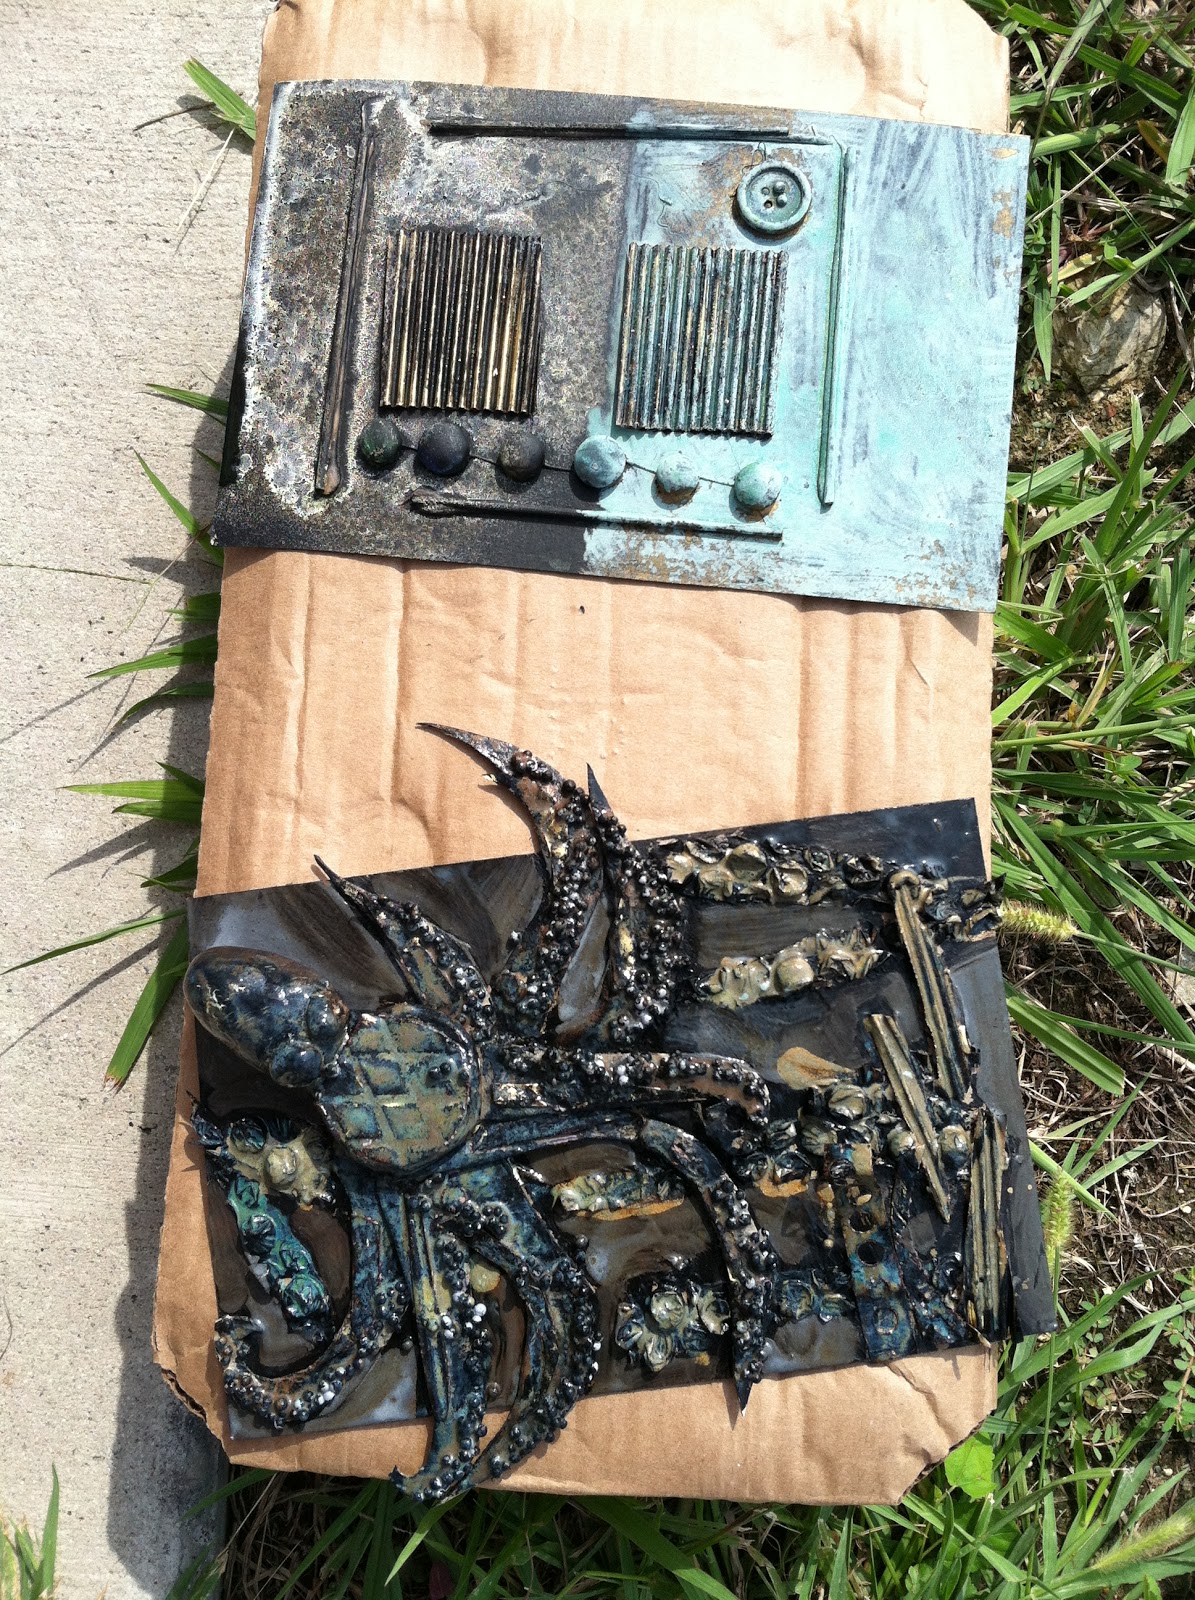
Another art teacher’s creation.
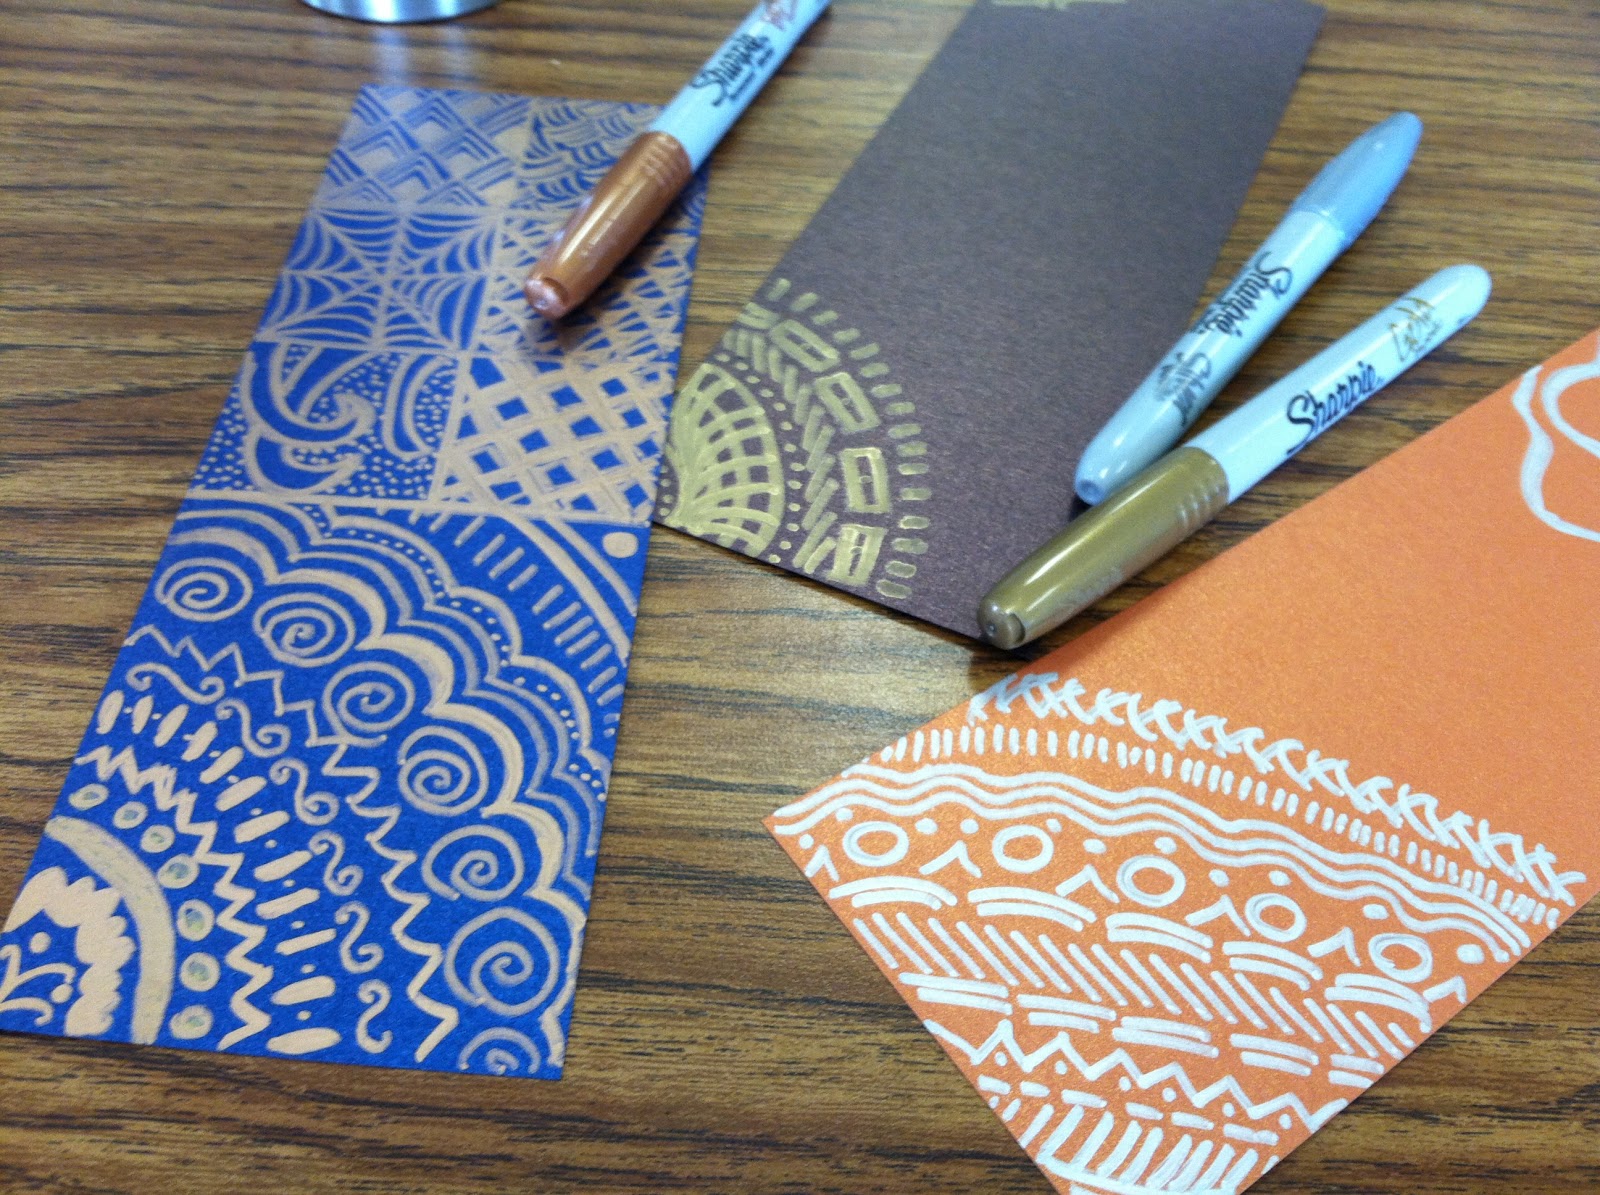
We also got to use some from metallic Sharpies and metallic paper from Sax.

The fun freebies that art teachers get at professional development (AKA play day).
