We took a field trip on Saturday to Raleigh. Eric had a conference and I wanted to see the new and improved North Carolina Museum of Art. When we arrived at the North Carolina Museum of Art it was a stormy, rainy afternoon. I was not even thinking that a stroll through the sculptures would be possible. So, biding our time, we headed indoors to look around. Greta was very alert and drew a few stares as she flapped her arms and kicked in reaction to some of the artwork. What can I say? She’s the daughter of an art teacher! We looped through the old building to see Portraits by Beverly McIver first. I was impressed with her style of painting, and loved her use of color and large bold brushstrokes. Then we headed over to the main collection, did a few laps, had lunch in the cafe, and grabbed some postcards. At this point, the rain had stopped so I decided we would venture a sculpture tour.
The first lap around the sculpture garden and the new building.
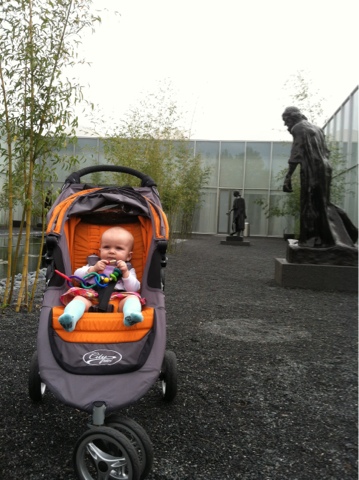
Checking out the Rodin Sculptures.

In trying to get Greta to take a nap, I kept walking. To my surprise, I found trails with more art! The trails sign had 4 options for our walk. I love this idea – get people exercising and looking at art.
 So, off we went.
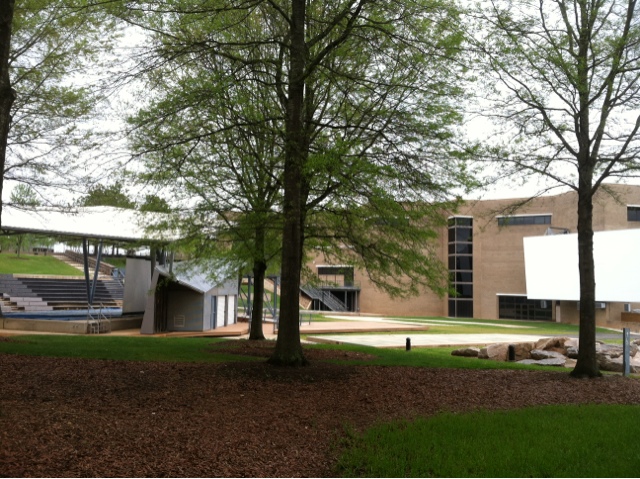
We walked past the amphitheater…
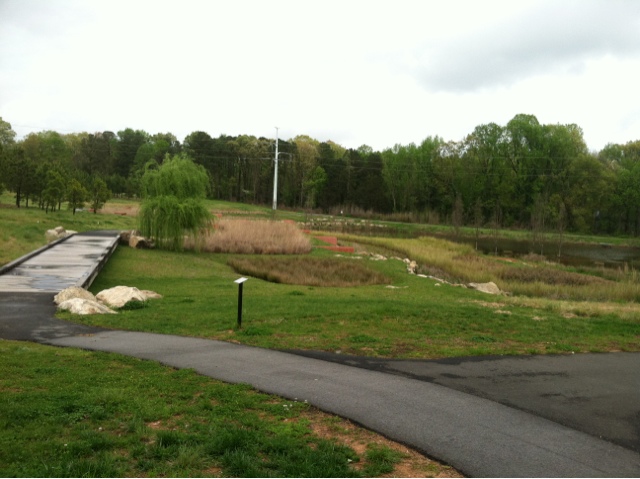
over a bridge…
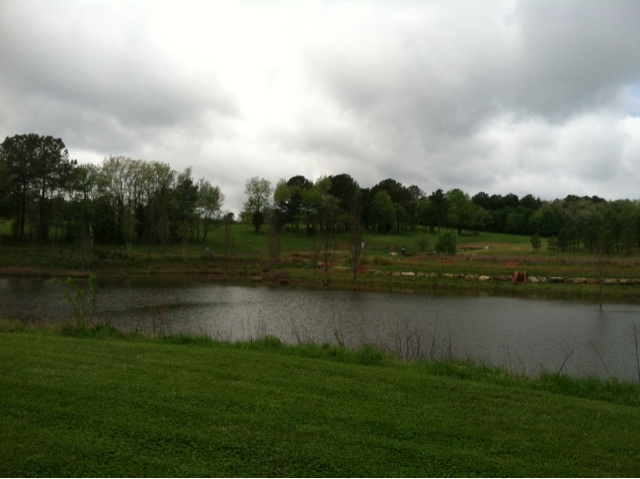
around a pond…
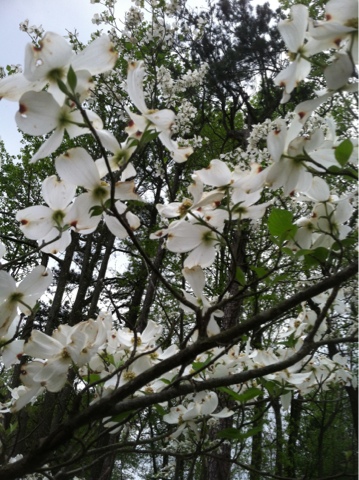
and through the woods. This is one of the best parts of spring in North Carolina – the dogwoods. Then the sun came out!
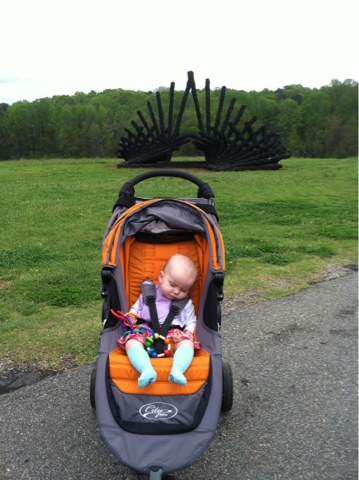
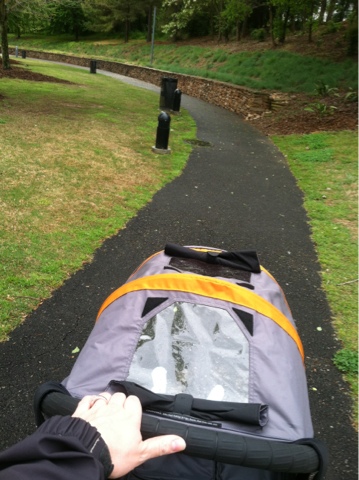
Victory for me! A sleeping baby at one of the first sculptures we came upon. At this point one could have kept walking back toward the museum or headed farther down the trail, where it eventually links up with the greenway to Umstead State Park.
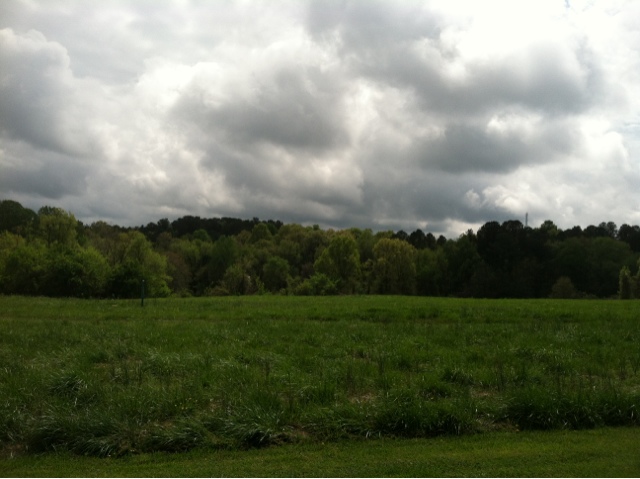
The prairie views were spectacular – kind of made me homesick for Iowa.
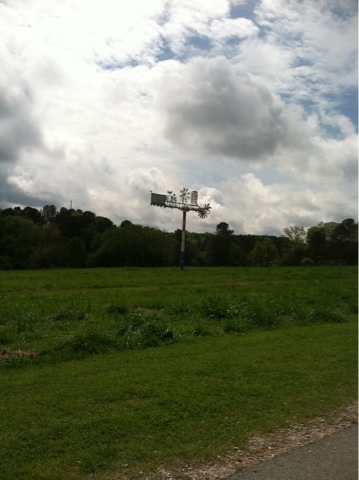
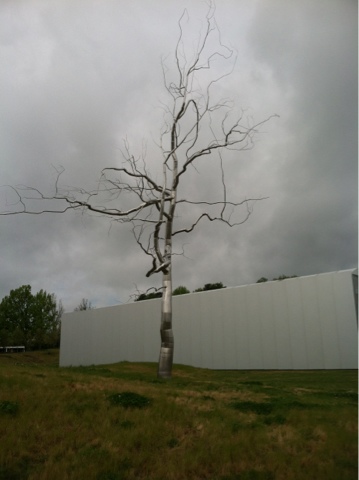
A fun wind sculpture, Wind Machine.
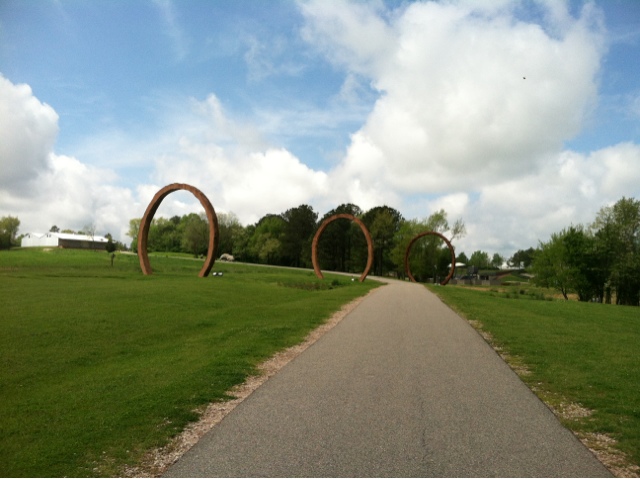
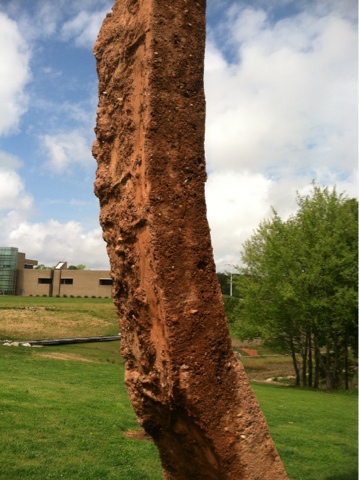
Above, Crossroads from the path and Crossroads, detail.

Collapse.
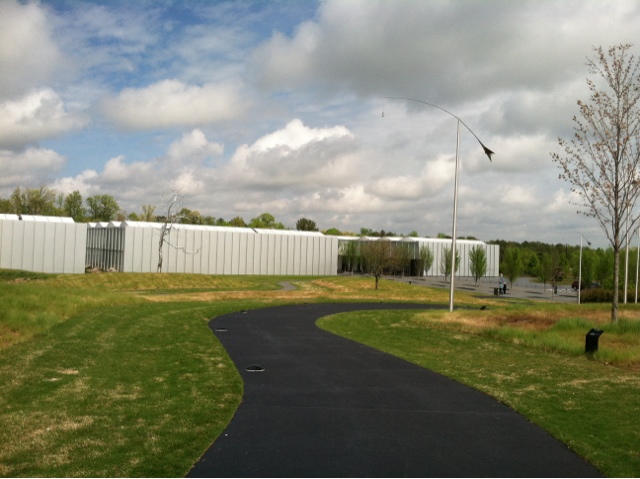 |
| The trail looped around back to the new building. |

On our way back to the parking lot we stopped to take a photo of our reflection in the new building.
I was completely amazed at the new facility at the North Carolina Museum of Art and found myself jealous of those who reside in Raleigh. What a great way to spend an afternoon – indoors and outdoors.


