
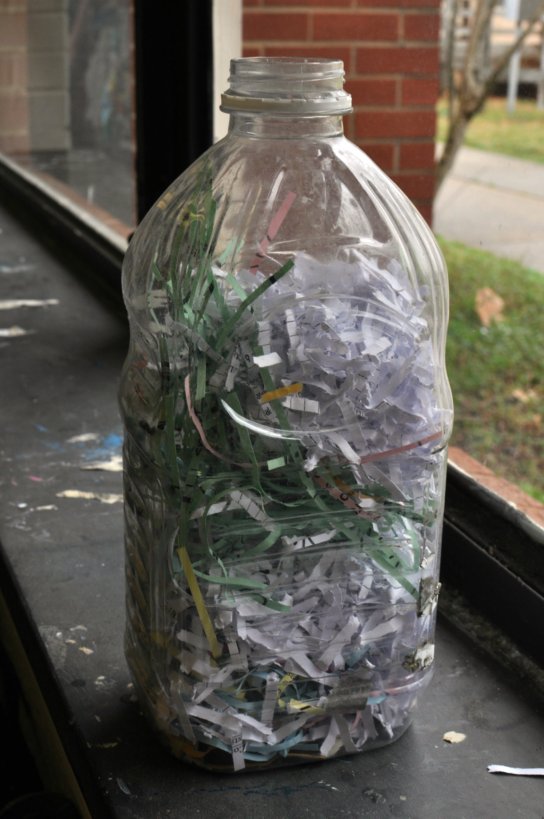
Large mouth juice bottles are the best way to start your recycled paper project. Add shredded paper until the bottle is ¾ of the way full of paper.
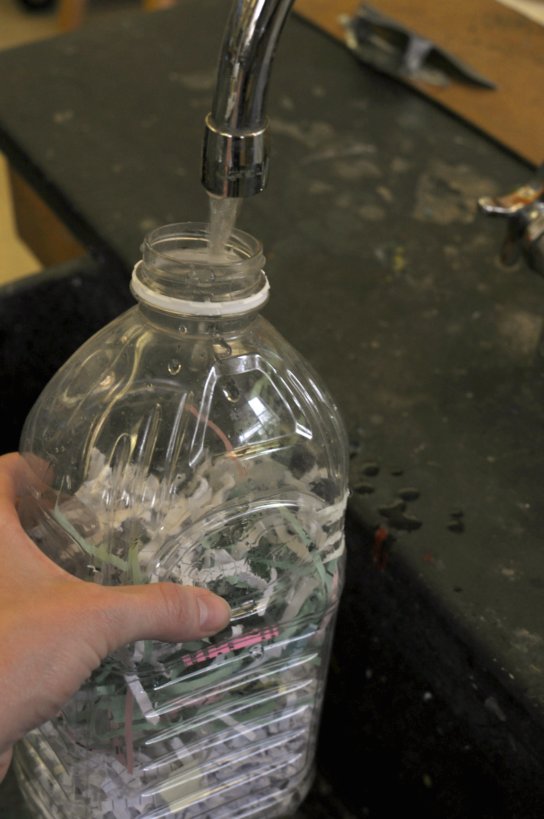
Fill the bottle just over half way with warm water.
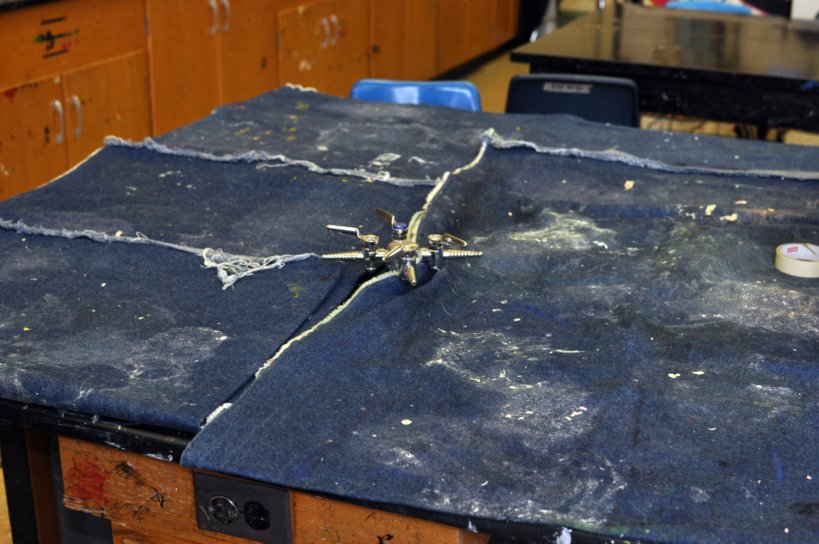
Meanwhile, make sure that a workspace and supplies are ready. I spread out thick layers of denim fabric to help soak up water.
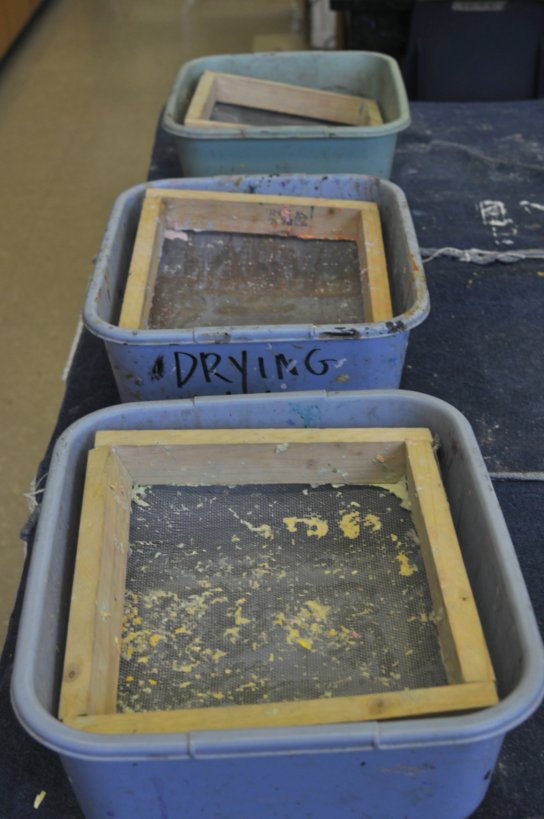
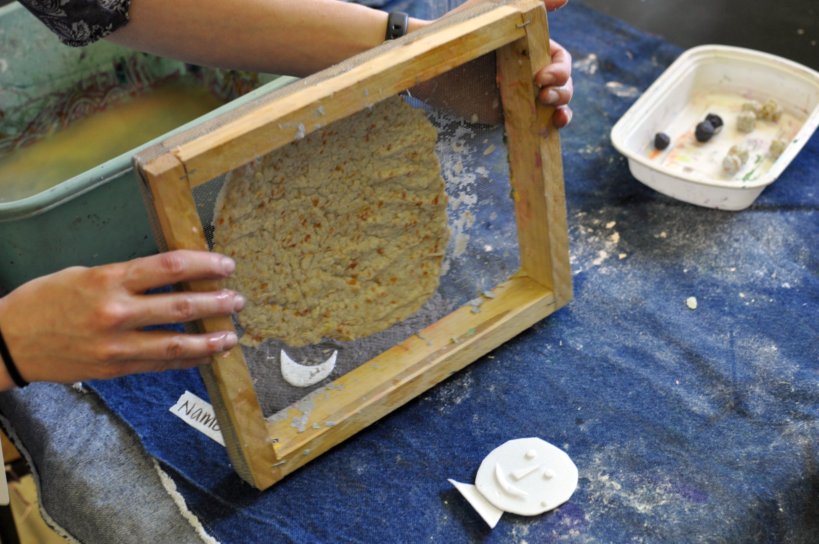
Screens made from simple wooden frames screwed together with screen stapled on the side are all I use. Eric and I put a whole class set together in a matter of a few hours. These are placed over buckets that just fit the screen. In a class of about 15, I used three screens and it seemed to work out that there was always a screen available.
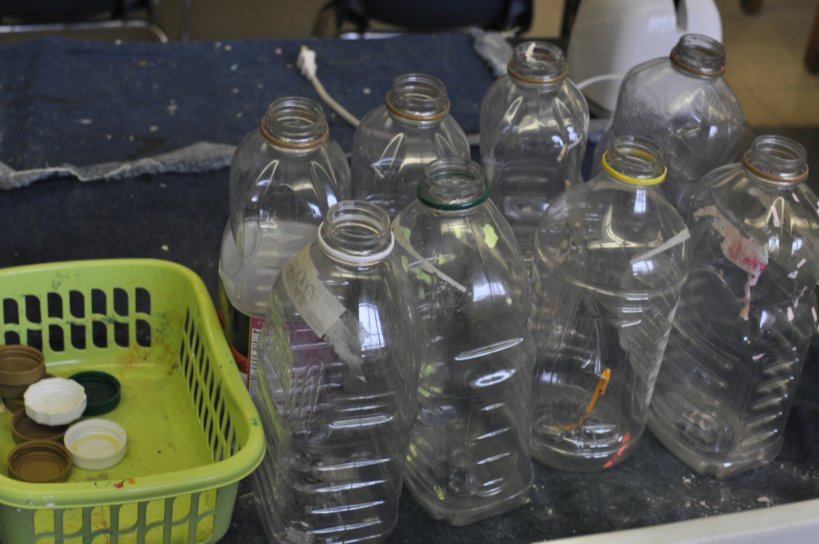
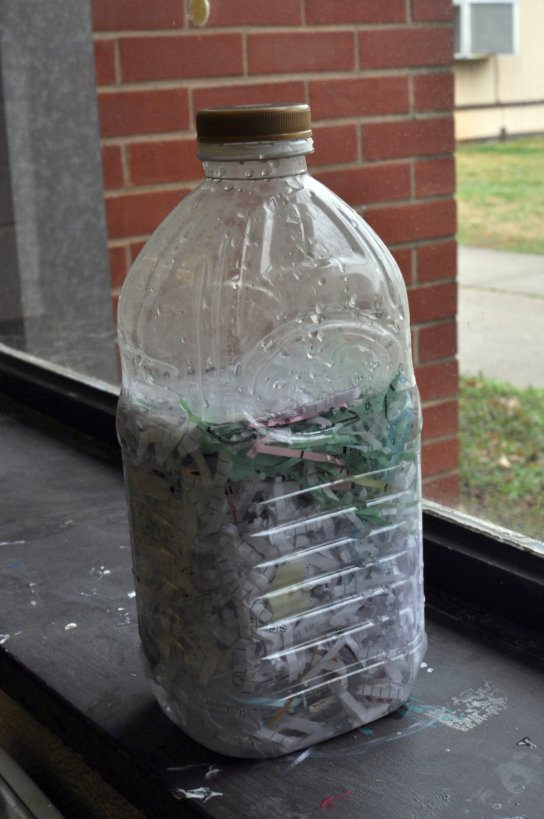
I keep plenty of bottles and extra caps available. That way, if a student needs more time the next class period, he/she can simply use masking tape and a marker to label his or her bottle.

This is the bottle and its contents after about 10 minutes of shaking. The paper starts to break down into paper pulp quite quickly. The partners work well because the triceps may start to get a little tired – especially if the bottle is fuller.
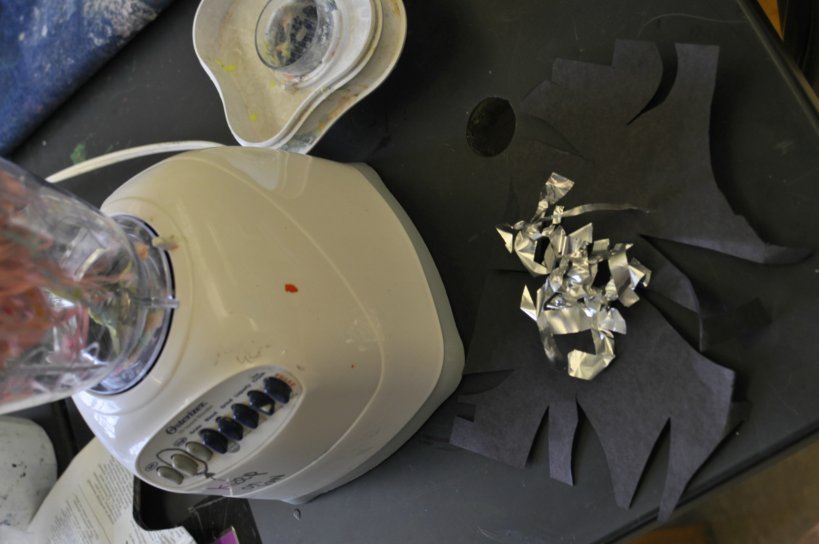
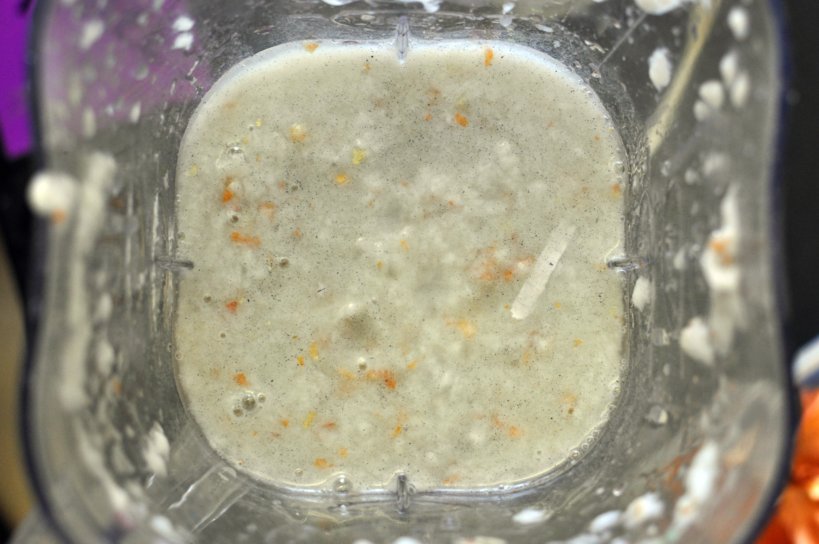
If you like, you can speed up the process with a blender. I have a few donated old blenders, but I have found that the cheap brand new ones actually work the best.
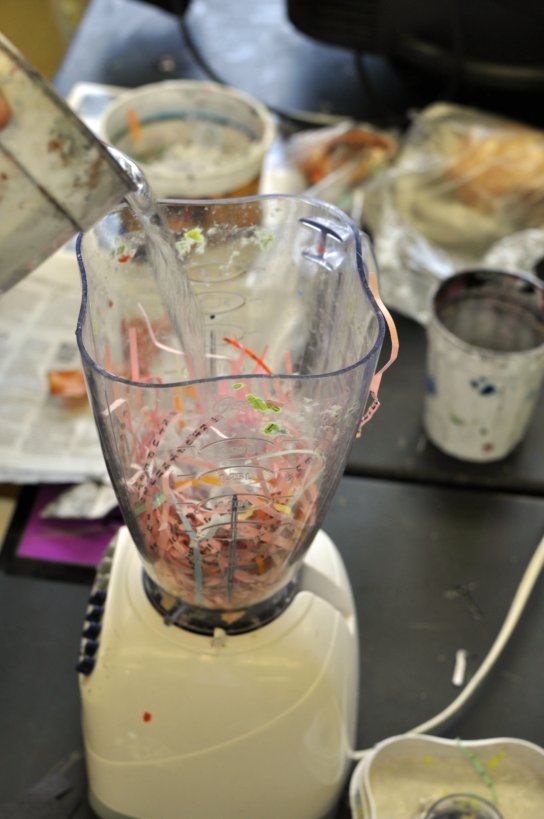
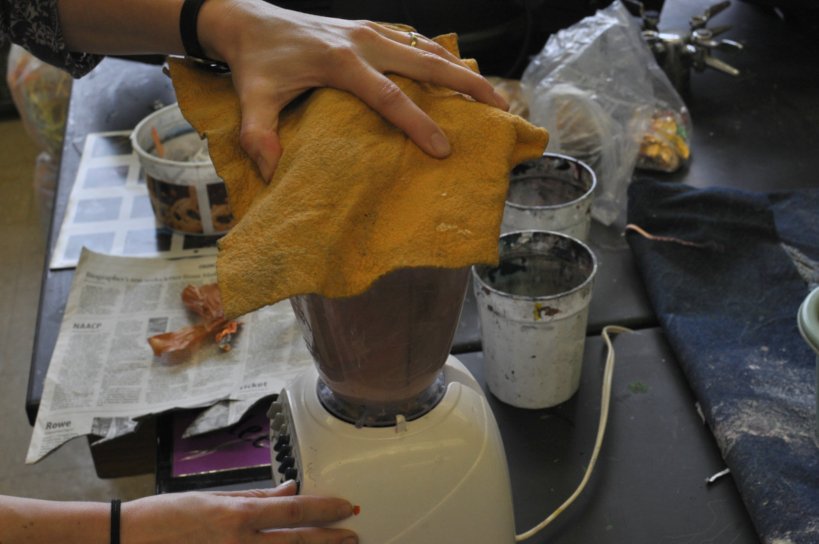
Cover tightly. I keep plenty of rags and a few Sham Wows around to mop up spills. I used this time to teach a little science to the kiddos about water and electricity not mixing. Blend until smooth.
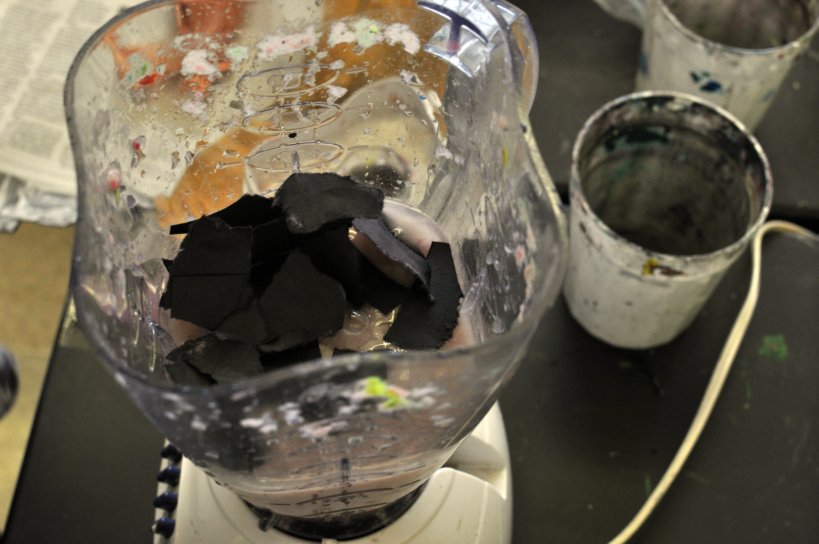
To change the color of the paper, you can use a variety of methods – dye, colored paper, or plants. Here, I used black construction paper. This is a great time to revisit the color wheel and the mixing of colors. We revisit the color wheel and I always remind my students that if you mix all the colors of shredded paper together you will get mud. Still, there are always a few who complain about their ‘vomit’ paper.
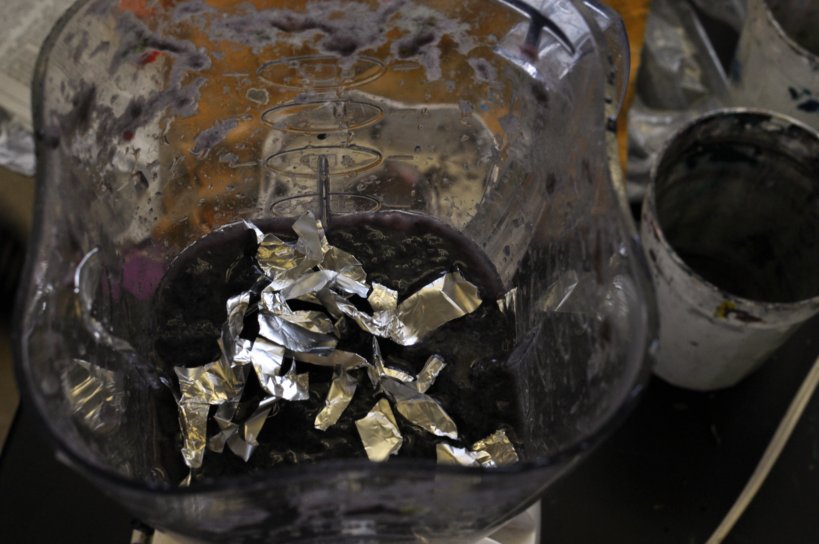
Embellishments are another fun way to make recycled paper more interesting. A few things to add but maybe not all at once: glitter, foil, candy wrappers, bits of flowers or herbs, small beads, or cut up ribbon or string. Here, I added strips of aluminum foil with the paper pulp.
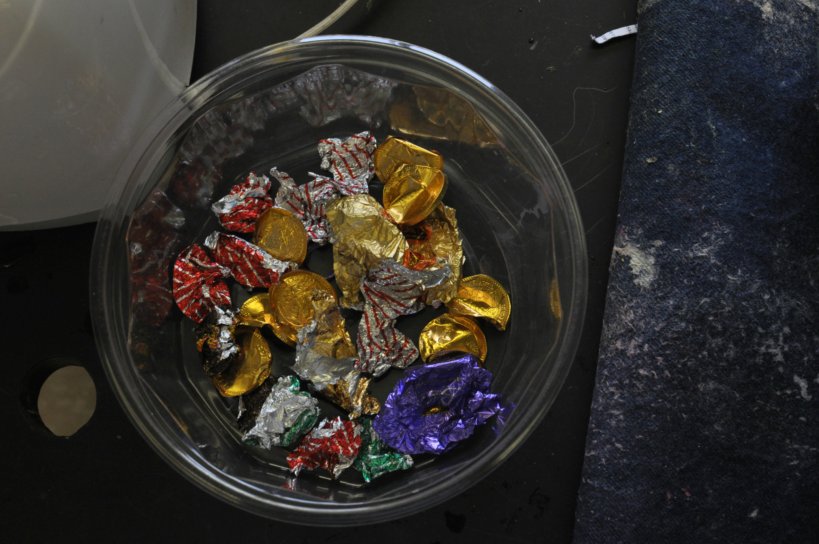
I requested my colleagues save foil chocolate wrappers for me – a great time to ask is before Christmas, Halloween or Valentine’s Day. I was always delighted to find baggies of foil wrappers in my box – I am sure some colleagues think I am quite the pack rat! When we start making paper the kids inevitable want to know if I like chocolate. 🙂
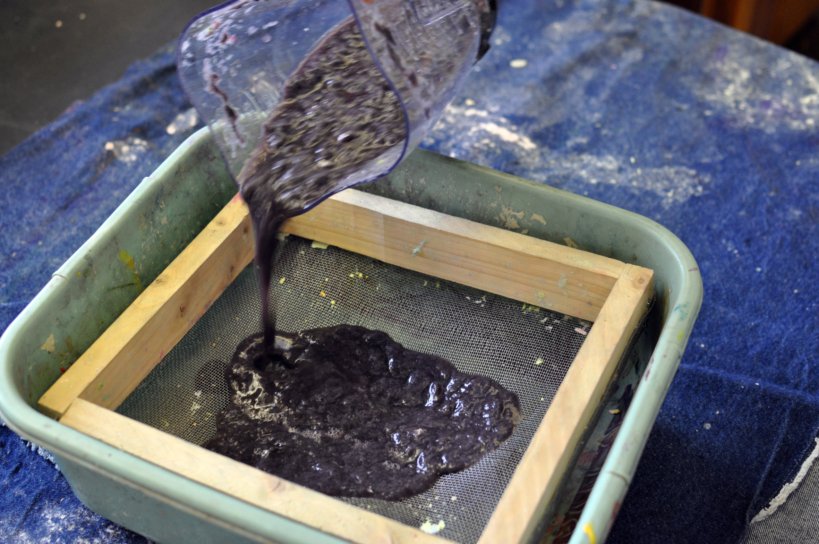
After your paper is blended into a smooth pulp, pour it into a screen set up in one of the bins. Gently press some of the water out into the bucket below. Be careful not to press too hard, or your screen could come detached from the frame.
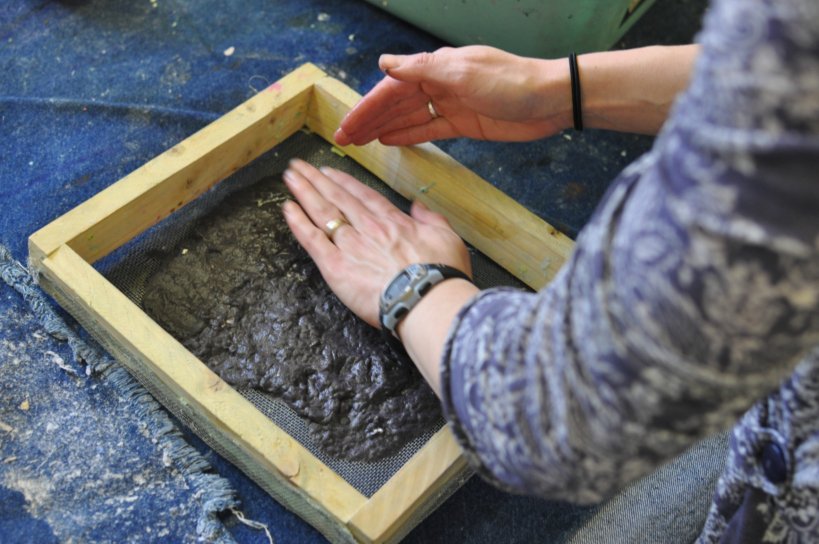
Press out as much remaining water as possible on a flat surface, such as the denim fabric, felt, or newspaper.
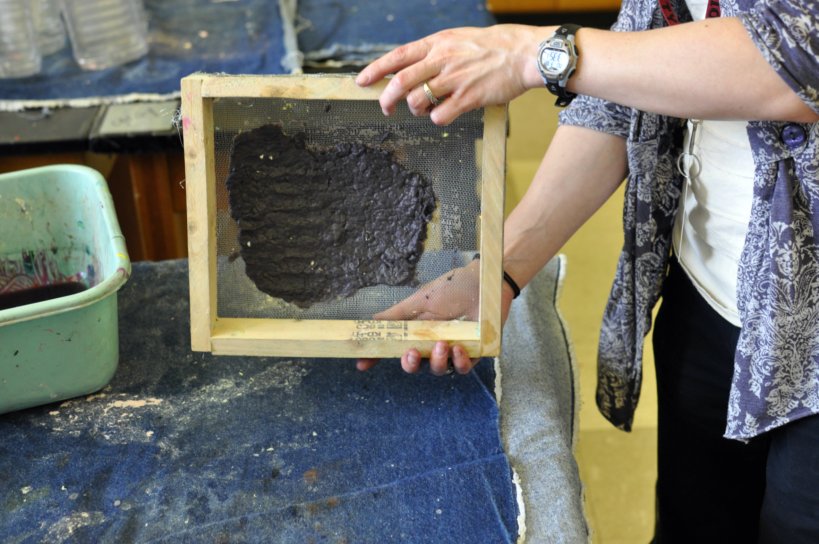

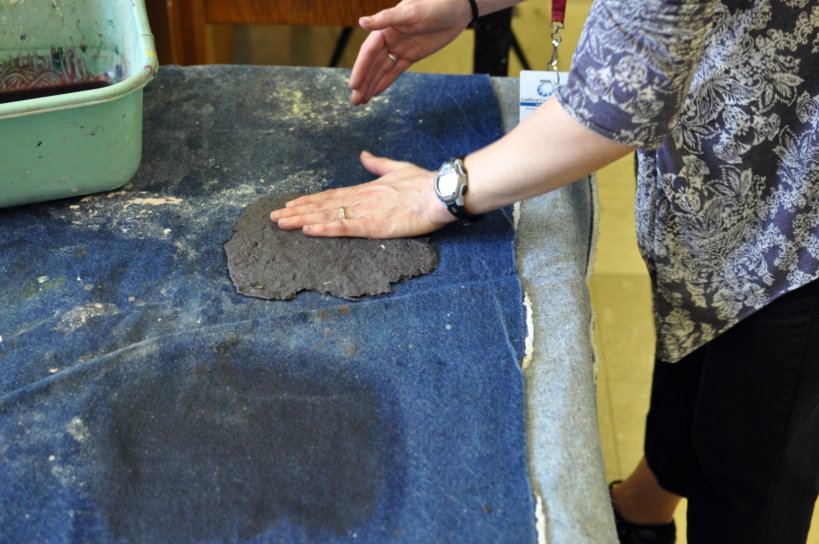
Press even more water out.
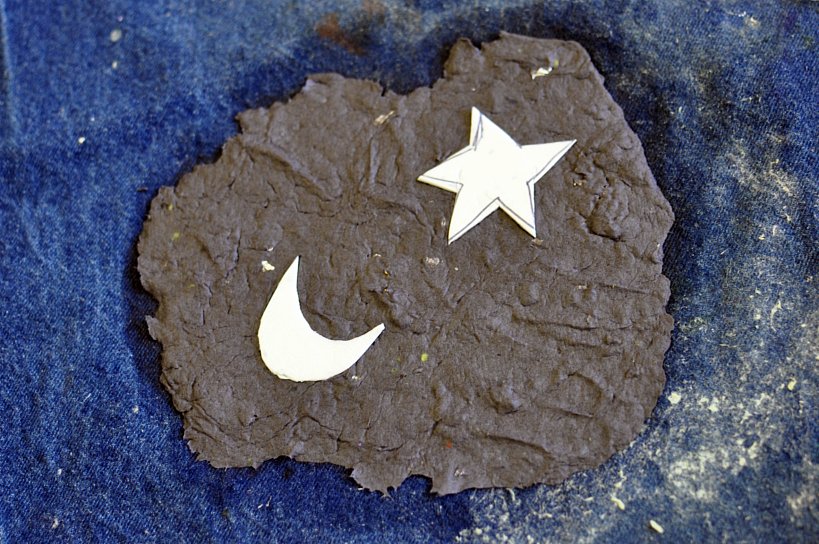
This would be a good time to say that making your stamp before you start your paper making is smart planning. Create embossing stamps out of Styrofoam. I like to rescue clean trays from the cafeteria to repurpose into stamping materials. These two stamps were simply drawn with ballpoint pen and then cut with scissors. I pressed them into the top of the wet paper.
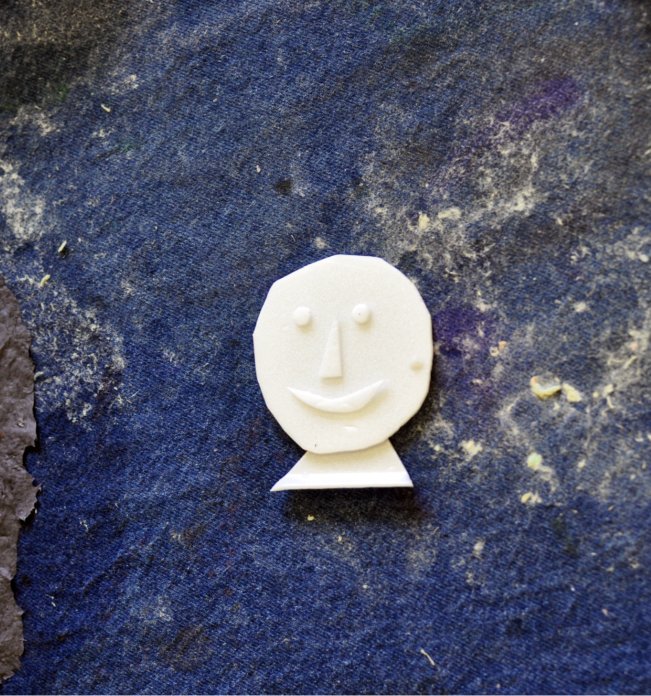
A simple, yet interesting, relief stamp can be made from multiple layers of Styrofoam, such as this smiling face. Cut out the shapes, glue, and allow to dry before pressing into the wet paper.
I have found that the stamps work best if the stamps are placed on the fabric and then the paper is turned on top of the stamps. This way, you can press the paper onto the stamps and create a better impression.
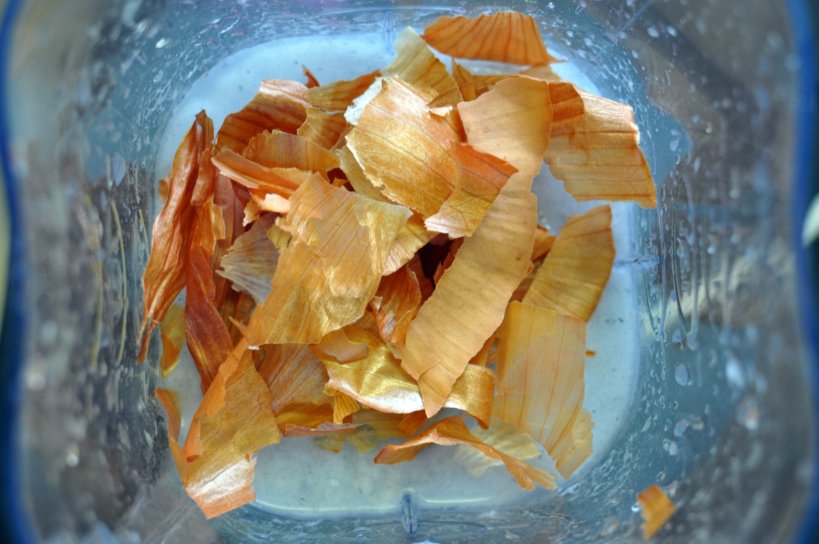
One of my more favorite embellishments can be found in your kitchen. Onion peels – yellow or red can be added to paper pulp for an interesting dye technique.
When initially blended, the color appear quite faint.

Once the paper is fully dry, the onion color shows up much more vibrantly. These are two examples of the the embossing stamps once dry.
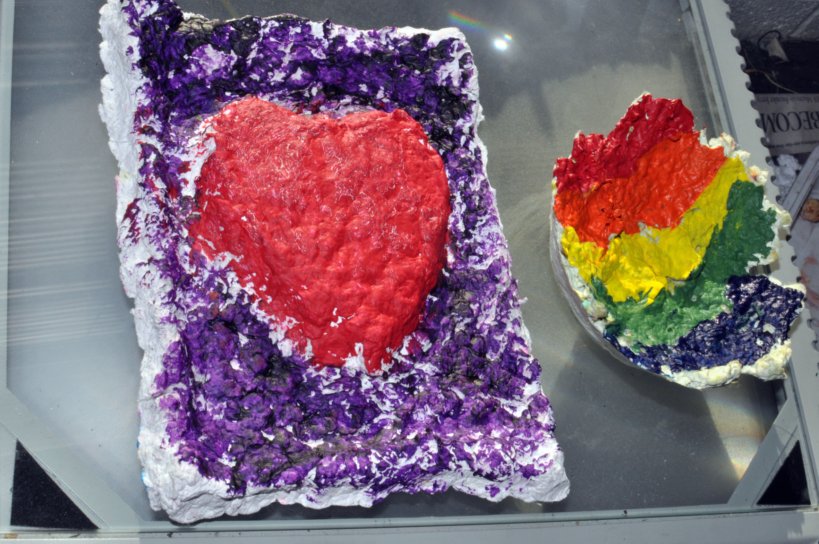
The possibilities for recycled paper projects are endless. Here are a few ideas:
- Paint them for more depth.
- Use recycled paper in place of plaster or clay for hand prints.
- Turn them into greeting cards.
- Make recycled jewelry.
- Make recycled paper bowls.
- Turn two sheets into the front and back of a book.
- Use the paper pulp as a sculpting material, make a 3D object, and then brush with watered down glue to hold it together.
Check back soon for more projects involving recycled paper.

One thought on “Recycled Paper Making: The Basics”