
One of the best things about being an art teacher is the experimentation with materials and media in preparation for projects. Lately, I have been into printmaking and stamping. As my own kids get older, I often use them as guinea pigs for upcoming lessons at school. The past few weeks, we have been experimenting with stamps and printmaking. For further reading, I recommend a book called, Print & Stamp Lab: 52 Ideas for Handmade, Upcycled Print Tools (Lab Series), that I have in my classroom.
The image above, is the block stamp we made with a variety of materials – foam shape stickers, paper clips, a button, and pieces of pipe cleaner. They are all attached to a scrap of wood with hot glue. For twice the fun, I made the stamp two-sided.
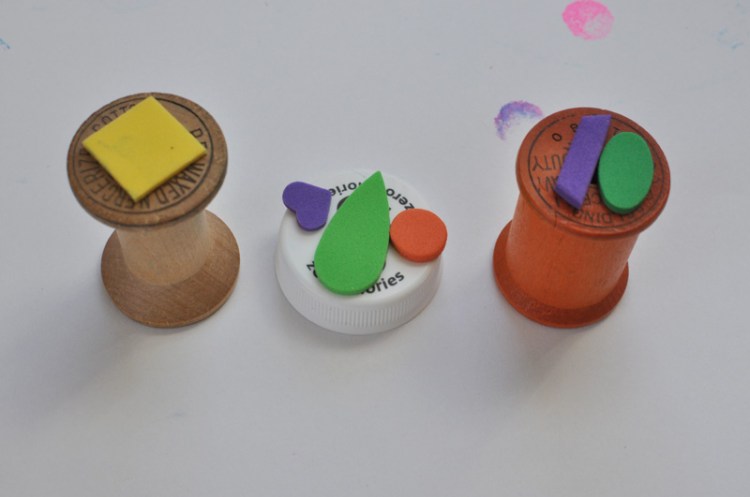
We also tried DIY stamps from the trash bin – sturdy plastic caps are great for affixing Geometric Self-Adhesive Foam Shapes. Wooden spools can turned on their sides and rolled, to make lines, or items can be affixed to the ends, in the same manner as the cap and wooden block stamps.
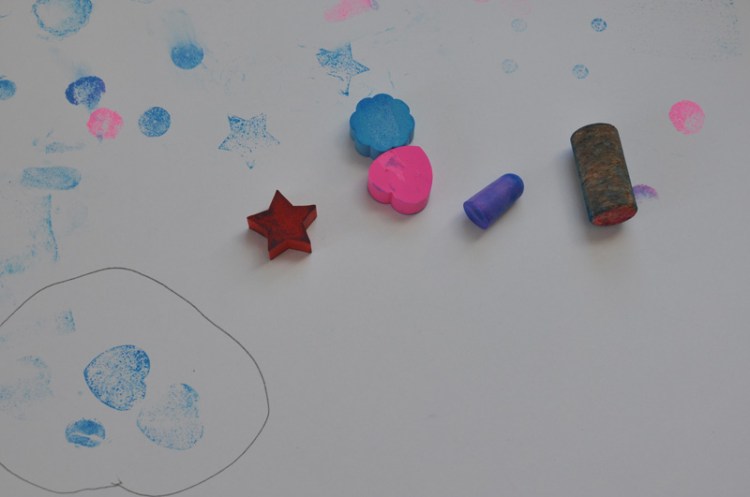
We have also been using pre-made, everyday items to stamp. Above you see, small erasers in interesting shapes, a foam ear plug, and a cork. All of these can be used as is, or carved into to create designs in relief.

Our favorite project so far, was using clean foam take-out boxes and cutting them into squares. Then, my daughter drew into the foam with a pencil, pressing hard to make deep lines. Her motif for this print is a bicycle and a heart. No take-out boxes? You can buy foam trays too.

She then painted over the foam with tempera paint and a wide paintbrush. I cut papers into 5×7″ rectangles and showed her how to use her hands to smooth the paper and create a print. After her prints were dry, she signed all of them and added some stickers for flair. Can we say easy homemade Valentine’s?


3 thoughts on “Printing & Stamping”