Whew! Finally got a project done that has been lingering for a while now. With school keeping me busy during the week, this is quickly becoming a weekend only blog.
This project, like many starts with trash day…
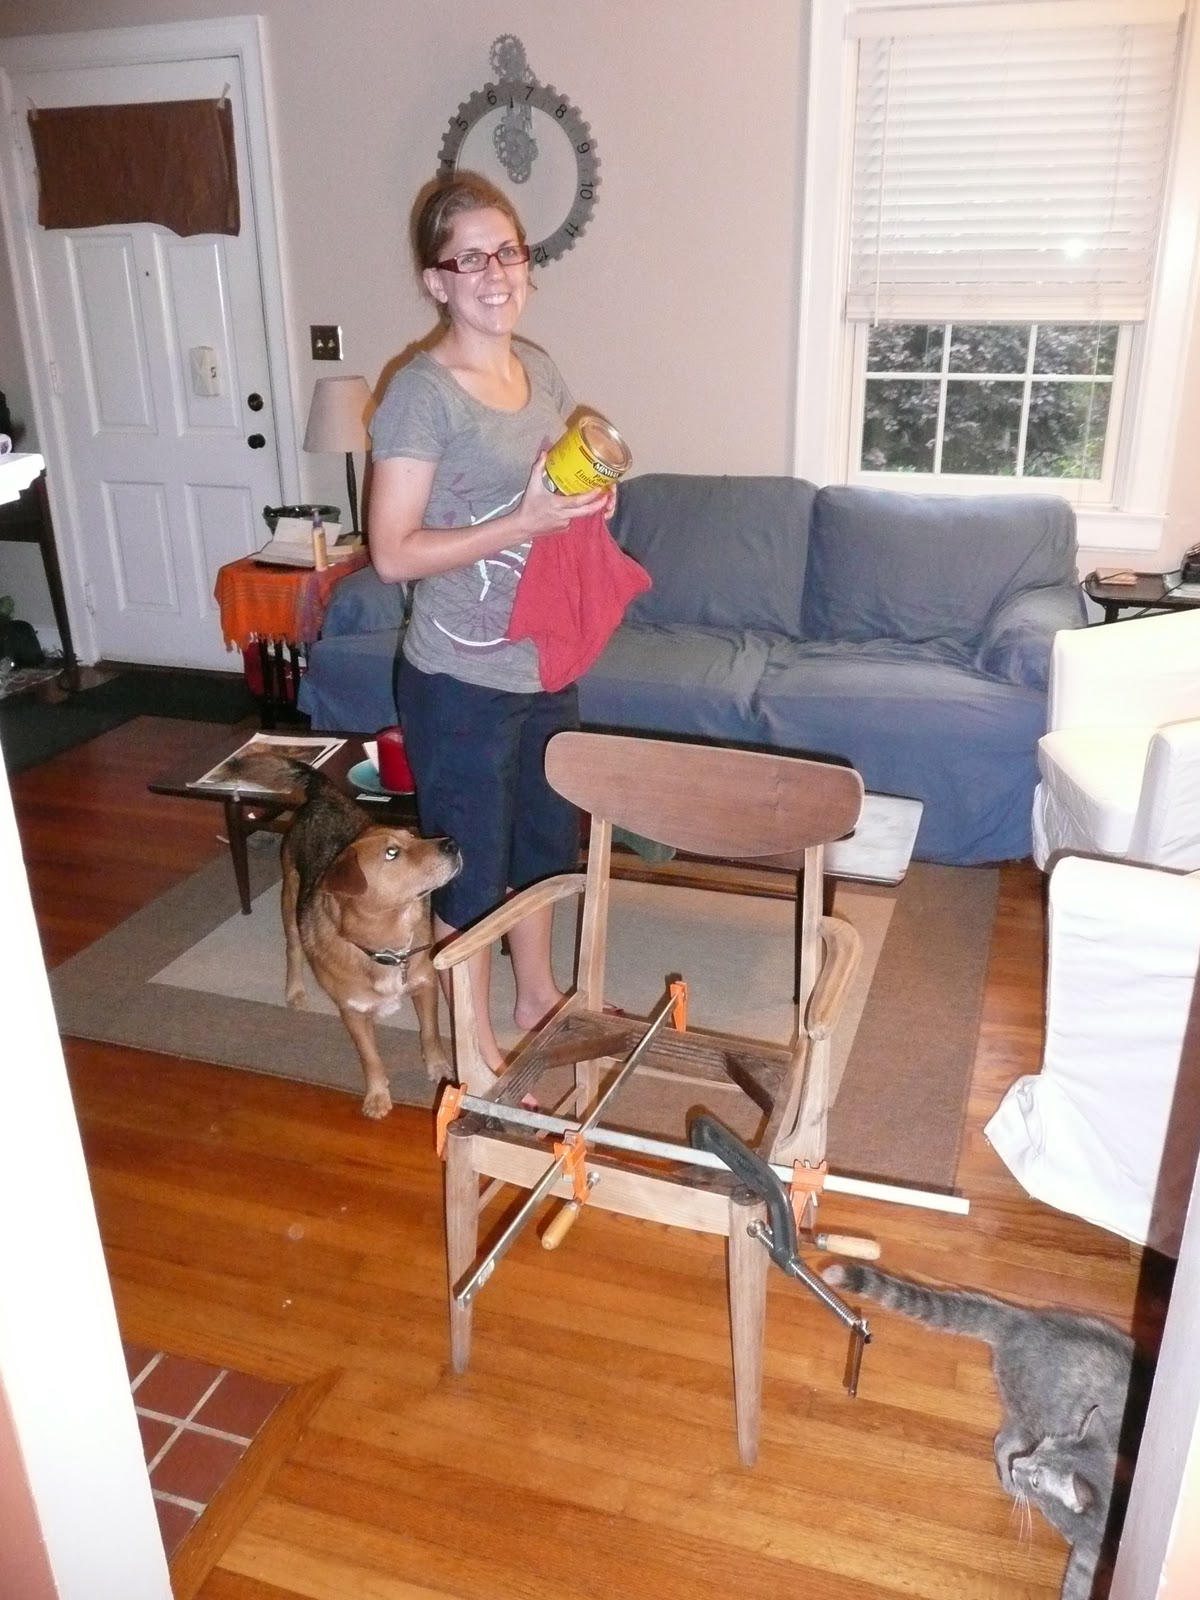
I found a chair by the side of the road on trash day before school started, back in August. I was biking with Eric to work and then the plan was for me to ride home. I was on my way through neighborhood streets when I found a lovely chair. I thought perhaps I could ride and carry it, but I am not quite as talented as Eric on a bike. So I raced home, got my car and drove back as quickly as I could.
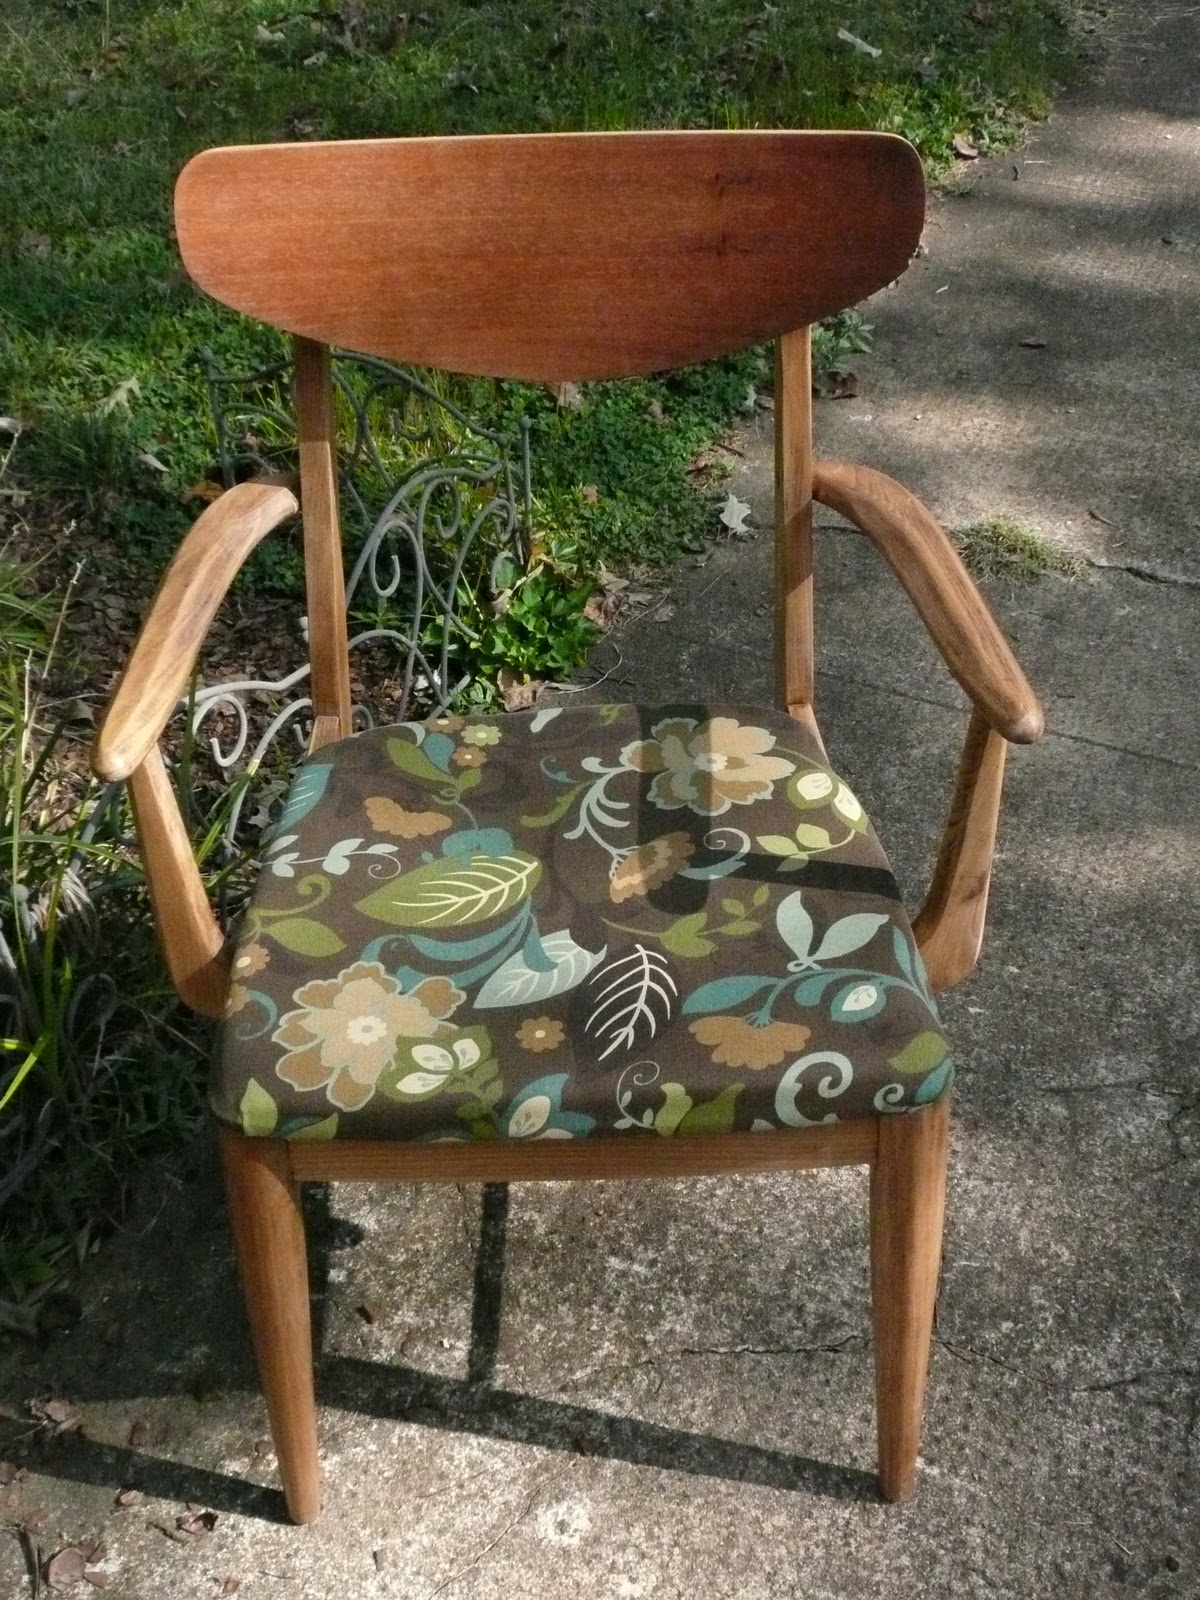
The chair, I discovered, had nice bones, but a funky odor. It was clearly a Danish design style chair, and despite all that I have learned on Antiques Roadshow about refinishing, I wanted to update it to suit my home and its non-smoking atmosphere.
I started by taking the seat off of the chair. Then, I continued to sanding the chair by hand, quickly switching to an orbital sander. This made the stripping of the finish an easy evening job. Eric and I took turns doing this while grilling dinner one night – that way neither of us had to lose all feeling in our hands. Masks and eye protection are a must for this step!
After sanding, we glued the chair with wood glue and clamped it together. I wiped the entire chair down with a dry rag and used a wax finishing paste to give the chair a nice clean finish. I like the finishing wax because there is no dripping whatsoever.


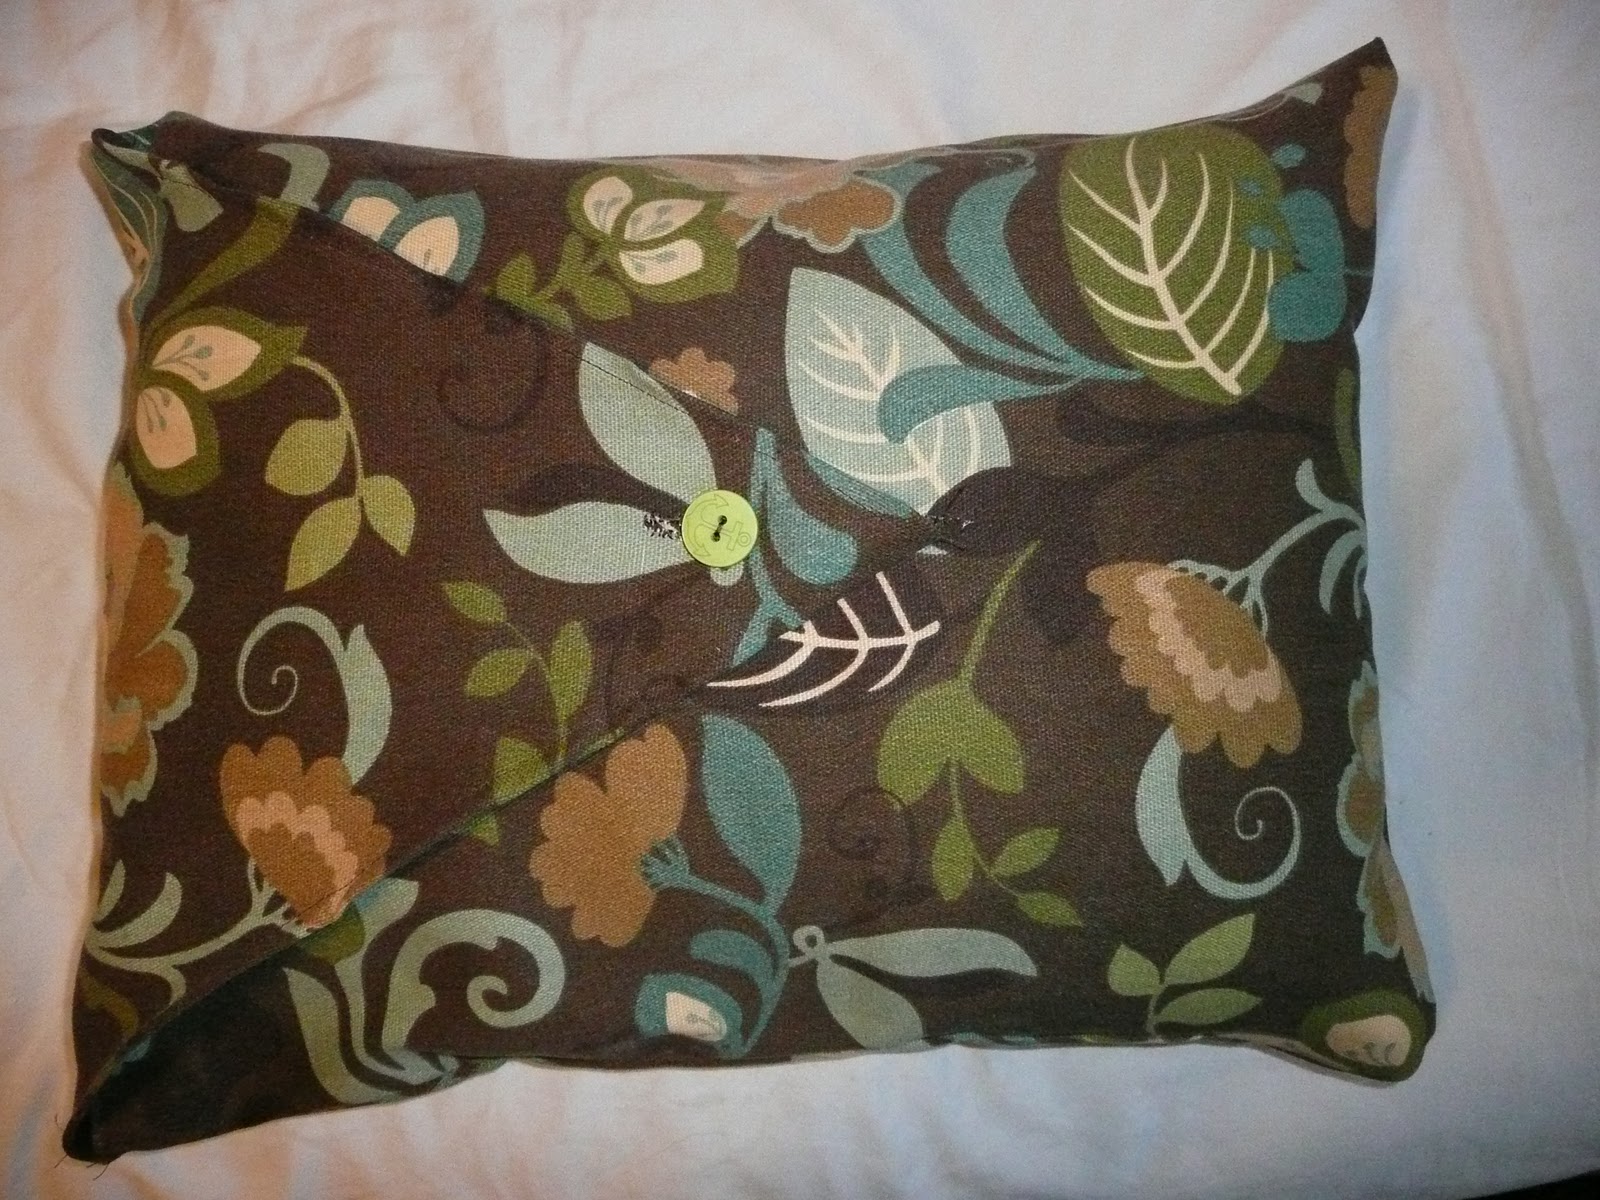
While there I found a remnant cotton upholstery fabric that matched too many things in my house too well. The remnant bin is maybe my favorite section of the entire fabric store. I traced my foam with the wooden seat, cut it out to fit perfectly, laid my seat on top of my fabric, stapled it all together, and lastly used a rotary cutter to trim excess fabric.

The fabric you found perfectly complements the chair design. I agree with you that the remnant bin is like a treasure hunt: what can you find that you can use and what can you do with what you find??
Really nice work on the chair – kudos to you and Eric! You should send this to DIY magazine.